


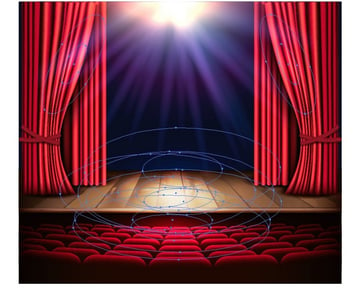
In this tutorial, you will learn how to use the Mesh Tool and Transparency settings in Adobe Illustrator to create a beautifully lit performance stage!
If you want to skip the tutorial and just use this background with some other awesome elements, purchase the Festival Night Show Poster from GraphicRiver!


1. How to Draw the Curtains
Step 1
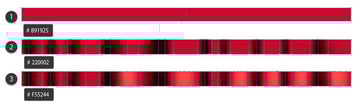
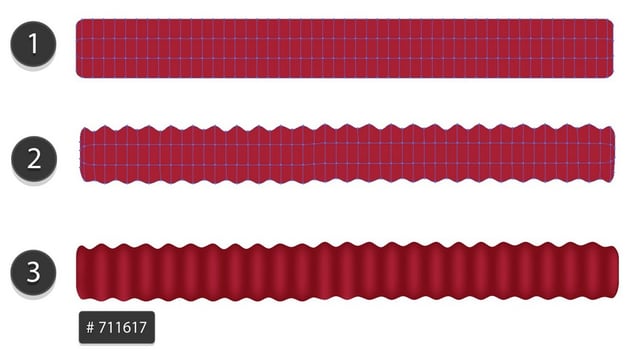
Start by drawing a narrow rectangle and filling it with #B91925 color.
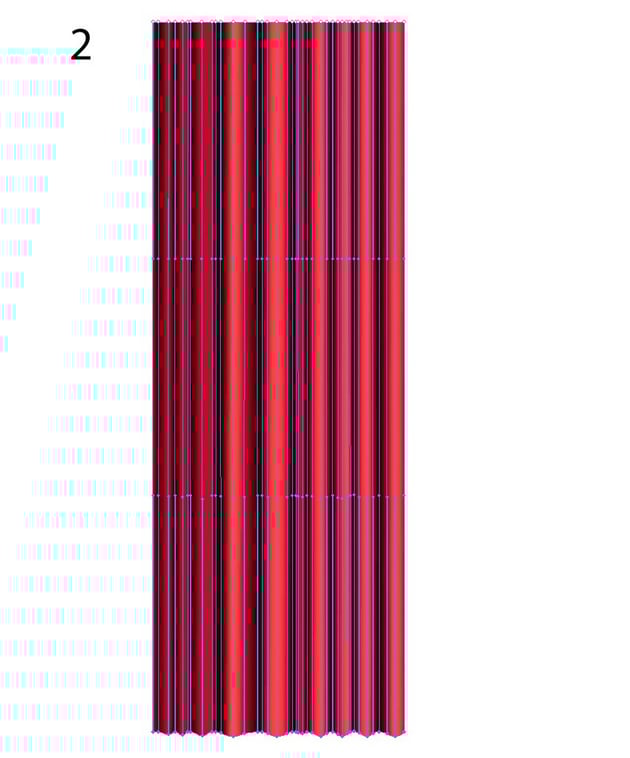
Let's begin using Mesh! Grab the Mesh Tool (U) and create a Mesh Grid like the one in the screenshot below by clicking where the nodes are supposed to be.
Once your Mesh Grid is done, begin coloring it by selecting the indicated columns of nodes with the Mesh Tool (U) and changing their color to #220002.
Finish this step by coloring the nodes selected in the screenshot below with #F55244.


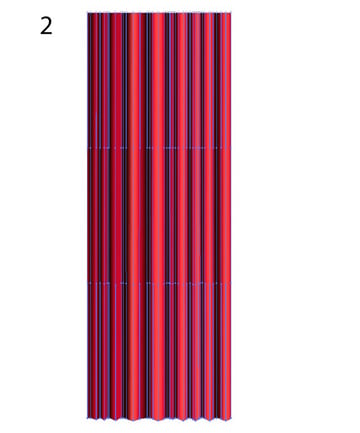
Step 2
Grab the colored rectangle and stretch it downwards to create a full-size curtain. Create a copy of it and put it aside for now.
Next, take the Warp Tool (Shift-R), change the brush's size to be appropriate, and bend the side of the curtain as pictured below.
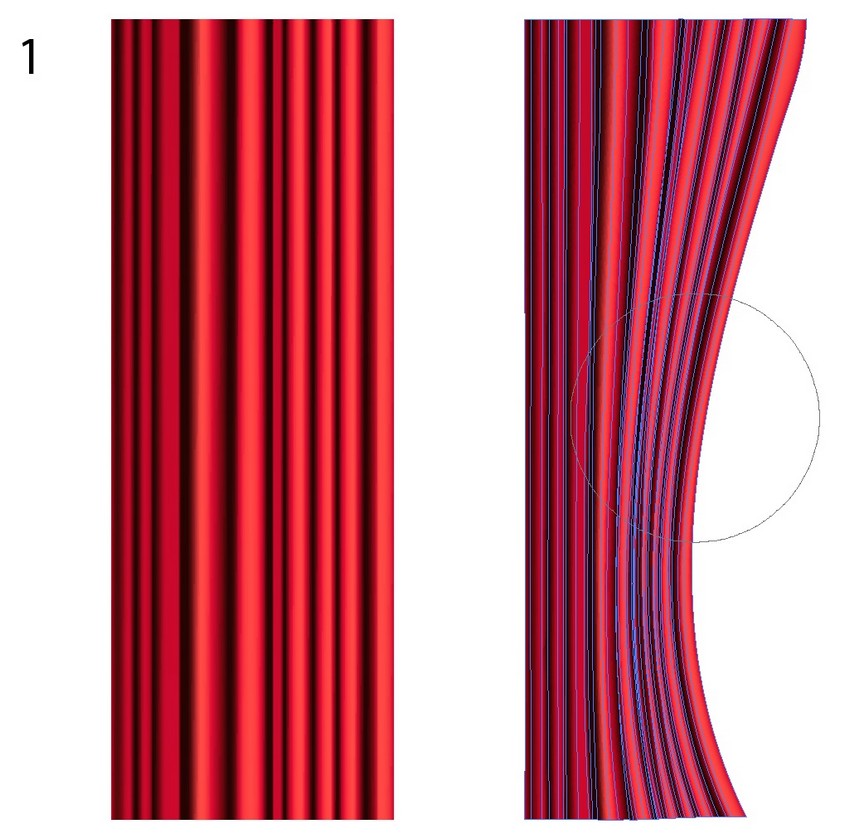

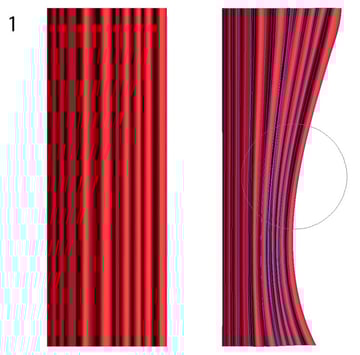
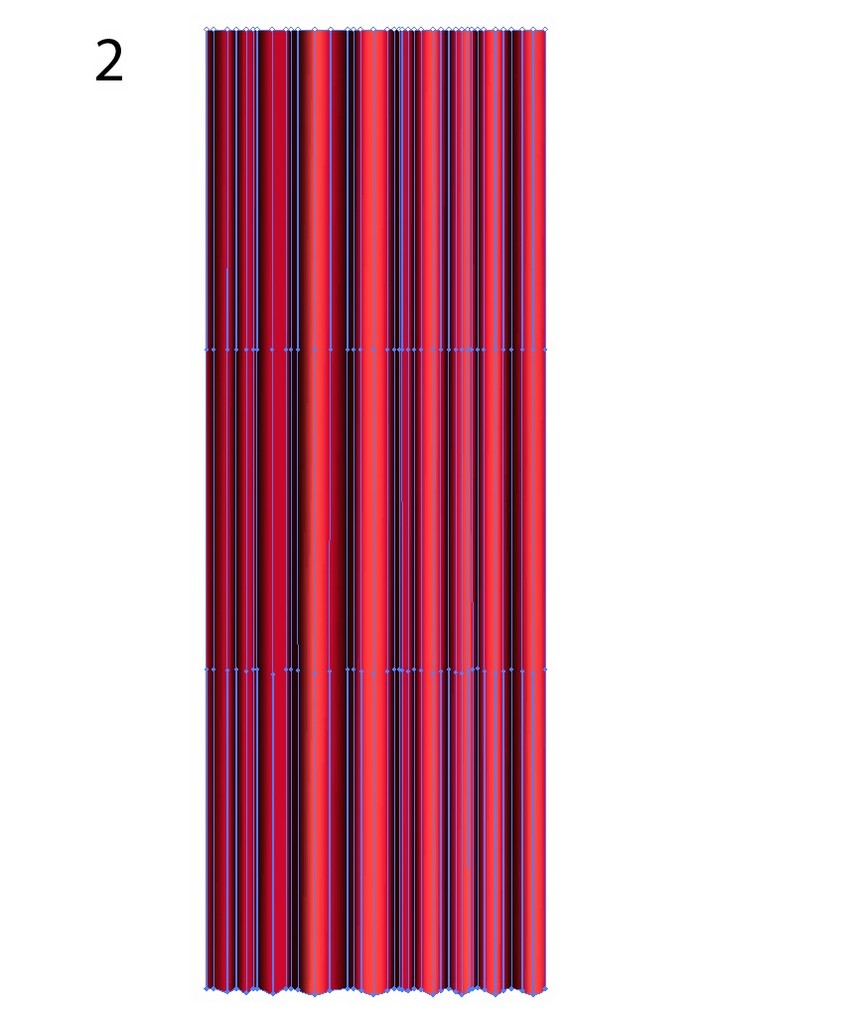
Step 3
Set the intensity of the Warp Tool a bit higher and bend the curtain even more.
Next, color the nodes selected below with #220002.


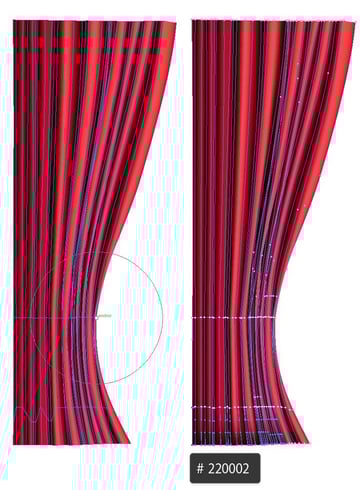
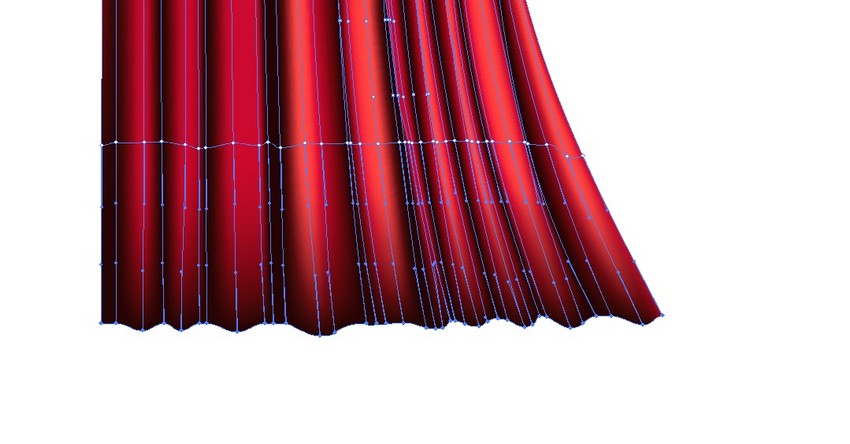
Step 4
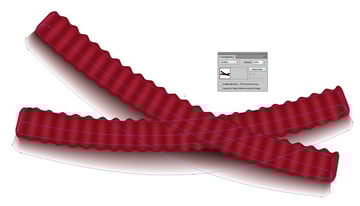
Drag around the Mesh nodes on the bottom of the curtain to create some ruffles.


Step 5
Grab the copy we made in Step 2 and add some ruffles to the bottom of it as well.
Step 6
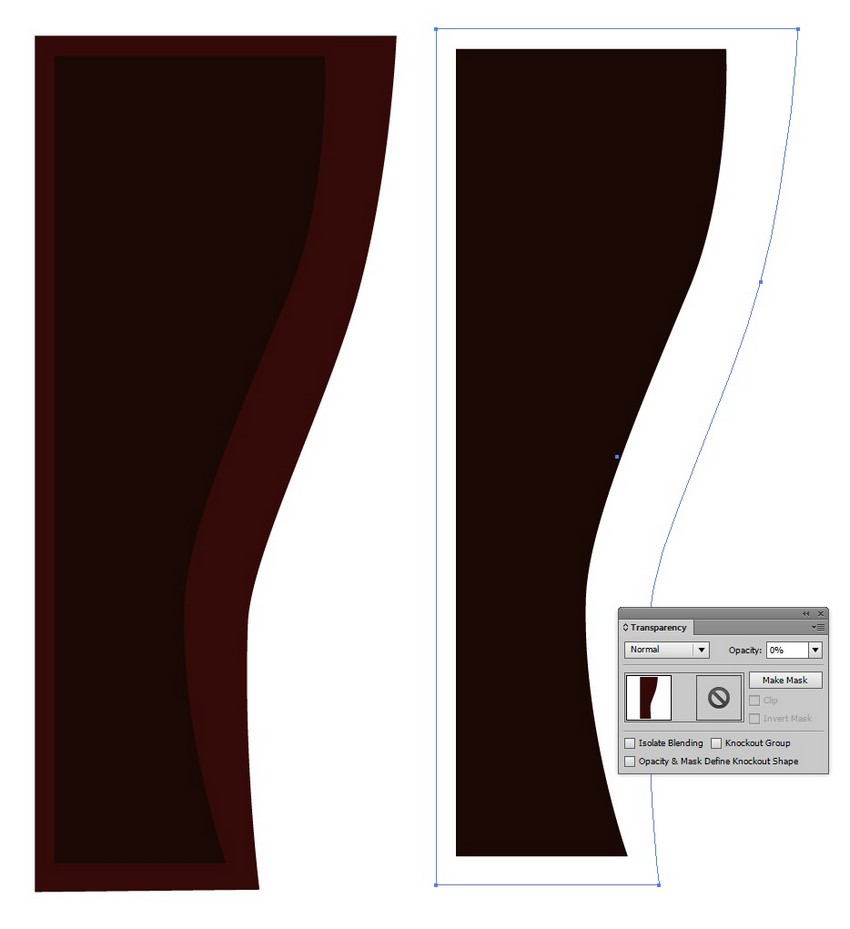
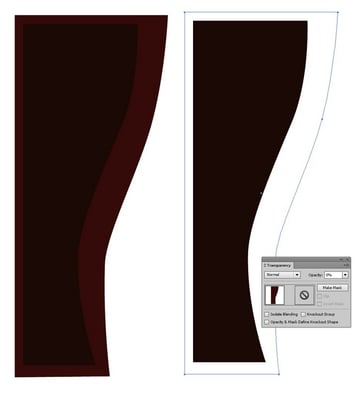
Let's create a shadow for the curtain! First, draw two shapes, the first one filled with #190502 and the second one slightly bigger and filled with #300909.


Step 7
Place the darker shape on top of the second one, and then make the bigger shape completely transparent.

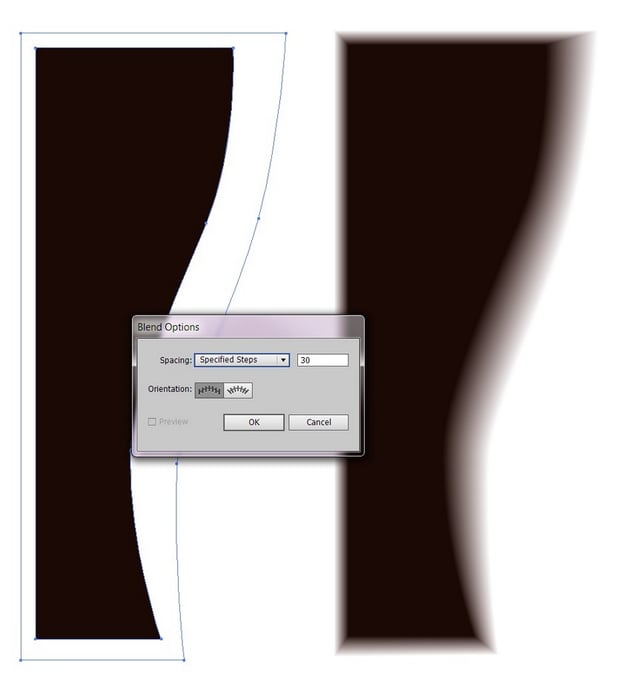
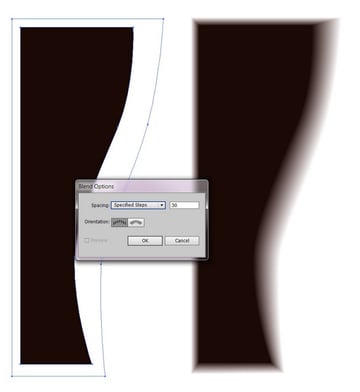
Step 8
Go to Object > Blend > Blend Options and enter the values seen below.
Next, select both objects and use Object > Blend > Make to create a shadow.

Step 9
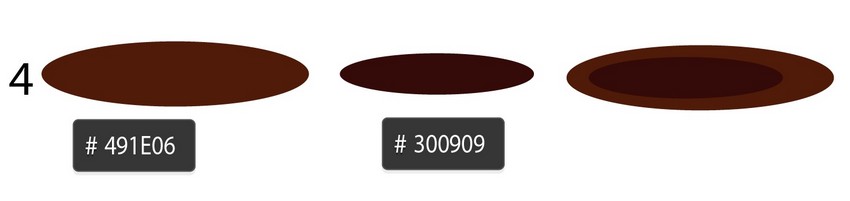
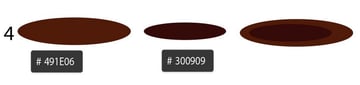
Follow similar steps for the next shadow—we will need a #491E06 and a #300909 ellipse.

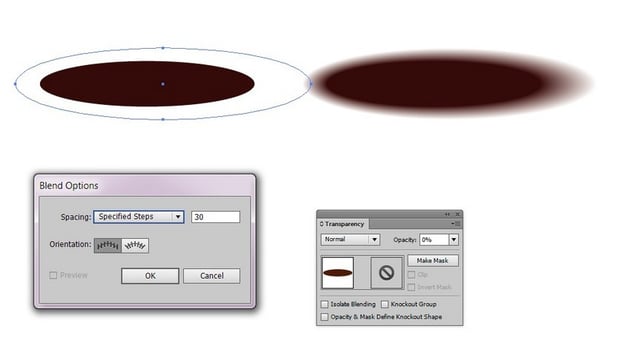
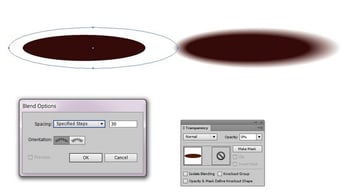
Step 10
Make the bigger shape transparent and apply Object > Blend > Make with the same settings.

Step 11
Arrange all the elements, changing the shadows' Transparency Mode to Multiply.


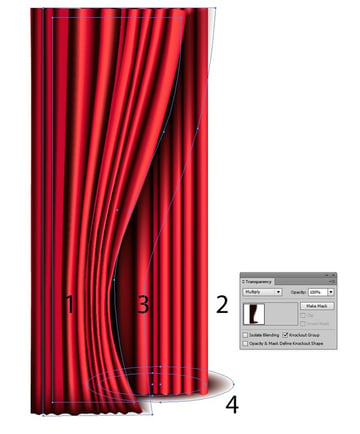
Step 12
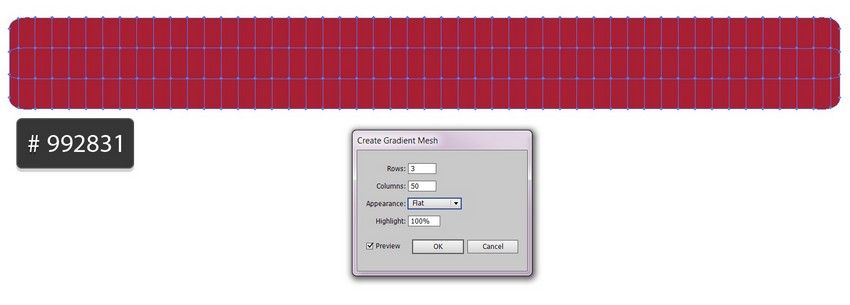
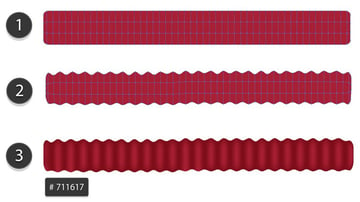
Fill a rectangle with rounded edges with the #992831 color.
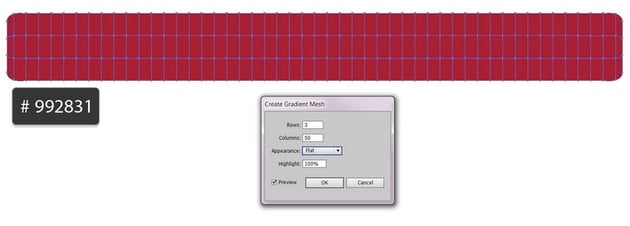
Proceed to Object > Create Gradient Mesh and input 3 Rows, 50 Columns.

Step 13
Create some ruffles by moving nodes up/down, and then color the darker nodes with #711617.
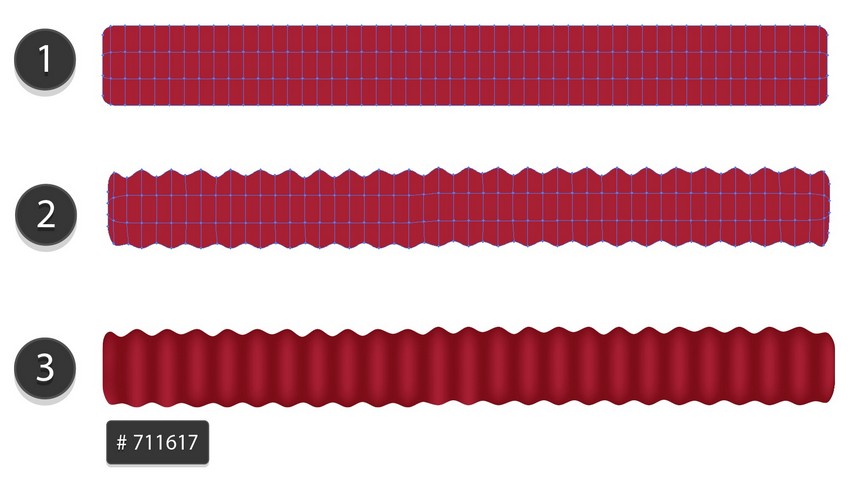
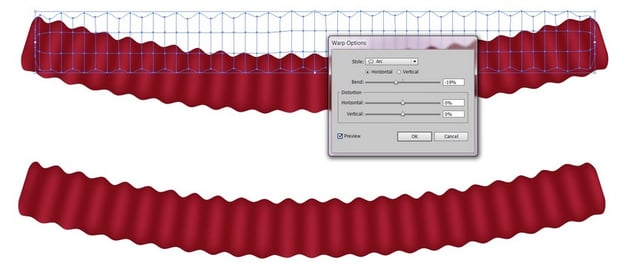
Step 14
Warp the shape with Effect > Warp > Arc and -19% Bend.
Object > Expand Appearance of the result.


Step 15
Draw another blend shadow. We'll need two stripes: #1E0509 and #600D17.
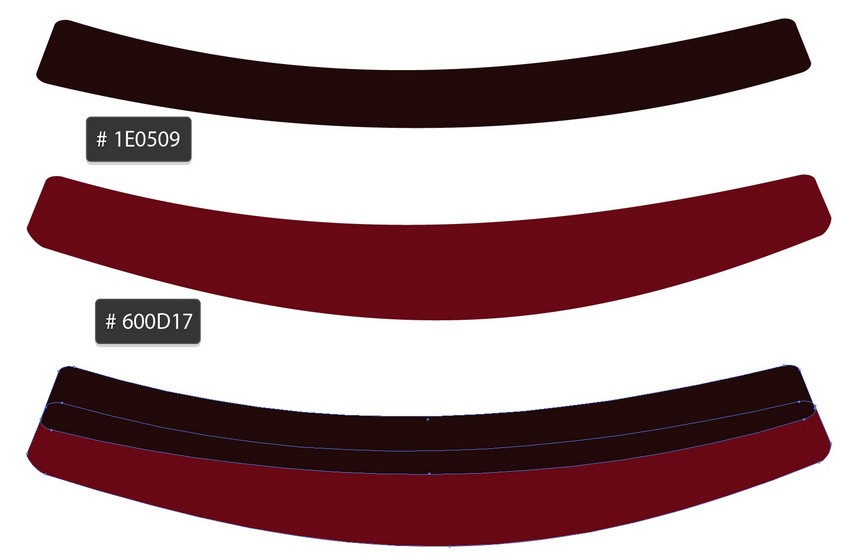
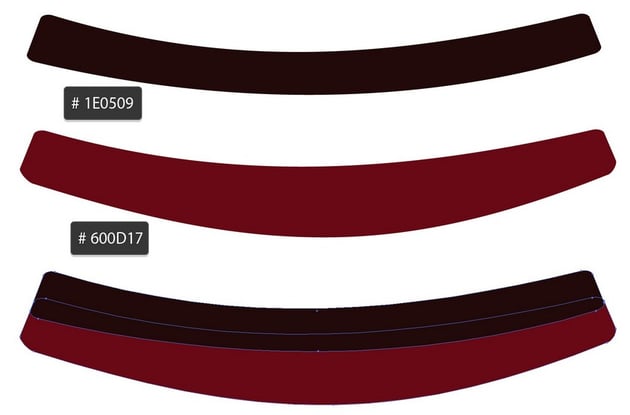
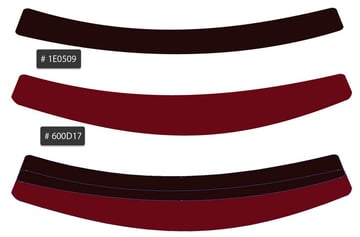
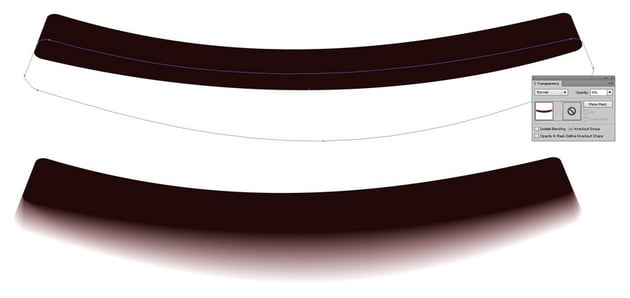
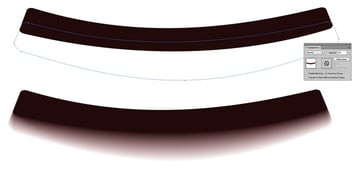
Step 16
Make the red stripe completely transparent, and then apply Object > Blend > Make again.

Step 17
Arrange the elements as seen below.
Change the shadows' Transparency Mode to Multiply.


Step 18
Add the ribbons to the curtain.


Step 19
For the temporary background, use a #030D21 rectangle.


Step 20
Place a reflected (Object > Transform > Reflect) copy of the curtains on the other side of the rectangle.


2. How to Draw the Seats
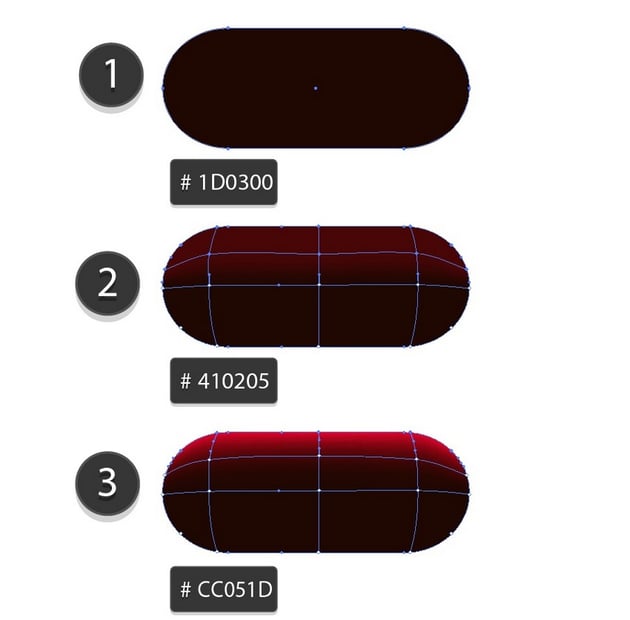
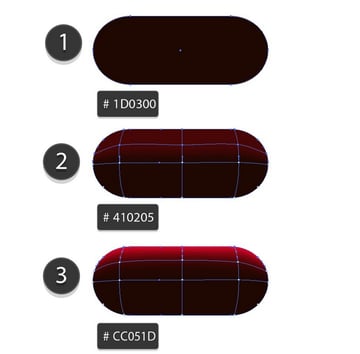
Step 1
Draw a single seat with Mesh. You will need these colors:
#1D0300#410205-
#CC051D

Step 2
Create ten more copies of this seat by moving the shape to the right manually while holding Alt, and then pressing Control-D nine more times to finish the row.
Use the same method to clone this whole row of seats six more times.


Step 3
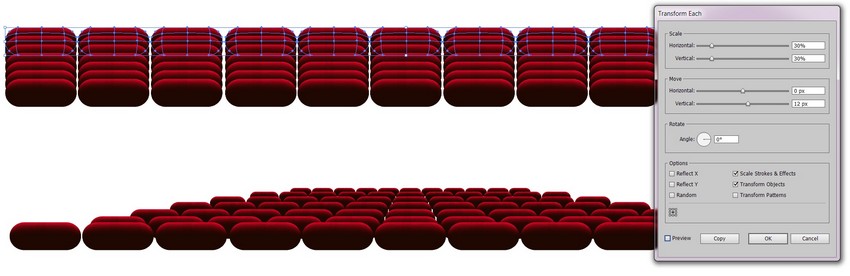
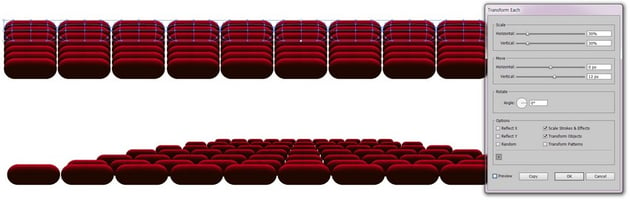
Now let's put the rows of seats into perspective.
Select the topmost row and go to Object > Transform > Transform Each. Input 30% Scale for both dimensions and a 12px Vertical Move.
Apply this for every row, but with different settings (going from the top):
-
30% Scale, 12px Vertical Move
- 40% Scale, 6px Vertical Move
- 50% Scale, 2px Vertical Move
- 60% Scale
- 70% Scale
- 80% Scale
- don't modify

Step 4
Go to Effect > Warp > Arc and use -14% Bend on the seats.
Expand Appearance of the result.


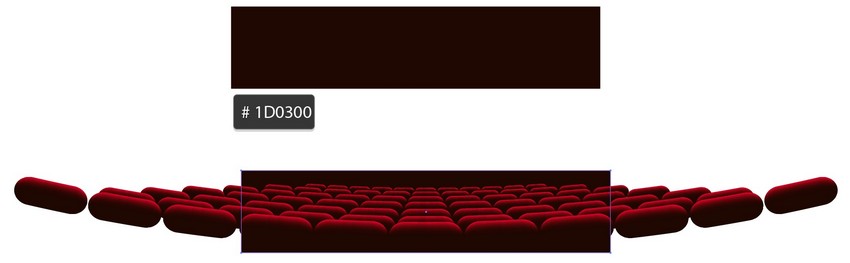
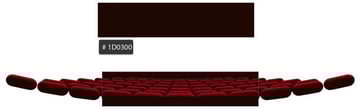
Step 5
Place a #1D0300 rectangle behind the seats.

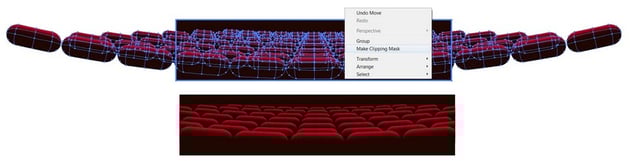
Step 6
Draw another rectangle on top, identical in size to the last one. Select all elements and use Make Clipping Mask after right-clicking.


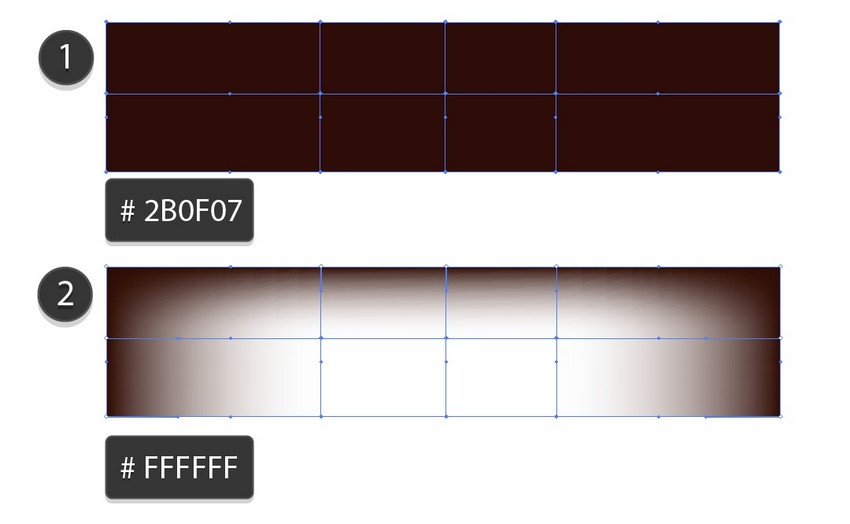
Step 7
Create a #2B0F07 rectangle, and then color the middle Mesh Nodes with white.


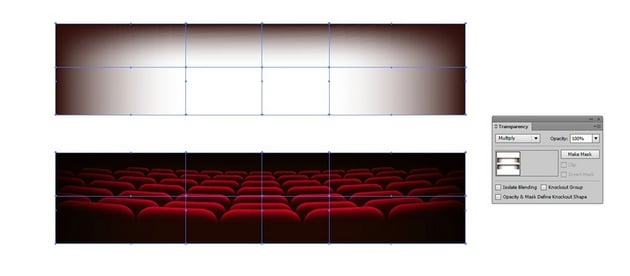
Step 8
Change the object's Transparency Mode to Multiply, and place it on top of the seats.


3. How to Draw the Lights
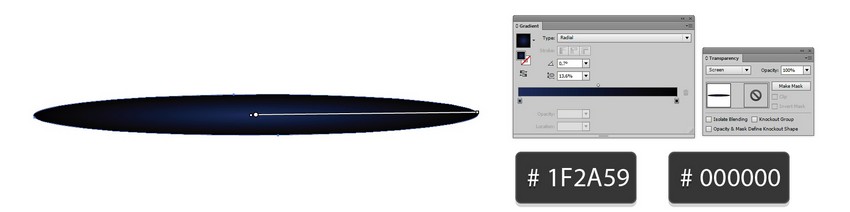
Step 1
Grab an ellipse and fill it with a #1F2A59 to black Radial Gradient.
Set the Transparency to Screen.


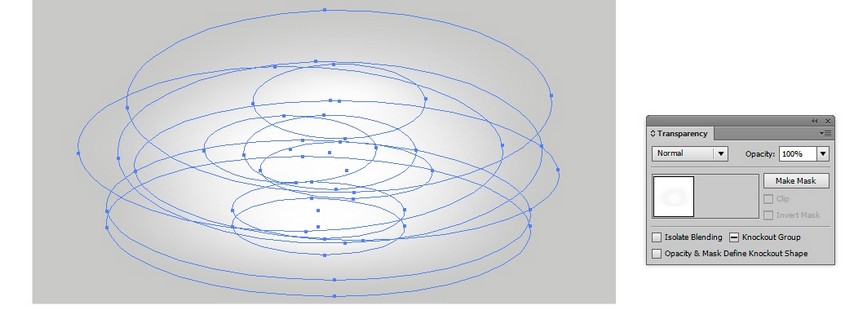
Step 2
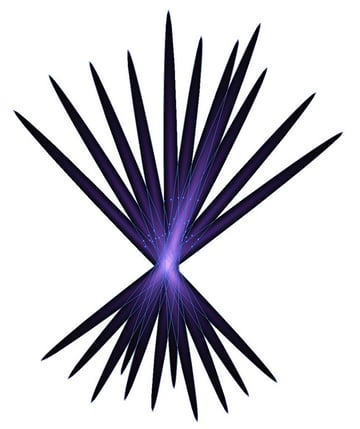
Create a sort of a star shape out of the ellipses.

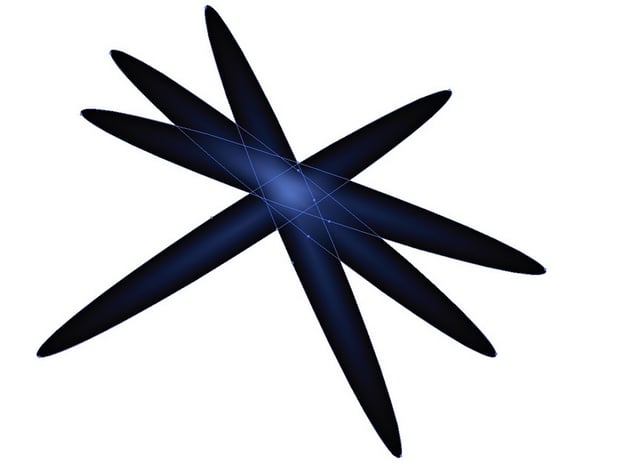

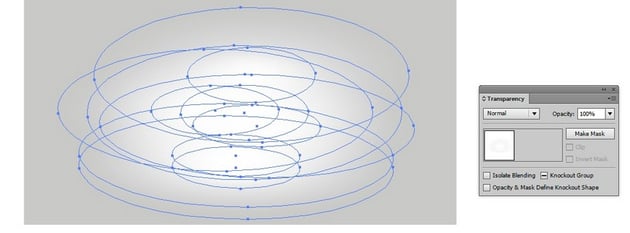
Step 3
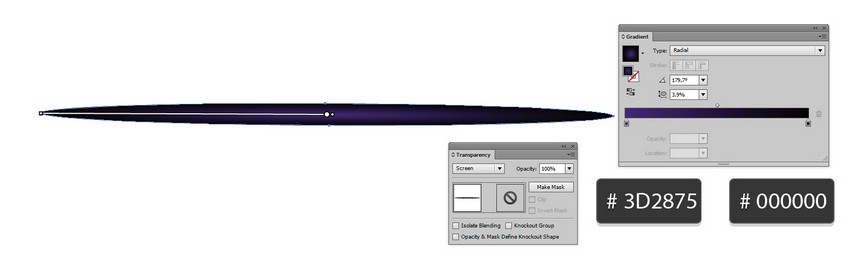
Get another, narrower ellipse with a Radial Gradient from #3D2875 to black.
Again, set the Transparency to Screen.


Step 4
Arrange these as seen below.
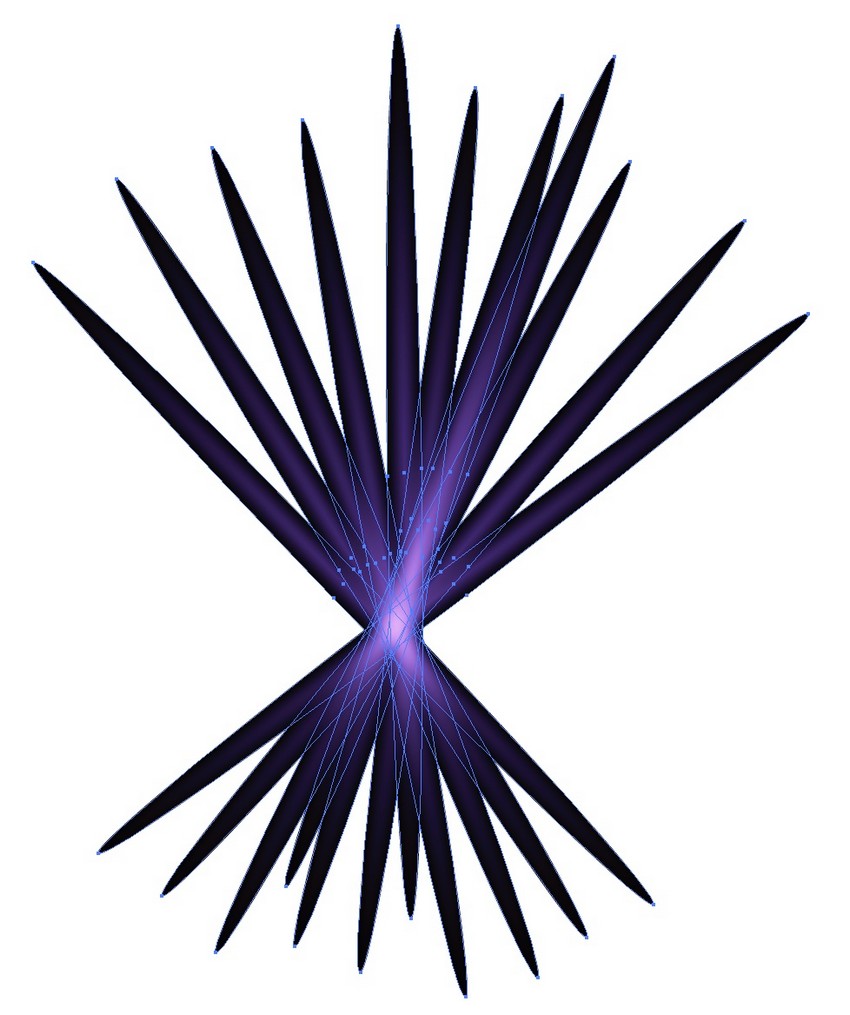
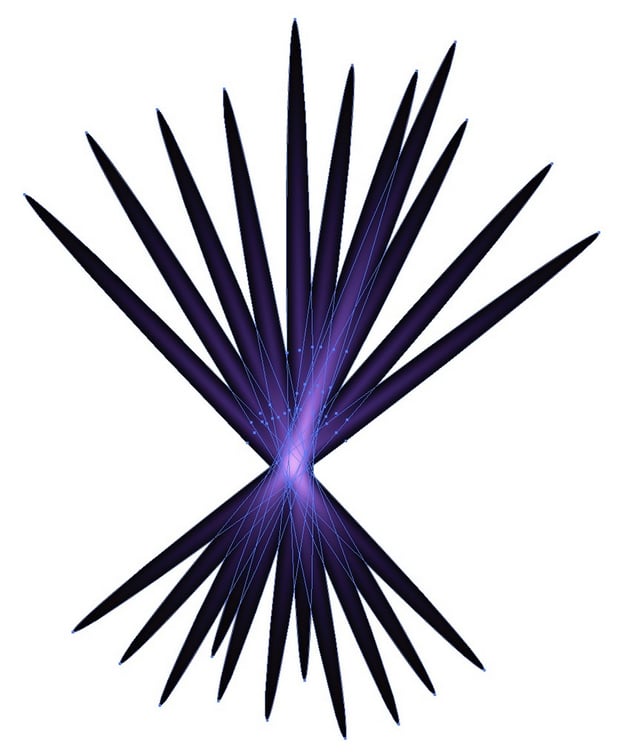
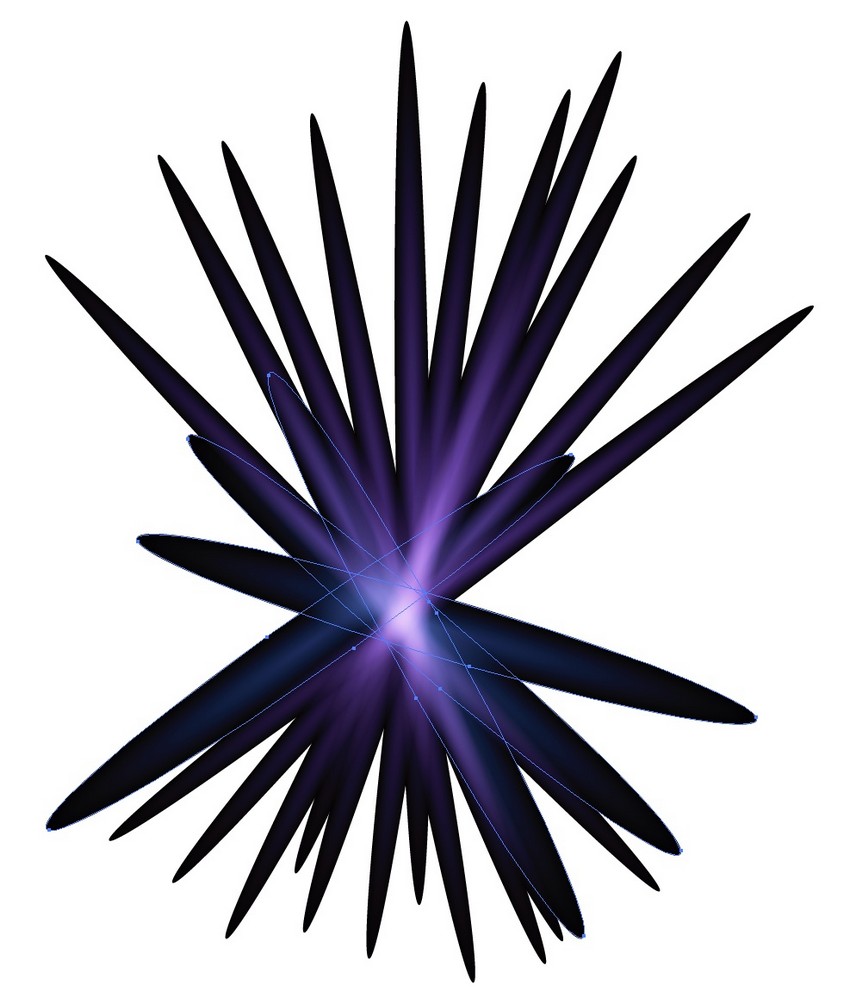
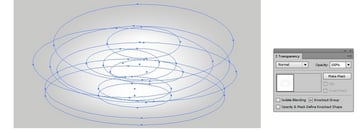
Step 5
Add the blue rays on top.


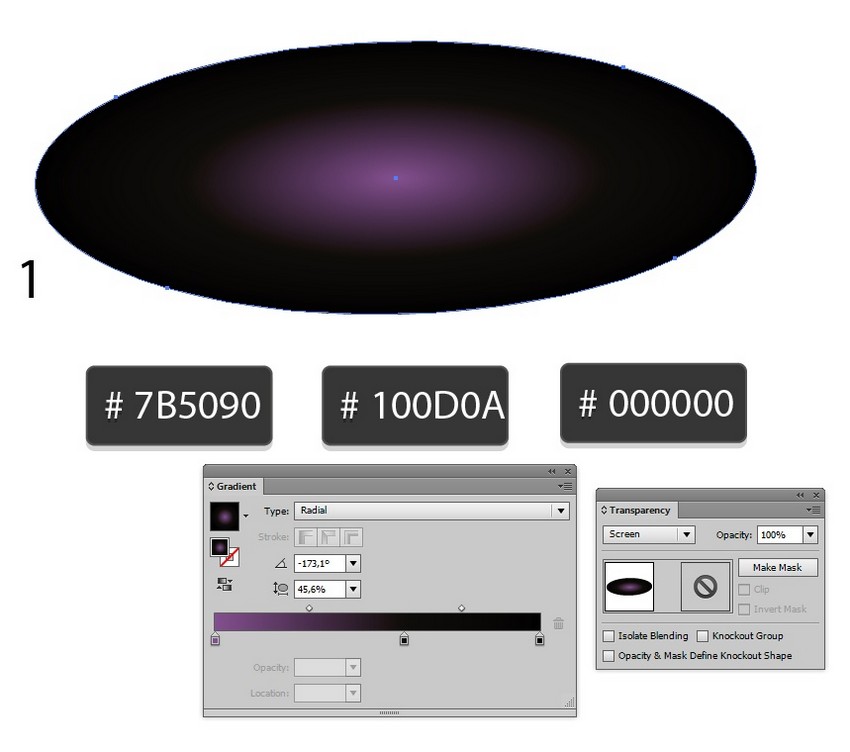
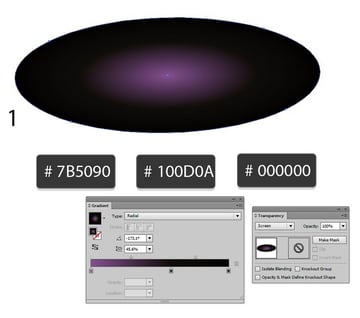
Step 6
We'll create some more colored ellipses!
- Radial Gradient:
#7B5090-#100D0A-#000000 - Transparency: Screen

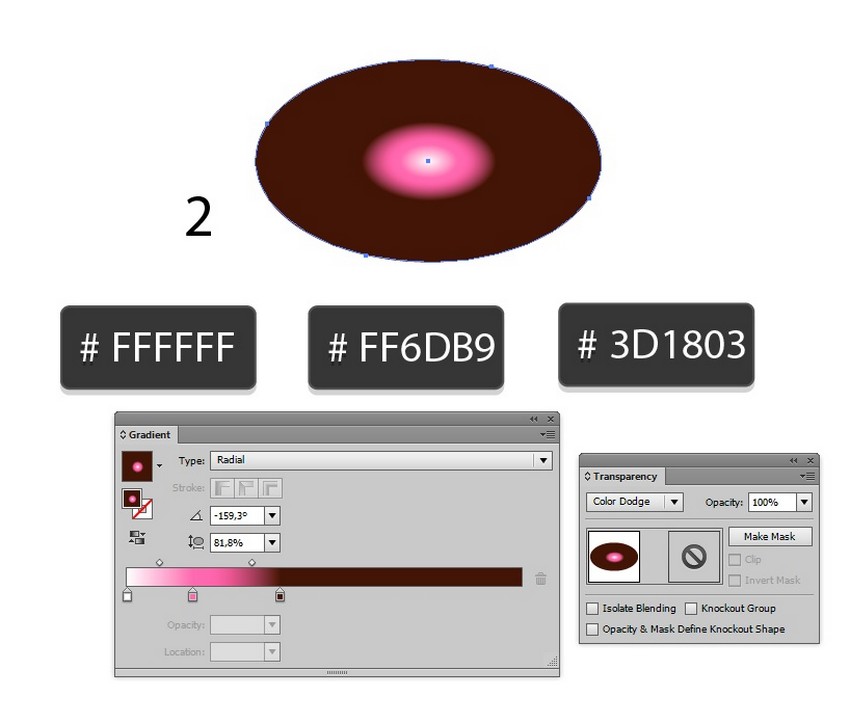
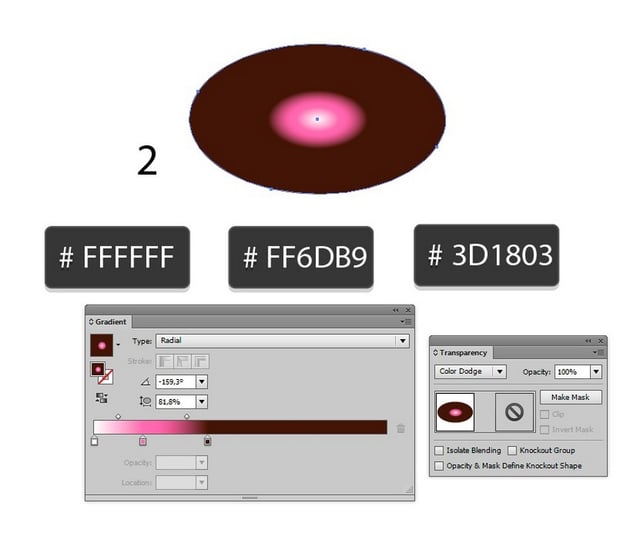
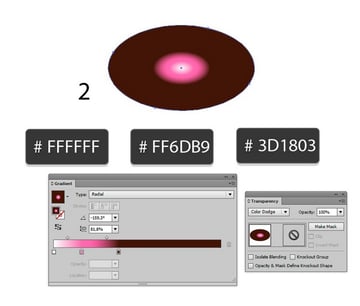
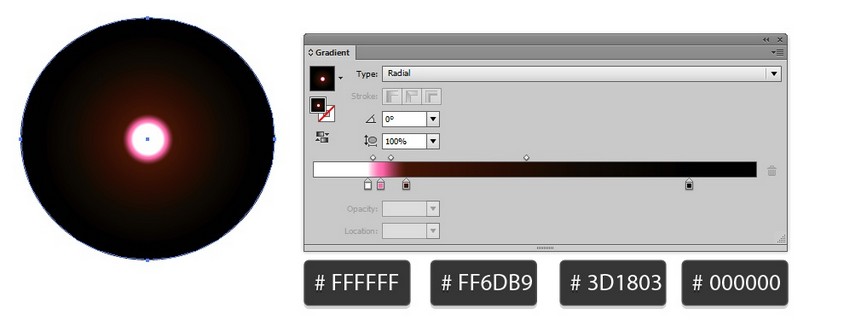
Step 7
- Radial Gradient:
#FFFFFF-#FF6DB9-#3D1803 - Transparency: Color Dodge
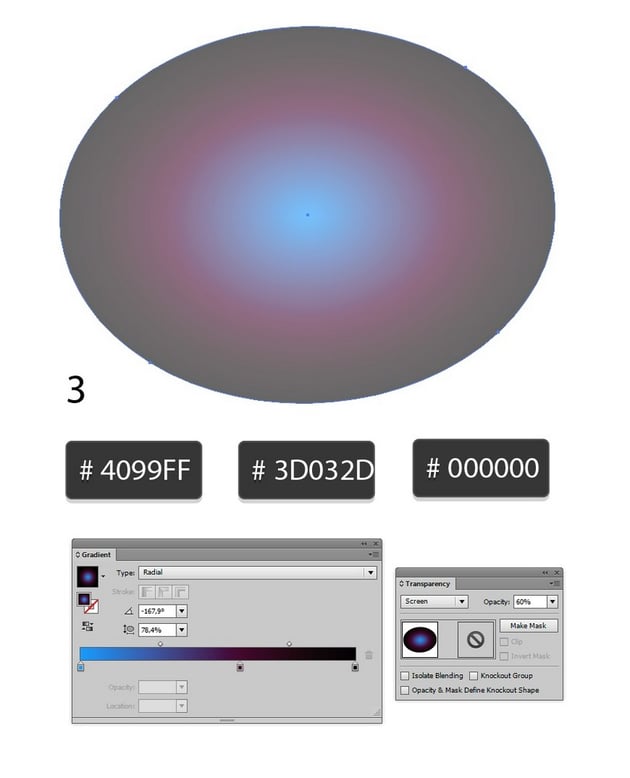
Step 8
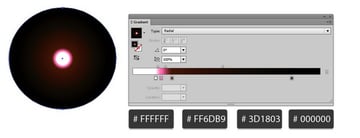
- Radial Gradient:
#4099FF-#3D032D-#000000 - Transparency: Screen, 60% Opacity


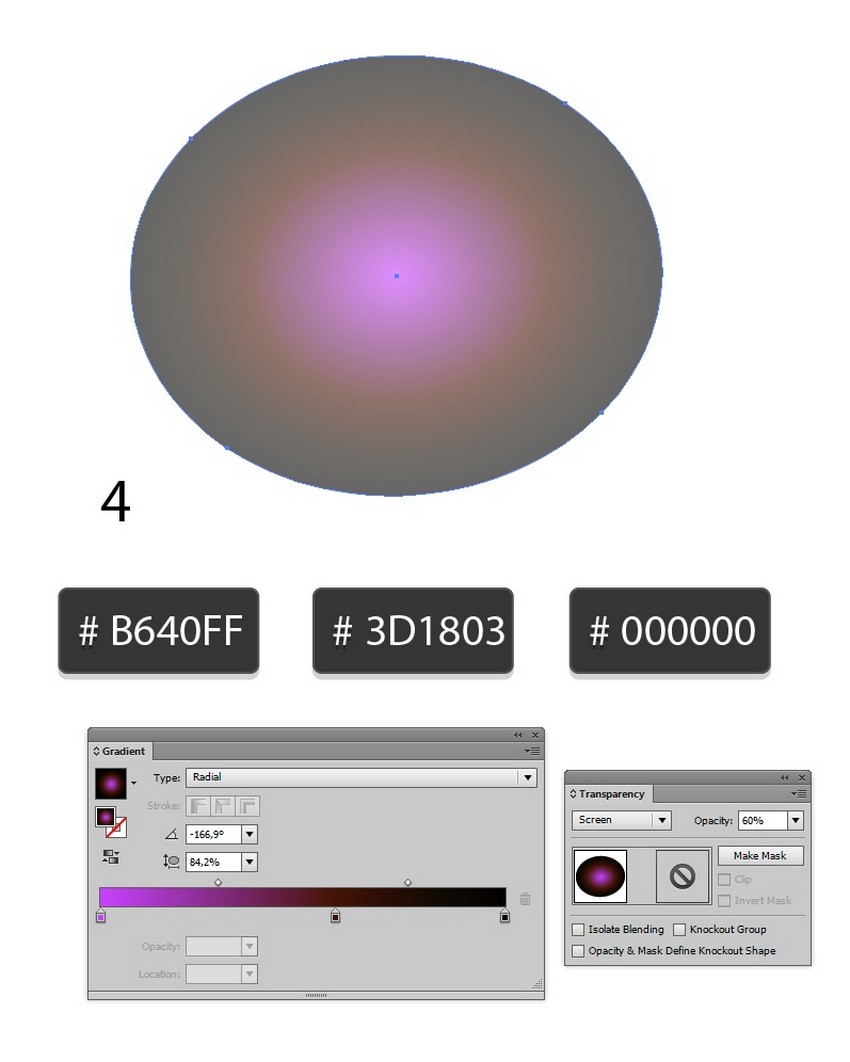
Step 9
- Radial Gradient:
#B640FF-#3D1803-#000000 - Transparency: Screen, 60% Opacity


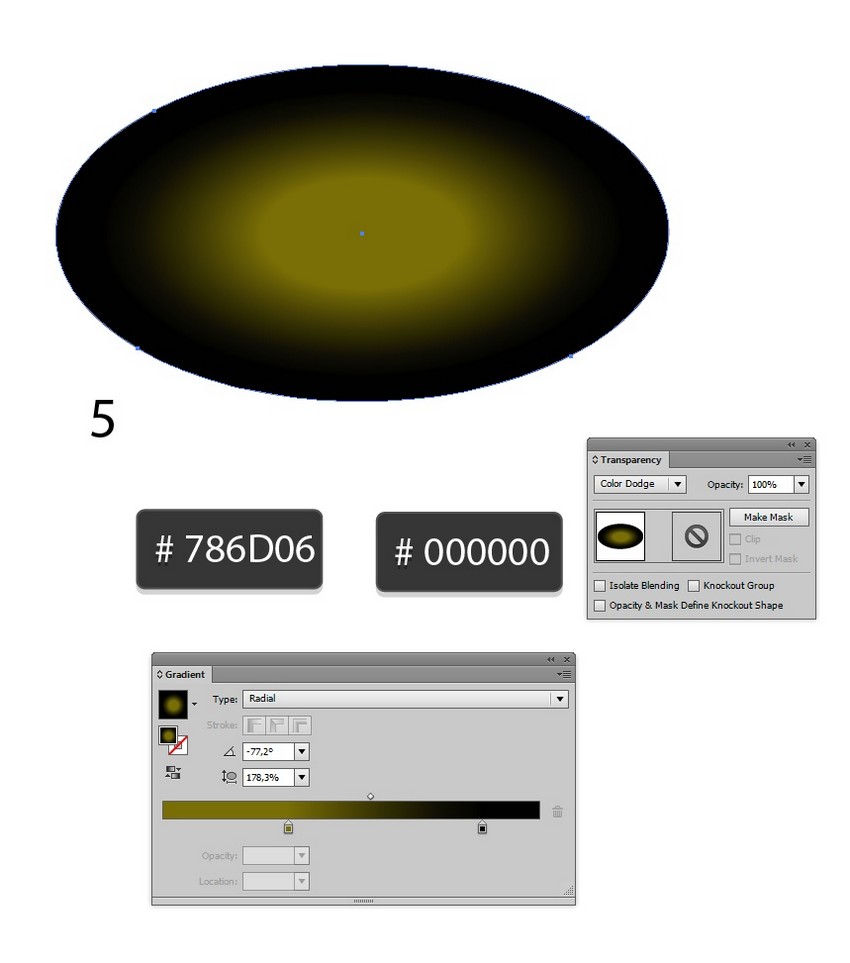
Step 10
- Radial Gradient:
#786D06-#000000 - Transparency: Color Dodge


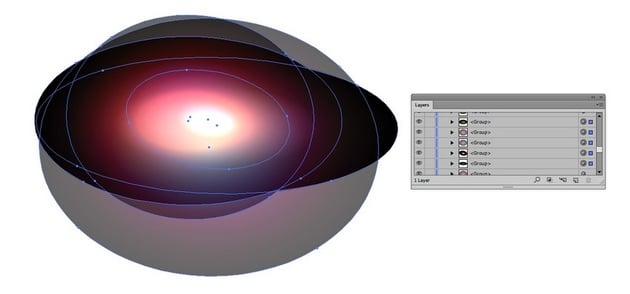
Step 11
Place the ellipses on top of each other, with the order being 5 - 4 - 3 - 2 - 1, with the 5 on the top.


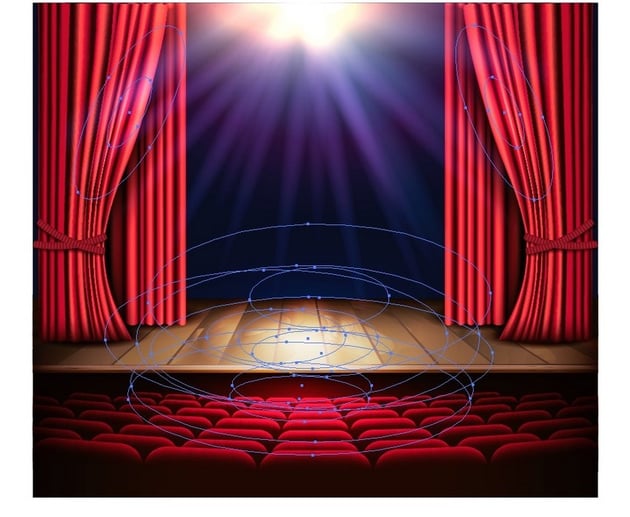
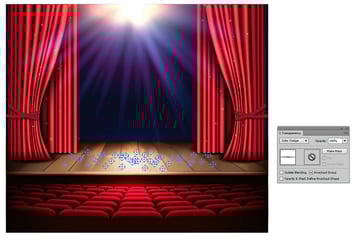
Step 12
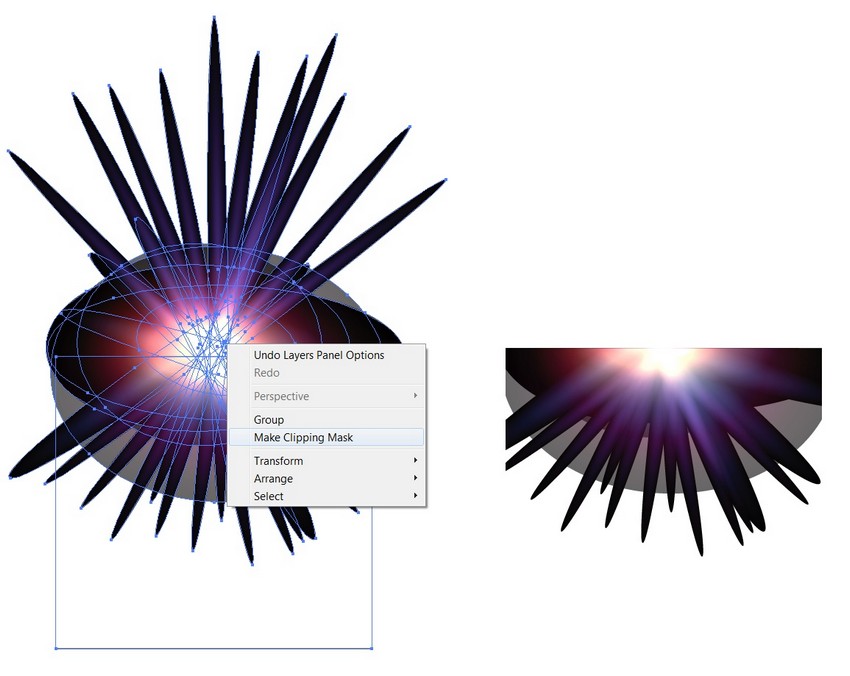
Place these lights on top of the rays, and then draw a rectangle, framing the bottom half.
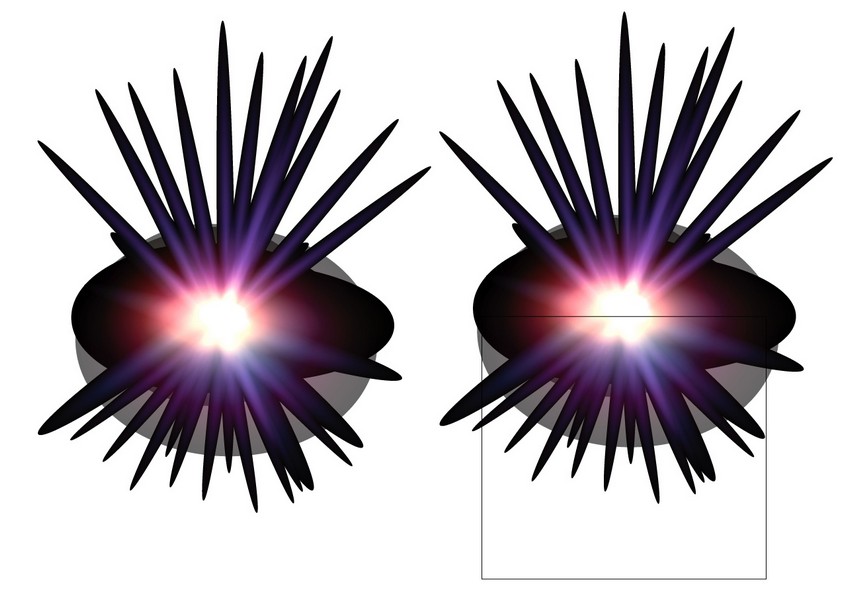

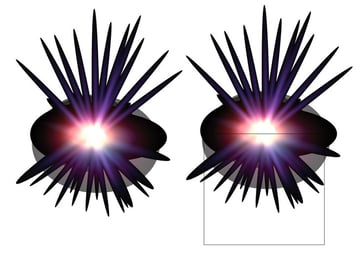
Step 13
Select all objects and Make Clipping Mask.


Step 14
Place the lights onto the background, in front of the curtains.


4. How to Add the Floor
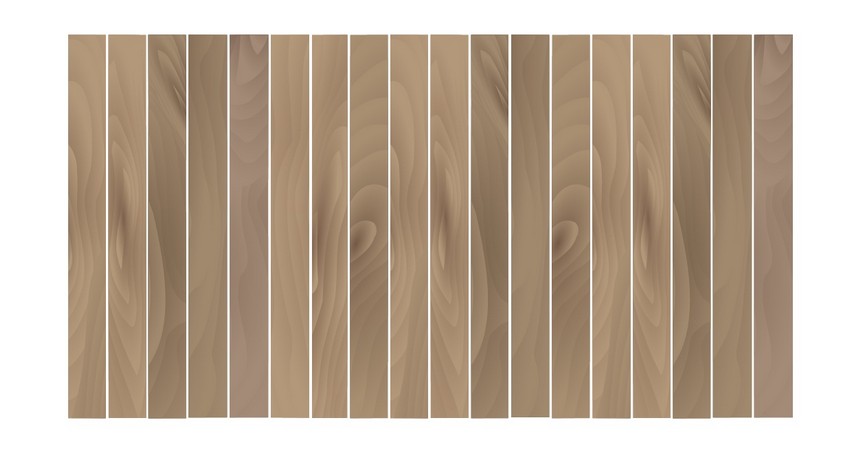
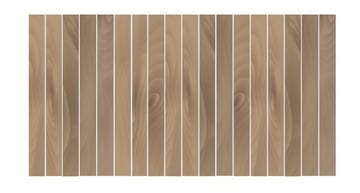
Step 1
To learn how to draw the wooden boards, please consult the last section of this tutorial of mine.
Next, use Edit > Edit Colors > Saturate with -20% Intensity to reach the desired color.


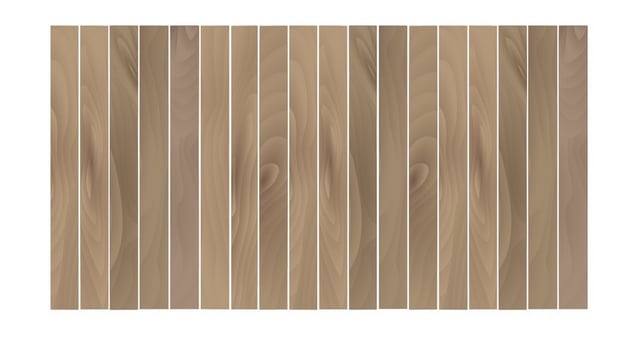
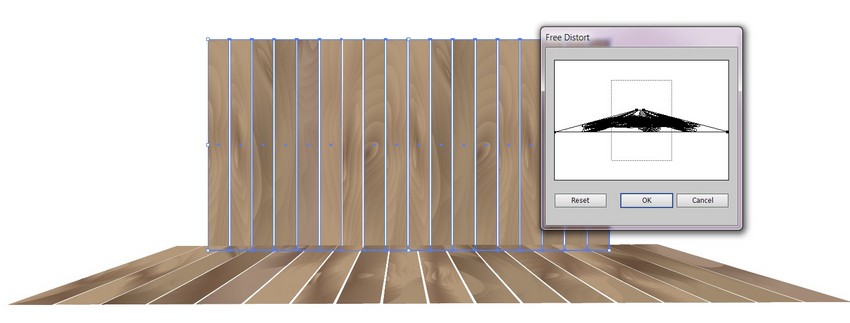
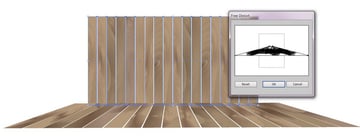
Step 2
Create some copies of the boards, increase their width, and place them further apart.
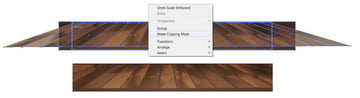
Step 3
Put these into perspective with Effect > Distort & Transform > Free Distort.
Expand Appearance of the result.

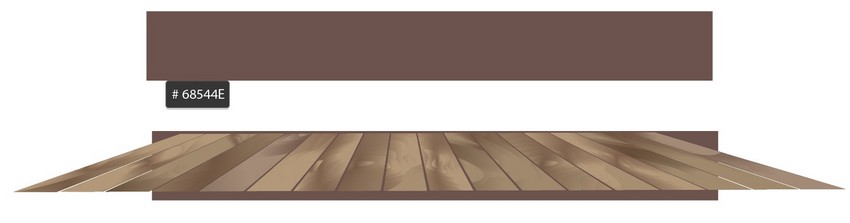
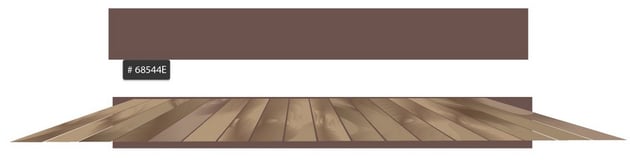
Step 4
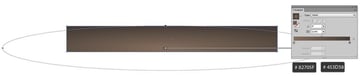
Place a #68544E rectangle behind the floorboards.
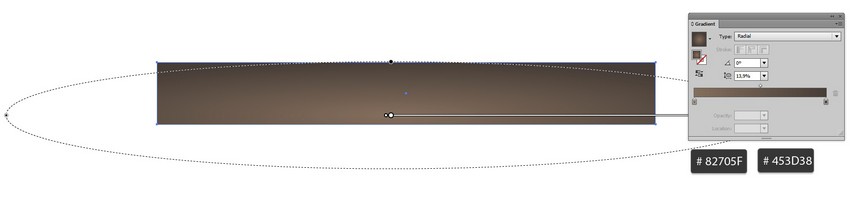
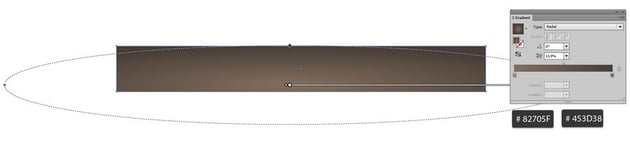
Step 5
Apply a Radial Gradient from #82705F to #453D38 to the rectangle.
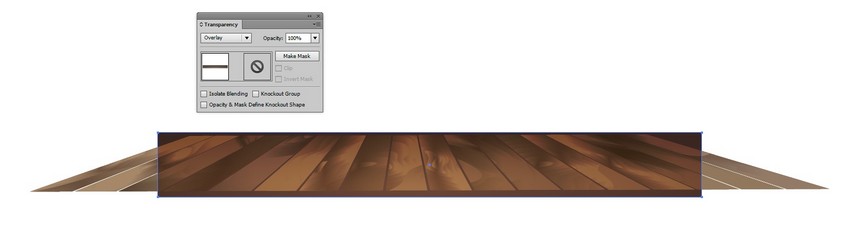
Step 6
Place this rectangle with Overlay on top of the floor.
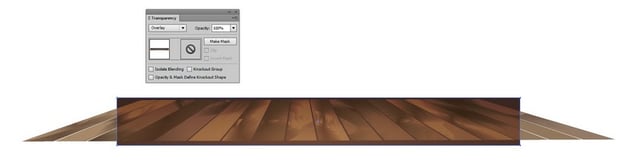
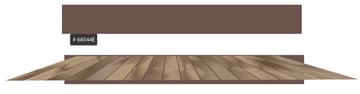
Step 7
Add another, framing rectangle and Make a Clipping Mask.


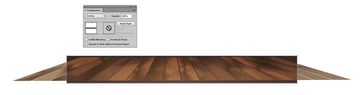
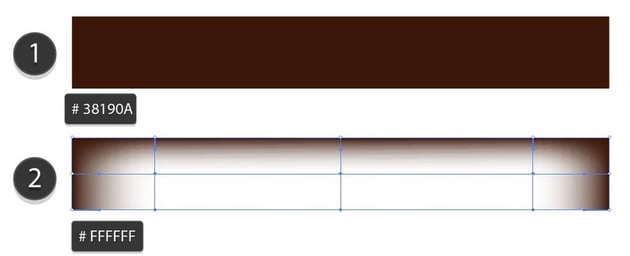
Step 8
Create a Mesh rectangle with #38190A and #FFFFFF middle.


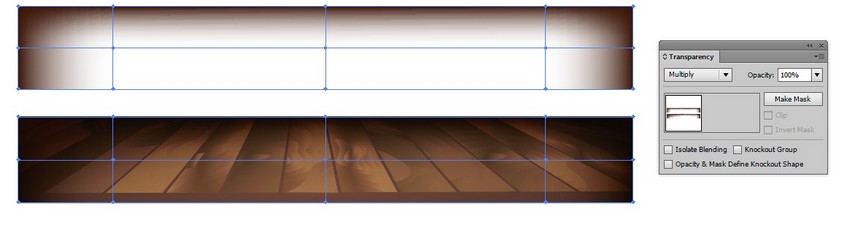
Step 9
Change the rectangle's Transparency to Multiply and put it on top of the floor.


Step 10
Put all the elements together.


5. How to Add Highlights
Step 1
You can learn how to create this sort of highlight in Step 6 of the last section of my autumn leaves tutorial.
Position them as shown below and change the two top ones to Overlay.
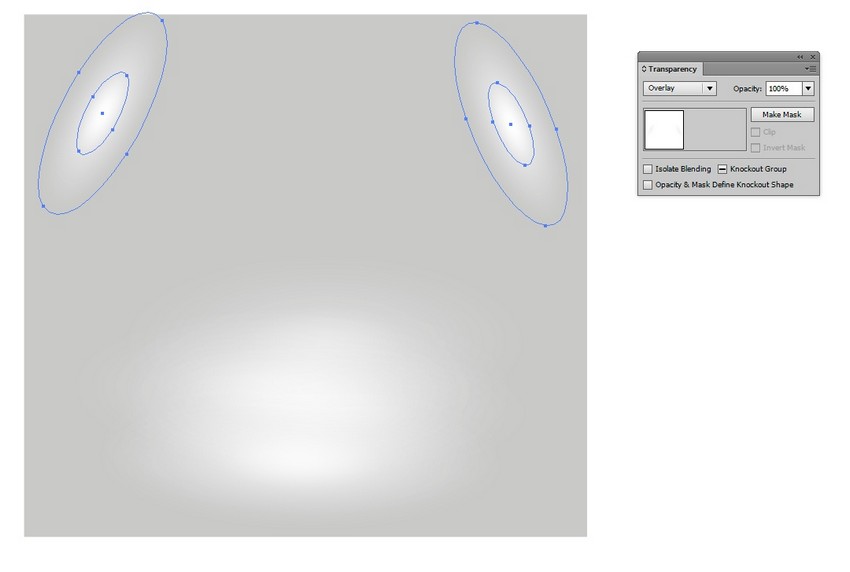


Step 2
Leave the bottom cluster's Transparency at Normal.
Step 3
Place these onto the stage.

Step 4
Draw another highlight with a Radial Gradient (#FFFFFF - #FF6DB9 - #3D1803 - #000000).

Step 5
Place some of these sparkles into the curtains.


Step 6
Place another batch on the floor and change them to Color Dodge.


Step 7
Draw another highlight with a Radial Gradient from #40A9FF to #3D0332 to black with Screen Transparency.


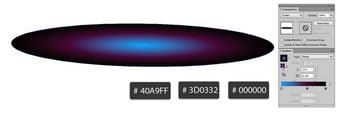
Step 8
Place this highlight on the floor.


Step 9
You're done!


Congratulations, You're Now Done!
Thank you for following along, and please
feel welcome to post your result in the comments. I'll be looking
forward to seeing it!
In this tutorial, you learned how to
create a festive stage using the Mesh Tool.
I
hope you've enjoyed it and learned how to use Gradient Mesh
for the future! Check out some of my other vector tutorials on my instructor profile.
You can purchase the Festival Night Show Poster as well as other similar designs in my portfolio on GraphicRiver.
 By
By


