How to Create a GTA Text Effect Action in Adobe Photoshop
In this tutorial, you'll learn how to create an amazing Grand Theft Auto text effect. I'll explain everything in so much detail that everyone can create it, even those who have just opened Photoshop for the first time.
By the way, the Grand Theft Auto 6 trailer is out now! Take a look for more inspiration before you start designing your own GTA text.
What You'll Need
To recreate this GTA font design, you'll need to download the following asset:
If you're not convinced by this Grand Theft Auto typeface or have any trouble getting it, you can also check out the Envato Elements fonts library for more GTA font download options.
1. How to Get Started
First, go to File > New to create a new file to work with, name it GTA Text Effect, and use the settings below:

2. How to Create the Text
Step 1
In this section, we are going to create some text. It's better if you use popular GTA fonts (or a similar choice). Choose the Horizontal Type Tool (T), and set the Font to Pricedown, Font Size to 550 px, and Text Color to #000000.
Then, click anywhere inside the canvas to create a new text layer and type grand.

Step 2
Now, with the same settings for the Horizontal Type Tool (T), click anywhere inside the canvas again to create another text layer and type theft.

Step 3
We need to create one more text layer for your GTA text. With the same settings for the Horizontal Type Tool (T), click anywhere inside the canvas and type action.

Step 4
Now, using the Move Tool (V), move the text layers vertically and horizontally to position them as shown below:

Step 5
While the action layer is selected, Shift-click on the grand layer to select all layers at the same time. Then, press Control-E on your keyboard to merge them into one layer. Name this layer Text.

3. How to Create a GTA Text Style
Step 1
Right-click on the Text layer and choose Blending Options. Then, check the Color Overlay style, and set the Blend Mode to Normal, Colour to #ffffff, and Opacity to 100% as shown below:

Step 2
Right-click on this layer and choose Rasterize layer. Then Right-click on this layer again and choose Blending Options. Check the Stroke style and use the settings below:

Step 3
Now go to Layer > Layer Style > Create Layer to create a new layer using a layer style.

Step 4
Control-click on the thumbnail of the Text layer to make a selection of this layer. Then, select the Text's Outer Stroke layer and go to Layer > Layer Mask > Hide Selection to create a layer mask that hides the selected area of the layer.

Step 5
Now Right-click on the layer mask and choose Apply Layer Mask. Then, Right-click on the Text layer and choose Blending Options. Next, check the Inner Shadow style and use the settings below:

Step 6
Right-click on the Text's Outer Stroke layer and choose Blending Options. Check the Stroke style and use the settings below:

Step 7
Control-click on the Text layer to select both layers at the same time. Then, go to Layer > New > Group from Layers to create a new group from the selected layers and name it GTA Text.

Step 8
Press Control-A on your keyboard to make a selection of the canvas. Choose the Move Tool (V), and click on Align Vertical Center and then on Align Horizontal Center to align the text both vertically and horizontally.

You Made It!
Congratulations, you have succeeded! You've created your own Grand Theft Auto typeface design. This is the perfect skill to learn as we wait for the launch of the Grand Theft Auto VI video game.
The final GTA text design should look like the image below. It truly looks like a font from the GTA universe.

5 Amazing Grand Theft Auto Photoshop Actions From Envato Elements
You still have plenty of time to get your designs done before the launch of the Grand Theft Auto VI game. But if you'd rather save time when it comes to GTA fonts and picture effects, we've got you!
With the following actions from Envato Elements, you can do it all with just a few clicks:
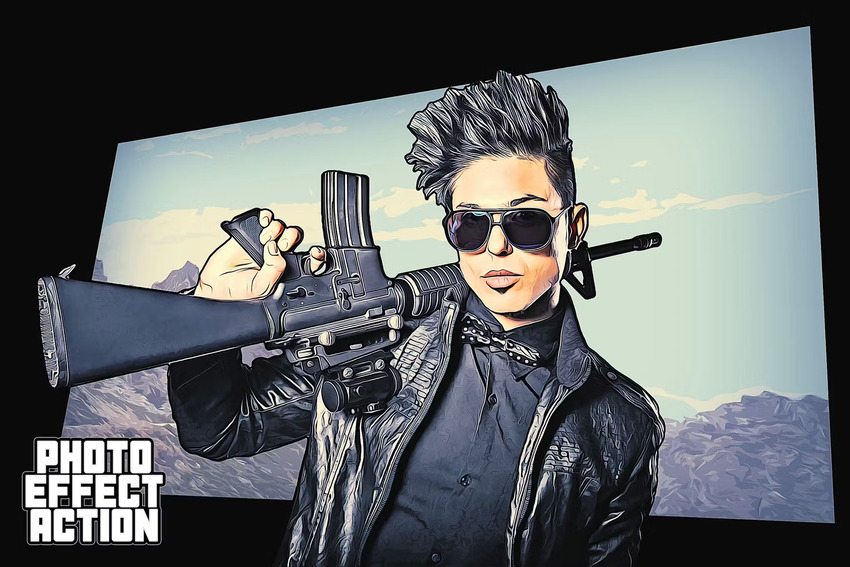
1. Grandiose 3 Animated Photoshop Action (ATN)

If you'd like to create both a GTA photo effect and a GTA text effect, then check out this action. Make yourself a character of the Grand Theft Auto saga and add a title with a font in the GTA style. You get a fantastic filter for your images and a GTA font download—all in one place!
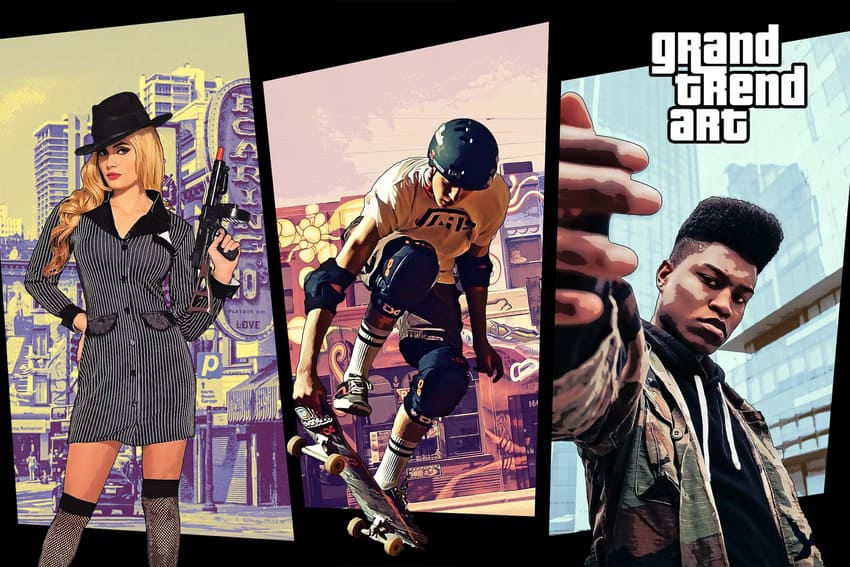
2. GTA Photoshop Action (ATN, PSD)

You have to pair your dreamy Grand Theft Auto text with a fun, matching image. This action will help you out. It offers 5 frame templates, 5 collage templates, and 15 overall color presets.
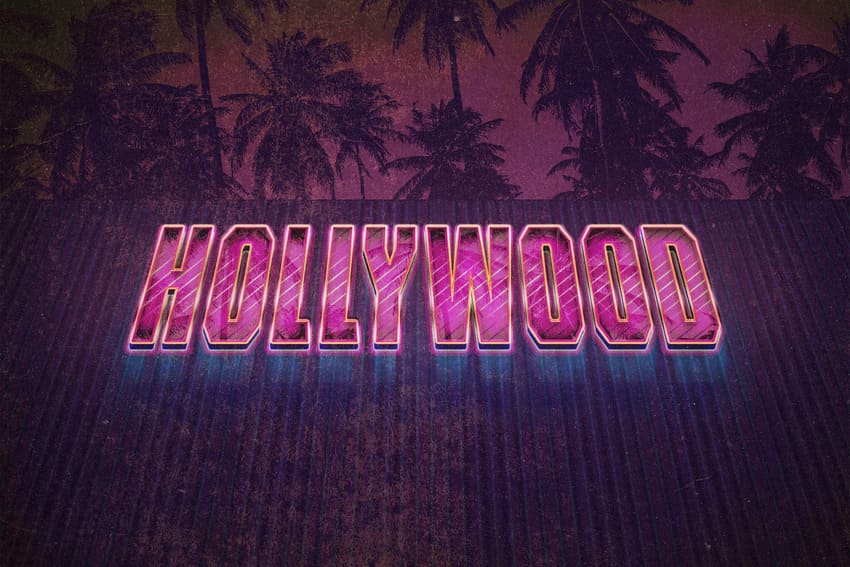
3. The 80s Retro Text Effect (PSD)

Do you want to save time and just get a GTA font download? Try this one out. It's a quick and easy way to make a font with a GTA vibe in Photoshop.
Once you create the GTA text effect, relax and watch the Grand Theft Auto 6 trailer to get inspired for the rest of your design.
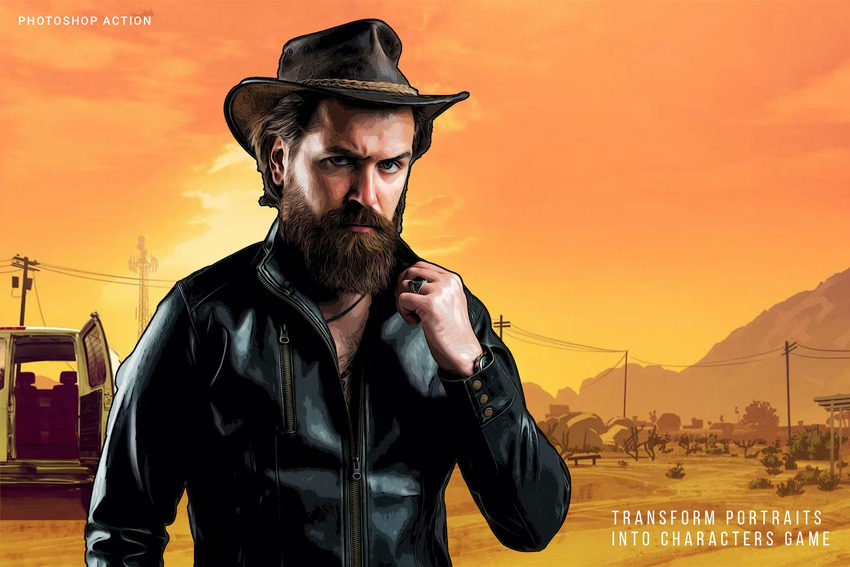
4. Transform Portraits Into Characters Game (ATN, PAT)

Turn all your friends into GTA characters with this fun Photoshop action. It's easy to use and even includes instructions to help you out with the installation process. Feel free to add everyone's aliases with your newly created Grand Theft Auto typeface effect.
Conclusion
Now you know how to design GTA fonts! And there are so many creative skills that you can learn as you get ready to play the Grand Theft Auto 6 video game.
Check out these other tutorials from Envato Tuts+ to help you create more outstanding Grand Theft Auto VI designs.
 How to Make Grand Theft Auto Cover Art
 Marko Kožokar19 Dec 2023
 How to Create an Illustration Photoshop Action (From Photo to Illustration)
 Marko Kožokar12 Jun 2023
 How to Create a GTA Photo Effect Action in Adobe Photoshop
 Marko Kožokar22 Dec 2023
 How to Create a Graffiti Effect in Adobe Photoshop
 John Negoita20 Feb 2023


