
Preview
1. Basic Shatter
Step 1
Open Maya.


Step 2
Go to Create >
Polygon Primitives > Sphere and create a sphere in the perspective
viewport.


Step 3
Go to Create >
Polygon Primitives > Plane and create a ground plane in the perspective
viewport.


Step 4
With the sphere
selected, press F9 key to jump in the vertex selection mode. With all
vertices of the sphere selected, go to Edit Mesh > Detach Component.


Step 5
Press F11 key to
jump in the face selection mode. To check whether the faces of the sphere have
been detached or not, select any of the faces of the sphere and drag it out.
You will see the face has been detached.


Step 6
Jump in the nDynamics
mode. With the sphere selected, go to nMesh > Create nCloth.


Step 7
With the plane selected,
go to nMesh > Create Passive Collider.


Step 8
Press the Play button to
check the simulation. You'll notice that the sphere gets shattered quite
before getting hit with the ground plane.


Step 9
With the sphere
selected, go to nucleus1 tab in the Attribute Editor. Set the
value of Air Density to 0.


Step 10
Now hit the play button.
You will see the sphere gets shattered after getting hit with the ground plane.


2. Volumetric Shatter
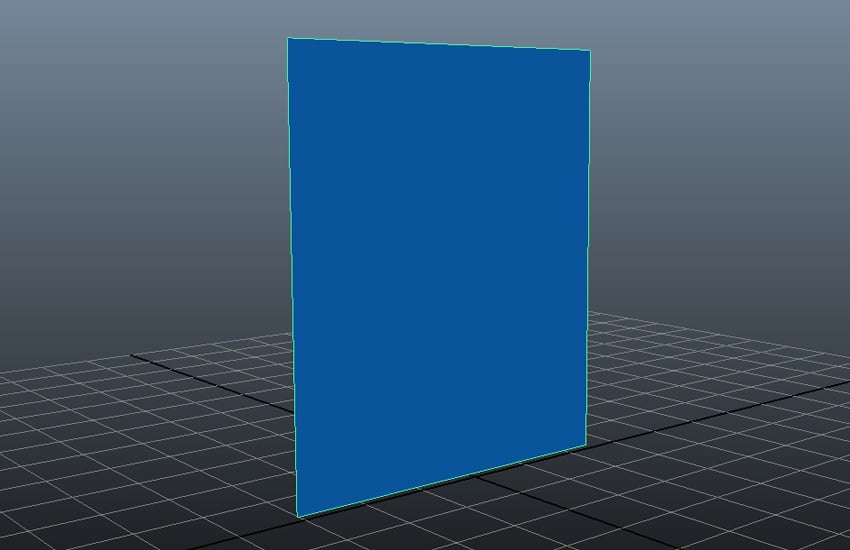
Step 1
Create a plane in the
vertical position in the perspective viewport.


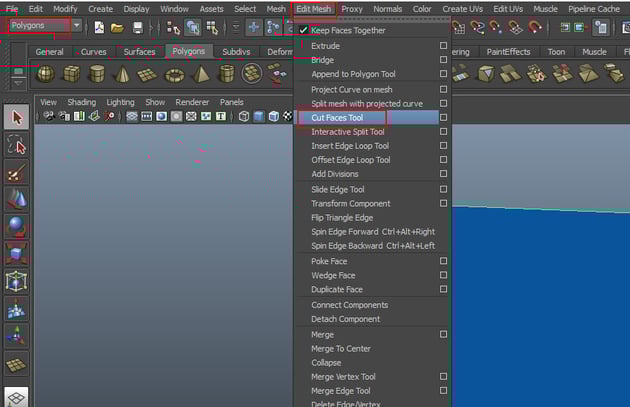
Step 2
Jump in the Polygons
mode. With the plane selected, go to Edit Mesh > Cut Faces Tool.


Step 3
With the help of Cut
Faces Tool, apply several random cuts to the plane as shown in the
following image.


Step 4
With the plane selected,
press F9 key to jump in the vertex selection mode and select all
vertices of the plane.


Step 5
With all vertices of the
plane selected, go to Edit Mesh > Detach Component.


Step 6
Press F11 key to
jump in the face selection mode. To check whether the faces of the plane have
been detached or not, select any of the faces of the plane and drag it out. You
will see the face has been detached sucessfully.


Step 7
Jump in the nDynamics
mode. With the plane selected, go to nMesh > Create nCloth.


Step 8
Go to Create >
Polygon Primitives > Plane and create a ground plane in the perspective
viewport.


Step 9
With the plane selected,
go to nMesh > Create Passive Collider.


Step 10
Create a sphere and put
it behind the vertical plane.


Step 11
With the sphere
selected, go to nMesh > Create Passive Collider.


Step 12
Animate the Transform Z value of the sphere so that it could pass through the vertical plane.


Step 13
With the vertical plane
selected, go to nucleus1 tab in the Attribute Editor. Set the
value of Gravity to 0.


Step 14
With the vertical plane
selected, go to Edit Mesh > Extrude to extrude the faces of the plane
a little bit. This gives a bit depth to the faces of the plane.


Step 15
Hit the play button. You
will see the plane gets shattered after getting hit with the ball.


Step 16
The only drawback is there that the chunks are not falling down on the ground plane because there is no gravity in the scene. You need to apply the gravity field in the scene.


3. Applying Gravity
Step 1
With the vertical plane
selected, go to Fields > Gravity.


Step 2
Go to gravityField1
in Attribute Editor and select Cube as the Volume Shape
under Volume Control Attributes tab.


Step 3
Scale up the gravity
cube shape and start it at the starting edge of the vertical plane so that only
broken chunks get affected by the gravity.


Step 4
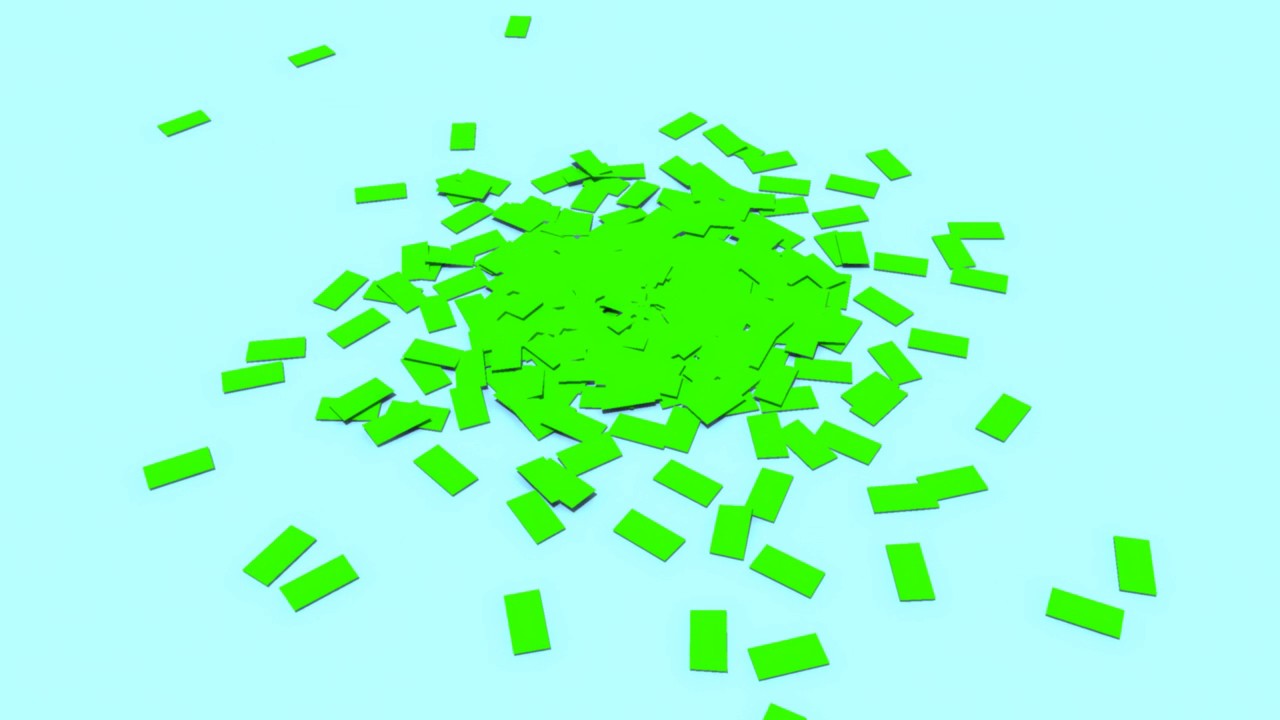
Hit the play button. You
will see the broken chunks of the plane are now falling down on the ground
plane due to applied gravity.


Conclusion
With this method, you can only break the shapes made by plane. To shatter different random shapes, you need to use another method which I will show in the next part of the tutorial.
 By
By


