
Preview

1. Project Setting
Step 1
Open After Effects.

Step 2
Go to Composition > New Composition to make a new composition. Set the Width and Height values to 1280 and 720 respectively. Set the Frame Rate to 25 and Duration to 12 seconds. Click on OK.


Step 3
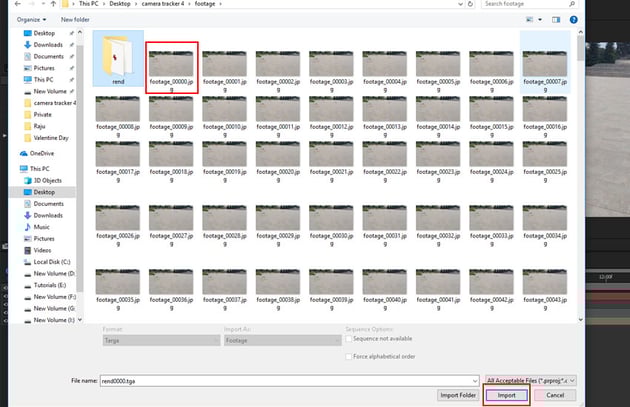
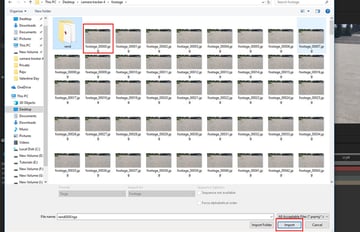
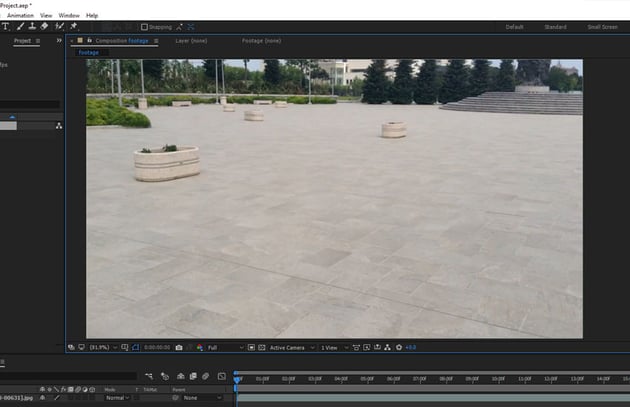
I've provided the live action footage, which can be found in the attachment of the tutorial.
Go to File > Import > File to import
the image sequence. Alternatively, press the Ctrl-I keys. With the
first image of the image sequence selected, turn on JPEG Sequence
option. Click on Open.

Step 4
With the image sequence selected, drag and drop it inside the composition.
You'll see the footage in the comp view.


2. Camera Tracking in After Effects
Step 1
With the image sequence layer selected, go to Animation > Track
Camera.


Step 2
The 3D camera tracker system starts analysing the footage. It analyses the
footage in two steps, hence it might take some time to complete.


Step 3
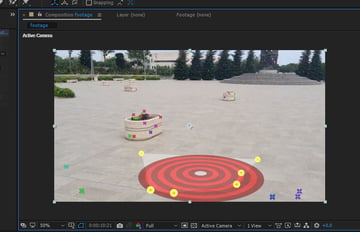
After a couple of seconds, the analyse process ends. Now you can see several
track points in the scene.


Step 4
These track points would help to generate the dummy 3D plane/null and the camera. You need to select several points as shown in the following image.


Step 5
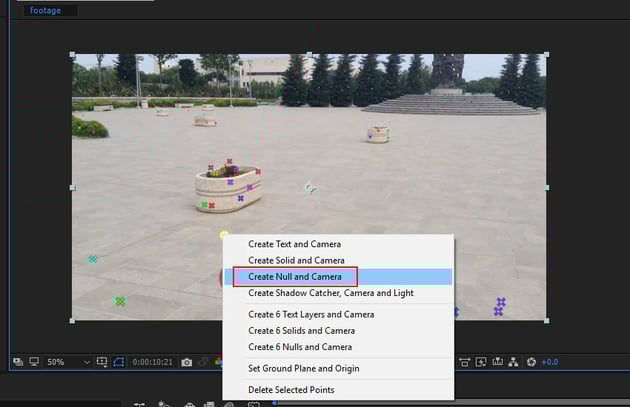
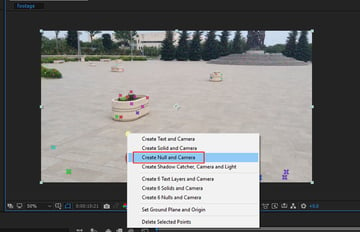
With the indicated points selected, secondary-click the mouse and
select Create Null and Camera.

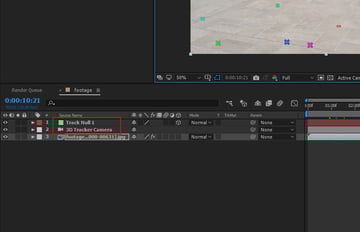
Step 6
You'll get a Null layer and 3D camera in the timeline. This Null layer is the
placeholder and sticks with the footage and follows the camera.


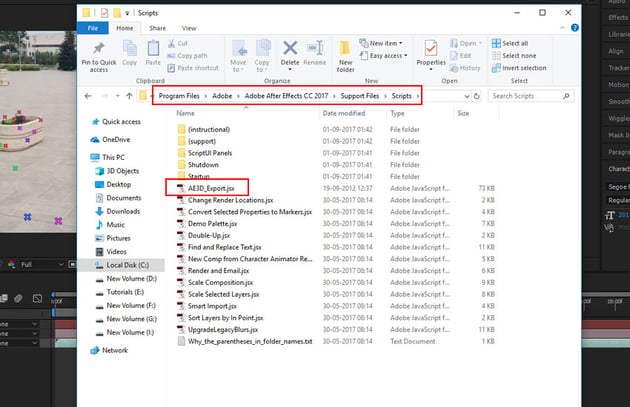
3. Exporting Camera Data to 3ds Max
Step 1
AE3D is a great script to export the camera data from After Effects to 3ds Max. The script has been supplied with the tutorial. Copy the script and paste it in the Script folder of After Effects.


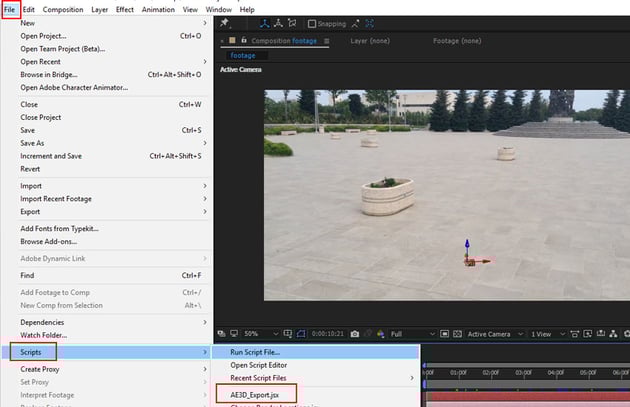
Step 2
Restart After Effects. Open the same composition again. With
the null object and 3d camera layers selected, go to File > Script >
AE3D_Export.jsx.


Step 3
In the AE3D window, select the 3ds Max
option, set the file name to camera tracker.ms and then click on Export.
It saves the 3ds Max script file on the desktop.


4. Creating Scene in 3ds Max
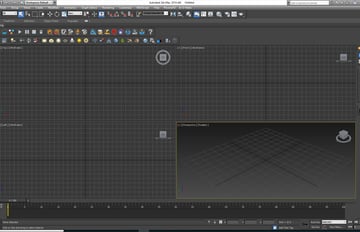
Step 1
Open 3ds Max.


Step 2
Go to MAXScript > Run Script.

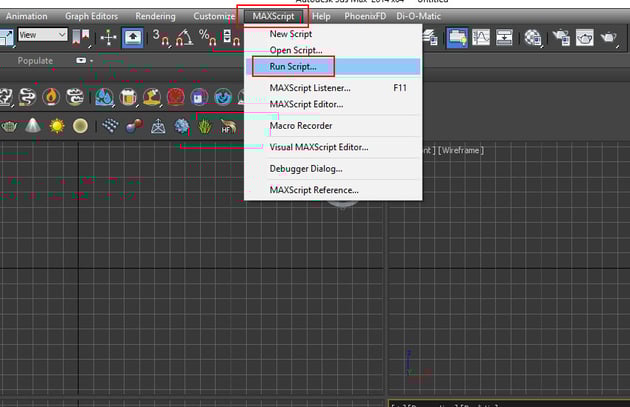

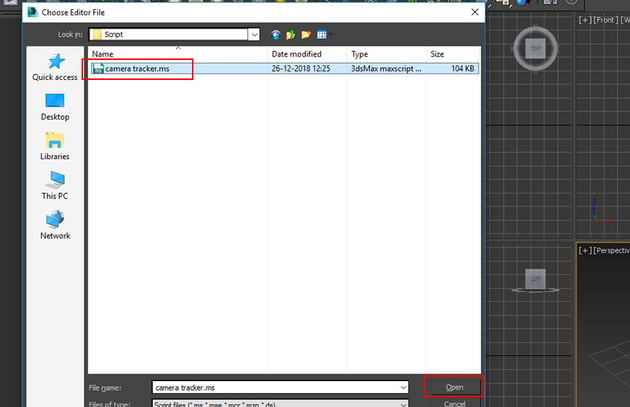
Step 3
Select the camera track.ms script which was exported from After Effects. Click on Open.


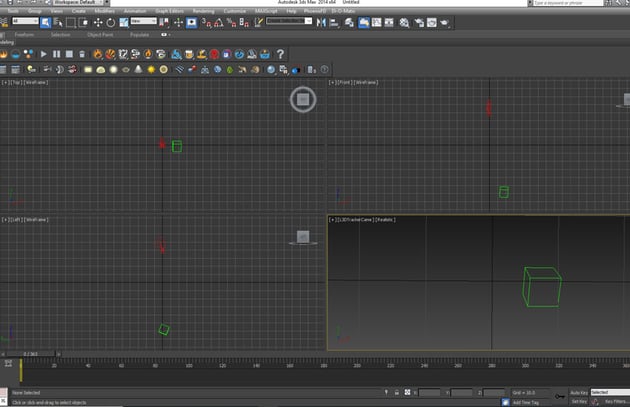
Step 4
You get a 3d camera and one dummy in the scene. In the perspective view,
press C key for the camera view.

Step 5
Right now the camera is upside down. You need to correct the coordinate of camera. With the camera and dummy selected, group them together.


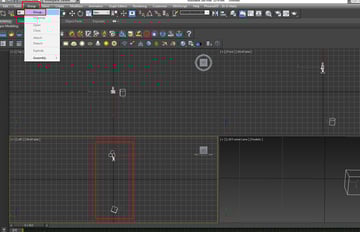
Step 6
After grouping, jump in the left viewport. Select the Rotate tool
and rotate it to the right side. Your goal should be to put the dummy on the
grid line.

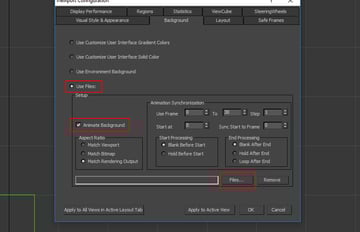
Step 7
Jump in the camera view. Press Alt-B keys to open the Viewport
Configuration window. Turn on Use Files and Animate Background
options. Click on Files.


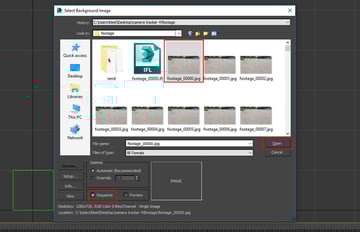
Step 8
Select the image, turn on Sequence option and click on Open.


Step 9
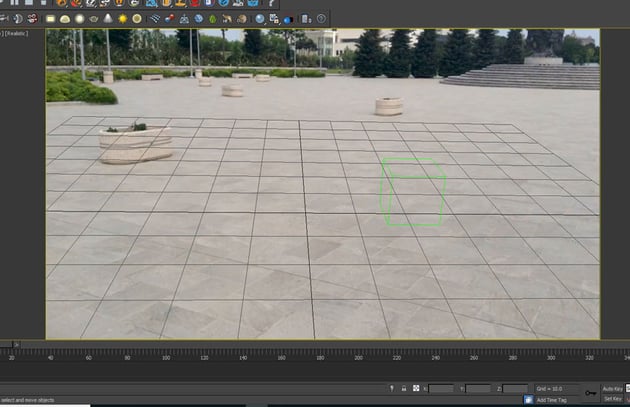
Turn on the Show Safe Frame option in the camera view. Alternatively, press the Shift-F keys.

Step 10
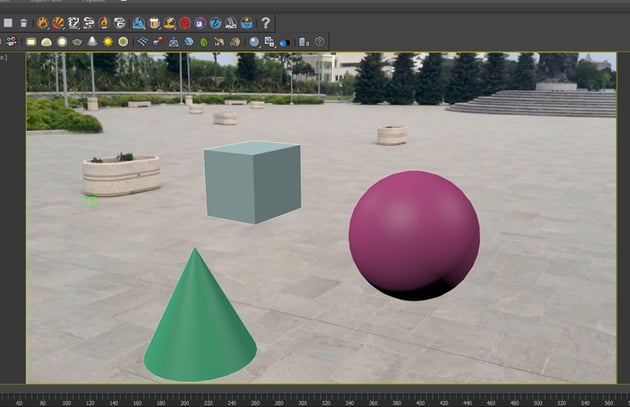
You can create several dummy objects in the scene to check the camera match
with the live footage.


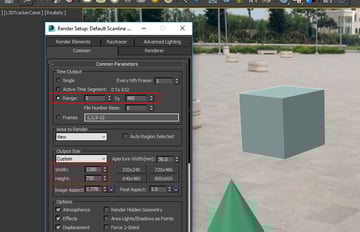
Step 11
Press F10 to open Render Setup window. You can perform
test render of the desired range. Once you are satisfied with the camera match
and tracking, you can move ahead with the main 3D object.


Conclusion
In the next part of the tutorial, I’ll show you how to create a crater in 3ds Max using both procedural and non-procedural method and then composite the rendered footage in After Effects to get the final result.
 By
By


