


This tutorial will show you how to use Photoshop's layer styles and filters to create an easy holographic text effect. Let's get started!
Before we begin, you might want to grab some graphic items to follow along with this tutorial. You can discover thousands of creative assets on Envato Elements, including fonts, backgrounds, graphics, and more. For a low monthly subscription, enjoy unlimited downloads of any creative item.
What You'll Learn in this Photoshop Text Effect Tutorial
- How to create a holographic background texture in Photoshop
- How to create a vignette background
- How to create a glass text effect in Photoshop
- How to apply a texture to text in Photoshop
- How to create a holographic text effect in Photoshop
Jump to content in these sections:
- How to Create a Texture Background Base
- How to Create a Holographic Texture
- How to Create a Subtle Vignette Background
- How to Create Text and Use Glyphs
- How to Style a Glass Stroke
- How to Style a Glossy Text
- How to Apply a Texture to a Text
- How to Enhance a Texture Using Adjustment Layers
- Awesome Work, You're Now Done!
- 5 Cool Holographic Fonts & Graphics (From Envato Elements)
- Discover More Tutorials & Articles
Tutorial Assets
The following assets were used during the production of this tutorial:
- Premier Script font
1. How to Create a Texture Background Base
Step 1
Create a new 900 x 600 px document with a White Background, right-click the Background layer, choose Convert to a Smart Object, and rename the layer to Texture.

Step 2
Set the Foreground and Background Colors to Black and White, and go to Filter > Render > Clouds.

2. How to Create a Holographic Texture
Step 1
Go to Filter > Filter Gallery > Texture > Grain, and use these settings:
- Intensity: 100
- Contrast: 0
- Grain Type: Clumped

To add each of the new filters below, click the New effect layer icon in the bottom right corner of the Filter Gallery window, and then choose the filter.
Step 2
Go to Stylize > Glowing Edges, and use these settings:
- Edge Width: 2
- Edge Brightness: 6
- Smoothness: 7

Step 3
Go to Artistic > Watercolor, and use these settings:
- Brush Detail: 3
- Shadow Intensity: 0
- Texture: 1

Step 4
Go to Artistic > Film Grain, and use these settings:
- Grain: 3
- Highlight Area: 0
- Intensity: 10

Step 5
Go to Brush Strokes > Dark Strokes, and use these settings:
- Balance: 0
- Black Intensity: 0
- White Intensity: 2
Click OK to get out of the Filter Gallery window.

Step 6
Go to Filter > Distort > Wave, and use the settings below. You can use any other values you like as well.

Step 7
This is the basic texture, but you can adjust its size based on the final effect you want and the text you'll be creating.
Here, we will go to Image > Image Size, set the Width to 1200 px, and the Height to 750 px.
Save this file and keep it open to use it later in the tutorial.

3. How to Create a Subtle Vignette Background
Step 1
Create another 900 x 600 px document, click the Create new fill or adjustment layer icon at the bottom of the Layers panel, and choose Solid Color.
Use a dark Fill Color such as #201c20.

Step 2
Add a Gradient fill layer, and use the Colors #909090 to the left and #000000 to the right to create the gradient.
Change the Style to Radial, and the Scale to 250. Then, change the layer's Blend Mode to Soft Light.

4. How to Create Text and Use Glyphs
Step 1
Create the text using the font Premier Script, and set the Size to 200 pt.

Step 2
Because the Premier Script font has a ton of glyphs, you can access a character's available glyphs by highlighting it, and then click the glyph you want to use from the alternatives you get.

Step 3
Another way to access those glyphs would be by going to Type > Panels > Glyphs Panel.
Highlight the characters you want to replace, and have fun changing up the text using the different glyphs available.

Step 4
Make all the changes necessary before the next step.

Step 5
Duplicate the text layer.

5. How to Style a Glass Stroke
Double-click the original text layer to apply the following layer style:
Step 1
Add a Bevel and Emboss with these settings:
- Style: Outer Stroke
- Size: 6
- Gloss Contour: Ring - Double
- Check the Anti-aliased box
- Highlight Mode: Vivid Light
-
Shadow Mode: Linear Burn
-
Color:
#222222 - Opacity: 15%
-
Color:

Step 2
Add a Contour with these settings:
- Contour: Log
- Check the Anti-aliased box.

Step 3
Add an Inner Shadow with these settings:
- Blend Mode: Color Burn
- Opacity: 35%
- Distance: 1
- Size: 1

Step 4
Add an Outer Glow with these settings:
- Blend Mode: Normal
- Opacity: 50%
-
Color:
#dbd6dd - Spread: 10
- Size: 7

This will create a glass-like stroke.

6. How to Style a Glossy Text
Double-click the copy text layer to apply the following layer style:
Step 1
Add a Bevel and Emboss with these settings:
- Size: 10
- Uncheck the Use Global Light box
- Angle: 84
- Altitude: 42
- Gloss Contour: Ring - Double
- Check the Anti-aliased box
- Highlight Mode: Vivid Light
-
Shadow Mode:
- Opacity: 10%

Step 2
Add a Contour with these settings:
- Contour: Rolling Slope - Descending
- Check the Anti-aliased box.

Step 3
Add an Inner Glow with these settings:
- Blend Mode: Vivid Light
- Opacity: 35%
-
Color:
#697b99 - Source: Center
- Size: 5
- Contour: Cone - Inverted

This will style the main text.

7. How to Apply a Texture to a Text
Step 1
Go to the holographic texture document, press Command-A to select all, and Command-C to copy the selection.

Step 2
Go back to the text document, and press Command-V to paste the texture. Rename the layer to Texture, and change its Blend Mode to Screen.
Right-click the Texture layer, and choose Create Clipping Mask to clip the texture to the copy text layer.

Step 3
Select the copy text layer, and change the text Color to anything you like. The Color used here is #72757a.

8. How to Enhance a Texture Using Adjustment Layers
Step 1
Add a Vibrance adjustment layer, clip it to the Texture layer, and change the Vibrance value to 50.

Step 2
Add a Curves adjustment layer, change its Blend mode to Luminosity so that you don't affect the colors, and its Opacity to 80%.
Adjust the RGB as well as the Channel curves to get a result you like.

Step 3
Here are the adjusted Channel curves. You can skip adjusting these altogether if you don't feel the need to make any changes, and you can use a different layer Opacity value as well.

Awesome Work, You're Now Done!
In this tutorial, we used a bunch of filters to create a holographic texture.
Then, we created and styled two text layers using a bunch of layer styles to achieve a glass-like effect. Finally, we added the texture to the text, and used adjustment layers to enhance the final result.

5 Cool Holographic Fonts & Graphics (From Envato Elements)
Creating holographic letters from scratch is not a difficult thing to do, but it can be time-consuming. You may find predesigned holographic textures and templates very useful if you prefer not to spend too much time starting a design from scratch.
In this section, we've gathered some of the best holographic items for your creative needs, and they're all from Envato Elements. Here you can find creative assets like logos, fonts, illustrations, and graphics for a small monthly fee.
1. Metal Holographic Font Effect (PSD, PDF)
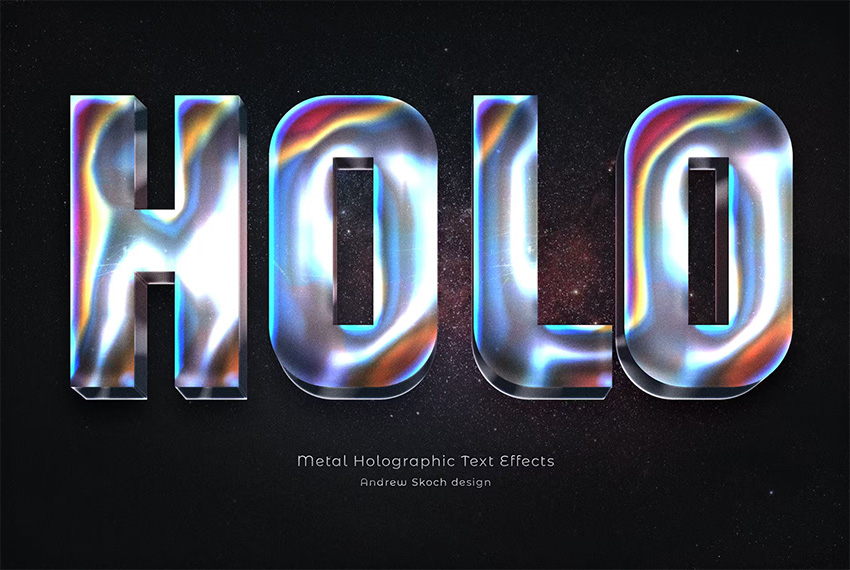
Download this trendy holographic font pack and get eight cool designs to experiment with. You can create beautiful and modern fonts, posters, album covers, and more. Give this holographic effect a try.
2. Iridescent Holographic Backgrounds (JPG)
Stop searching for the best holographic backgrounds online—they're right here! This download includes ten JPG files in high resolution. Use them for flyers, social media, posters, and even as holographic wallpaper.
3. Holographic Effect in Photoshop (PSD)
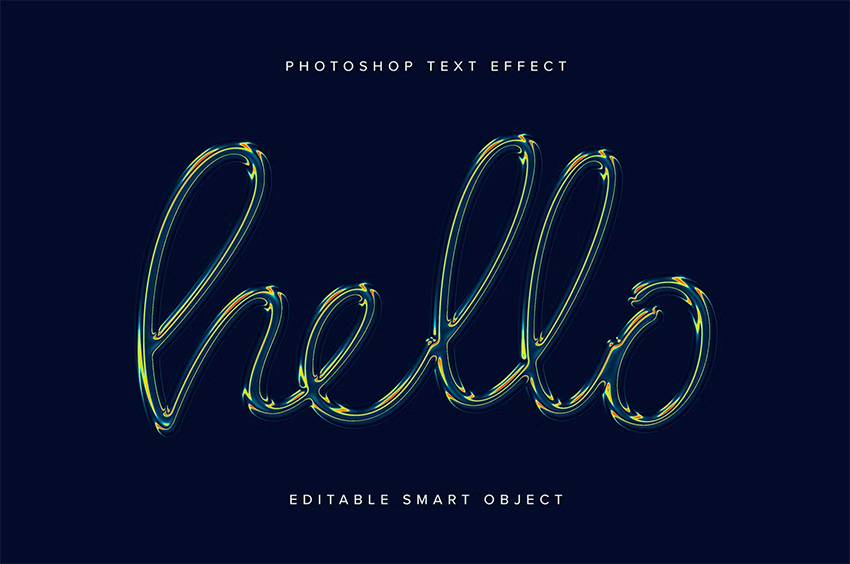
Elevate your designs with this 3D holographic effect in Photoshop. Thanks to its editable smart objects, you can turn any boring font into a modern typeface in just a few clicks! Download this holographic effect and get one Photoshop file and a user guide.
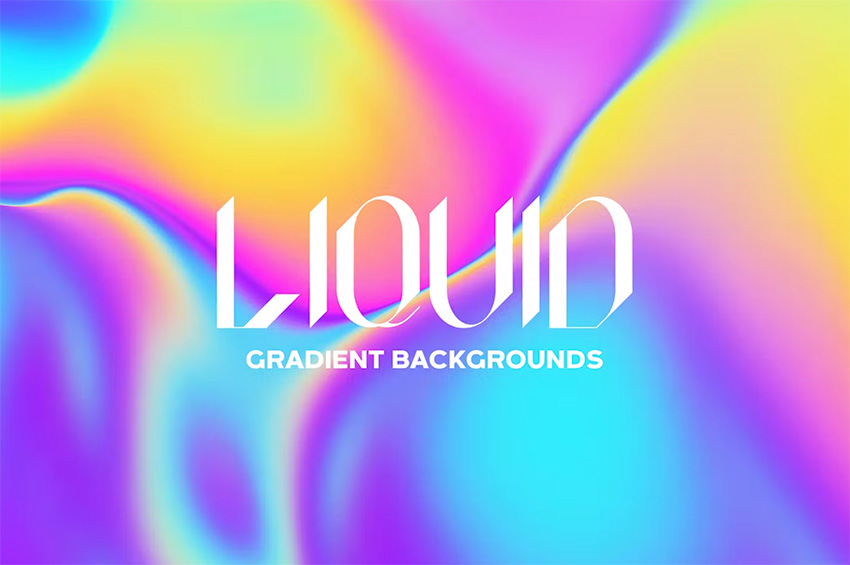
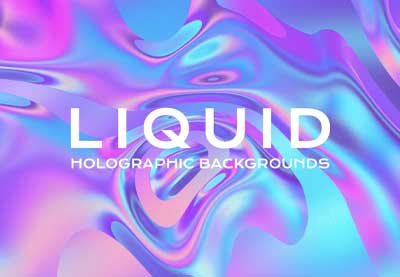
4. Modern Holographic Backgrounds (EPS, JPG)
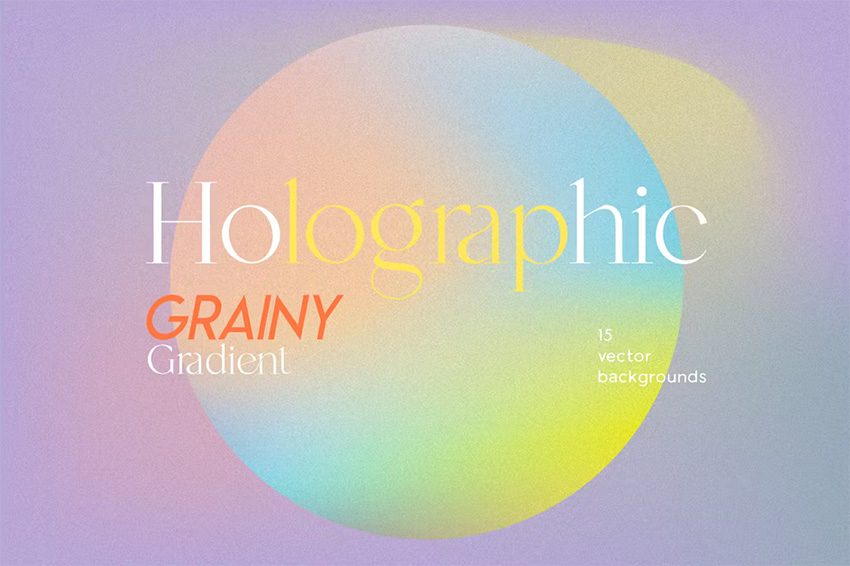
The best thing about these vector backgrounds is the holographic color combinations. You get 15 different files with retro, pastel, warm, and neon tones. All the files are easy to work with and include grainy textures. These cool holographic color combos look amazing and will make your brand designs even better.
5. Foil Holographic Texture Effect (PSD)
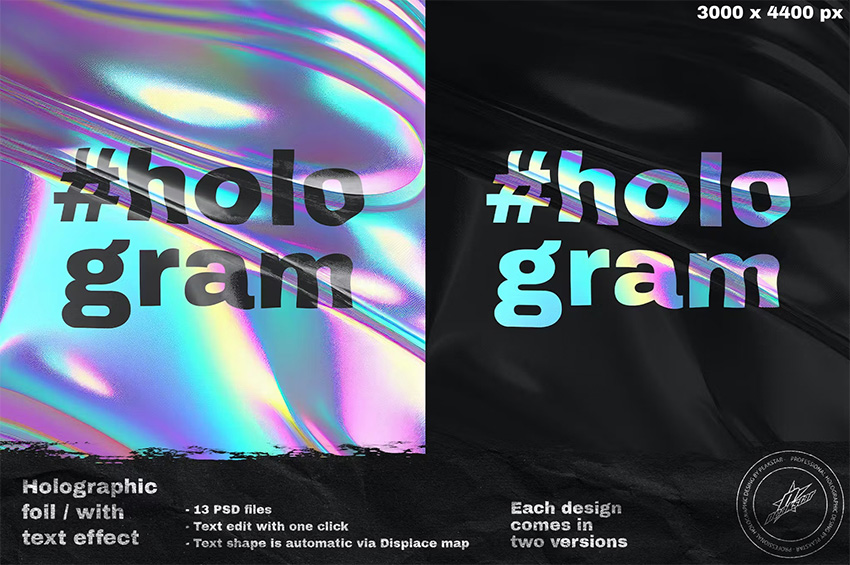
Here's a helpful add-on for Photoshop. Take your artwork to the next level with this foil holographic wallpaper. When you download this file, you'll get 13 designs, each with colorful and dark versions to switch up the vibes.
Discover More Tutorials & Articles
Looking for more holographic letters? Or perhaps interested in learning new creative skills? Check out the following text effect tutorials:
 100+ Best Holographic & Iridescent Textures (Foil Backgrounds and Effects)
 How to Create a Realistic Neon Light Text Effect in Adobe Photoshop
 How to Create a 3D Text Effect Action in Photoshop
 How to Create a Holographic Effect in Illustrator
 How to Create a Realistic Chrome Text Effect in Adobe Photoshop
 How to Create a 3D Hologram Text Effect in Adobe Photoshop
 How to Create a Styled Mixer Brush Text Effect in Adobe Photoshop
 24 Unique Photoshop Text Effects That Grab Your Attention!
 20 Best Y2K Fonts
 How to Make Gradient Text in Photoshop
 By
By


