

Chunky colorful necklaces are bang on trend at the moment. They're super easy to make yourself and you can give them a gorgeous ombre effect with ordinary spray paint. You could make one to match every outfit! I've included how to make the necklace an adjustable length to suit various garment necklines. With the required supplies readily available at craft supply and DIY stores, this necklace makes a quick and inexpensive but thoughtful gift.
Supplies


- 8 to 12 wooden beads
- 3 cans of spray paint in different colors to achieve an ombre effect (we used yellow, green and blue)
- About 80cm (32in) length of cord
- 2 wooden skewers
- 4 wooden pegs
- Styrofoam block
- Large sheet of paper or plastic to protect surfaces from paint overspray
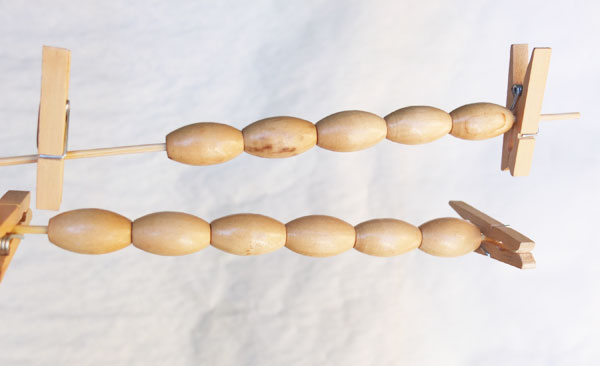
1. Prepare the Beads
Thread your beads onto the skewers then securely peg the ends so they don't fall off.
2. Prepare Your Work Area
It's preferable to use spray paint outdoors in a well-ventilated area as the fumes are very strong. Protect your work area with plenty of paper to prevent over-spray. Spike the skewer holding your beads into a styrofoam block to hold it vertically.

3. Time to Spray-Paint
Follow the instructions on the can in regards to shaking and priming your spray can. Working on one skewer at a time, paint a few light coats of the lighter color (in our case, green), on the top few beads, then repeat with a darker color (in our case, blue) on the lower beads, allowing the colors to overlap on the flavor beads.
Repeat on the other skewer with the third color.

4. Allow to Dry
Wait at least an hour for your beads to dry, preferably overnight. Use the peg ends as a kind of stand to prevent the wet painted beads from touching a surface.

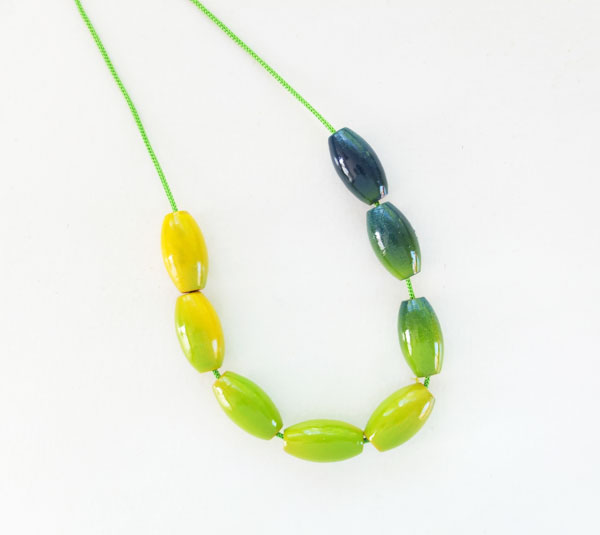
5. Thread the Beads
Choose your desired number of beads, making sure you have a nice gradual ombre effect. Thread them onto the cord and if you haven't already, cut the cord longer than your desired length.
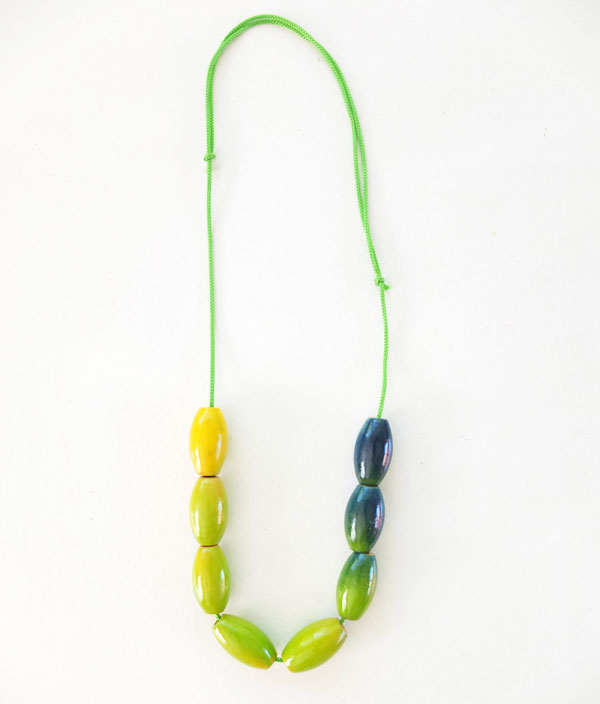
6. Tie the Adjustable Knot
This step is optional - you may choose to tie a regular knot if you don't need your necklace to be adjustable. Lay your cord ends out as per image.

Knot one end over the opposite cord.


Repeat on the other side.


Tighten knots firmly and trim excess cord ends. The knots should slide over the cord making the necklace length adjustable.


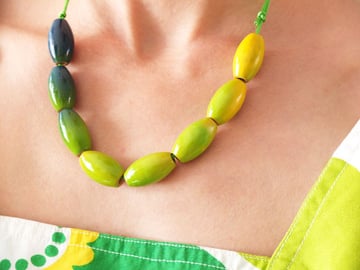
Wear and Enjoy
Time to wear your necklace and enjoy the compliments you'll receive.
You can try experimenting with different colours to create an entire wardrobe of ombre beaded necklaces.
Have you made the ombre necklace? What shades did you use? Tell us about it in the comments below.
 By
By


