


Welcome to our Illustrator in 60 Seconds series, in which you can learn an Illustrator skill, feature, or technique in just a minute!
Illustrator in 60 Seconds: The Width Tool
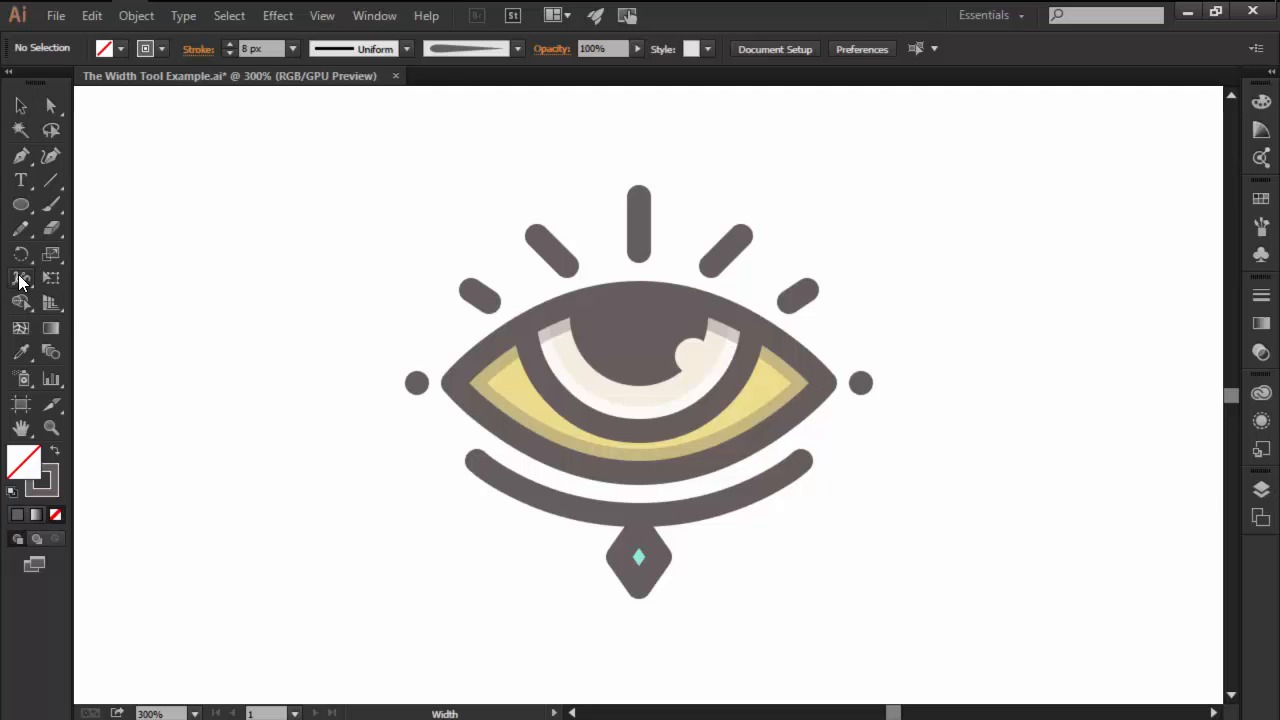
Creating organic lines can be a tricky process, or at least it was until Adobe introduced the Width Tool in CS5.
Now, if you've never used the tool before, I recommend you check out this short video since it will show you all you need to know in order to get started.
How to Use the Width Tool in Adobe Illustrator
The Width Tool can be found within the main left panel or by using the Shift+W shortcut.


Select the tool and then hover over the path that you want to adjust. The Width Point allows you to adjust the thickness of the path by clicking it and dragging it towards the inside or outside in order to create a thinner or thicker stroke.


You can add as many Width Points as you need, and you can also remove them by selecting them using the Width Tool and then pressing Delete.


Want to see this in action? Check out the video above to see this lesson at work!
A Bit More Detail
Want to learn more about Adobe Illustrator's vast tools and settings? Check out these tutorials below:

 The A to Z of Adobe Illustrator


 How to Scale Icons Correctly in Adobe Illustrator


 Understanding Adobe Illustrator's Grid System

 Quick Tip: Advantages of Using the Clipping Mask Over the Pathfinder Panel
60 Seconds?!
This is part of a series of quick video tutorials on Envato Tuts+ in which we introduce a range of subjects, all in 60 seconds—just enough to whet your appetite. Let us know in the comments what you thought of this video and what else you'd like to see explained in 60 seconds!
 By
By


