


In the following tutorial, you will learn how to make a Y2K logo in Adobe Illustrator from scratch.
What You'll Learn in This Tutorial
- How to make a Y2K logo
- How to design the Y2K logo text
- How to outline a Y2K logo design
What You Will Need
You will need the following font in order to complete this shooting star Y2K logo:
- Astromax font
1. How to Create a New Document and Set Up a Grid
Hit Control-N to create a new document. Select Pixels from the Units drop-down menu, set the Width and Height to 850 px, and then click that Advanced Options button. Select RGB for the Color Mode, set the Raster Effects to Screen (72 ppi), and then click the Create button.
Enable the Grid (View > Show Grid or Control-") and the Snap to Grid (View > Snap to Grid or Shift-Control-"). You will need a grid every 10 px, so simply go to Edit > Preferences > Guides & Grid, enter 10 in the Gridline every box and 1 in the Subdivisions box. Try not to get discouraged by all that grid—it will make your work easier, and keep in mind that you can easily enable or disable it using the Control-" keyboard shortcut.
You should also open the Info panel (Window > Info) for a live preview with the size and position of your shapes. Don't forget to set the unit of measurement to pixels from Edit > Preferences > Units. All these options will significantly increase your work speed. Now that you're set, let's see how you can create your own Y2K star logo.


2. How to Create the Globe
Step 1
Pick the Ellipse Tool (L) from your toolbar and keep the default color settings (white fill and black stroke).
Move to your artboard and simply create a 300 px circle—the grid and Snap to Grid should make it easier.
Keep your shape selected, and go to the Control panel (Window > Control) to increase the stroke Weight to 10 px.


Step 2
Make sure that your circle is still selected and add a copy in front (Control-C > Control-F). Select the copy using the Selection Tool (V), and if you can't see the bounding box around your selection, go to View > Show Bounding Box (Shift-Control-B). Use the bounding box to squeeze your selected shape and make it 160 px wide.
Duplicate your squeezed circle (Control-C > Control-F) and rotate it 90 degrees, as shown in the second image. Don't forget to remove the fill color of this second copy. This can be easily done via the Control panel.


Step 3
Reselect the Ellipse Tool (L) and use it to create a 540 x 130 px shape. Fill it with black, remove the stroke color, and place it as shown in the first image.
Using the same tool, create a 380 x 100 px shape and place it as shown in the second image.
Select both shapes made in this step, open the Pathfinder panel (Window > Pathfinder), and click the Minus Front button.


Step 4
Make sure that the shape made in the previous step is still selected, and go to Effect > Distort & Transform > Transform. Just set the Angle to 20 degrees to rotate your selection, and click OK.


3. How to Add Text to a Y2K Logo Design
Step 1
Select the Type Tool (T) from your toolbar and focus on the Control panel to set the settings for the text. Select the Astromax font, make it Italic, and set the Size to 90 pt.
Simply click on your artboard and type in your text, and then move to the Control panel to remove the text color. This should make your text invisible.


Step 2
Make sure that your invisible text is still selected, and open the Appearance panel (Window > Appearance). Use the Add New Fill button to add a second fill and select it.
Make it black and go to Effect > Path > Offset Path. Set the Offset to 10 px and Joins to Round, click OK, and then go to Effect > Distort & Transform > Transform. Set both of the Move sliders to 0.5 px, increase the number of Copies to 30, and then click OK.


Step 3
Make sure that your text is still selected and add a second fill using that same Add New Fill button. Select the new fill and make it white (R=255 G=255 B=255).


Step 4
Add your text on top of the Y2K logo design, as shown below.


4. How to Add the Stars to a Y2K Star Logo
Step 1
Reselect the Ellipse Tool (L), create a 30 px circle, and make it black. Keep this shape selected and go to Effect > Distort & Transform > Pucker & Bloat. Drag the slider to -60%, click OK, and then go to Object > Expand Appearance.
Make sure that your star shape remains selected and switch to the Direct Selection Tool (A). Focus on the Control panel and set the Corners radius to 2 px.


Step 2
Duplicate your star (Control-C > Control-V) and add both shapes to the Y2K logo design along with a third, smaller copy, as shown in the following image.


5. How to Add the Final Touches to Your Y2K Logo Design
Step 1
Select all the shapes that make up your Y2K logo design and add copies in front (Control-C > Control-F). Select all these copies and go to Object > Expand Appearance, Type > Create Outlines, and Object > Path > Outline Stroke. This will turn the selected text, the strokes, and the effects into vector shapes.
Keep all these expanded shapes selected, and merge them using the Unite button from the Pathfinder panel.


Step 2
Make sure that the shape made in the previous step stays selected, and send it to the back (Shift-Control-[).
Make it white and then go to Effect > Path > Offset Path. Set the Offset to 10 px, make sure that the Joins are set to Round, and then click OK.


Step 3
You can also add a black background to make the white outline stand out. Just pick the Rectangle Tool (M) to create a shape that covers your entire artboard, make it black, and send it to the back (Shift-Control-[).


6. How to Stylize a Y2K Logo Design Using Photoshop
Finally, you can further stylize your Y2K logo design using a Photoshop template from Envato Elements. This holochrome effect is just one of the many examples.


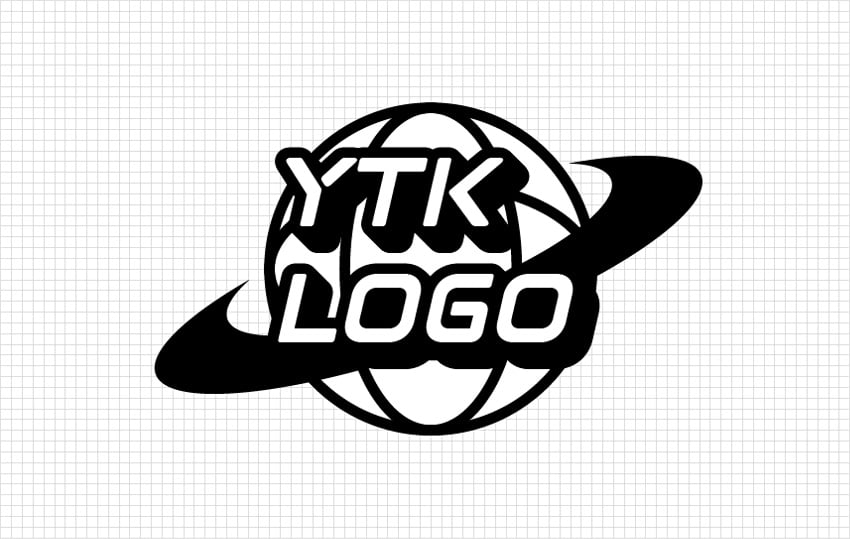
Congratulations! You're Done!
Here is how your shooting star Y2K logo should look. I hope you've enjoyed this tutorial and can apply these techniques in your future projects.
Feel free to adjust the final Y2K logo template and make it your own. You can find some great sources of inspiration at Envato Elements, with interesting solutions to improve your Y2K logo designs.


Popular Y2K Logo Templates From Envato Elements
Envato Elements is an excellent resource for Y2K logo templates. Here's a short list of some of the most popular Y2K logo templates that you can find.
Abstract Y2K Elements (AI, EPS, PNG)
Now that you've learned how to make Y2K logos, you can go a step further and create your own design. This set of abstract elements will definitely help if you're looking for some design assets to decorate your Y2K logo design.


Y2K Retro Illustrations Set (AI, EPS, PNG)
Embrace the nostalgia of the Y2K era with this curated selection of assets. Design Y2K logos that pay homage to the turn of the millennium with a modern twist.


Y2K Stickers Illustration Set (AI, EPS, PNG)
Ready to take your Y2K logo design to the next level? Explore this Y2K illustration set and transform your brand's identity with a logo that embodies the spirit of the new millennium.


Abstract Y2K Elements (AI, EPS, PNG)
Unlock the potential of the Y2K aesthetic with this abstract asset library. Design a Y2K logo that stands out from the crowd and brings the Y2K vibe into the 21st century.


Y2K Text Effects (PSD, JPG, PDF)
Create text that's both timeless and trendy using these specially curated assets. Get started today and make your mark with Y2K text effects.


Want to Learn More?
We have loads of tutorials on Envato Tuts+, from beginner to intermediate level. Take a look!

 How to Create a Fox Head Logo


 How to Design a Deer Logo in Illustrator

 How to Design a Vintage Circular Logo in Illustrator

 How to Draw the Wonder Woman Logo

 How to Create the Guardians of the Galaxy Logo Text Effect


 How to Make a Fire Logo Design

 How to Create the Naruto Logo

 Create the Captain America Shield Icon in Adobe Illustrator

 How to Create the Looney Tunes Logo

 How to Create a Cat Logo Design in Illustrator
 By
By


