
Wondering how to shadow text in Cricut Design Space? There are a few different ways to do it, and we'll be covering each of these today. You'll also learn how to make an outline on Cricut, as well as how to shadow letters on Cricut.
If you prefer to watch video tutorials instead, remember to check out the Envato Tuts+ YouTube channel. You'll find amazing video resources, like this new video where I explain how to shadow letters on Cricut:
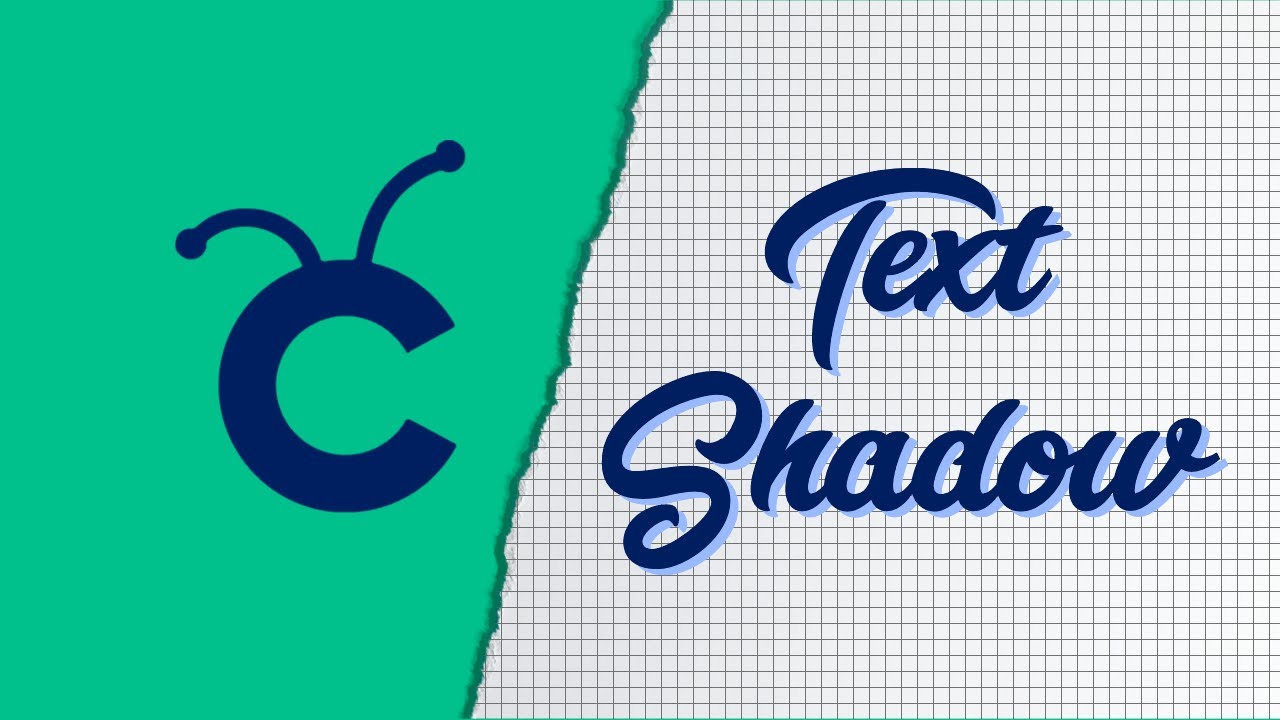
What You'll Learn in This Cricut Shadowing Text Tutorial
There are a few different ways to make shadow letters on Cricut:
- Use Cricut letters with shadows (and there are many fonts on Envato Elements that work beautifully for this).
- Offset text to add a shadow on letters in Cricut Design Space.
- Manually add shadowed letters in Cricut Design Space.
1. How to Use Cricut Lettering With Shadows
The easiest way to make shadow letters on Cricut is to use a font that has both layers already done for you. There are many of these types of text shadowing on Envato Elements, and I am going to show you how to shadow letters in Cricut Design Space using the Authentic Script font.
You will need to download and install the font to add the shadow on letters, and make sure to install at least the ‘Script’ and ‘Extrude’ versions.


Step 1
Now, in Cricut Design Space, you can add your text and change the font to Authentic Script.


Step 2
Next, right-click on the word and Duplicate it. This copy will help us create our shadowed letters.


Step 3
Next, you will need to change the font of the new layer to Authentic Extrude.


Step 4
In order to have a solid layer, it's best to weld this piece, so we are going to right-click and Weld.


Step 5
Lastly, don't forget to right-click and click Send to Back, so it lies behind your text.


Step 6
Now you can move the text shadowing layer to the right position, and change the colour to see what it would look like when it has been applied.


This is how awesome your project could look once your lettering with shadows has been cut out and applied.


2. How to Offset Text in Cricut Design Space
Now we'll look at how to outline text in Cricut Design Space to create block letters with shadow. To get the look we want, we are going to use the offset feature here to make an outline on Cricut.
Step 1
I am going to use text on an existing canvas. The font I'm using is Artzopo from Envato Elements.


Step 2
With your text selected, you will be able to select the offset feature we'll be using for shadowing block letters.


Step 3
Once you have clicked on the offset button, a little popup will show, and this is where you can control the size of the offset.


Step 4
We will be using the number section to type in a small number for our text outline.


Step 5
Once you are happy with the size of the offset, click Apply, and that’s how you outline text in Cricut Design Space!


3. How to Add Shadow to Text in Cricut Design Space (Manually)
Lastly, we are going to look at how to shadow letters manually. This is a method that would work with any font, and it’s also a method that will work with many different designs to create letters with shadows in Cricut Design Space.
Step 1
We are going to start off with some text on our canvas, and here I am using the Bouquet Typeface from Envato Elements.


Step 2
Once you have typed in what you want in your design, right-click and Duplicate the layer for shadowing block letters.


Step 3
You can move the new layer up and to the left, or right-click and Send to Back for it to be lower and to the right.


Step 4
Change the colour of the top layer so that you can identify it easily.


Step 5
Move the purple layer to show how big you want the shadow to be. This is totally up to you—there's no hard and fast rule here. You can use your mouse or the directional keys on your keyboard.


Step 6
Duplicate it once again, and move it off to the side, as we will need it soon.


Step 7
Click somewhere on an open part of the canvas near the design, making sure to only select one purple and one purple-grey layer.


Step 8
With only two layers selected, click Slice at the bottom right of the screen. If this is greyed out, you have more or less than two layers selected.


Step 9
You will now have a few different layers. You can delete all of the layers you don't need, leaving only the layer with the shadow part that we could see before clicking Slice (the grey part we could see in Step 7).


Step 10
You should be left with one layer of each colour, and they should look something like this.


Step 11
You can now line up the layers to see what it will look like once it has been cut.


Congratulations! You Learned How to Shadow Letters!


Tips on Applying the Decal
Layering vinyl like this shadow font can be difficult, but the trick is to use silicone or parchment paper to easily line up the layers. The vinyl doesn't stick to the silicone paper, and it is slightly transparent, so you can place your vinyl on top of it and still see the layer underneath.
The easiest way to do this is to tape one of the layers to the table and place silicone or parchment paper on top of the layer to easily line up the layers. Once you have them lined up, tape the top layer to the table and remove the silicone paper. Make sure to check out our YouTube video on this process as it is very simple once you have seen exactly how it works.
5 Must-Have Shadow Fonts From Envato Elements
The top method of shadowing letters in Cricut is of course my favourite because it is the quickest and easiest, and it's made easy thanks to Envato Elements. There are so many fonts, but these are my five favourite fonts to shadow text in Cricut Design Space.
1. Modster Script (OTF & TTF)


Save time shadowing letters with Modster. This font makes it easy to layer letters on Cricut, and it has quite a funky font type to it as well.
2. Arkland (OTF & TTF)


If you are looking for a classy, easy-to-read font, this one is clean, simple and has a lovely extruded shadow font. It is one of the best ways to shadow letters in Cricut.
3. Carter (OTF & TTF)


This way of creating a shadow in Cricut Design Space can give you a very bold-looking word, and it also offers an additional unique look, because not only does this font have an extruded version, but another one that adds additional shadows to it. It's the perfect font bundle for shadows in Cricut.
4. Laguna (OTF & TTF)


This font duo is a Hollywood-style font. It is a bold style font and has the perfect layer for making a 3D effect and creating the best shadow letters in Cricut. Shadowing letters in 3D has never been easier.
5. Quechely (OTF & TTF)


This font will help you add a shadow to text in Cricut Design Space. With the shadow behind it, it creates a very strong-looking end product, and it's one of my favourites due to its extra assets.
Learn the Skills You Need for Your Next Project


 By
By


