How to Make a Die Cut in InDesign


If you're looking to create an InDesign die cut, you've come to the right place. Die cuts can add a unique and eye-catching element to your print projects, whether it's for business cards, brochures, or packaging. In this tutorial, we'll explore the step-by-step process of making a die cut in Adobe InDesign.
What You'll Learn in This InDesign Die Cut Tutorial
- How to make a die cut in InDesign
- How to indicate die cuts in InDesign
1. How to Make a Die Cut in InDesign
Step 1
Open your artwork in InDesign. Before applying a die cut, make sure all of your artwork extends to the bleed area.


Step 2
in the Layers panel, create a new layer and name it Die Cut.


Step 3
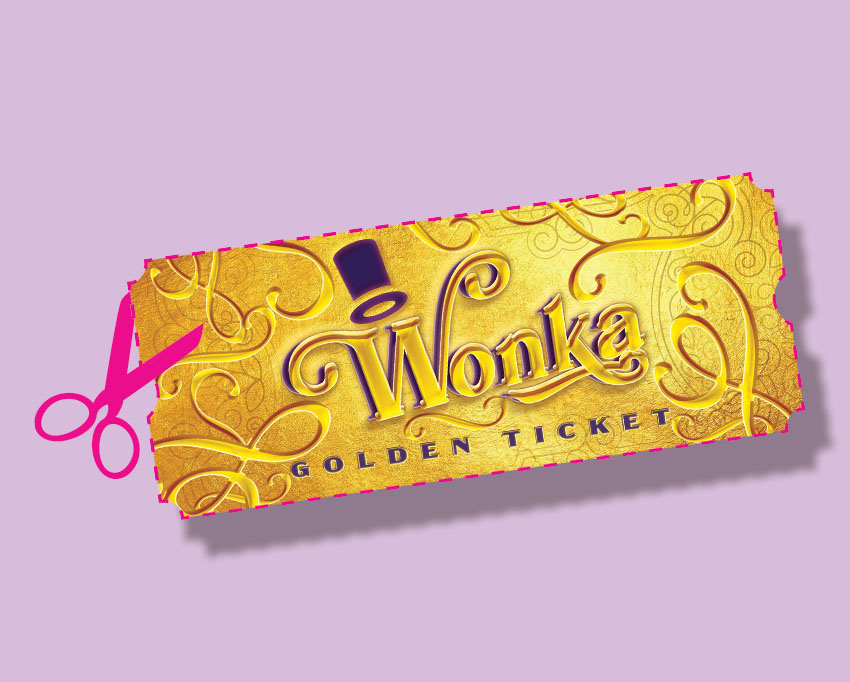
On the Die Cut layer, select the Rectangle Tool (M) and make the shape for your die cut. Since I'm using Willy Wonka's golden ticket as my example, I will start off with a long horizontal rectangle.


Step 4
With the rectangle selected, go to Object > Corner Options. Change the Shape to Inverse Rounded and the Size to 0.25 in.


Step 5
Still on the Die Cut layer, use the Ellipse Tool (L) and make a circle on either side of the ticket. You can Fill the circles with any color swatch.


Step 6
Select the two circles and the rectangle shape. In the Pathfinder panel (Window > Object & Layout > Pathfinder), select Subtract.


2. How to Indicate Die Cuts in InDesign
Step 1
To indicate die cuts in InDesign, select the rectangle and change the Fill to None. Change the Stroke color to the Pink swatch.


Step 2
If you decide that you want your die cut to be perforated, change your Stroke Type to Dashed.


Congrats! You're a Die Cut Professional!
I know you did a great job following our tutorial on how to make a die cut in InDesign. Remember that when working with die cuts in InDesign, it's crucial to communicate clearly with your printer about specific requirements such as dimensions and file formats. Providing them with accurate information will ensure that your final product turns out exactly as intended.
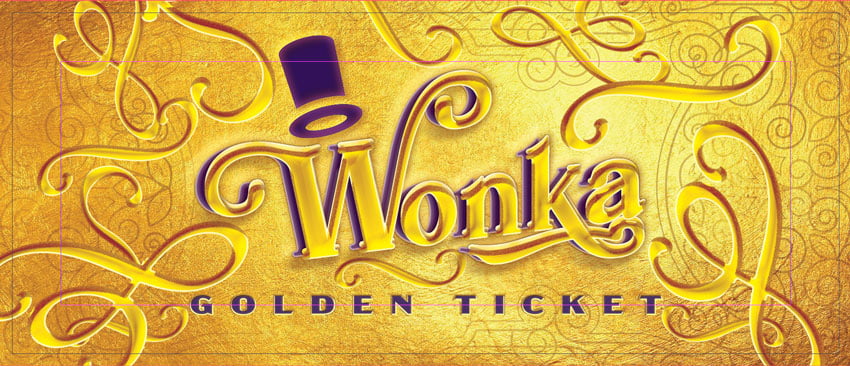
If you want to create your own version of Willy Wonka's golden ticket, you will need a gold background, a swirl pattern, Wonka's iconic top hat, and fonts like Mollas, Rafaella, and Acme Gothic to achieve your desired outcome.


Dive Deeper With Die Cuts
Discover a collection of die-cut tutorials that teach you how to prepare your InDesign documents for a variety of projects, including wedding invitations and pillow boxes.


 How to Create a Die-Cut Pillow Box in Adobe InDesign

 Grace Fussell07 Jul 2016

 Create a Spring Wedding Invitation for Die Cutting and Embossing in InDesign

 Grace Fussell11 Mar 2014

 Create a Die-Cut Business Card for a Local Client in Adobe InDesign

 Grace Fussell06 Jun 2014

 How to Design a Square Cross-Folded Brochure Layout

 Ashlee Harrell04 May 2023


