How to make a custom guilloché-type brush in Affinity Designer


In this tutorial, you’ll discover how to create a guilloché brush using Affinity Designer. With this brush, you can create stunning, engraved compositions in retro “old banknote” styles.
You’ll be guided step by step, using Affinity Designer’s features to create an inspiring tool that will stay in your tools library forever. Whether you’re a beginner or looking to enhance your skills, this tutorial will help you discover valuable tips and tricks.
What is guilloché?
Guilloché is an intricate decorative pattern composed of interlacing lines, often used to enhance the security of documents like banknotes and passports. However, you can also apply this elegant design technique to various graphic design projects.
Now, let's roll up our sleeves and create our own custom brush in Affinity Designer.
1. How to create a new file in Affinity Designer
Step 1
Open Affinity Designer and go to File > New. In the layout options, set the dimensions of the document to 3000 px width and 1500 px height, and then click Create.


Step 2
Now that you're in the document, you have to create an artboard. Select the Artboard tool and click Insert artboard. The artboard will now fit the document size.


Then select the Move tool (V) and click out of the artboard.
Step 3
Now let's create custom guidelines. On the top of the Affinity menu, select the Snapping option.


Now, take the Rectangle tool (M), draw a rectangle by clicking on the top left of the artboard and dragging the rectangle to the bottom-right corner. The rectangle will be 3000 x 1500 px.


Select the Move tool (V) and your rectangle. Now go to the Colour window and click on Transparency to keep only the outline of the rectangle.


Then switch the color selection to stroke and set a pink color for the outline with a 1 pt width.


Select your rectangle again with the Move tool (V) in the Layers panel or in the artboard, and copy and paste the rectangle. Then, in the right-down Transform window, reduce the height to 750 px and drag this rectangle to the middle of the artboard. The snapping option will help you find the center.


Then copy and paste the 750 px rectangle again and put it in the middle of the artboard.


Draw a new rectangle of 1500 x 1500 px and drag it to the center of the artboard.


Copy and paste the same 1500 px rectangle and place it in the center. Now select all your rectangles on the layer window, press Command-G to group, and lock them so they'll stay in place for the next part.


Now you have the skeleton of the artwork!
2. How to build the guilloché stroke
Step 1
Create a new layer above the guidelines on the artboard.


Then, select the Pen Tool (P) and click in the bottom-left corner, followed by the bottom-right corner. Now, you have a straight line across the bottom of the artboard.


Switch back to the Selection Tool (V) to select your line. In the Stroke panel, change the stroke width to 10 pt and the color to black.
Copy and paste your line. Now, take the Node Tool (A), go to the center of the artboard (the snapping option will indicate when you are at the center), click the center of the line, and drag it to the first horizontal guideline. Then, click on the center of the line again to add a new node on the curve.


Step 2
Now curve the line and duplicate it. Select the curved line with the Node Tool (A). Some small square “arms” will appear on the Bezier line. Click on the blue circle at the end of one of the arms and drag it to the first intersection of the guideline.


Press the Tab key to snap your movement. Bring the four arms to their corresponding intersections.


Step 3
Then, simply Copy and Paste the curved line and drag the center node to the next horizontal line of the grid (keep the Tab key pressed).
Repeat this process up to the fourth line.


Now, your first guilloché-type brush form is ready to use!
3. How to export a brush Affinity Designer
Now, we have to export the curves in a transparent format to create a new brush.
Step 1
First, you have to mask your guides. Go to the Layers panel and click on the dot to deactivate the group.


To make a custom outline brush in Affinity Designer, export the curve to a folder.
Step 2
Click on your Artboard panel and change the name to “envato guilloché”.


Then go to the Export Persona > Export options > Preset: PNG.


In the bottom-right panel, you will see the name of your artboard, “envato guilloché”, so go ahead and click on the Export button.


A window will open and ask where you want to export. In the same export window, create a folder named “envato brushes” and click Export. The curve is now in this folder.


Rename the artboard to “reverse envato guilloché” and Export it.
4. How to export to your own custom brush collection in Affinity Designer
Step 1
Now, go back to the Designer Persona.


Go to the Brushes panel. If you don't see it, go to the top menu, click Window, and scroll down to select Brush, and then it will appear on your desktop.


Click on the Brush panel "burger" menu, and click on Create New Category. Name it “envato brushes” and click OK.


Step 2
Then click on the burger menu again and select New Textured Image Brush. It will open the “envato brushes” you created.


Sometimes, you have to search to locate the folder in your Finder. You will select your “envato guilloché” in this folder and click Open.


The guilloché curves are now in your library. Good job!
5. How to use your custom brush in Affinity Designer
Now it’s time to try our new ornament in the real world. I'll show you how to use it to make frames or decorative elements.
For the sake of this demonstration, we'll just try it and adjust some points in this part of the tutorial. We'll go deeper in the second part.
Step 1
Draw a line using the Pen tool (P). To do it, click one time with the tool and click elsewhere to draw a line.


Then, take the Move Tool (V) and select your line. Now go to the Brushes panel, select the “envato brushes”, and click on the “envato guilloché”.


Then the curves are applied to the line. It may seem stretched, but don't panic—we'll fix that.
Step 2
Return to the Brush panel, and double-click on “envato guilloché.” It will open a brush editing window. In this window, click the Repeat button to make the design repeat along the line.


You can change the brush width in this window to 200px and close it. Now, your design fits the line.


To change the stroke width, just go to the Stroke panel and change it to the size you need.


6. How to create geometrical shapes in Affinity Designer
Now, let’s draw three shapes and try your new brush.
Step 1
Create a rectangle, a circle, and a triangle of 3000 x 3000 px using the Shape tool (M).


Select all of them using the Move tool (V).


Then select your custom brush and click on the “envato guilloché” brush; you can change the stroke size in the Stroke panel as seen before.


Step 2
If you look at the triangle and the rectangle, you will see that the angles aren’t quite right. To correct that, you have to go to the Stroke panel and set Mitre to 1.


Then, open the Stroke editing window (double-click on the custom brush), and select Overlap under the Corners option.


7. Adding colors to a stroke in Affinity Designer
Step 1
To add some color to your stroke, you have to go to the Layer Effects. You will see the FX icon in the section below the Layers panel.
Click on the icon, and it will open the Layer Effects parameters.


Step 2
On the left side of the panel, select Color Overlay. Now click on the black-filled color square to open the color sliders. You can choose the color you need with the sliders or use the color picker to get the color you want.


Your guilloché brush is now ready!
And that's it! You've made your first guilloché brush design in Affinity Designer!
In this tutorial, you've learned how to use elements and create your own brush. You have achieved everything from basic shape creation to customizing your brush and adding effects. You now have a new tool, and with that, you can create awesome designs by referring to old printing techniques.
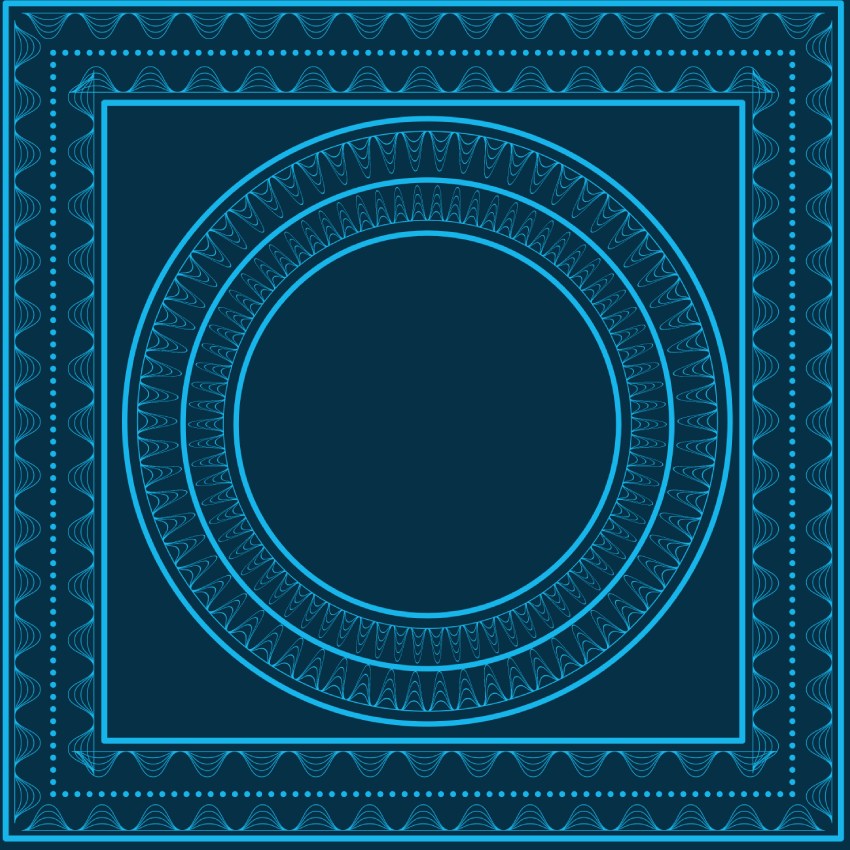
After creating your own guilloché brush, you can create an elegant, intricate design like this one:


Keep experimenting with your shapes and refining your techniques. The possibilities are endless, and you can create beautiful work with these frames in your designs!
Learn more with these Affinity Designer tutorials
From beginner to expert, Envato Tuts+ has the perfect Affinity Designer tutorial for you. Learn to create stunning designs with ease.


 How to use the Brush Tool in Affinity Designer

 Drew MacDonald16 Aug 2024

 25+ Best Free Affinity Designer Brushes (& Affinity Designer Tutorials!)

 Nona Blackman30 May 2024

 How to Use the Affinity Designer Vector Brush

 Drew MacDonald30 Jul 2024

 A to Z of Affinity Designer: Tips, Tricks, and Hacks!

 Kezz Bracey24 Nov 2023

 How to Add Brushes to Affinity Designer

 Diana Toma24 May 2024


