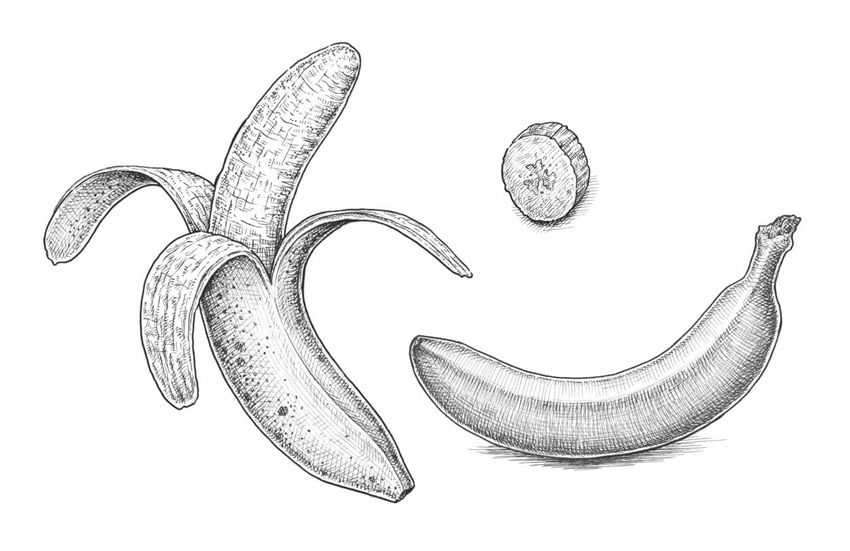
How to Draw a Banana


In this tutorial, I’ll show you an easy and quick way to draw a banana in different forms. We’ll be using a graphite pencil and ink liners.
What You Will Need
- a graphite pencil (I recommend using an HB or B type)
- an ink liner number 0.5
- an ink liner number 0.3
- an ink liner number 0.1
- an ink liner number 0.05
- a sheet of drawing paper

1. How to Draw a Banana in a Solid Peel
Step 1
I draw the core line of the banana and mark its borders, using a graphite pencil.

Step 2
I draw the general shape of the banana.
It can be divided into three segments: a thin one for the stem, a wide, curved one for the body, and a triangular one for the end of the fruit.

Step 3
I refine the shape of the banana, making it look similar to a real fruit. I also mark the border between the sides of the banana.

Step 4
With the 0.5 ink liner, I outline the contours of the banana.
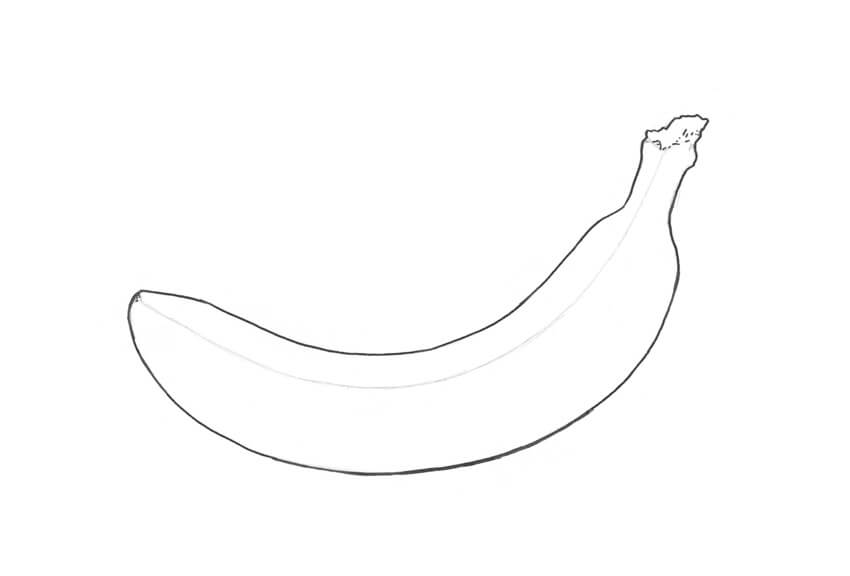
Step 5
I add hatches to the underside of the fruit, using the 0.05 liner.

Step 6
With the 0.1 ink liner, I add hatches to the sides of the banana, accenting the shape of its body.

Step 7
I add long hatches to the lower part of the fruit, using the 0.05 liner. The lines reflect the contours of the banana.
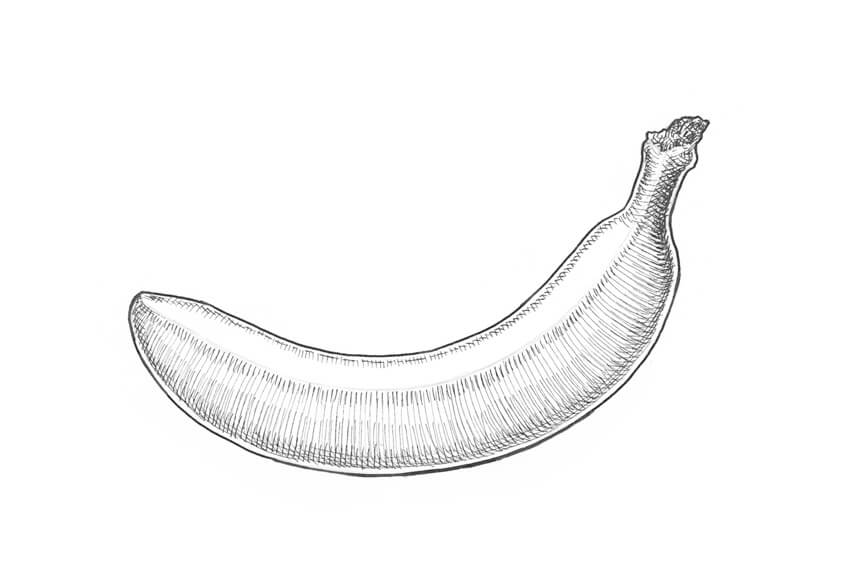
Step 8
With the 0.05 ink liner, I work on the upper part of the banana, drawing long hatches there. I also add another layer of parallel hatches to the lower part of the fruit.

Step 9
I accent the core shadows on the banana, applying cross-hatching with the 0.05 ink liner.

Step 10
With the 0.1 ink liner, I mark a drop shadow under the banana; it makes the drawing more realistic.
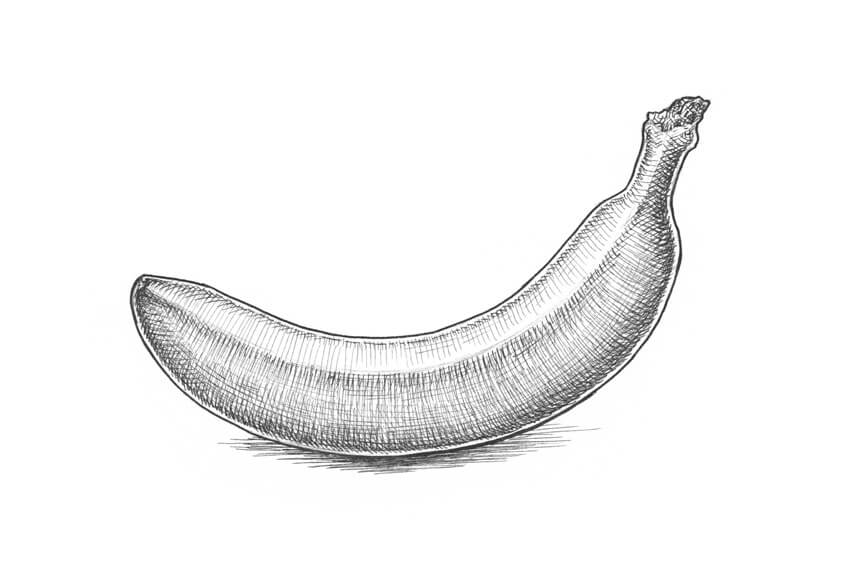
2. How to Draw a Slice of Banana
Step 1
I draw a circular shape, using a graphite pencil.

Step 2
I add a side face to the rounded shape.

Step 3
I mark the contours of the side part of the slice and add the details of the front part.

Step 4
With the 0.5 ink liner, I outline the contours of the banana slice.

Step 5
I mark the main details, using the 0.1 liner.

Step 6
With the 0.05 liner, I add long parallel hatches to the front part of the slice. I also accent the edges of the object, applying additional layers of cross-hatching.

Step 7
With the 0.1 ink liner, I draw a drop shadow.

3. How to Draw a Banana With a Partly Removed Peel
Step 1
With a graphite pencil, I draw the framework of the banana and mark the borders of its shape.

Step 2
I add the directional lines of the peel’s segments.

Step 3
I draw the curved shape of the banana that's located inside the peel.

Step 4
I draw the part of the peel that covers the banana. The end of this shape is narrow.

Step 5
I draw the first segment of the peel that is bending aside.

Step 6
I outline the front and back segments of the peel. It is important to observe a balance between the visible parts of the bent sections.

Step 7
I draw the contour lines on the fruit and add the small details of the peel. This sketch is ready for inking!

Step 8
With the 0.5 ink liner, I outline the contours.

Step 9
I mark the details of the banana, using the 0.3 ink liner. Let’s imagine that the peel has some dark spots and draw them!

Step 10
I add hatches to give the banana more volume, using the 0.1 ink liner.
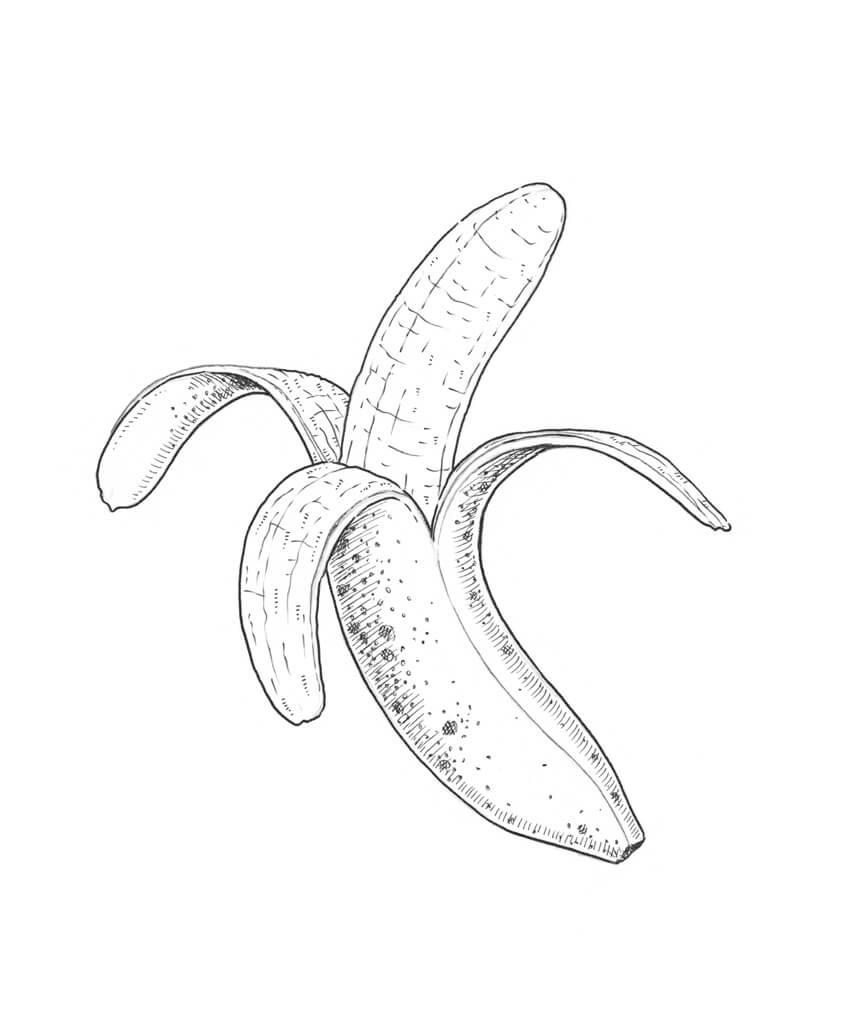
Step 11
I draw long hatches that repeat the shape of the peel, using the 0.05 liner.

Step 12
With the 0.05 ink liner, I add a layer of hatching to the sides of the fruit.

Step 13
With the 0.05 liner, I work on the inner part of the peel; it is light and has a peculiar texture. I mark the hollows with groups of thin lines.

Step 14
With the 0.05 ink liner, I work on the edible part of the fruit, accenting its sides with groups of short hatches.

Your Artwork Is Complete!
Congratulations! Now you have three beautiful drawings. I hope you've enjoyed the process!
I wish you much success in creating new fruit-inspired sketches!
