
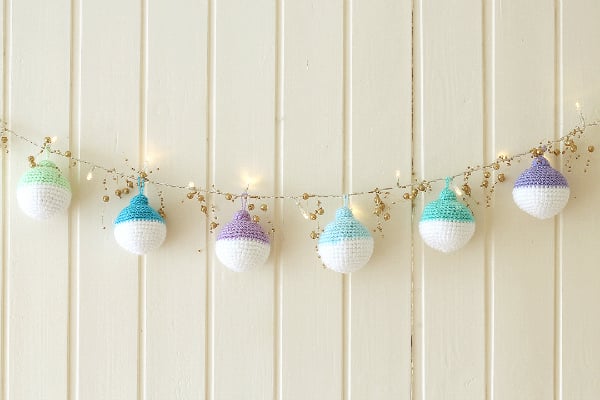
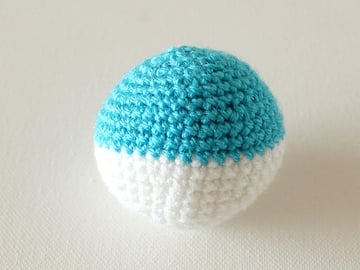
Christmas is almost here, and what better way to get in that holiday spirit than crocheting your own ornaments! If you’ve always wanted to learn how to crochet, follow our series of Crochet Fundamentals. This pattern uses US terms and stitches include single crochet (sc).
Supplies
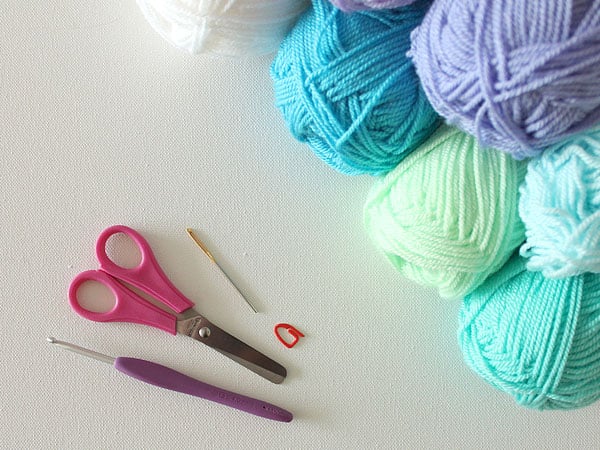

- Yarn (I used Stylecraft Special DK)
- Crochet hook
- Darning needle for sewing in the ends
- Scissors
- Stitch markers
- Polyfill stuffing (not shown)
- Click here to learn more about essential crochet tools
1. Crochet the Ornament
Step 1
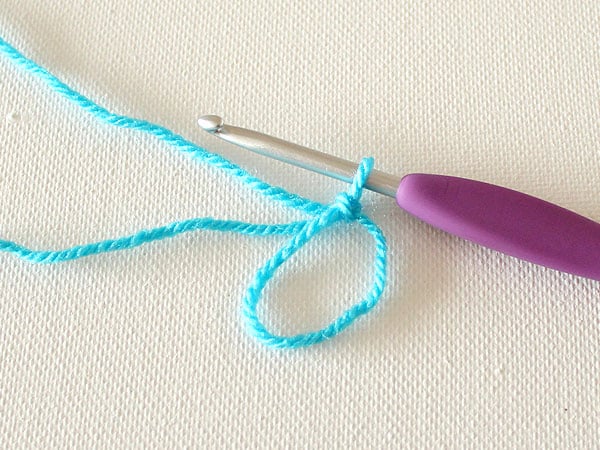
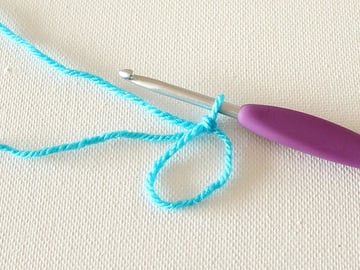
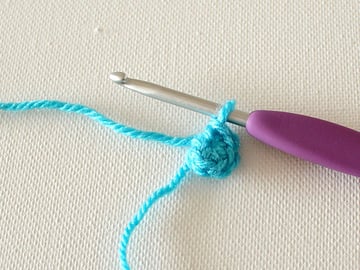
With the white yarn, make a magic ring and secure with a stitch. If you don't know how to do this, check out our video on How To Make A Magic Ring.
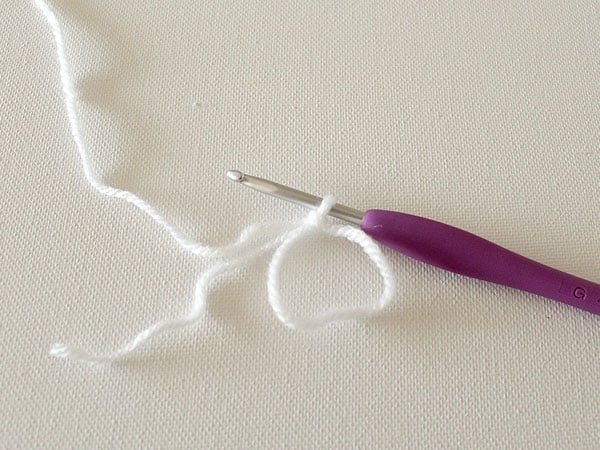
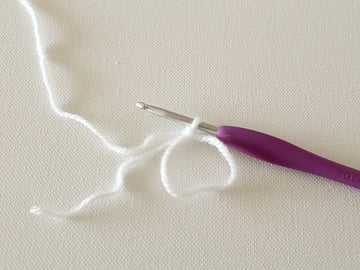
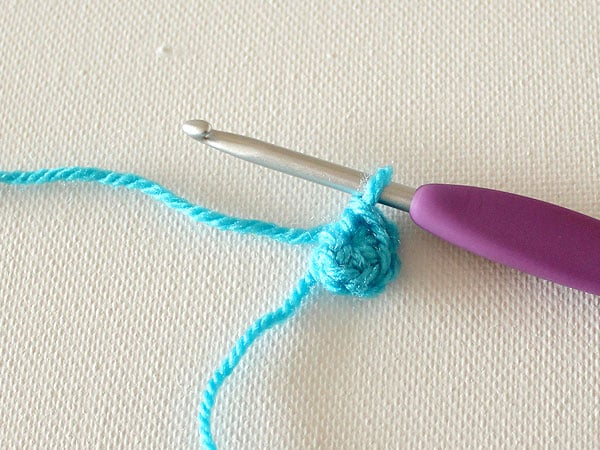
Work 6 single crochet stitches into the ring.
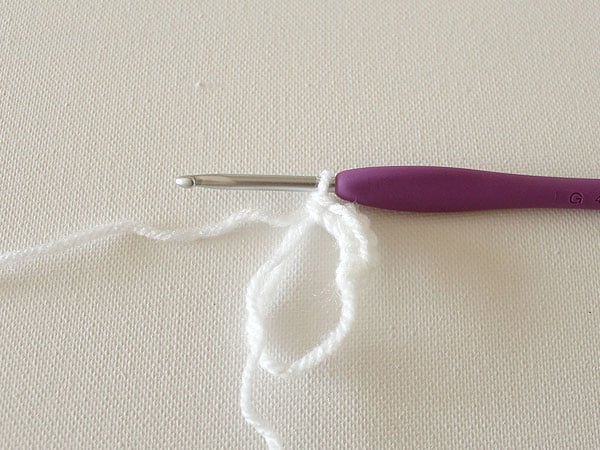
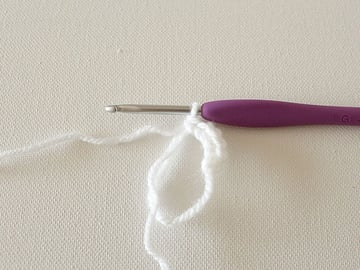
Pull on the yarn tail to close the ring.

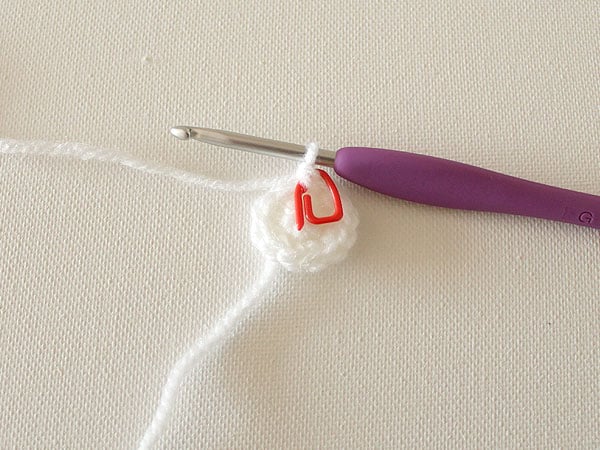
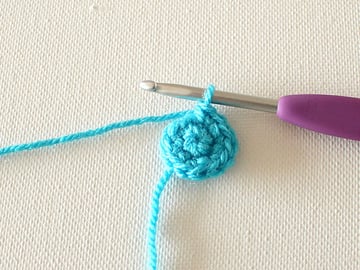
Step 2
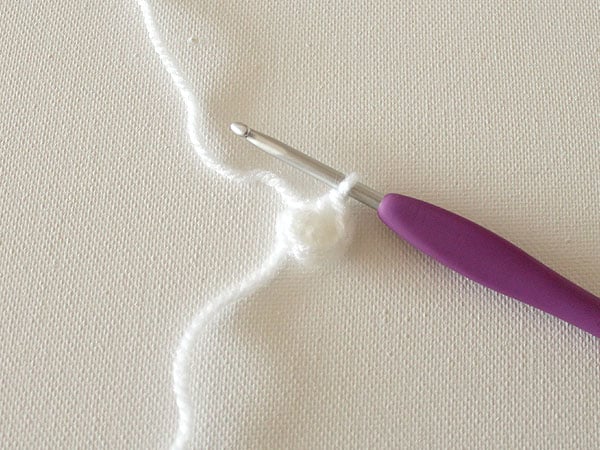
It's time to work in spirals now. Insert your hook into the first single crochet stitch you made, then work 2 single crochet stitches into each stitch around. This is called an increase; the abbreviation for that is inc. You'll end up with 12 stitches. Place your stitch marker on the last stitch; this will help you keep track of the beginning of each round.

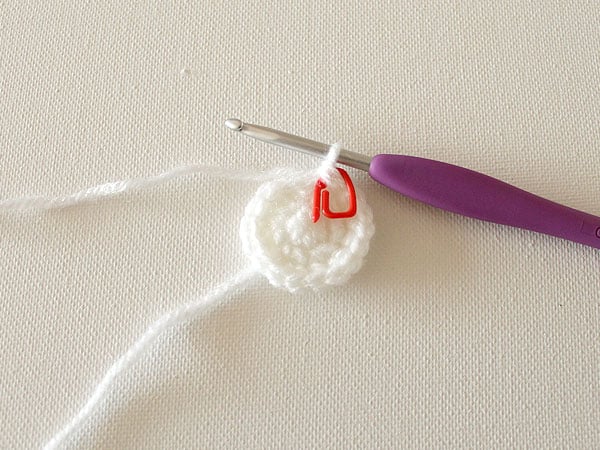
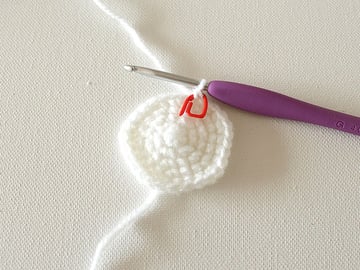
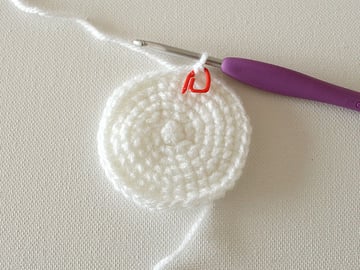
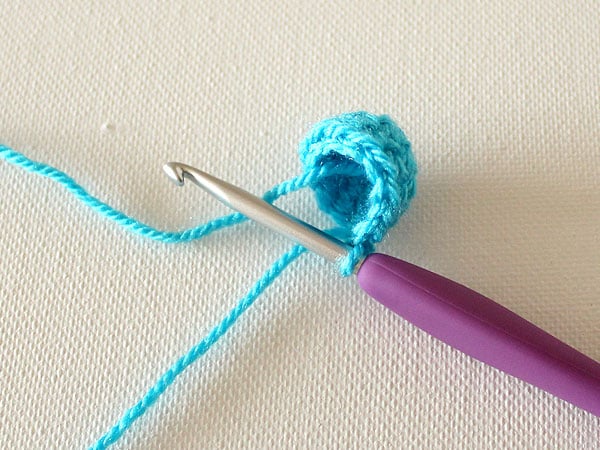
Step 3
Work *1sc, inc* around. Move the stitch marker. You now have 18 stitches.

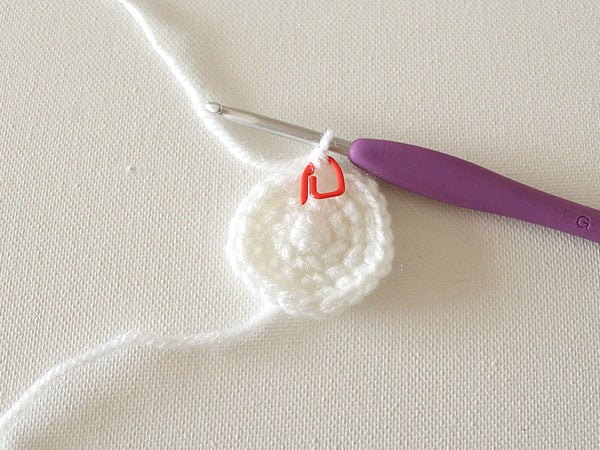
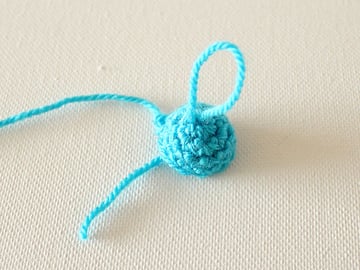
Step 4
Crochet the following: 1sc, inc, 2sc, inc, 3sc, inc, 2sc, inc, 3sc, inc, 2sc. Move the stitch marker. You now have 23 stitches.
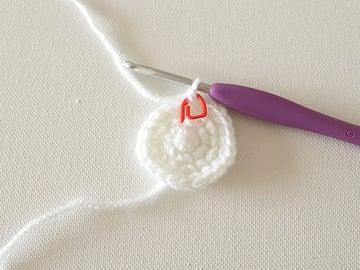
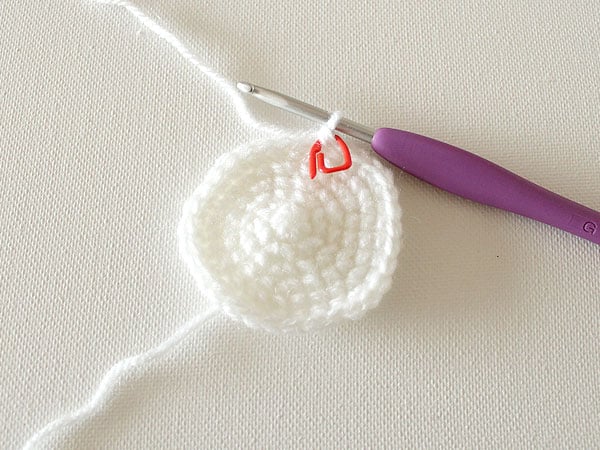
Step 5
Crochet the following: inc, 4sc, inc, 3sc, inc, 4sc, inc, 3sc, inc, 4sc. Move the stitch marker. You now have 28 stitches.

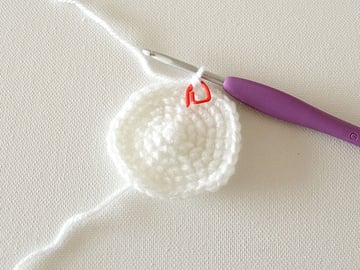
Step 6
Crochet the following: 3sc, inc, 6sc, inc, 6sc, inc, 6sc, inc, 3sc. Move the stitch marker. You now have 32 stitches.
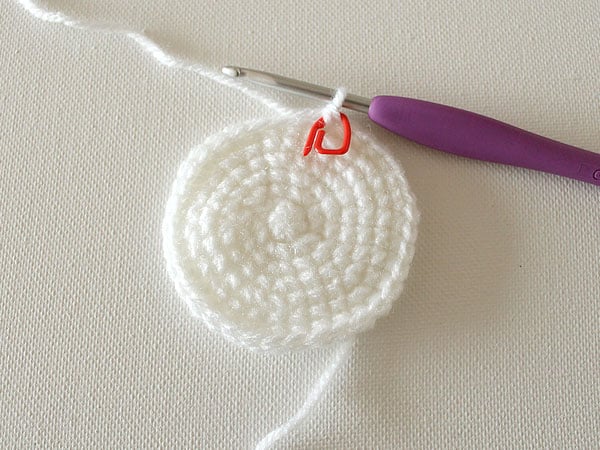
Step 7
Crochet the following: 5sc, inc, 9sc, inc, 9sc, inc, 6sc. Move the stitch marker. You now have 35 stitches.
Step 8
Crochet the following: 3sc, inc, 10sc, inc, 11sc, inc, 8sc. Move the stitch marker. You now have 38 stitches.
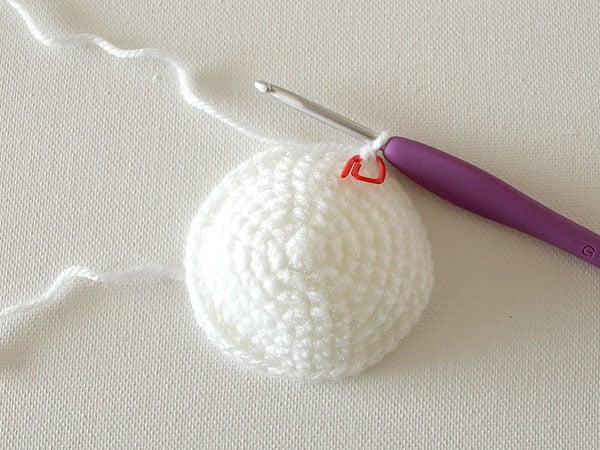

Step 9
Crochet the following: 12sc, inc, 25sc. Move the stitch marker. You now have 39 stitches. Your work should start to take shape now.

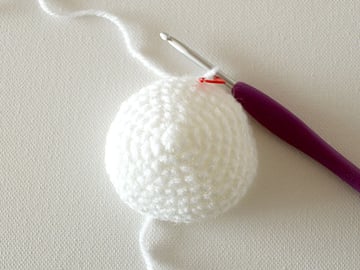
Step 10
Crochet the following: inc, 38. Move the stitch marker. You now have 40 stitches.

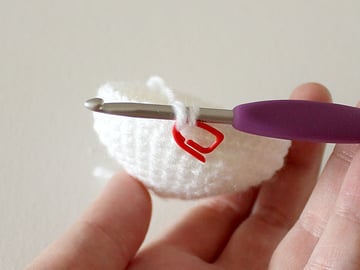
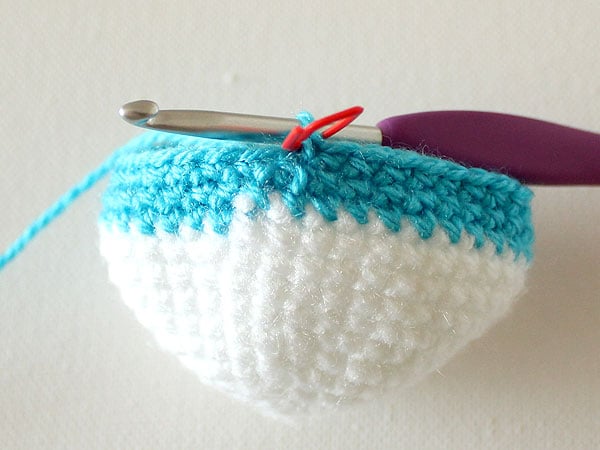
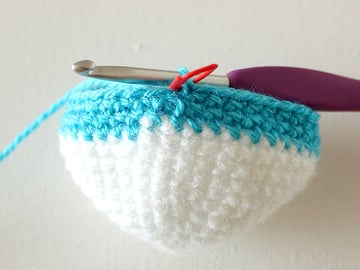
Step 11
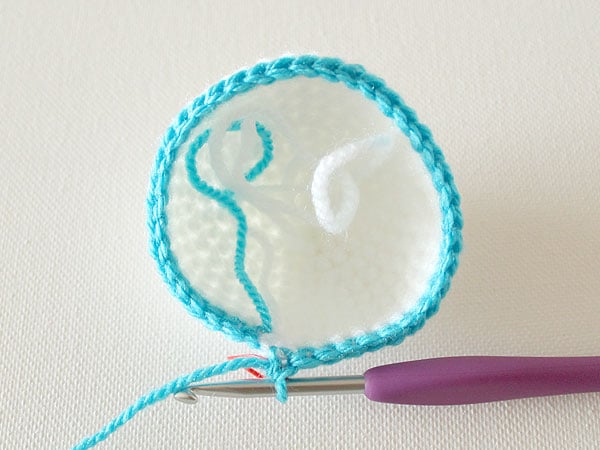
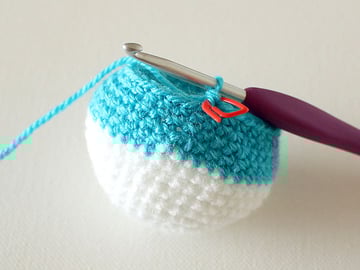
Cut the yarn. It's time to to change colour now. To do that, you need to unpick the last stitch haway, until you have two loops on your hook.

With your hook, draw the blue yarn through the two loops, finishing the stitch as you normally would, but with the blue yarn instead of the white yarn.

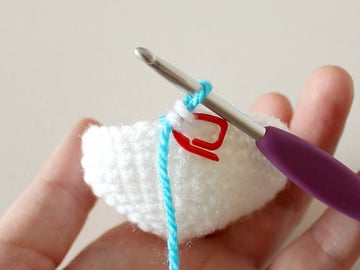
If you continue to crochet, you will see that you now have a very neat colour change!
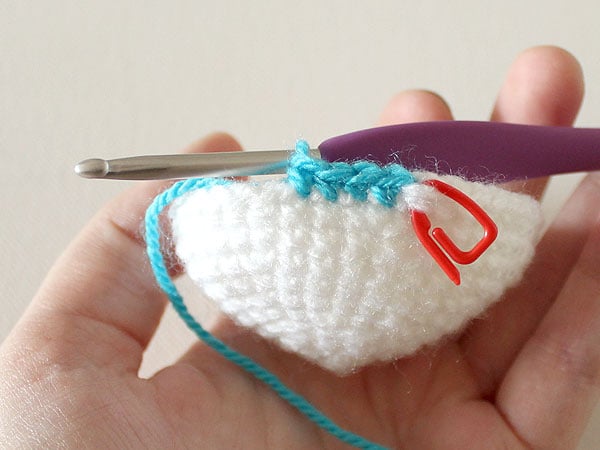
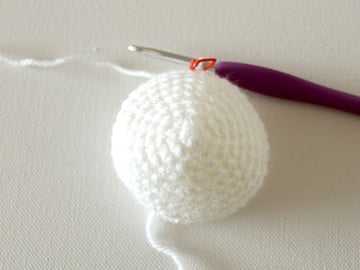
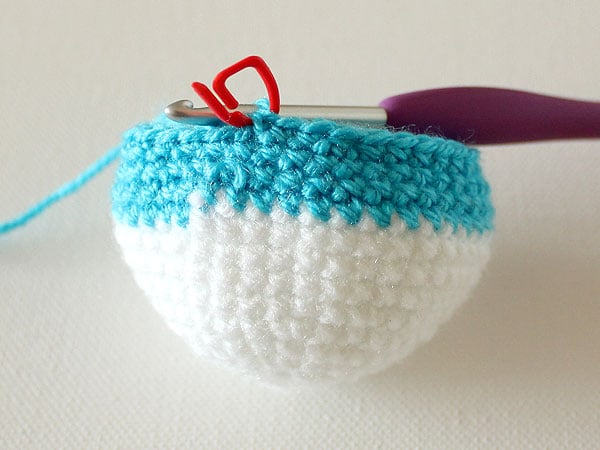
Step 12
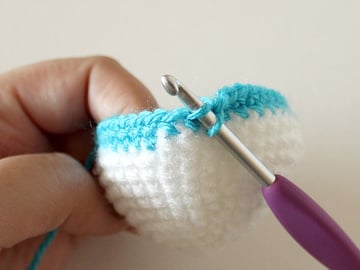
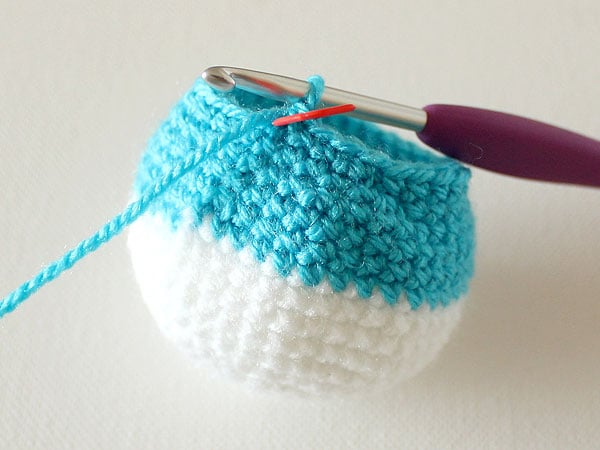
Crochet 1 single crochet in each stitch around. Move your stitch marker. You now have 40 stitches.

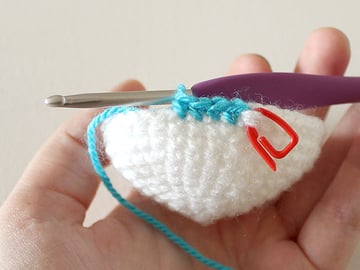
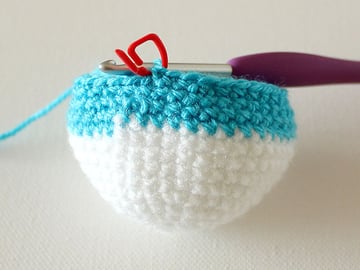
Step 13
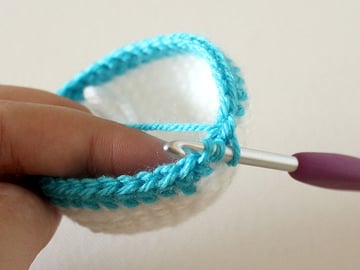
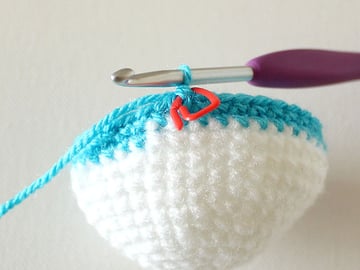
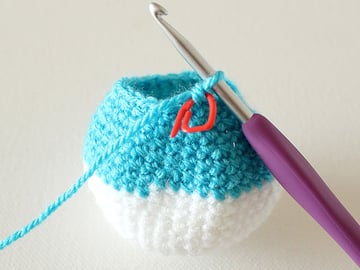
You're half-way now; time to start decreasing again. Work 38 single crochet stitches, then decrease the next two stitches. To do this, insert your hook through the front loop of the first stitch, then through the front loop of the second stitch; pull through a loop, and complete your single crochet stitch. This is called an invisible decrease, and the abbreviation is dec. Move your stitch marker. You now have 39 stitches.


Step 14
Crochet the following: 25sc, dec, 12sc. Move the stitch marker. You now have 38 stitches.
Step 15
Crochet the following: 8sc, dec, 11sc, dec, 10sc, dec, 3sc. Move the stitch marker. You now have 35 stitches.
Step 16
Crochet the following: 6sc, dec, 9sc, dec, 9sc, dec, 5sc. Move your stitch marker. You now have 32 stitches.

Step 17
Crochet the following: 3sc, dec, 6sc, dec, 6sc, dec, 6sc, dec, 3sc. Move your stitch marker. You now have 28 stitches.

Step 18
Crochet the following: 4sc, dec, 3sc, dec, 4sc, dec, 3sc, dec, 4sc, dec. Move your stitch marker. You now have 23 stitches.

Step 19
Crochet the following: 2sc, dec, 3sc, dec, 2sc, dec, 3sc, dec, 2sc, dec, 1sc. Move your stitch marker. You now have 18 stitches.

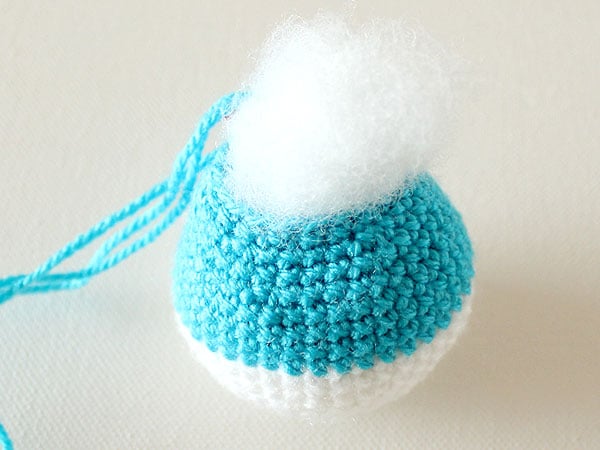
2. Stuff the Ornament
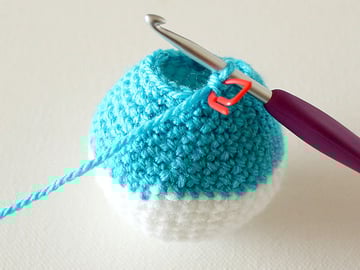
We're now going to stuff the ornament. Grab your stuffing and fill up the ornament to the edge.

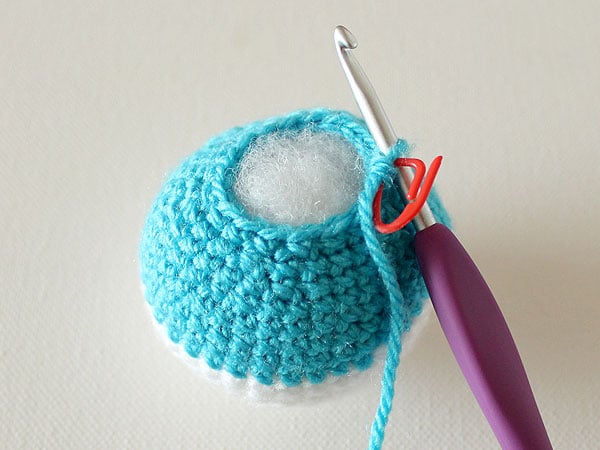
3. Continue to Crochet
Step 1
Crochet the following: *dec, 1sc* around. Remove your stitch marker. You now have 12 stitches.


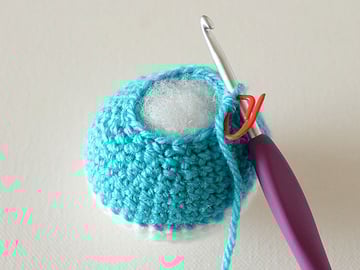
Step 2
Crochet 4 more decreases. Cut the yarn, and draw the tail through the last loop on your hook.
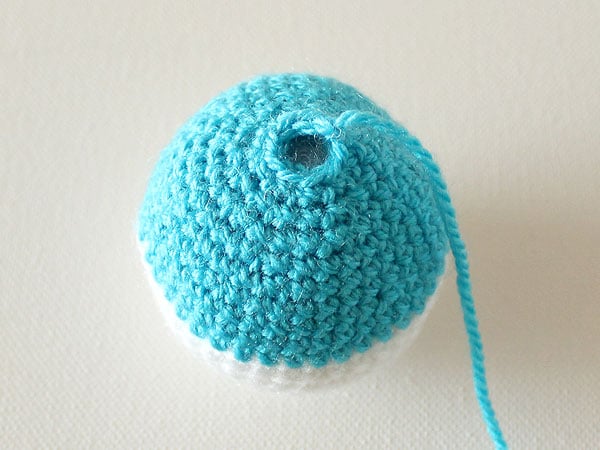

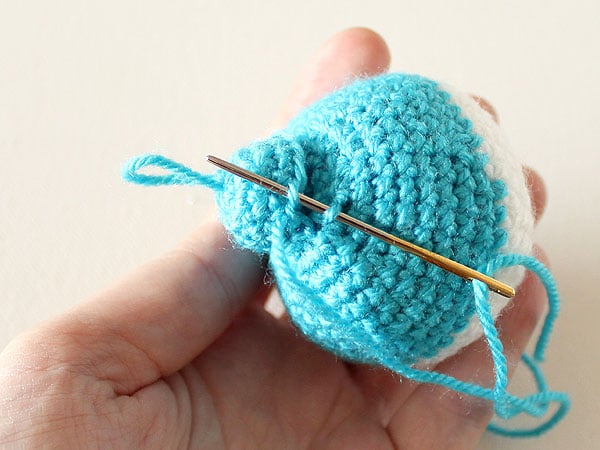
4. Close the Hole
Step 1
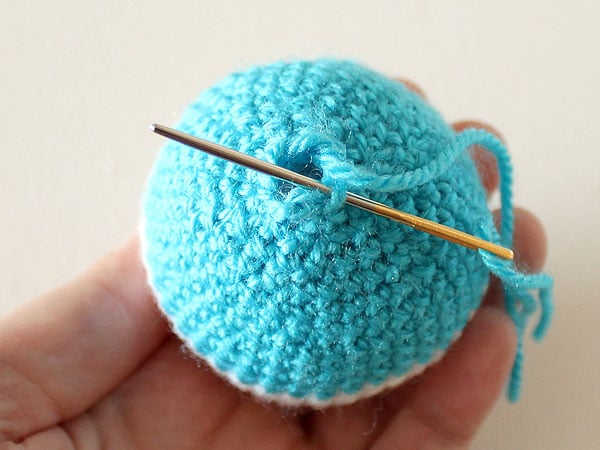
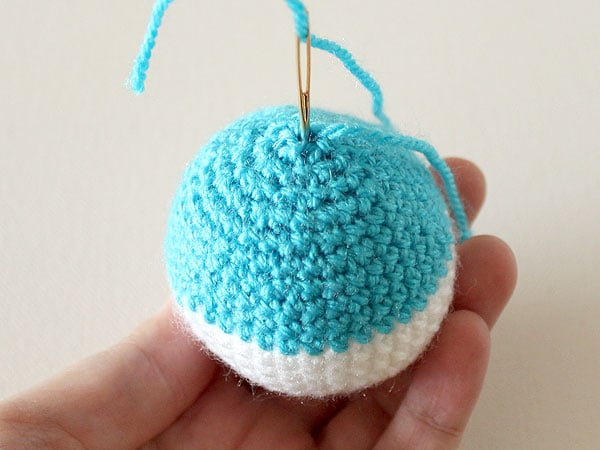
You will notice that there's a tiny hole on top of your ornament. To fix this, grab your darning needle and thread the yarn tail. Weave your needle through the front loops of the final stitches. Pull on the tail to close the hole.


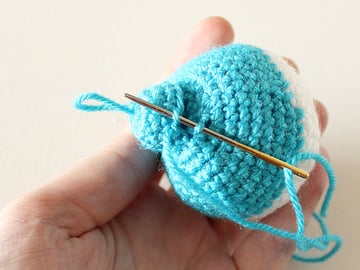
Step 2
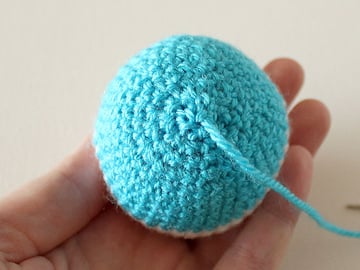
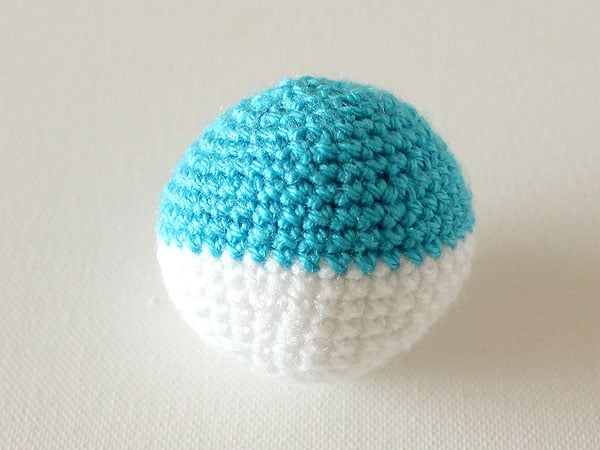
To sew in the end, cross your needle through the ornament a couple of times. This tangles the yarn on the inside with the stuffing. When you've crossed the ornament a couple of times, cut the yarn. Your ornament is finished!


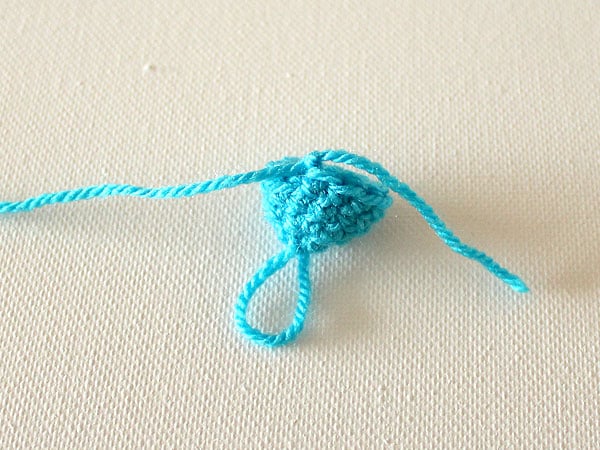
5. Crochet the Loop
To give your ornament a finished look, we're now going to crochet the little loop that goes on top.
Step 1
With the blue yarn, make a magic ring and secure with a stitch. Be sure to leave a long tail.
Work 6 single crochet stitches into the ring. Pull on the yarn tail to close the ring.
Step 2
Crochet an increase into each stitch around. You now have 12 stitches.

Step 3
Crochet two more rounds of single crochet stitches, 24 stitches in total. Cut the yarn, leaving a long tail.

Step 4
Pull the starting tail through the centre of your piece. Tie the end to the other tail. This secures the loop.


Step 5
Place the piece on top of your ornament, and use the tail and your darning needle to sew it to your ornament.
And that's it! Your ornament is finished.

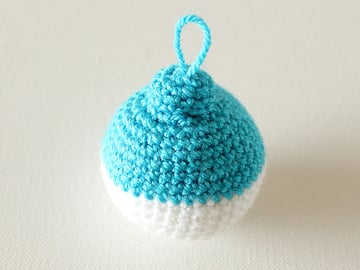
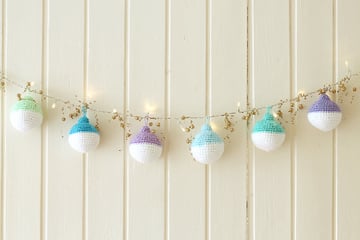
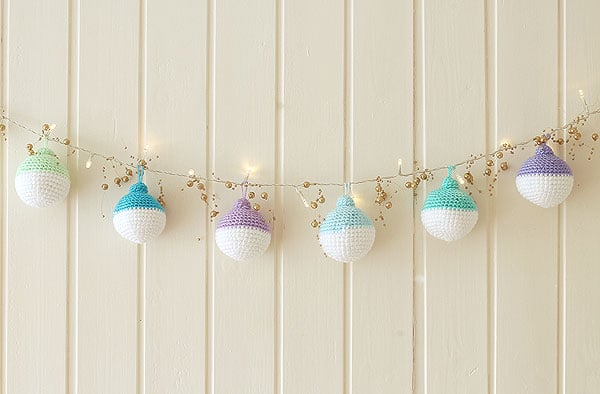
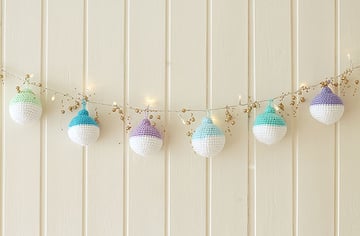
Hang Your Ornaments
You can vary this pattern endlessly to give your ornaments a personalised touch! Make ornaments with more colour changes; block colours; neon colours; or you can crochet the ornament through the back loops only, for a more ridged look. The sky is the limit!

Do you love this project? Are you going to make one in your own colour scheme? We’d love to see your work! Let us know if you have any questions or other comments in the space below.
 By
By


