
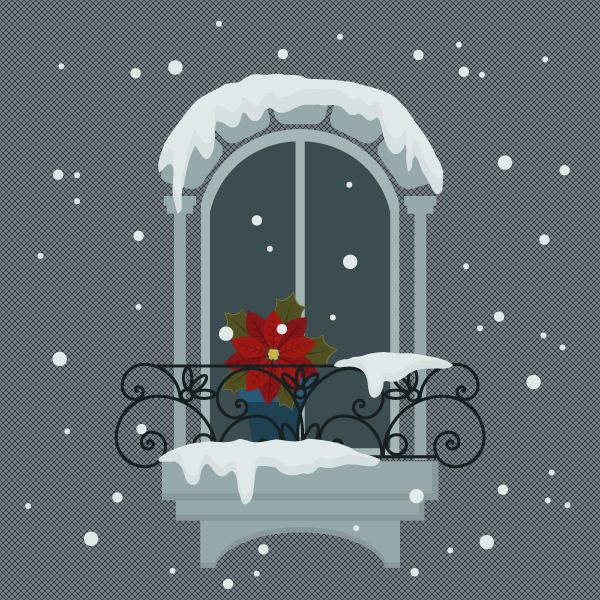

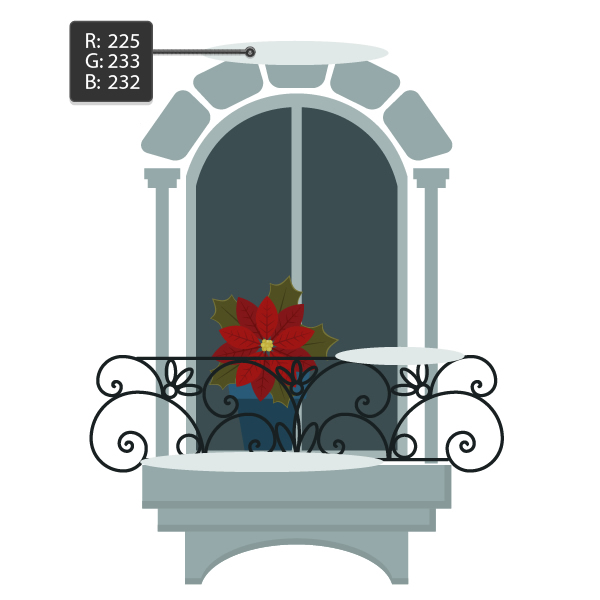
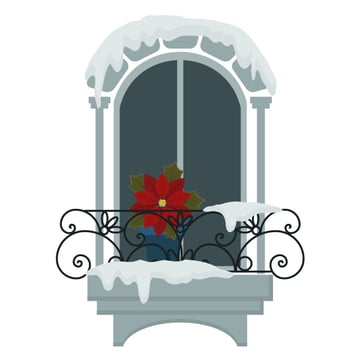
In some countries, the winter has already begun. Big city streets are covered with sparkling lights and snow, and people are wearing layers of warm clothes. When you stroll through the street, do you ever wonder what people are doing at home in this cold weather? I sometimes do… I like walking through the streets as the warm yellow lights peek through windows, pushing me to get home soon to have a cup of coffee. That's why I decided to create one of the windows with snow and poinsettia on the windowsill.
In this tutorial, you will use basic shapes and Warp Effects, and will learn how to use the Spiral Tool for the window's iron security bar. You will also see how easy it is to create a poinsettia using just basic shapes. To illustrate the snow, you will use the Warp Tool. It sounds as if a lot is going on, but it’s a pretty simple tutorial with awesome results!
If you want to see more inspiration before you start, check out Envato Market. It's always a place where you can get lots of ideas!
1. Draw the Window Shape
Step 1
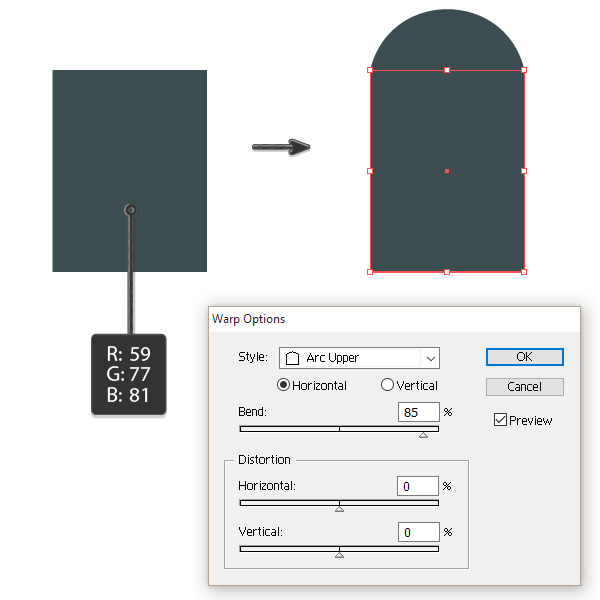
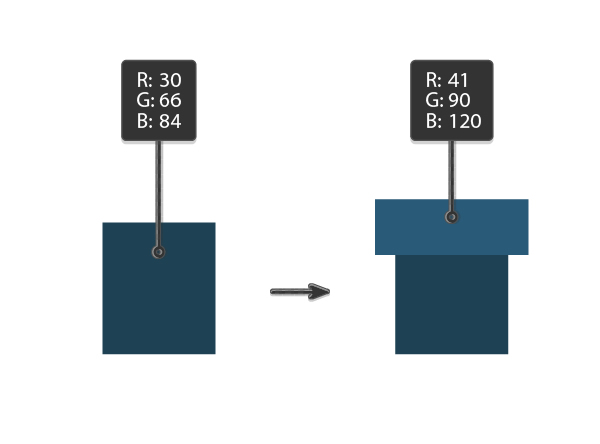
To draw a window shape like this, we will start from a regular rectangle. Hit the Rectangle Tool (M) and create a basic rectangle. Fill it with a dark gray color without any strokes. Keeping it selected, go to Effect > Warp > Arc Upper and adjust the options you see below:

Step 2
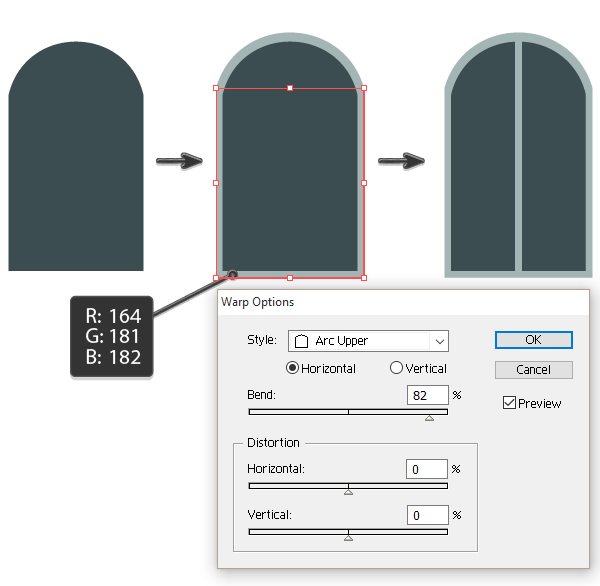
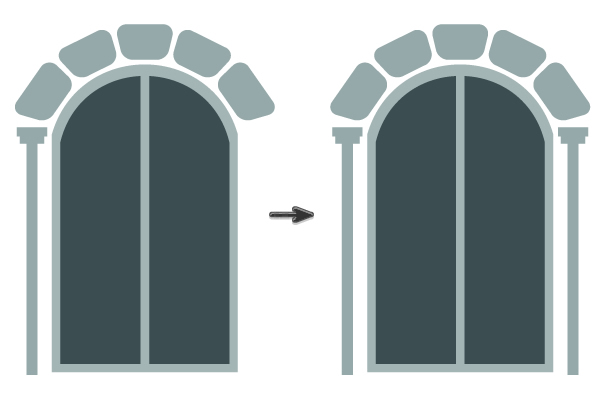
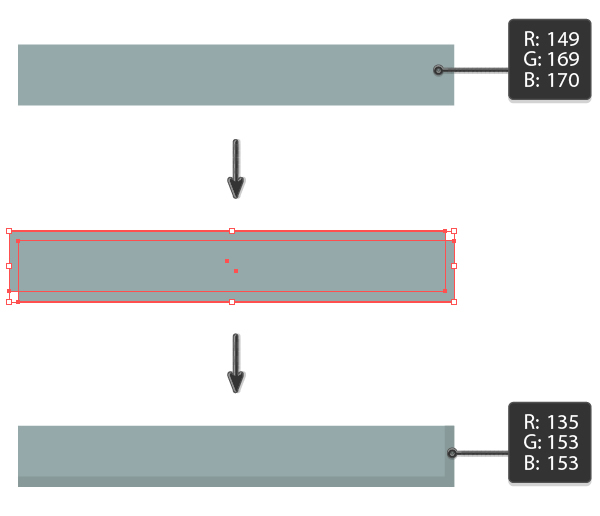
Now we will create the window frame with a light-gray fill color. Still keeping the shape you created in the previous step selected, go to Object > Path > Offset Path. In the new dialogue window, enter Offset around 7 or 10 px, depending on how big your window is. Continue filling out the rest of the dialogue window: Joins: Miter, Miter limit: 4. Then click OK. Change the fill color of the new shape (as shown in the image below).
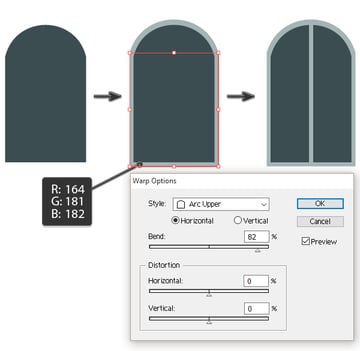
You can also see in the image below that the Warp Options are a little lower (compared to the previous step).
To finish off the window frame, draw a long rectangle in the middle of the window.
Step 3
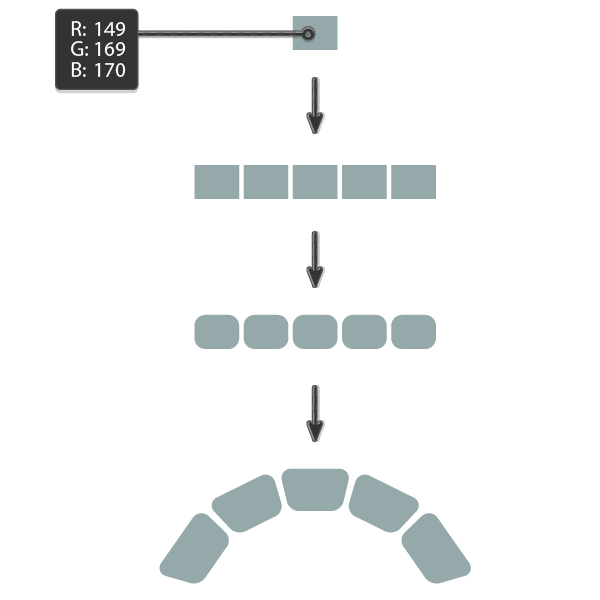
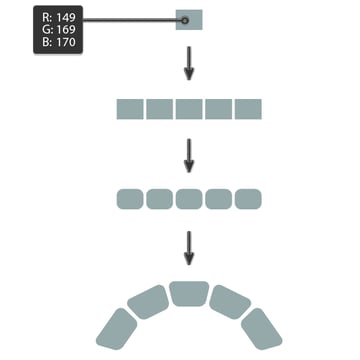
In this step, we will create some bricks above the window as decoration.
Using the Rectangle Tool (M), draw a rectangle. Keep it selected and
start to move this rectangle to the right, while holding the Shift and
Alt keys together. Then keep pressing Control-D to repeat your last
movement. Make five of them. Then group the rectangles (right-click >
Group).
Now we want to make the round edges. Select all the rectangles and go to Effect > Stylize > Round Corners. In the new dialogue window, enter Radius 10 px. You can always check Preview and see what will happen. Then click OK.
Now, let's make an arch from the bricks. Make sure that you have grouped them. Go to Effect > Warp > Arc, and adjust the options you see in the second image below.
Here, you can see the Warp Options:

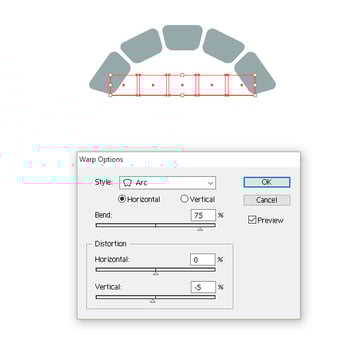
Place the brick arch above the window.


Step 4
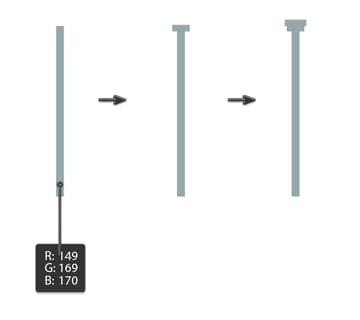
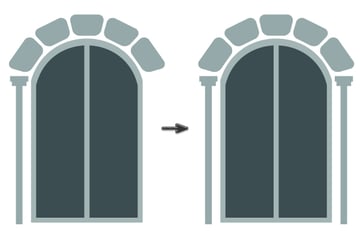
Let’s move on and create columns on both sides of the window. They will be combined from a few rectangles. First create a long vertical rectangle, then a little horizontal one on top of the long rectangle, and then one more horizontal rectangle on the top. That's it.

Step 5
Go ahead and group the column, so that it will be easier to place it near the window. Then copy-paste the column and put the copy on the other side of the window.
Step 6
The next architectural detail will be the outer windowsill. Draw a rectangle once more. Keep it selected, hold Shift-Alt, and drag diagonally to the left and upwards. You will get a copy of this rectangle—now you have two of them.
Then select the first rectangle again and press Control-C, Control-F. You just created a copy again—keep it selected. Holding the Shift key, select the copy you moved diagonally. Go to the Pathfinder panel and press the Minus Front button. Now you've got the L shape. Change the fill color of it and group the whole block of the outer windowsill.

Step 7
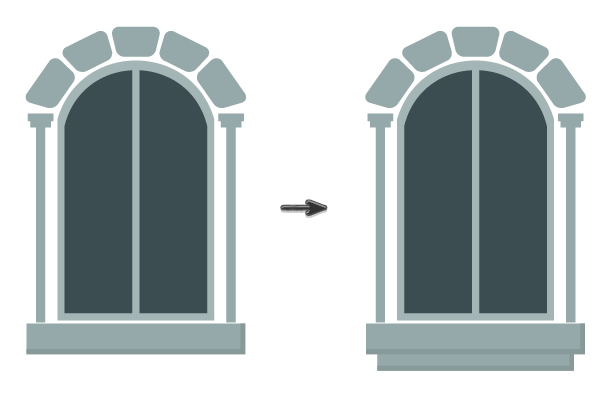
Place this block of the outer windowsill under the window. Create another copy of it behind (Control-C, Control-B) and move it a little lower and make it slightly smaller.

Step 8
Let's move on to our final architectural detail of the day. We will create it using the same method as we did for the first block of the windowsill.
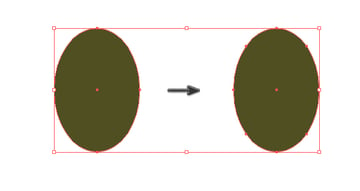
First, create a rectangle. Then create an ellipse using the Ellipse Tool (L) with any fill color. Select both of them and press Minus Front in Pathfinder. You will get a shape similar to an arch. Then we need to add dimension as we did for the first block of the windowsill.


Place the arch under the windowsill blocks.


2. Create the Poinsettia
Step 1
First, we want to create the flowerpot where the poinsettia will grow. Just draw two rectangles and put them together as you see in the image below.

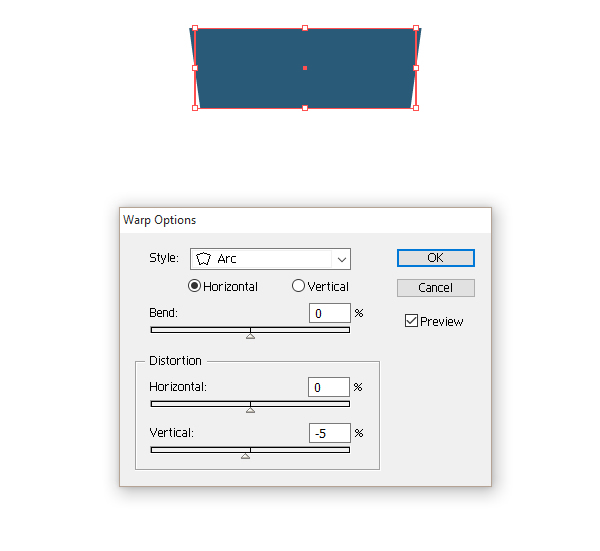
Step 2
To make the rectangles look more like a flower pot, let's adjust some warp options. Here goes the first one:
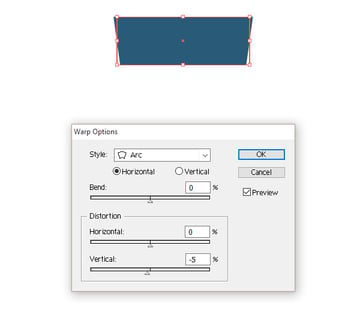
And the second one:

Step 3
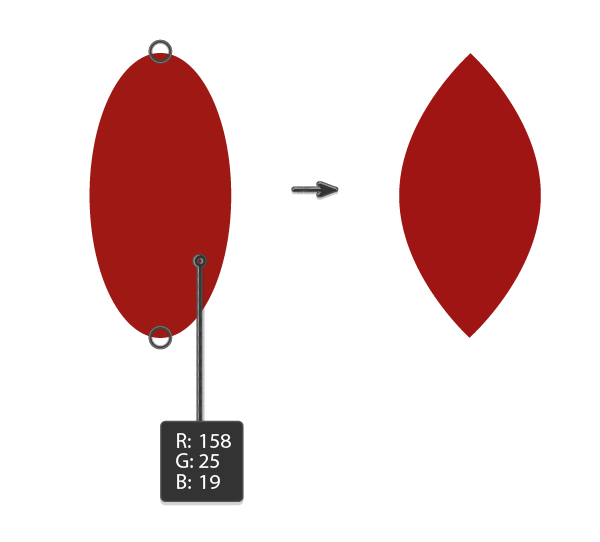
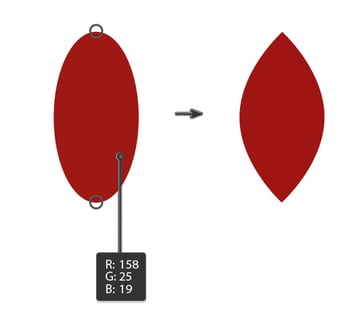
Let's start to draw the poinsettia. Once you have an ellipse, pick the Convert Anchor Point Tool (Shift-C), and make sharp anchor points by clicking on the top and bottom anchor points. You'll get a simple leaf shape.
Step 4
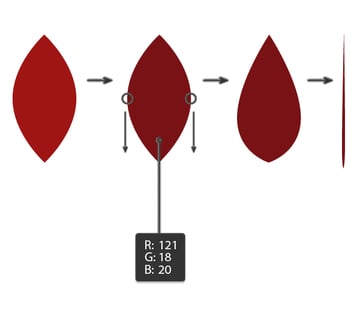
Create a copy of the previous shape and change the fill color. Select the left and right anchor points of this darker copy by using the Direct Selection Tool (A) and move them down a little. Then make it very narrow. You just created the petiole of the leaf.

Step 5
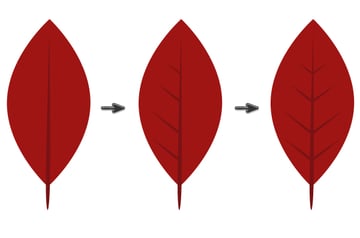
Place the petiole on the leaf. Create a few copies of the petiole and place them on the left side of the leaf to make the veins. After that, hit the Reflect Tool (O); while holding down the Alt key, click on the center of the leaf. In a new dialogue window, enter Vertical, Angle 90 degrees and press Copy. One leaf is ready! Group it (right-click > Group).

Step 6
Keep the leaf selected and hit the Rotate Tool (R). Click right under the leaf. In a new dialogue window, enter Angle 72 degrees and press Copy. Press Control-D three more times.


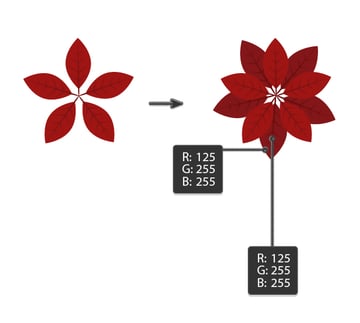
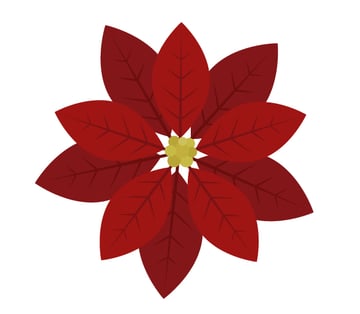
Step 7
As we want denser foliage, we will create a copy of the five leaves behind (Control-C, Control-B) and change the fill color of every new leaf, stalk and vein. You can rotate the bigger leaves to make them more visible and, of course, a little bigger.

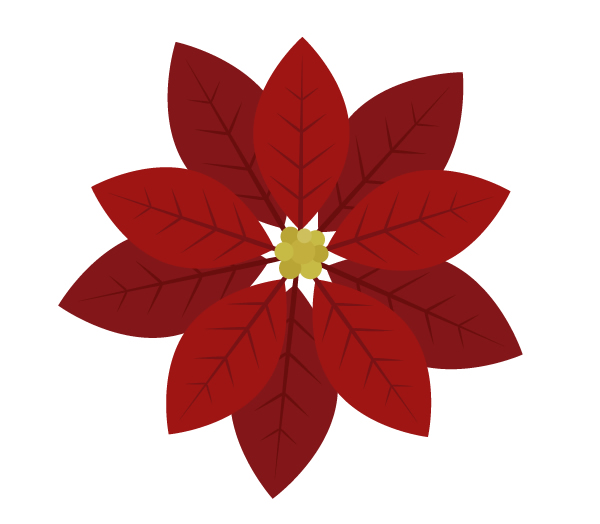
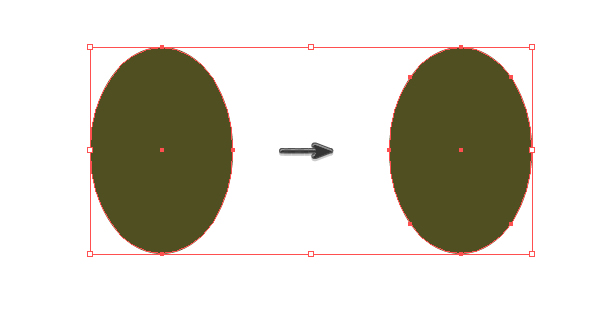
Step 8
Add a few yellow circles in the middle using the Ellipse Tool (L). Don't forget to hold the Shift key while creating an even circle. For the fill color, try to choose on your own—a few darker ones, and a few lighter ones.
Step 9
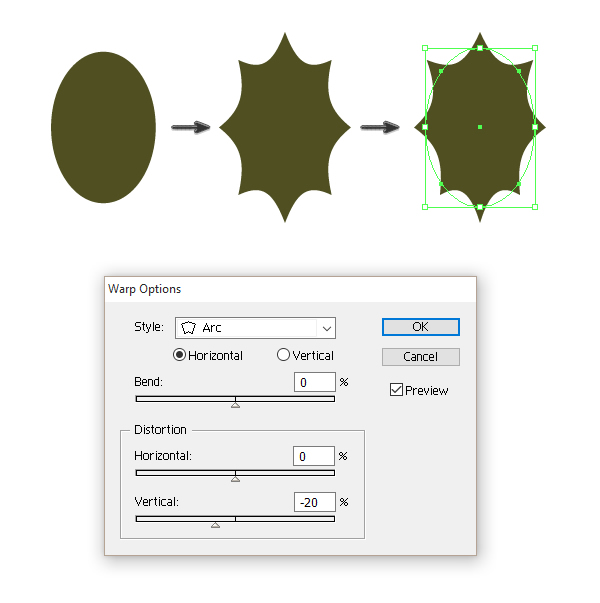
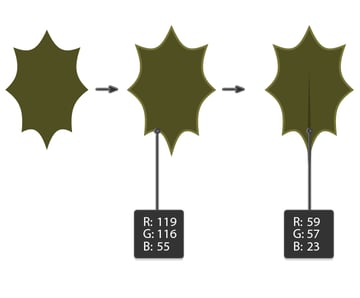
Let's add a green leaf. Create an ellipse and add some more anchor points to it by going to Object > Path > Add Anchor Points.
Step 10
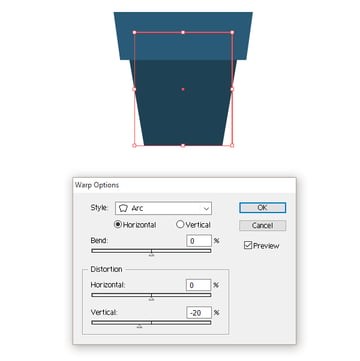
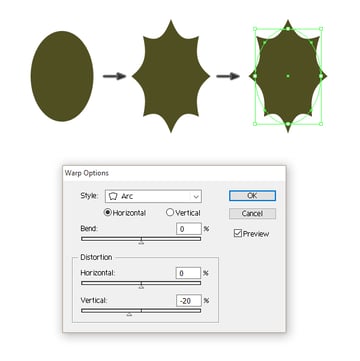
Then go to Effect > Distort & Transform > Pucker & Bloat and set the slider to -20%. But to make it look more like a leaf, we still need to apply the Warp Options shown below. Then expand the leaf: Object > Expand Appearance.
Step 11
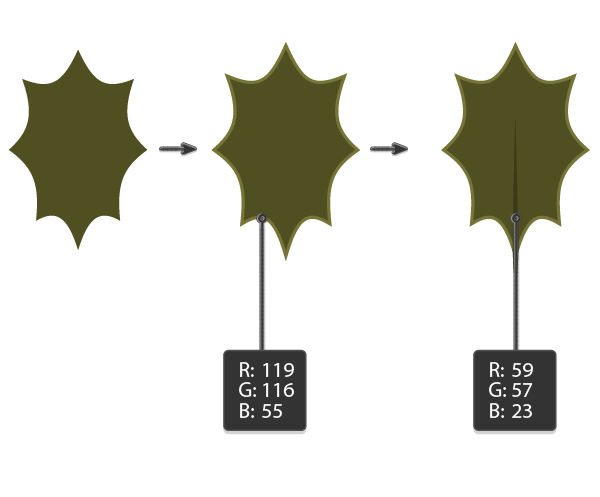
To add dimension to the leaf, go to Object > Path > Offset Path. After a new dialogue window pops up, enter Offset 3 px and press OK.
Remember the petiole you created for the red leaf? Take a copy of it for your green leaf. Change the fill color and place it as shown below. Group the green leaf together.
Step 12
Make four more green leaves and place them behind the red ones in any way you want.

Step 13
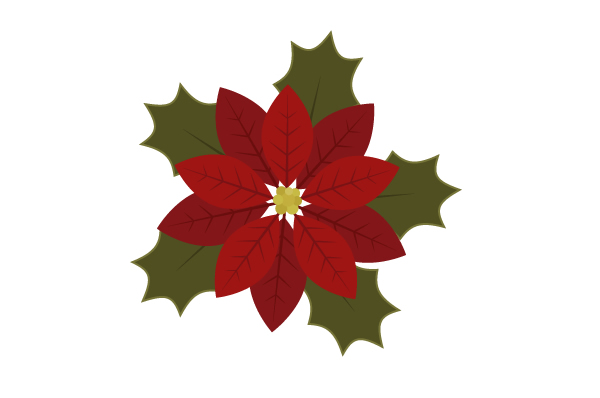
Place the whole plant into our flower pot.


Step 14
And of course, put it on our lovely window.


3. Create the Iron Security Bar
Step 1
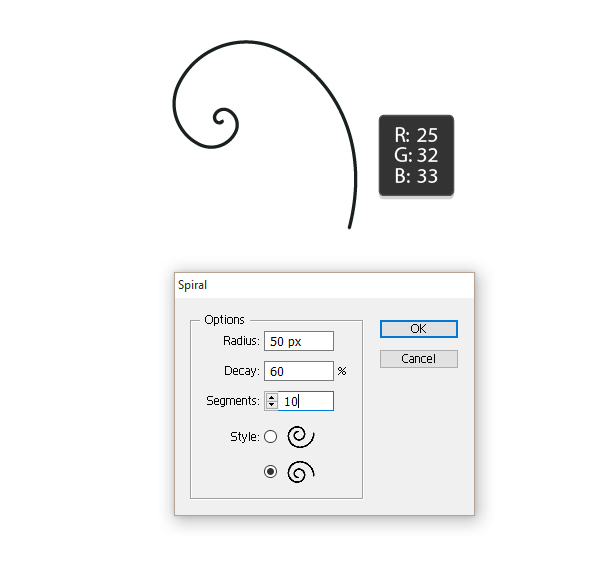
To create the iron security bar on the window, we will use the Spiral Tool. First, delete the fill color and set the stroke color you see below. Then take this tool and click on your art board. Enter the following options and click OK. Do not forget to check Round Cap on the Stroke panel.
Step 2
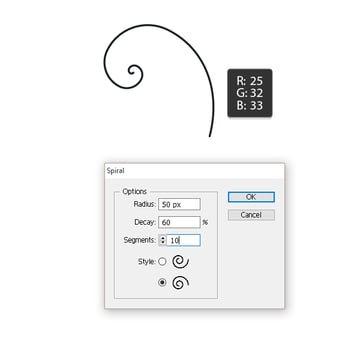
Here, you can use your own imagination or feel free to copy the pattern
you see below. Create a few spirals with different Radius, Decay and
Segments, and combine them in a beautiful pattern. You can also add
ellipses. Remember, you can just design half of the pattern and then
reflect it to complete the other side.
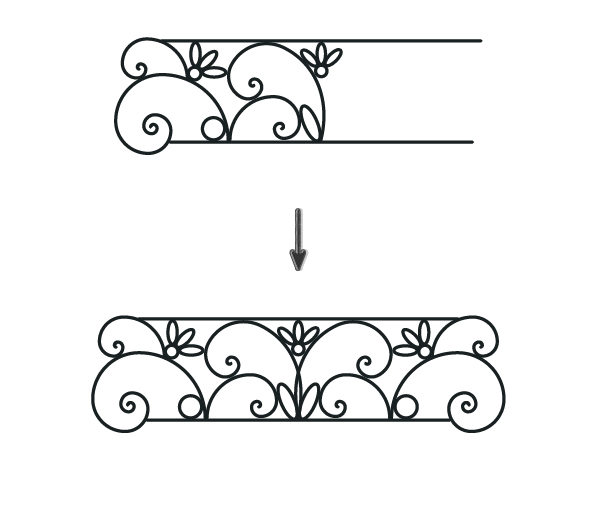
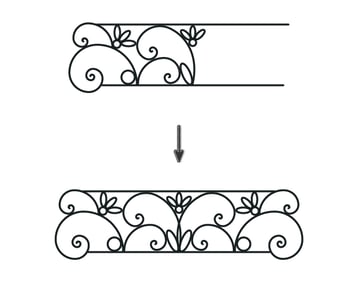
After you've finished your iron security bar, put it on the window.
4. Create the Snow
Step 1
Now here's a slightly funny way to create the snow. Start with a regular ellipse. Place it where you want to have some snow.

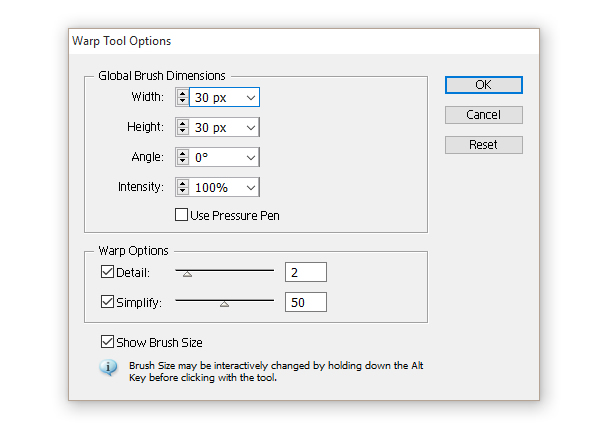
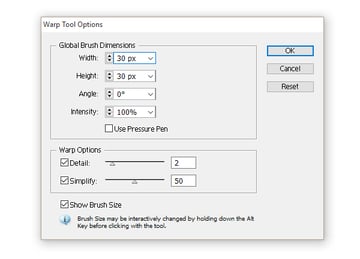
Step 2
Double-click on the Warp Tool (Shift-R). Enter the following options:
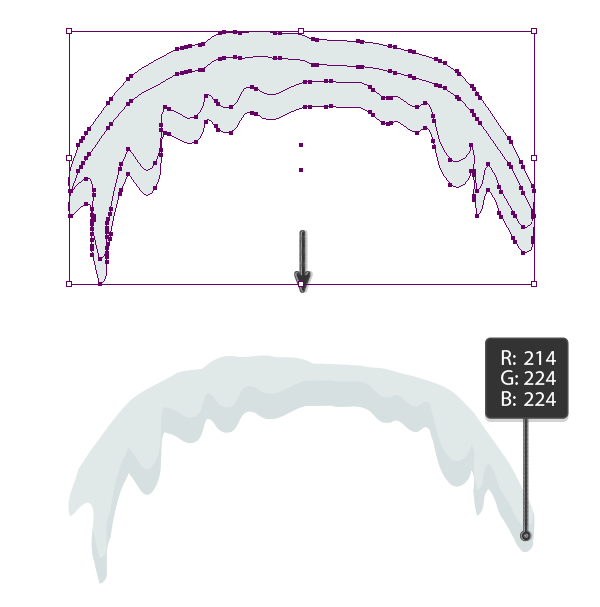
Select the ellipse that we just placed as snow, and start to spread it over the bricks.
Very important: select the object before you use the Warp Tool (Shift-R), otherwise you will spread other objects surrounding it.


Step 3
To add some volume to the snow, select it and while holding the Shift and Alt keys together, move it up. You will get a copy. Select the first shape again and make another copy in front (Control-C, Control-F). Keep this copy selected, and then also select the copy you moved up. After that, press Minus Front in Pathfinder. Change the fill color in the new shape.

Step 4
Add volume to all the snow using the same method.

5. Create the Background
Step 1
Draw a gray rectangle at 600 px Width and 600 px Height. Place it behind everything.
Step 2
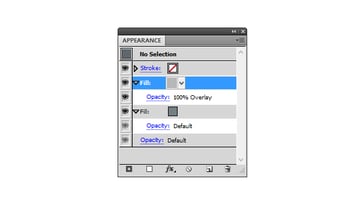
Look at the Appearance panel. Click on the tiny triangle on the top right corner and in the pop-up menu select Add New Fill. Now look at the Swatches panel. Go to Swatches > Patterns > Basic Graphics > Basic Graphics_Textures and select the Diamond pattern for this new fill. Set the Opacity to Overlay.


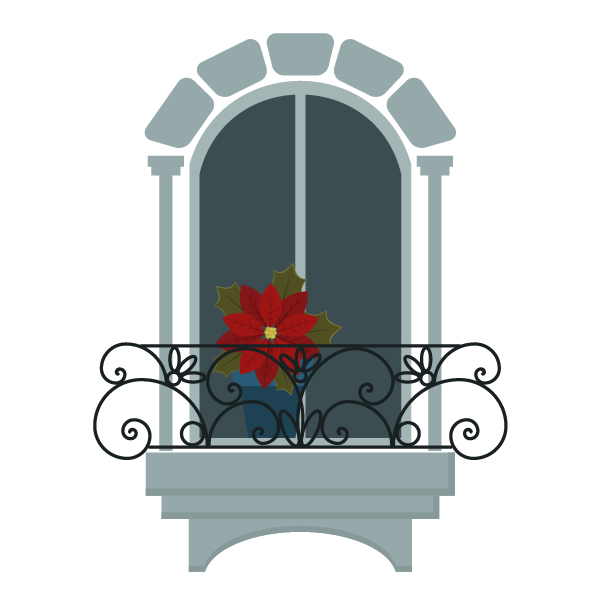
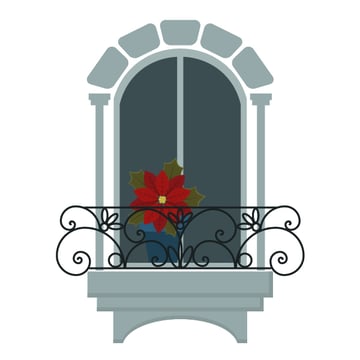
Here’s how our illustration should look now:
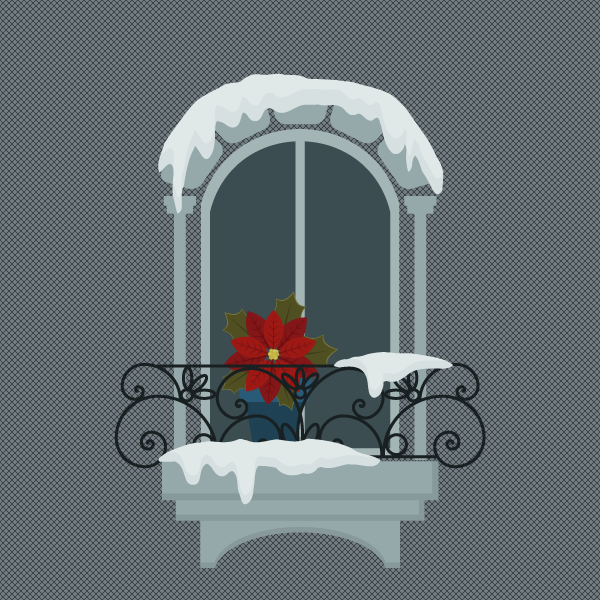

6. The Final Touches: Add Falling Snow
Let's add some atmosphere to our illustration with falling snow. Using the same fill color as for the snow, draw different-sized circles and spread them around the illustration. Look! Our wonderful snowy scene is now ready!


Conclusion
I hope you've enjoyed drawing this illustration. I'm very excited to see your results, especially which window iron security bar you've designed! As always, if you find something tricky, please tell me in the comments below and I will try to help you out. Stay warm!
 By
By


