


This effect adds rustic charm to any typography, is quick and easy to create, and is a great way of mocking up logos or signage. We’ll use Adobe InDesign’s Effects window to develop depth, highlighting, and shadowing.
Have 15 minutes? What are you waiting for?
If you're on the hunt for more great fonts to use in your text effects, head on over to Envato Elements to browse a huge range of display typefaces and text effect PSDs you can use in Adobe InDesign.


If you'd like this tutorial in video form, our Envato Tuts+ YouTube channel has you covered. You can follow along step by step with this video tutorial by instructor Ashlee Harrell:

What You'll Learn in This InDesign Text Effect Tutorial
- How to set up the wooden backdrop for your effect
- How to create your burn effect
What You’ll Need to Create Your Text Effect
As well as access to Adobe InDesign, you’ll also need to download the following image and font files:
- Rustic wood texture
- Douglas-Calgury Block font (from the Douglas Collections pack)
1. How to Set Up the Wooden Backdrop for Your Effect
Step 1
Open up InDesign and go to File > New > Document. You can set up your page to any size, but here I’ve set it up as Landscape A3. When you’re ready, click Create.
Expand the Layers panel (Window > Layers) and double-click on Layer 1 to rename it as Background.
Create three new layers above this, in this order—Smudge, Type, and finally Highlight at the top.
Then lock all the layers except Background.


Step 2
Working on Background, use the Rectangle Frame Tool (F) to create an image frame across the whole page.
File > Place, navigate to the wood texture image you downloaded earlier, and Open, allowing it to fill the whole frame.


Step 3
Lock the Background layer and unlock the Type layer.
Expand the Swatches panel (Window > Color > Swatches), and choose New Color Swatch from the panel’s drop-down menu.
Set the CMYK levels to C=71 M=79 Y=66 K=92, and click Add and then OK.
Repeat to create three more CMYK swatches:
- C=26 M=75 Y=89 K=21
- C=8 M=46 Y=42 K=1
- C=43 M=65 Y=48 K=48


Step 4
Choose New Gradient Swatch from the Swatches panel’s menu.


Name the swatch Burn Gradient and set the Type to Radial.
Click on the left-hand stop on the Gradient Ramp, and choose your new dark swatch, C=71 M=79 Y=66 K=92, for this.
Set the right-hand stop to your pale swatch, C=8 M=46 Y=42 K=1. Then click on the ramp to add a central, third stop, setting this to C=26 M=75 Y=89 K=21.


2. How to Create Your Burn Effect
Step 1
Still working on the Type layer, use the Type Tool (T) to create a text frame centrally on the page. Type to add the soon-to-be burnt text into wood and set the Font to Douglas-Calgury Block.


Here, I’ve also added text frames above and below this central wood text frame.


I also add a framing circle around the burnt font using the Ellipse Tool (L), and increase the Weight of the circle’s stroke to 23 pt from the Stroke panel (Window > Stroke).


Step 2
When you’ve finished formatting your burnt font, Right-Click > Group all of the elements together.


Edit > Copy and Edit > Paste the group, moving the copy over onto the pasteboard.


Step 3
To format your effect you may find it easier to Right-Click > Ungroup the original type elements sitting on the page.
Select each text frame individually and apply the Burn Gradient swatch as the Font Color of each.


Also apply the Burn Gradient to any other elements, like the circle shape here. This will help with the burnt wood look.


You can use the Gradient panel (Window > Color > Gradient) to adjust the gradient on each text frame individually. Try shifting the Angle, reversing the gradient, or moving the gradient stops on the ramp at the bottom to create a deep, dark gradient effect on each text frame.


Step 4
Select all the wood text frames and shapes and go to Object > Effects > Transparency. Set the Mode to Multiply and bring the Opacity down to 90%.


Step 5
Click on Inner Shadow in the Effects window’s left-hand menu.
Click on the colored square next to the Mode menu, and from here change the Effect Color to C=71 M=79 Y=66 K=92, and click OK.
Back in the Inner Shadow menu, set the Distance to 1 mm, Size to 3 mm, Choke to 25%, and Noise to around 15%.


Step 6
Click on Outer Glow in the Effects window’s menu. Adjust the Mode to Normal and Opacity to about 90%.
Change the Effect Color to C=26 M=75 Y=89 K=21.
With the Technique set to Softer, increase the Size to 5 mm, Noise to 25%, and Spread to around 45%.


Step 7
Finally, click on Inner Glow in the left-hand menu. Switch the Mode to Normal, Opacity to about 85%, and switch the Effect Color to C=8 M=46 Y=42 K=1.
Set the Technique to Softer, Source to Edge, Size to 2 mm, and Noise to around 25%.


Then click OK to exit the Effects window. As you can see, the burnt text into wood feel is starting to appear.


Step 8
Select the grouped elements which you moved over to the pasteboard earlier. Move this over on top of the elements sitting on the wooden background, placed slightly to the right, as shown below.
In the Layers panel, expand the Type layer by clicking on the arrow to the left of the Type name. Drag the <group> element down onto the Create New Layer button at the bottom of the panel, to duplicate it.
Then unlock the Smudge layer, and drag one of the two <group> elements down, dropping it onto the Smudge layer. Then you can lock the Type layer.
Working on the <group> now positioned on the Smudge layer, apply the Burn Gradient swatch to each element of this copy of the typography. Use the Gradient panel (Window > Color > Gradient), as before, to adjust the angle and position of the gradient on each section of the type.


With the <group> selected, go to Object > Effects > Transparency. Set the Mode to Soft Light and click OK.


Step 9
Expand the Smudge layer and drag the <group> element down onto the Create New Layer button, to duplicate the <group>.


Unlock the top layer, Highlight, and drag one of the <group> elements up onto this layer.


Lock the Smudge layer, working on Highlight.
Select the group of type elements on this page and shift its position slightly to the left. Then go to Object > Effects > Transparency. Set the Mode to Screen and click OK.


Your Finished Burnt Font Text Effect
Your burnt wood text effect is finished—awesome job!


You can now incorporate your burnt wood look text effect into other InDesign work, or go to File > Export to create a JPG, PNG, or PDF version of your effect.
Cool Adobe InDesign Text Effects From Envato Elements
A great way to give a twist on a text effect is to use a different typeface style. You can find a huge range of awesome fonts to use in your text effects over on Envato Elements.
Did you know that you can also open Photoshop PSD text effects in InDesign? That opens up an extensive creative world of assets, like the ones found on Envato Elements. Here's just a small sample of the ones you can add to your creative projects.
1. Smoke Logo Text Effect (PSD)
The burnt wood look is great, but where there's fire, there's smoke. Adopt that aesthetic with this well-crafted text effect PSD. All you need to do is add your text or symbol to the Smart Object layer. Its simplicity makes it a top Adobe InDesign text effect.
2. 3D Wood Text Effect PSD Template (PSD, JPG)
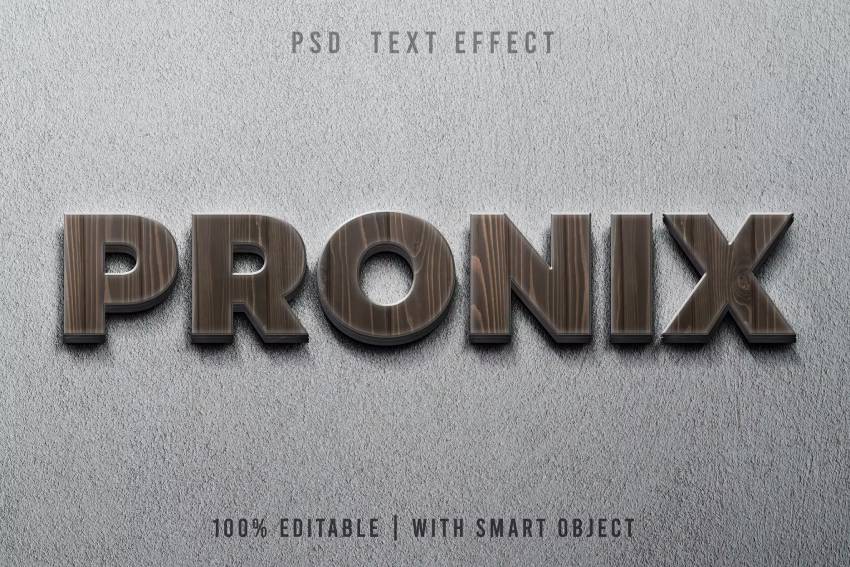
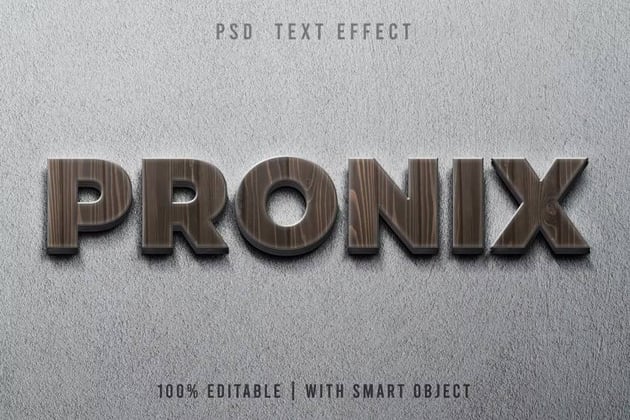
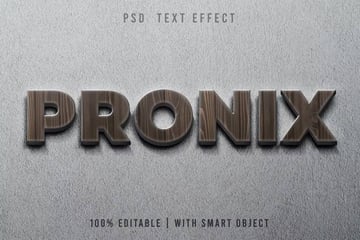
If you like the wood text style, you can't go wrong with this 3D text effect. The background is changeable, and the Smart Object layer can be edited easily. What I like about this download is its realistic texture. It won't look out of place in personal and professional work.
3. Knockout Blur InDesign Text Effect (PSD)
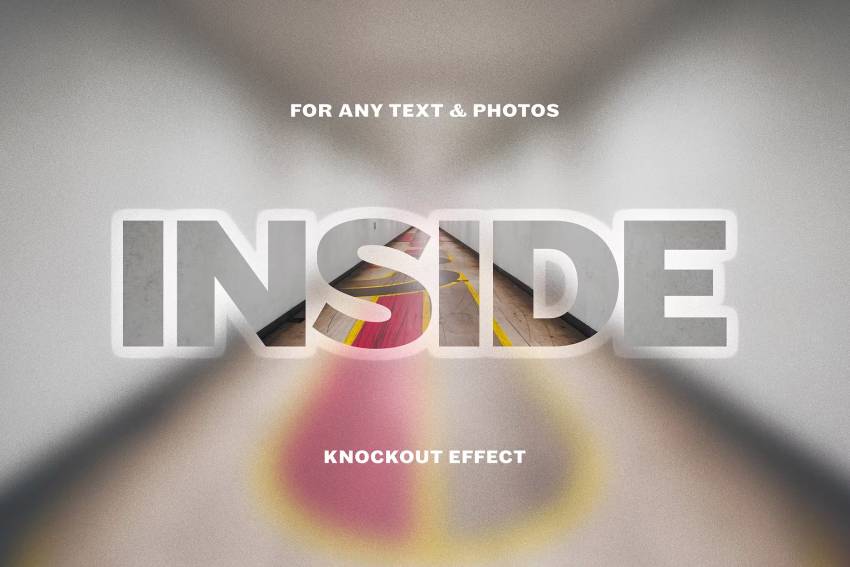
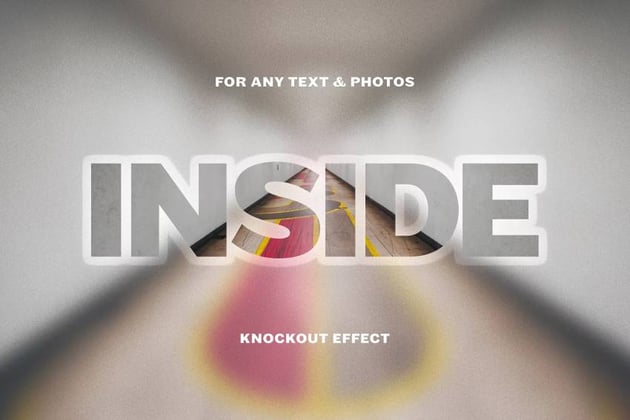
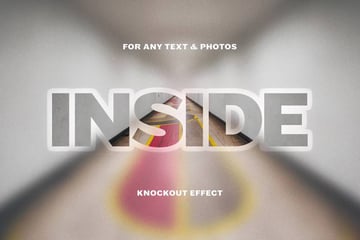
Give your audience a fresh perspective inside your work with this intriguing option. This PSD text effect's focus is on directing attention to what your text is framing and blurring everything else. Do you really want to make this look pop? Try out different backgrounds!
4. Sliced Pop Art: 3D Text Effects (PSD, JPG)


Vibrant is the name of the game here with Sliced Pop Art. It's a bundle of all types of 3D text effect PSDs with similar aesthetics. You'll find sliced layers, bubble letters, and more. Choose which one of the eight Adobe InDesign text effects you'd use to spark your creativity.
5. EPIC: Cool Cinematic InDesign Text Effects (PSD)
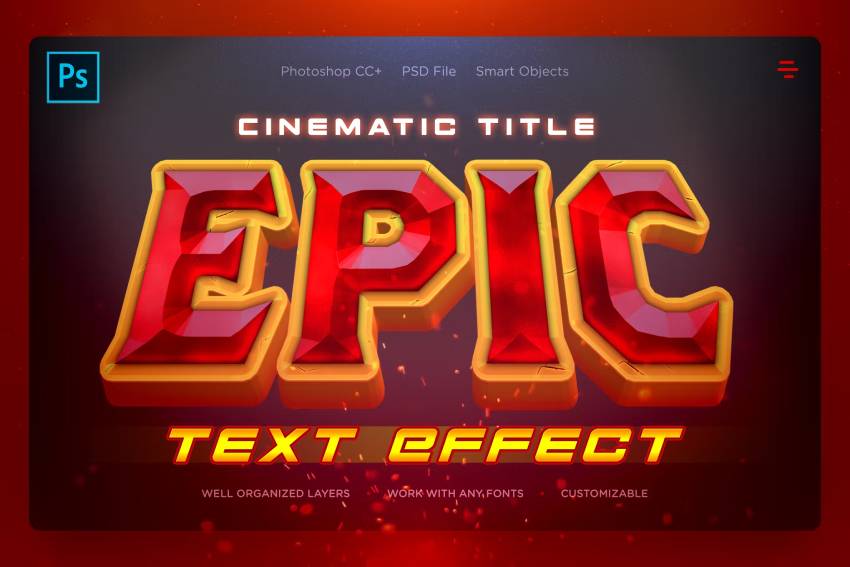
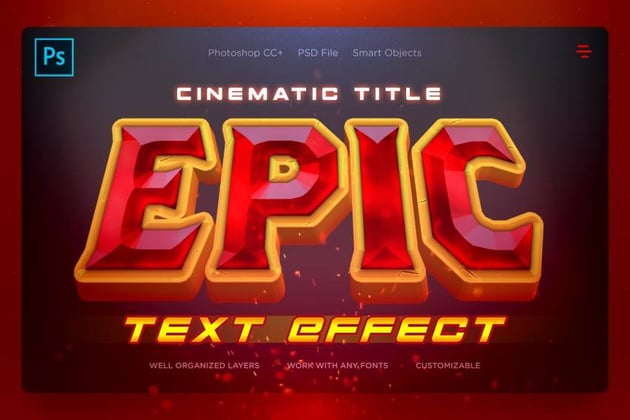
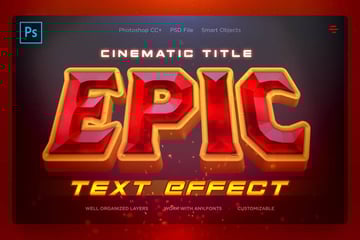
Let's close out this list of PSD text effects to use in InDesign with a download of epic proportions. It has a bold, cinematic style that works for creative pamphlet covers and other projects. The detailed look of this text effect PSD can be achieved in a matter of clicks.
Even More Cool Adobe InDesign Text Effect Tutorials
Has creating the burnt text into wood look got you interested in creating more? Make sure to check out these quick InDesign text effects:

 How to Create a Bold 90s Text Effect in Adobe InDesign


 How to Create a Vintage Movie Text Effect in Adobe InDesign

 How to Create a Quick Retro Video Glitch Text Effect in Adobe InDesign

 How to Create an Ice Text Effect in Adobe InDesign

 How to Curve Text in InDesign


 How to Create a Quick Rainbow Pride Text Effect in Adobe InDesign

 How to Create a Distressed Painted Wall Text Effect in InDesign

 How to Create a 3D Paper Cut-Out Text Effect in Adobe InDesign

 How to Create a Wax Seal Text Effect in Adobe InDesign

 How to Create an Engraved Stone Text Effect in Adobe InDesign
 By
By


