How to Create a Lens Dust Photoshop Action Effect


In this tutorial you will learn how to create an amazing lens dust effect. I will explain everything in so much detail that everyone can create it, even those who have just opened Photoshop for the first time.
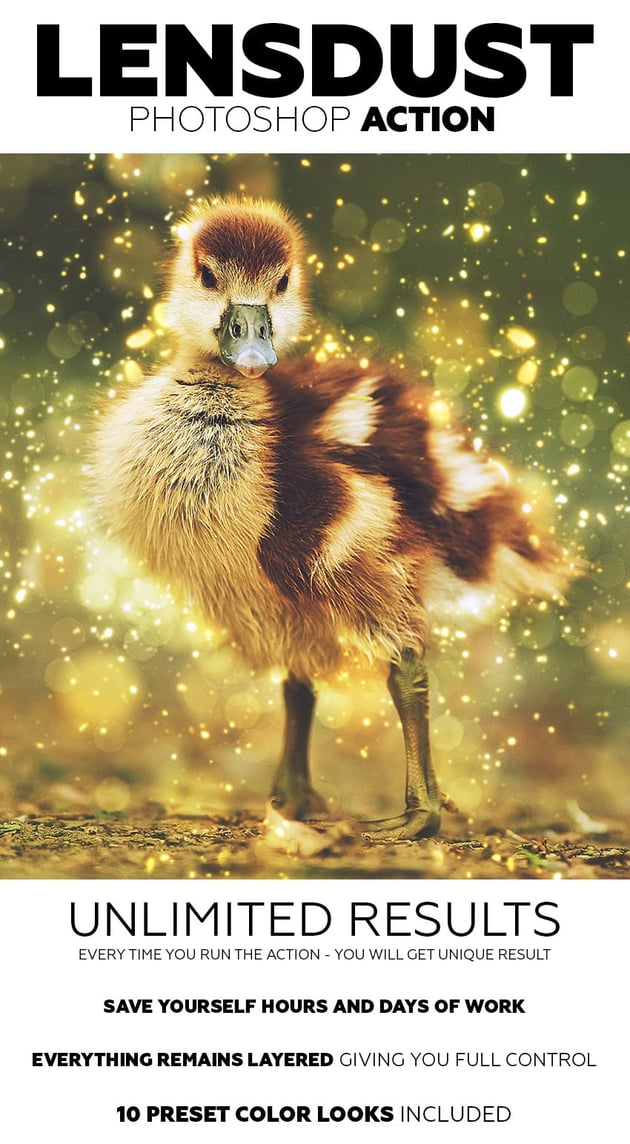
The effect shown above is the one I will show you how to create in this tutorial. If you would like to create the even more advanced lens dust effect shown below, using just a single click and in only a few minutes, then check out my LensDust Photoshop Action.


What You'll Need
To recreate the design above, you will need the following resources:
1. Let's Get Started
First, open the photo that you want to work with. To open your photo, go to File > Open, choose your photo, and click Open. Now, before we get started, just check a couple of things:
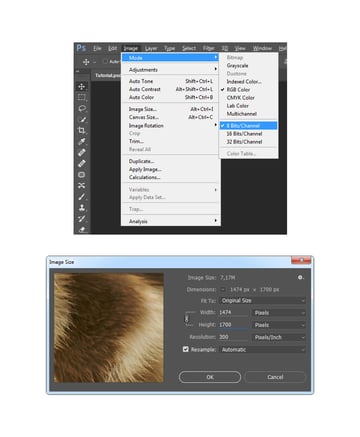
- Your photo should be in RGB Color mode, 8 Bits/Channel. To check this, go to Image > Mode.
- For best results, your photo size should be 1500–3000 px wide/high. To check this, go to Image > Image Size.
- Your photo should be the Background layer. If it is not, go to Layer > New > Background from Layer.


2. How to Select the Subject
Step 1
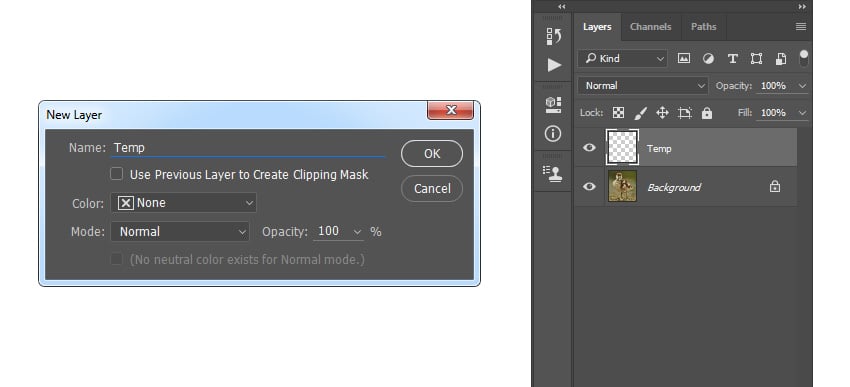
In this section, we are going to make a selection of our subject and then copy the subject to a separate layer. Go to Layer > New > Layer to create a new layer and name it Temp.

Step 2
Now choose the Brush Tool (B), pick a soft brush, and brush over your subject. The color doesn't matter.
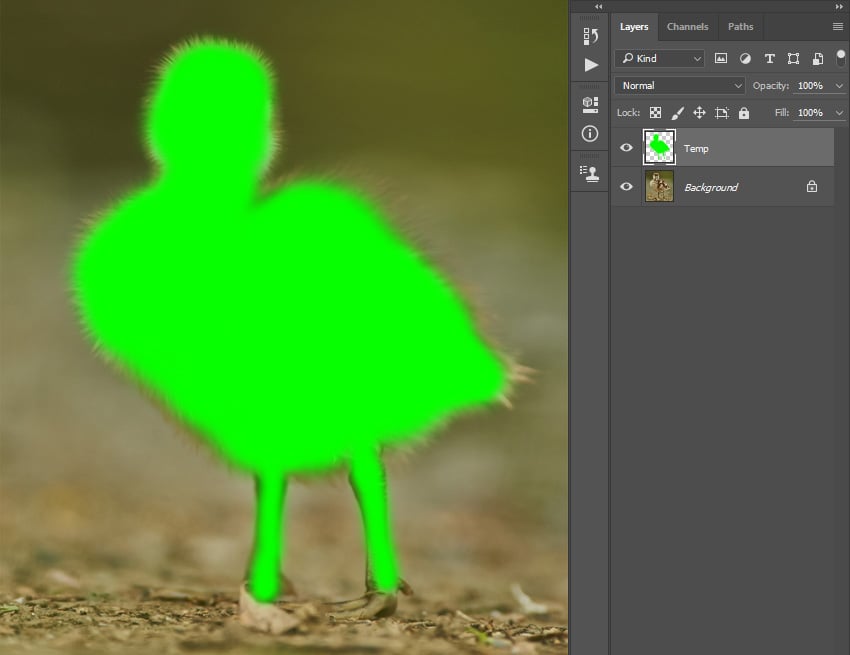

Step 3
Control-click on this layer thumbnail to make a selection of this layer. Then, hide this layer, select the Background layer, and press Control-J on your keyboard to create a new layer using the selection.
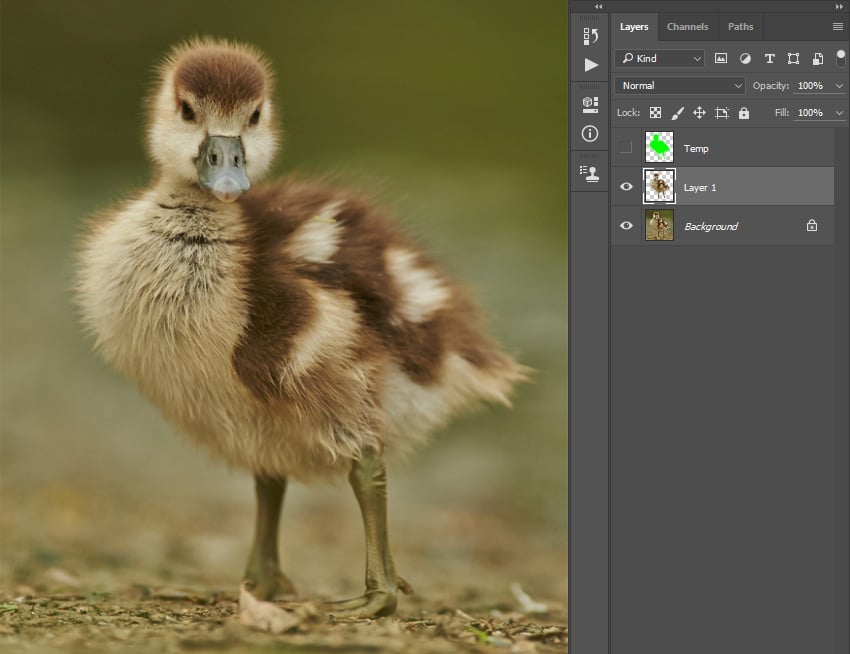


Step 4
Name this layer Subject, and then Right-click on the Temp layer and choose Delete Layer.


3. How to Enhance the Focus
Step 1
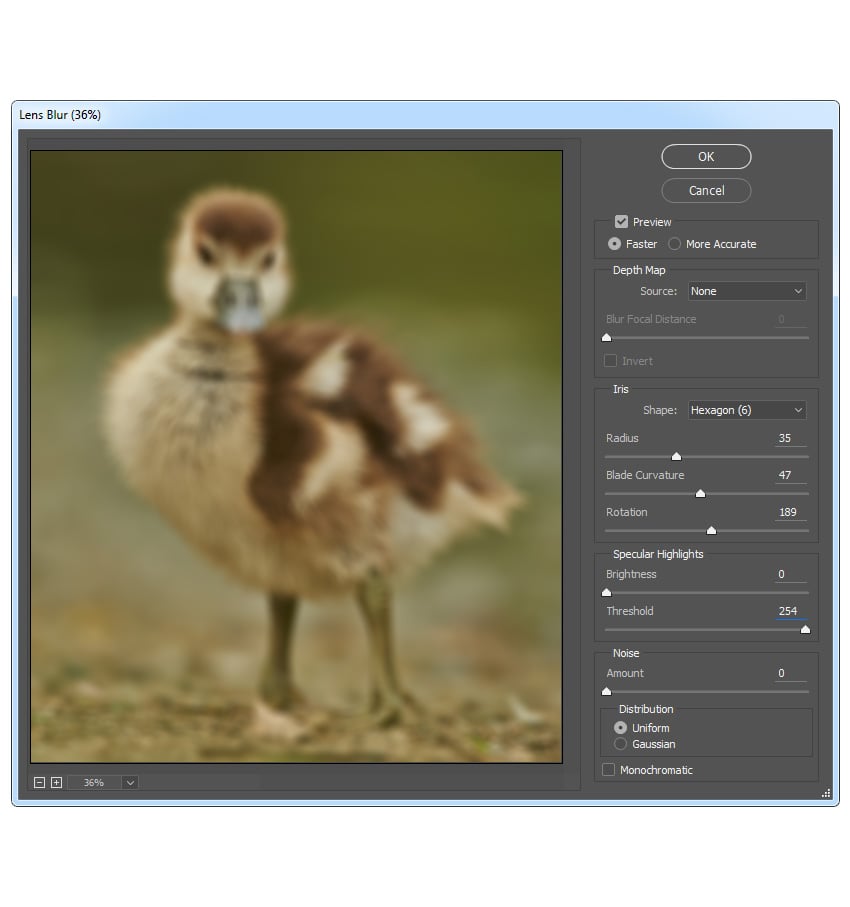
In this section, we are going to enhance the focus. Select the Background layer and press Control-J on your keyboard to duplicate it. Then, go to Filter > Blur > Lens Blur and enter the settings below:


Step 2
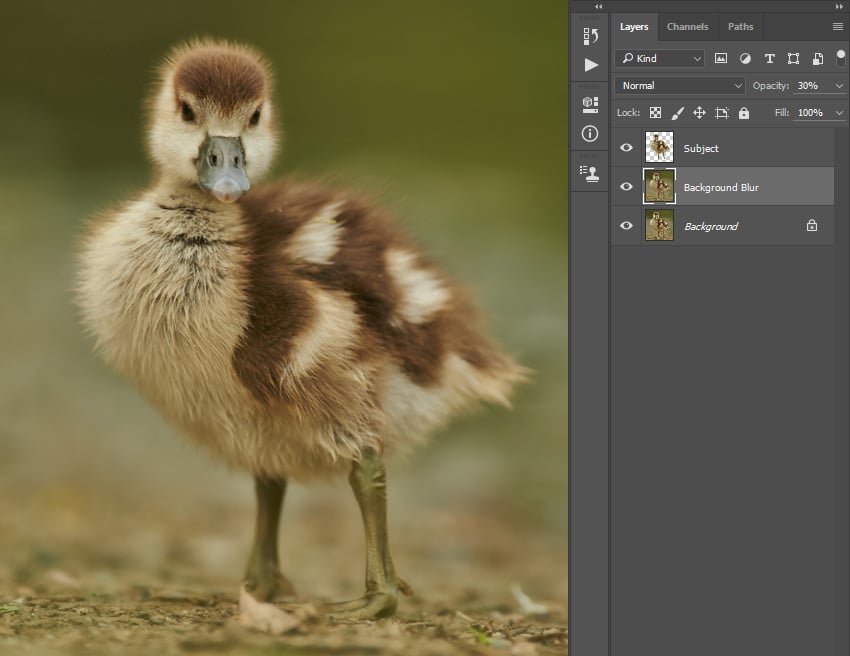
Now change the Opacity of this layer to 30% and name it Background Blur.


Step 3
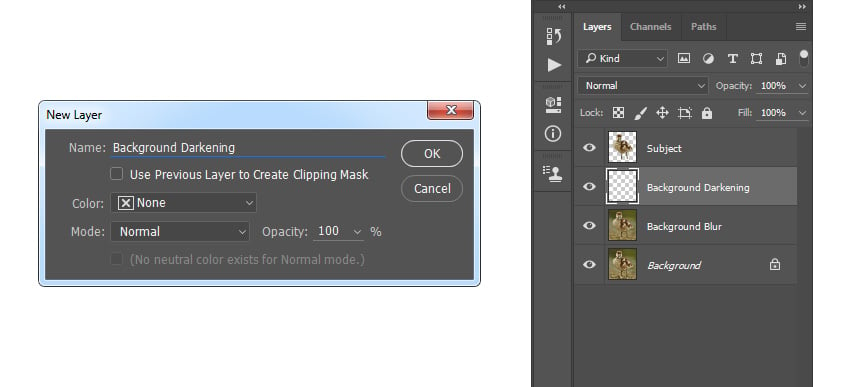
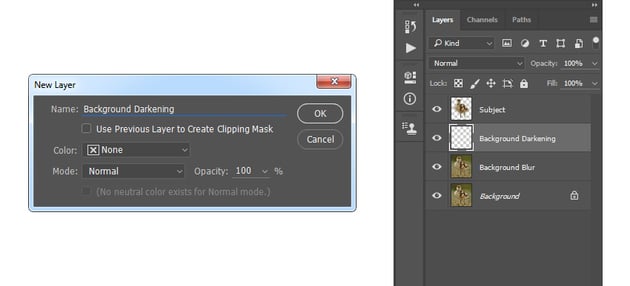
Go to Layer > New > Layer to create a new layer and name it Background Darkening.

Step 4
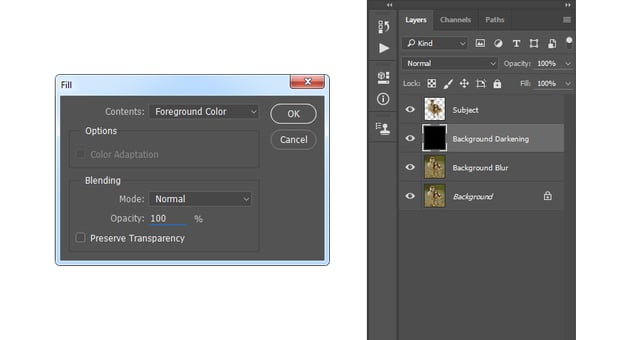
Now press D on your keyboard to reset the swatches, go to Edit > Fill, and set Contents to Foreground Color, Blending to Normal, and Opacity to 100% as shown below:

Step 5
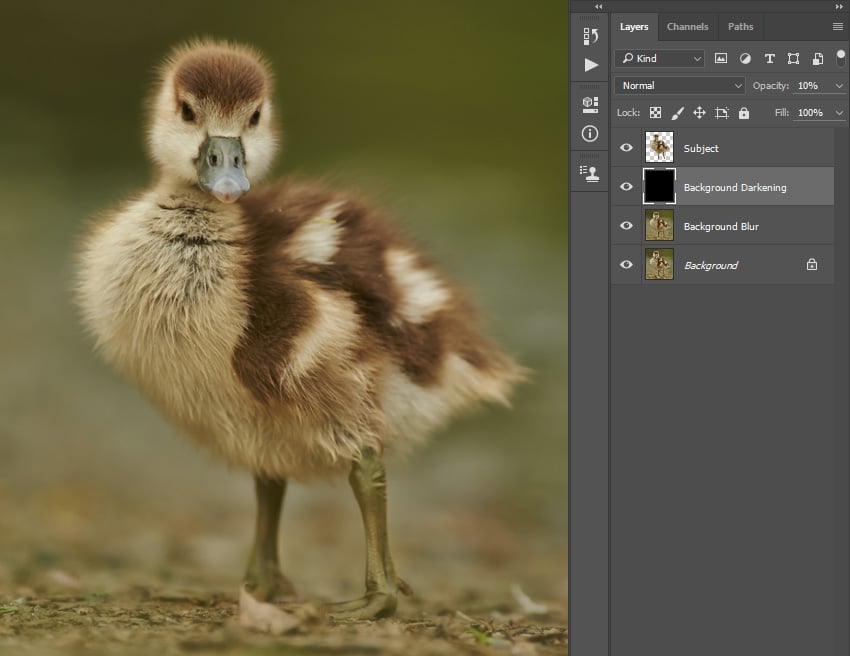
Change the Opacity of this layer to 10%.


4. How to Create Dust Particles
Step 1
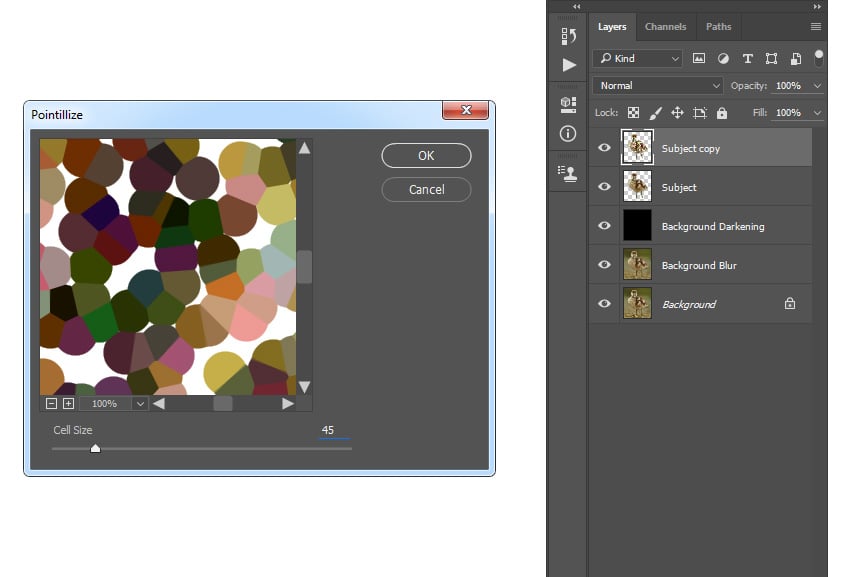
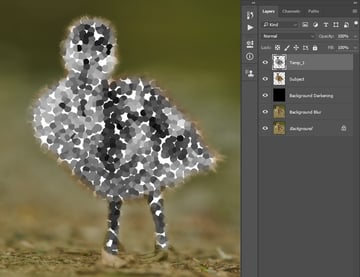
In this section we are going to create dust particles. Select the Subject layer and press Control-J on your keyboard to duplicate it. Then, go to Filter > Pixelate > Pointillize and set the Cell Size to 45 as shown below:


Step 2
Now press Control-Shift-U on your keyboard to desaturate this layer and name it Temp_1.


Step 3
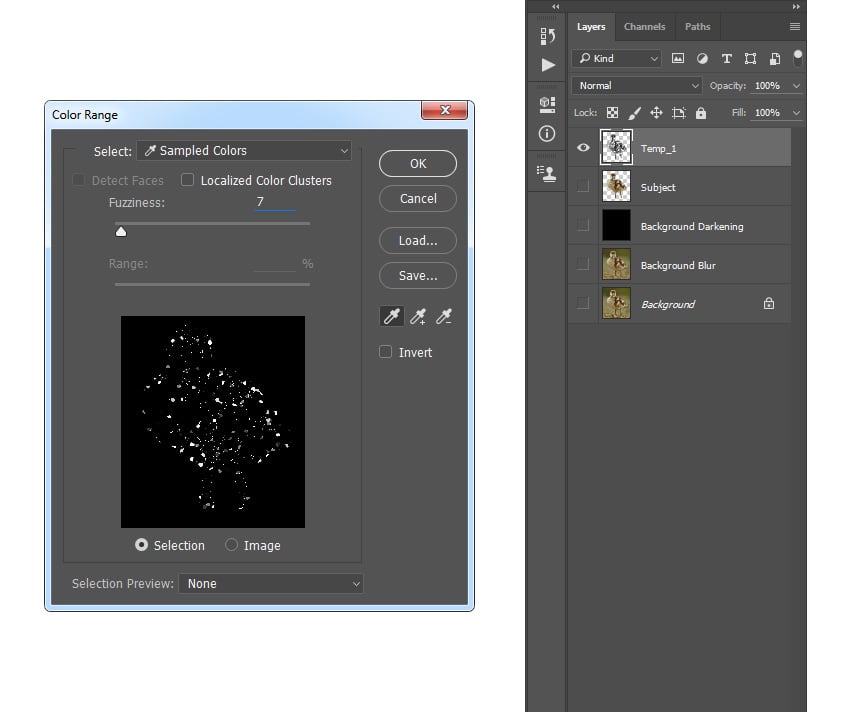
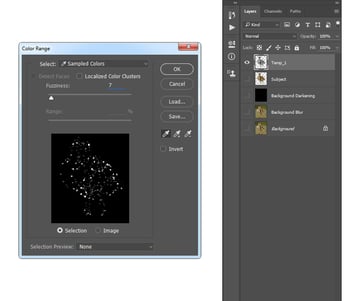
Hide all the layer except the Temp_1 layer. Then, go to Select > Color Range, set the Fuzziness to 200 and, using the Eyedropper Tool, select the particles of any color by clicking on any of the particles.

Step 4
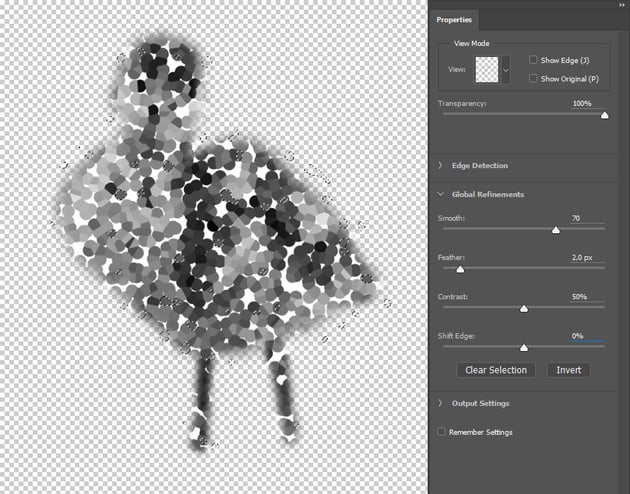
Now go to Select > Select and Mask and enter the settings below:

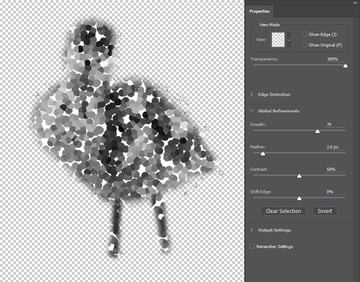
Step 5
Select the Subject layer and press Control-J on your keyboard to create a new layer using the selection.

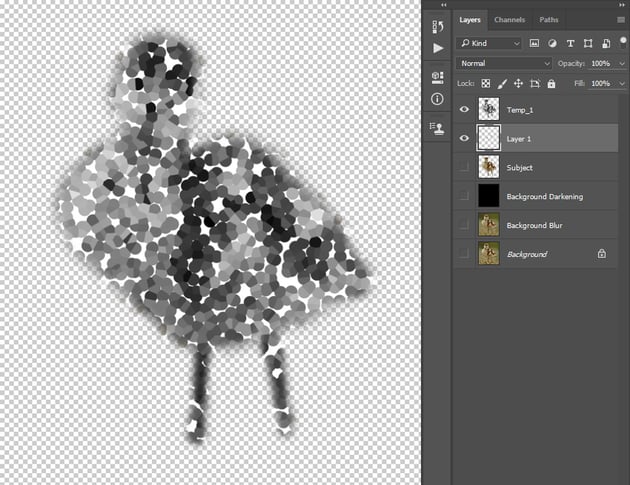

Step 6
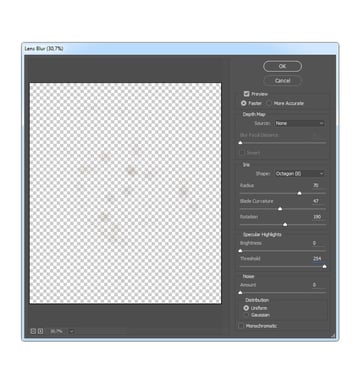
Now go to Filter > Blur > Lens Blur and enter the settings below:
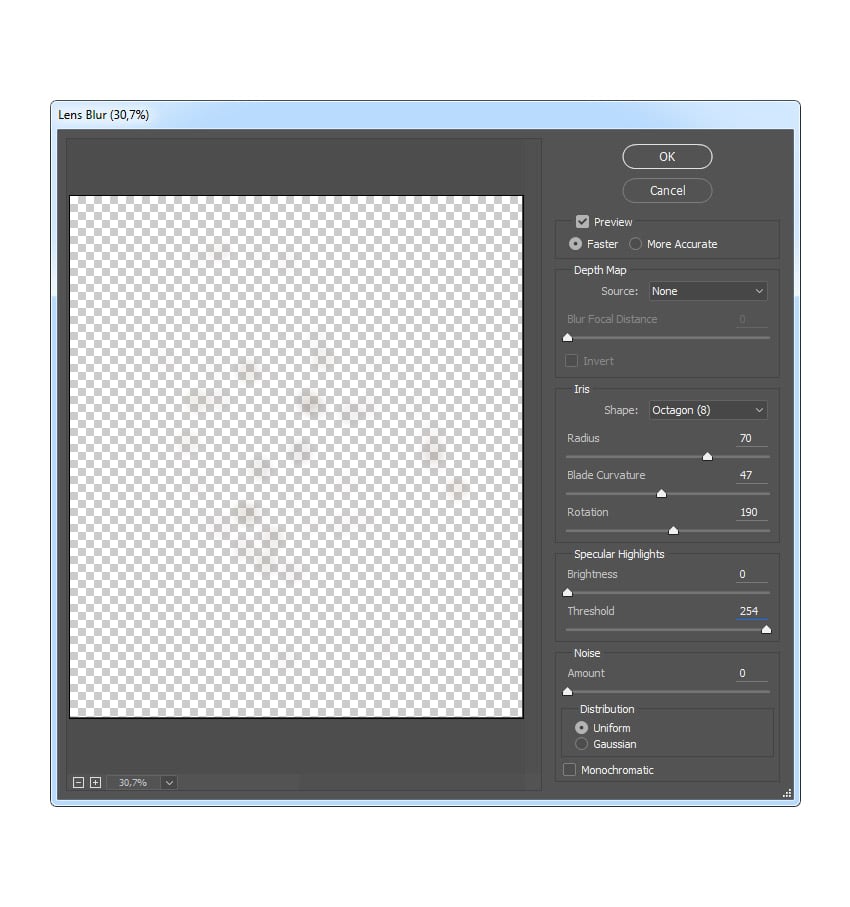
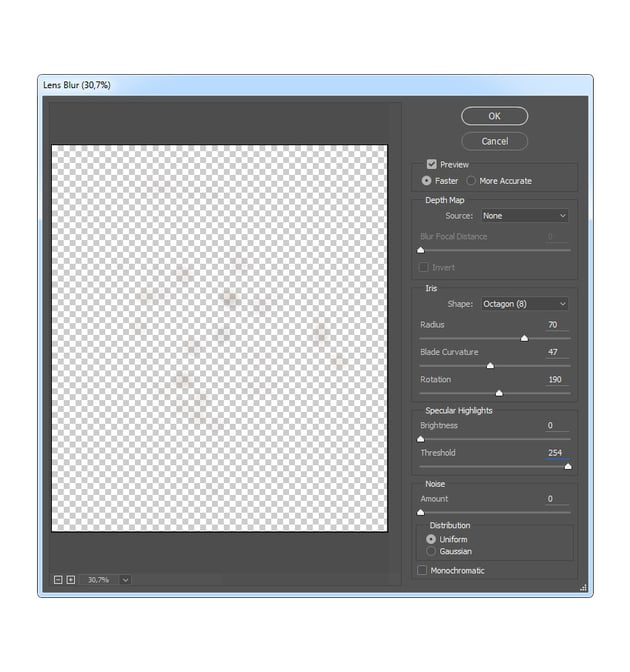
Step 7
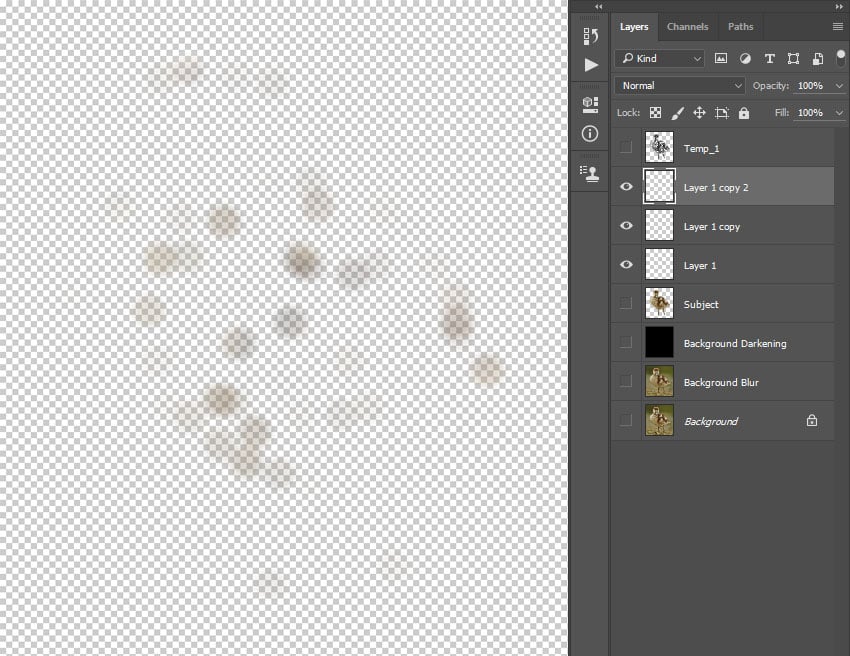
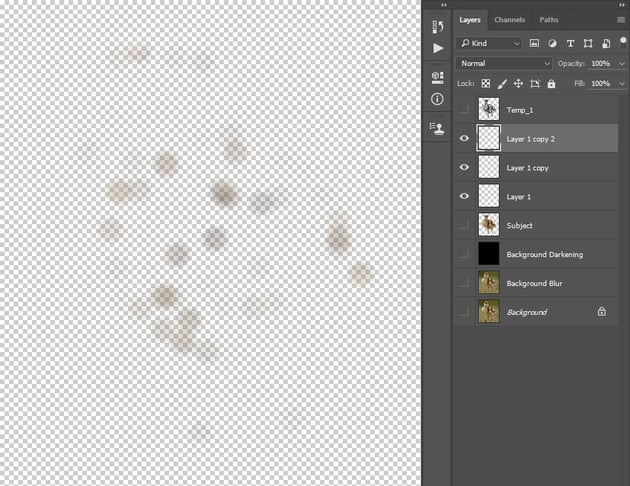
Hide the Temp_1 layer. Then press Control-J on your keyboard twice to duplicate this layer twice.
Step 8
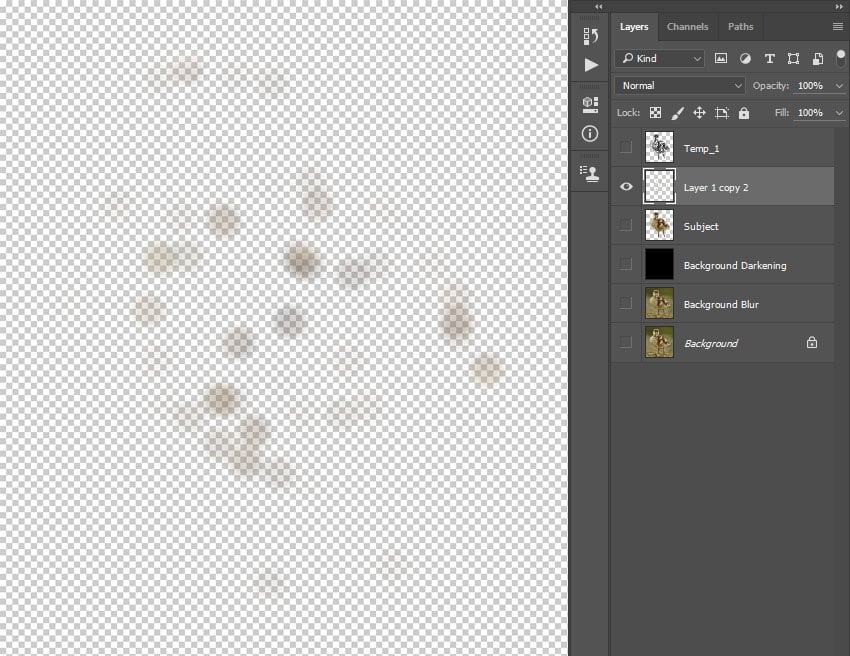
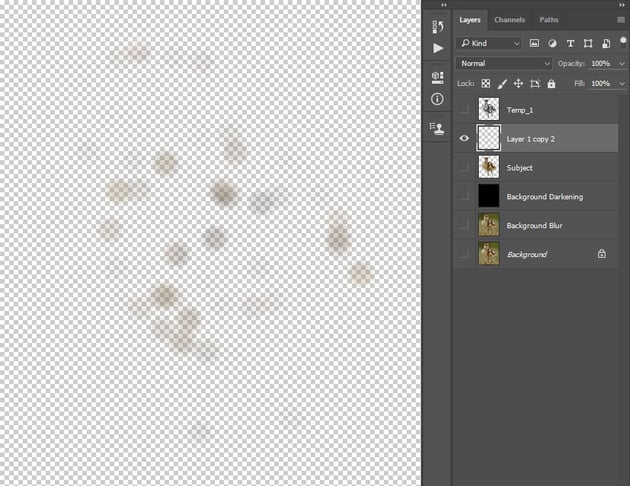
Shift-click on the Layer 1 to select all layers between at once and then press Control-E on your keyboard to merge them into one layer.
Step 9
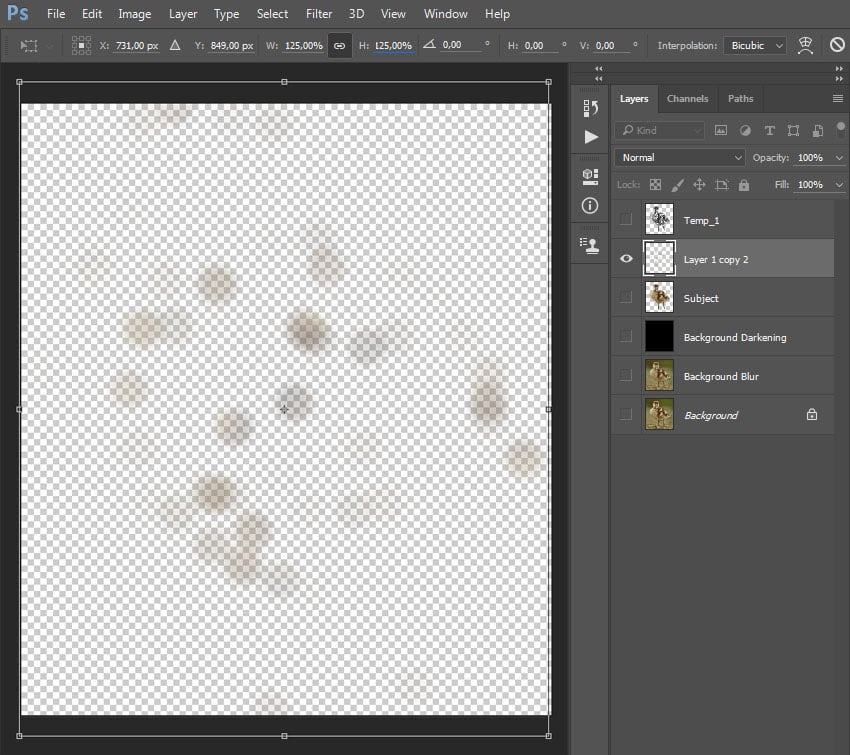
Now press Control-T on your keyboard and set Width and Height to 125% as shown below:
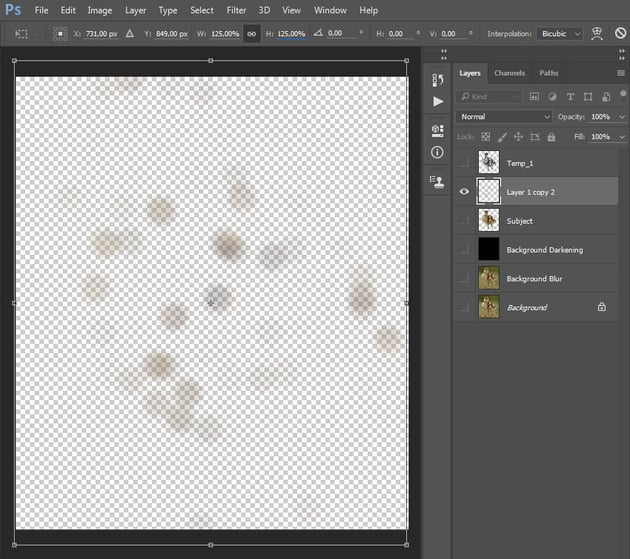
Step 10
Change the Blending Mode of this layer to Linear Dodge and name it DP_1.
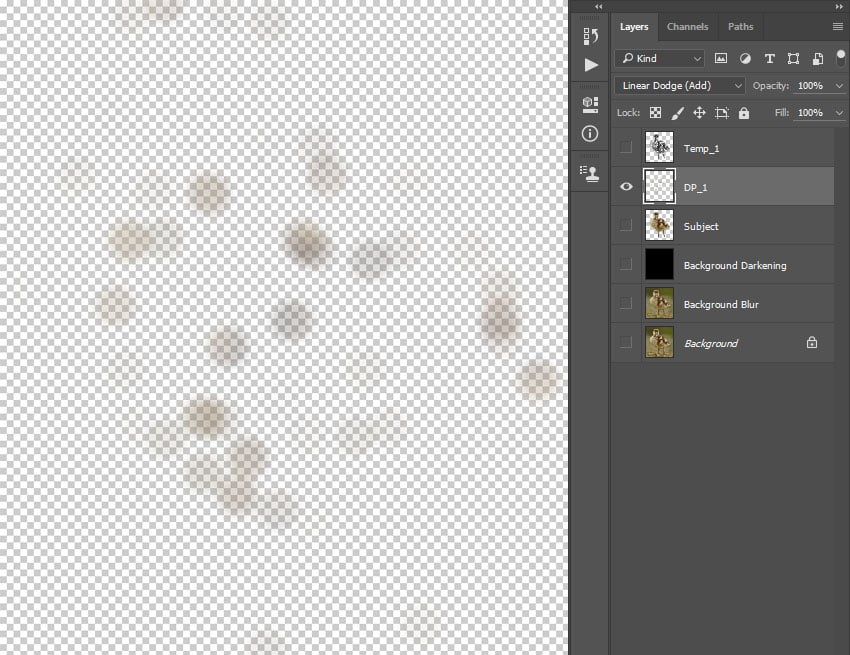
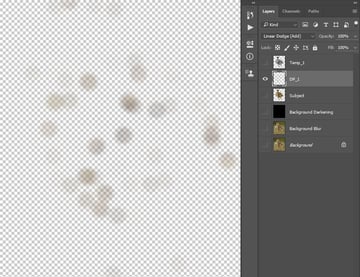
Step 11
Right-click on the Temp_1 layer and choose Delete Layer. Then, show all of the layers in the Layers panel.
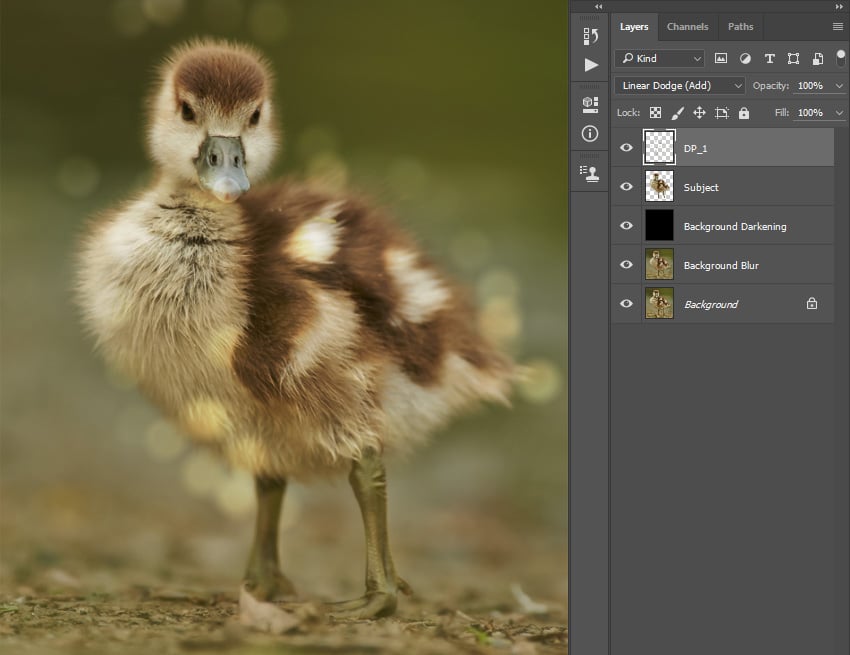

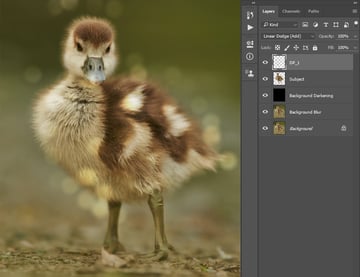
Step 12
You can repeat this method to create as many dust particles layers as you want. Feel free to use different pointillize, color range, select and mask, lens blur and transform settings when creating more particles to achieve different results. Here is my result:
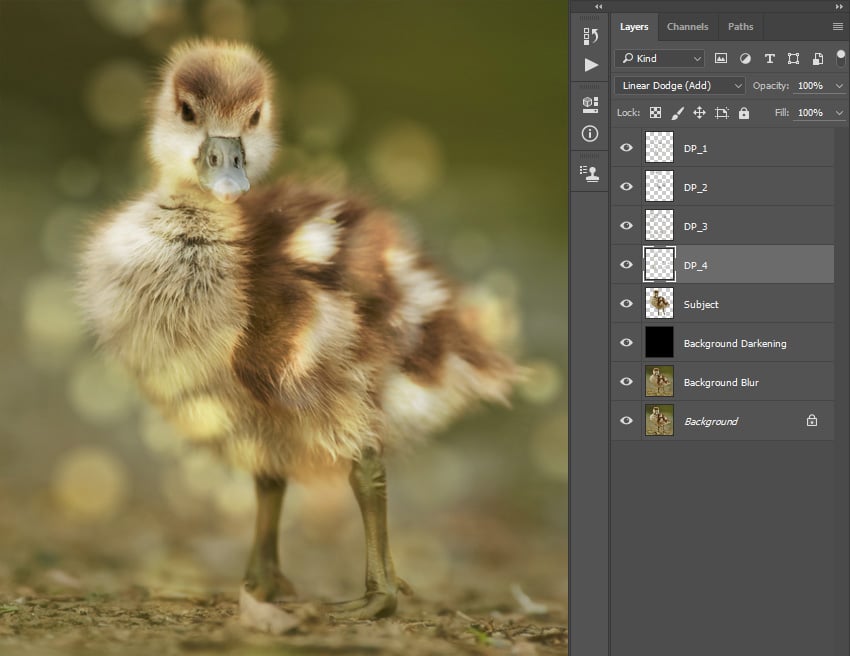


Step 13
Now we are going to create more dust particles but using a different method. Go to Layer > New > Layer to create a new layer and name it Temp_1. Then, drag this layer to the top of the layers in the Layers panel.
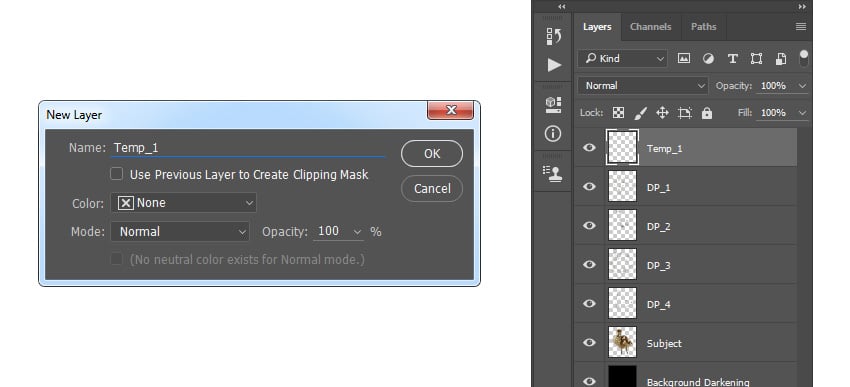

Step 14
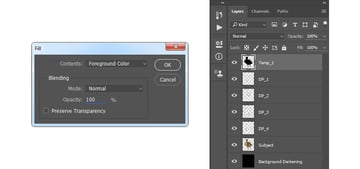
Control-click on the Subject layer thumbnail to make a selection of that layer and press D on your keyboard to reset the swatches. Then, go to Edit > Fill, and set Contents to Foreground Color, Blending to Normal, and Opacity to 100% as shown below.
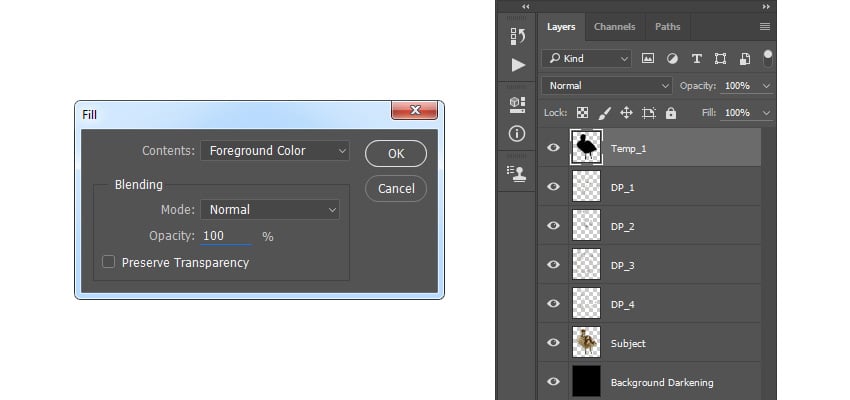
Step 15
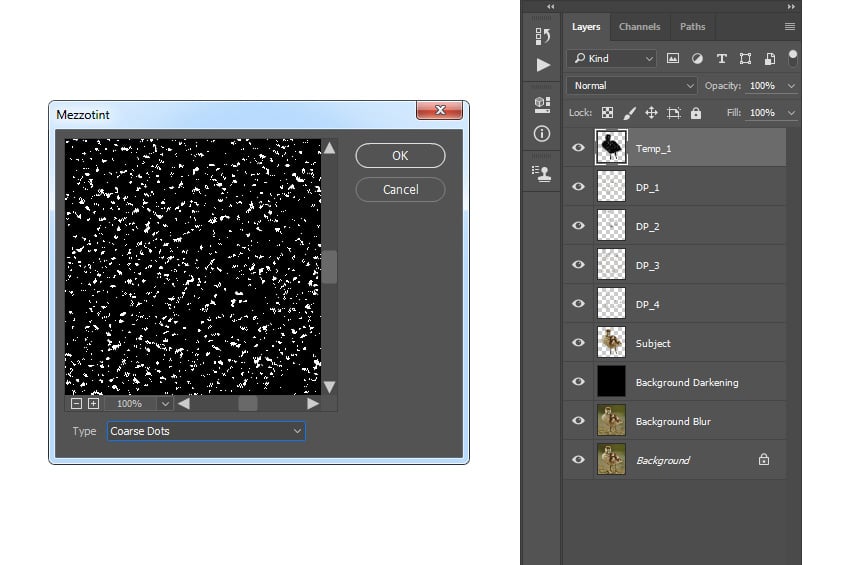
Now press Control-D on your keyboard to deselect. Then, go to Filter > Pixelate > Mezzotint and set the Type to Coarse Dots as shown below:

Step 16
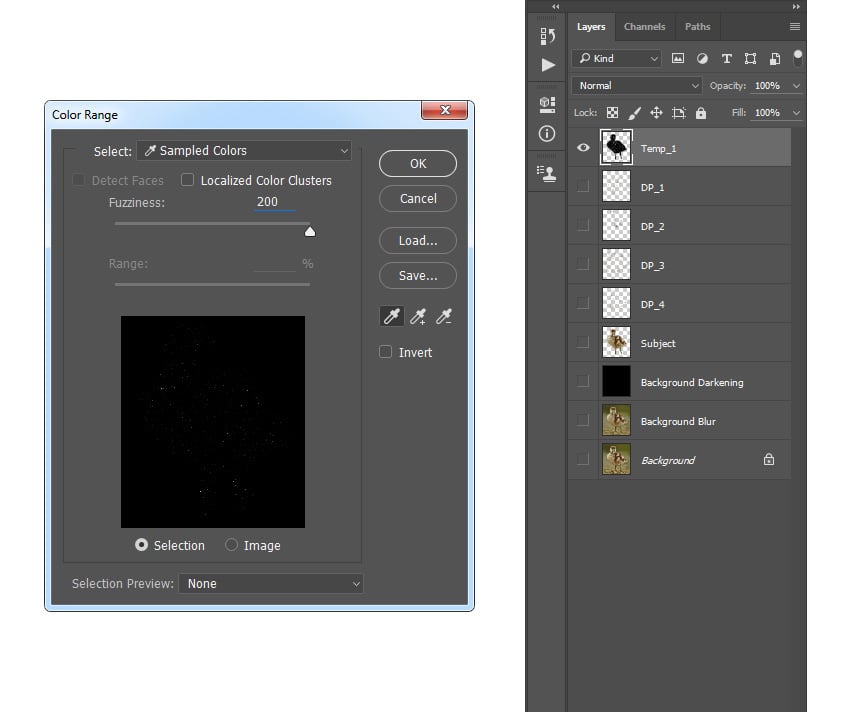
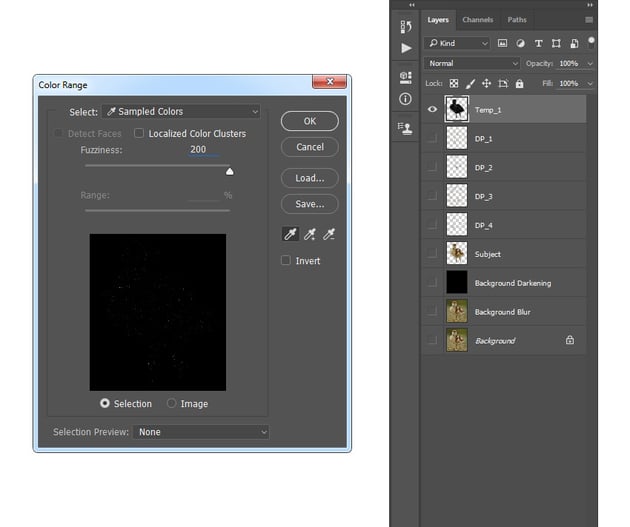
Hide all the layers except the Temp_1 layer. Then, go to Select > Color Range, set the Fuzziness to 200 and, using the Eyedropper Tool, select the white color by clicking on some of the white particles in your photo.
Step 17
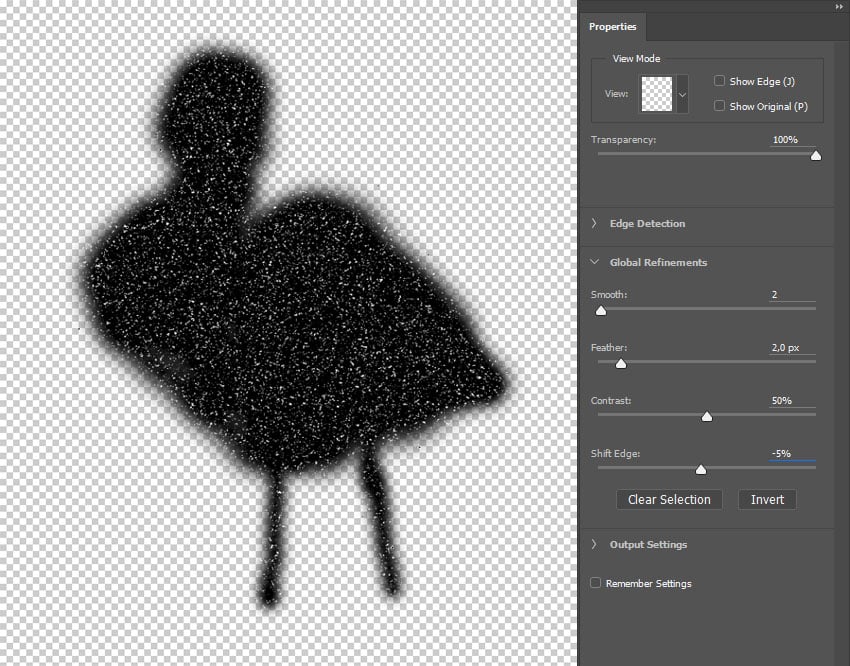
Now go to Select > Select and Mask and enter the settings below:

Step 18
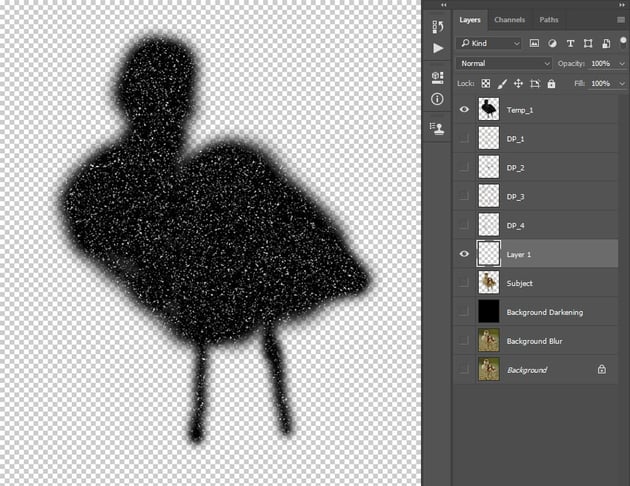
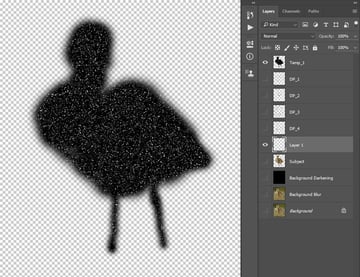
Select the Subject layer and press Control-J on your keyboard to create a new layer using the selection.

Step 19
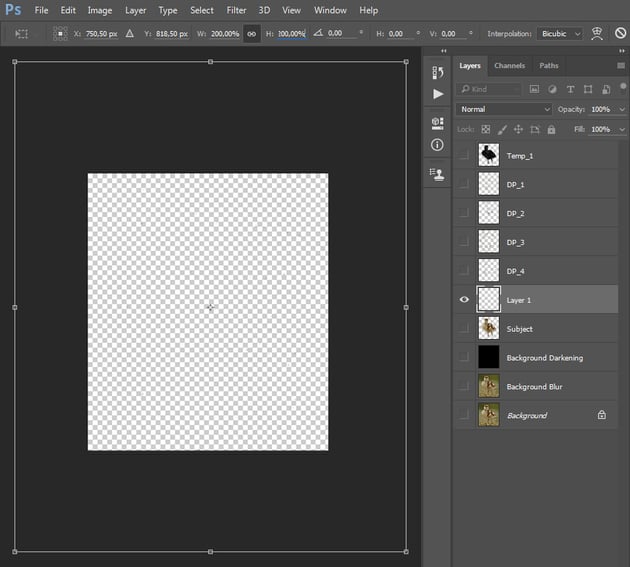
Now hide the Temp_1 layer, press Control-T on your keyboard, and set Width and Height to 200% as shown below:


Step 20
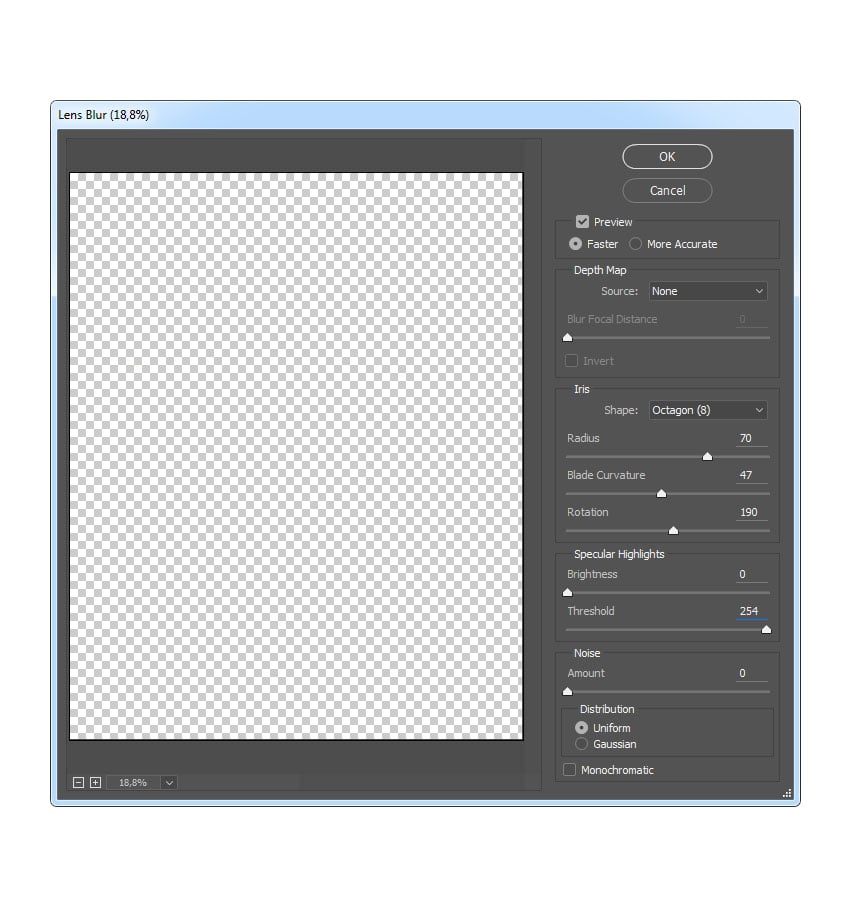
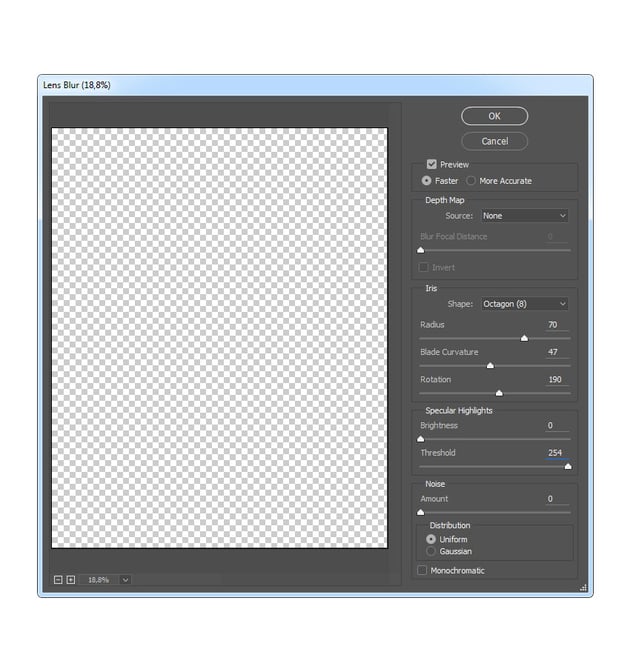
Now go to Filter > Blur > Lens Blur and enter the settings below:
Step 21
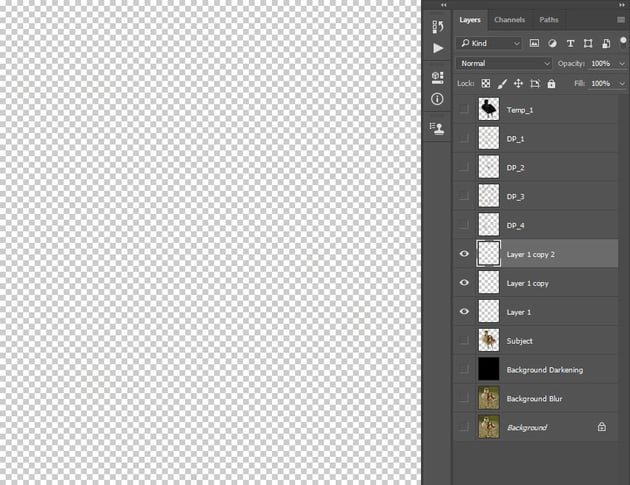
Now press Control-J on your keyboard twice to duplicate this layer twice.

Step 22
Shift-click on the Layer 1 to select all layers between at once, and press Control-E on your keyboard to merge them into one layer. Then press Control-J again to duplicate this layer.

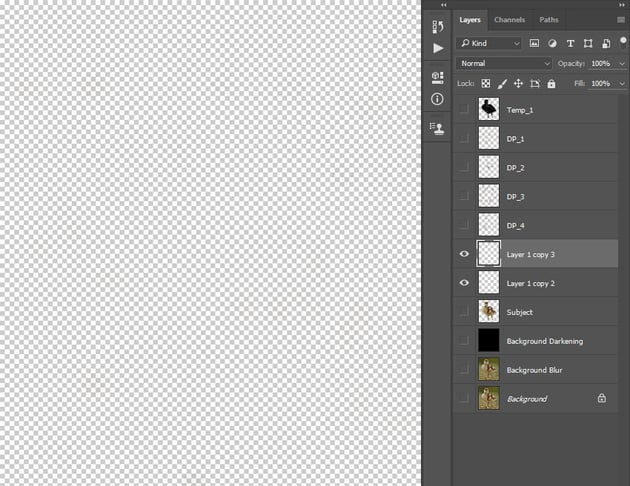
Step 23
Now Control-click on the Layer 1 copy 2 to select these two layers at the same time and press Control-E on your keyboard to merge them into one layer. Then, press Control-J again to duplicate this layer.

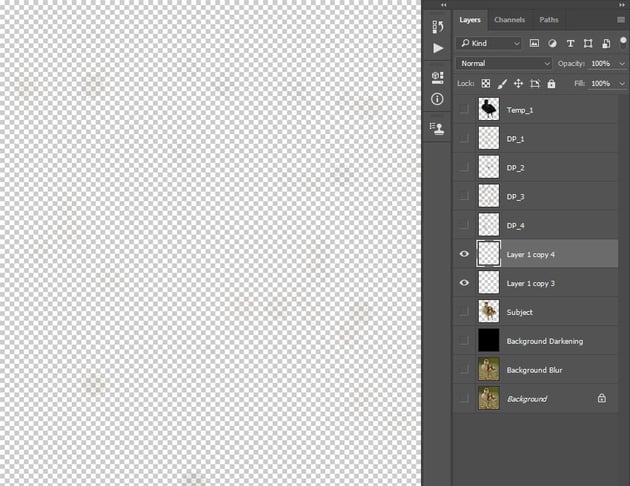
Step 24
Control-click on the Layer 1 copy 3 to select both of these layers at the same time and press Control-E on your keyboard to merge them into one layer.
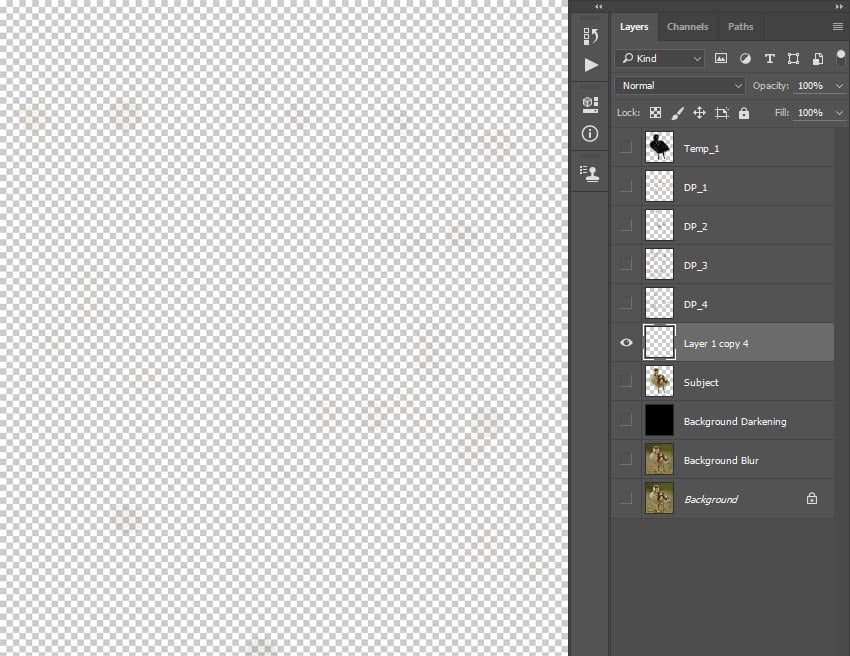
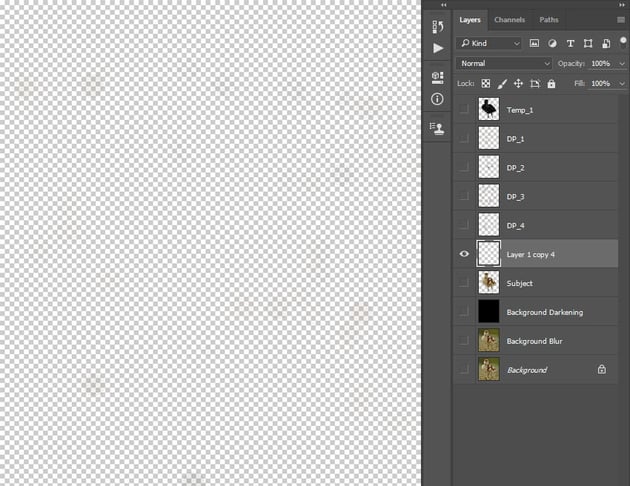

Step 25
Change the Blending Mode of this layer to Linear Dodge and name it according to the sequence of dust particle layers; in my case, that is DP_5.

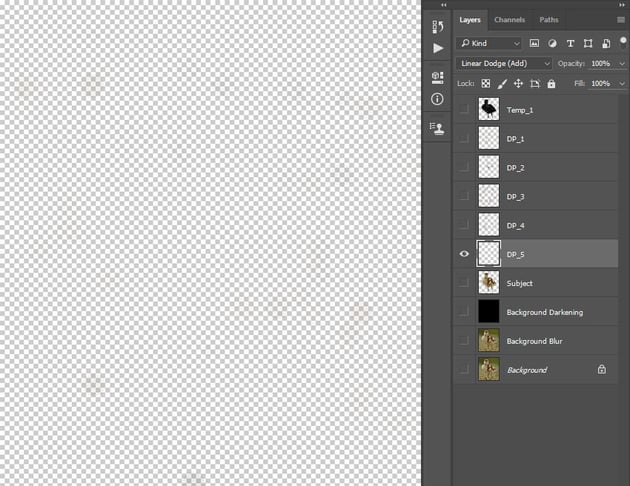
Step 26
Right-click on the Temp_1 layer and choose Delete Layer, and then show all layers.

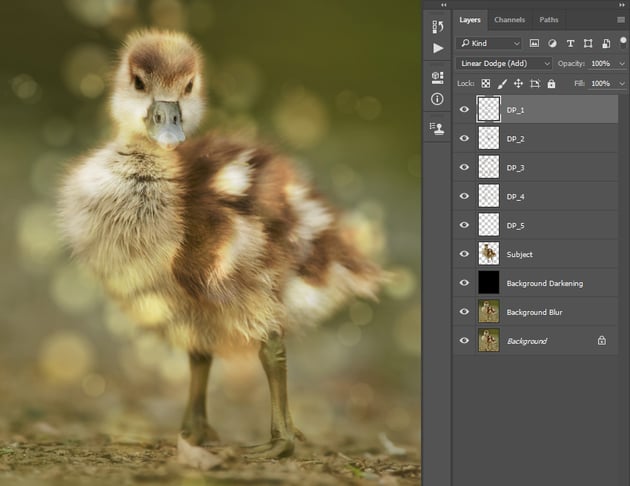
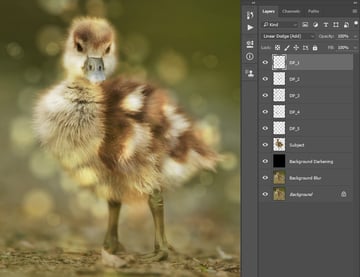
Step 27
Now you can repeat this method or the previous method to create as many dust particle layers as you want. Feel free to use different pointillize, mezzotint, color range, select and mask, lens blur and transform settings when creating more particles to achieve different results.
What you can also do to create more dust particles is to select any of the dust particle layers and press Control-J on your keyboard to duplicate it. Then, you can press Control-T on your keyboard to transform it or you can move it around using the Move Tool (V). Here is my result:
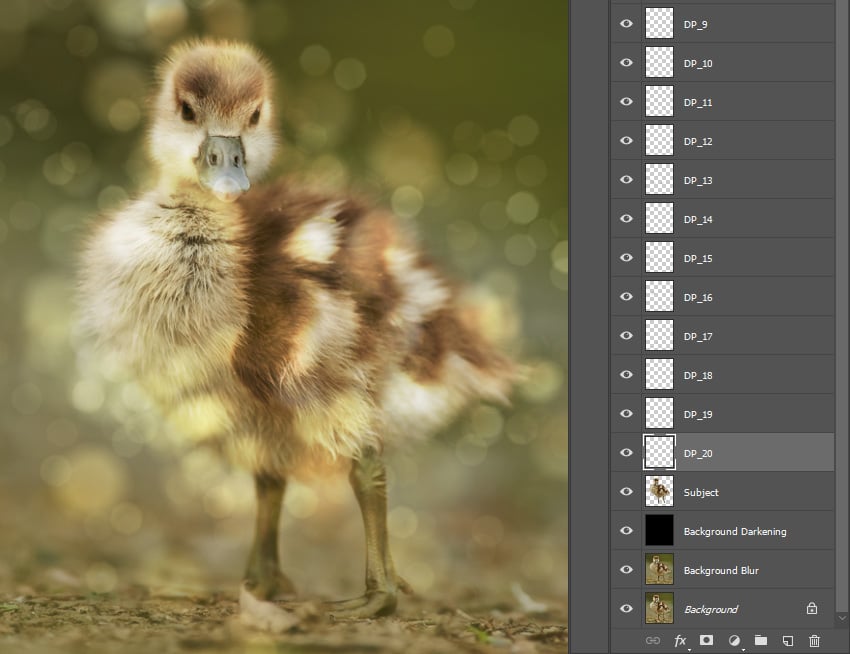
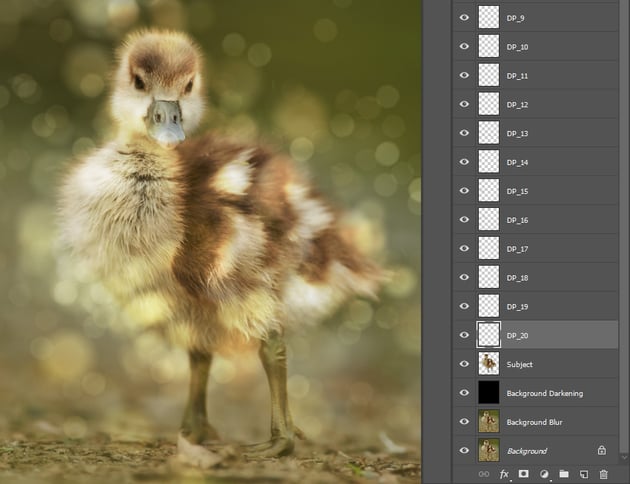

Step 28
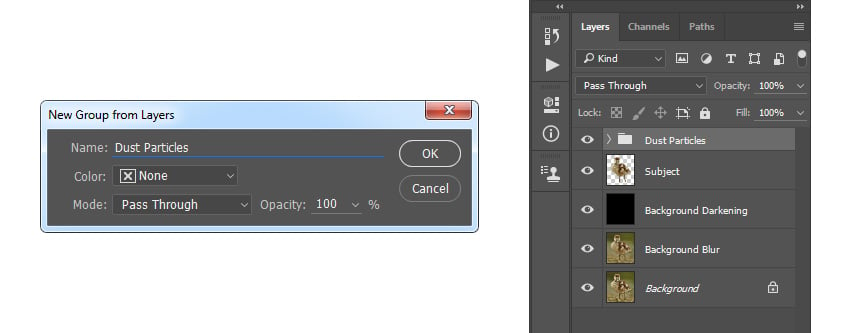
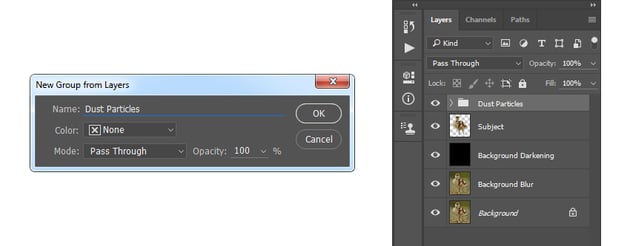
Shift-click on the DP_1 layer to select all layers between at once, and go to Layer > New > Group from Layers to create a new group from the selected layers and name it Dust Particles.
Step 29
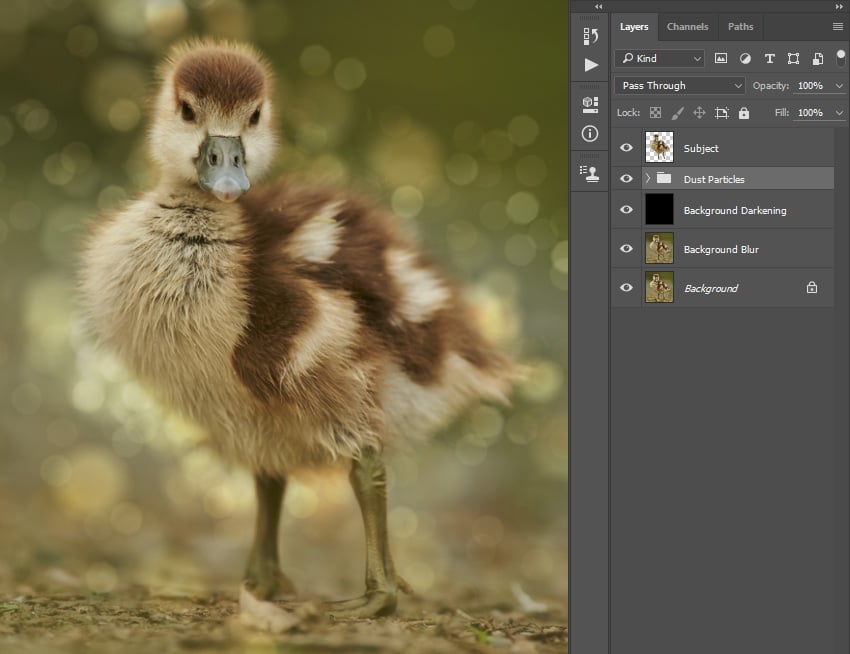
Now drag this layers group just below the Subject layer in the Layers panel.
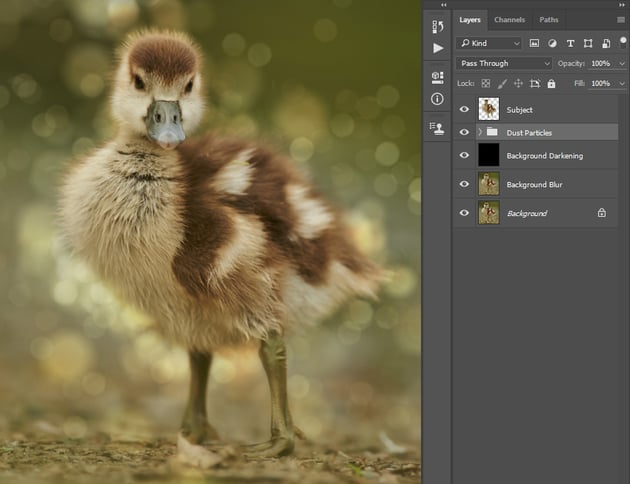

5. How to Make the Final Adjustments
Step 1
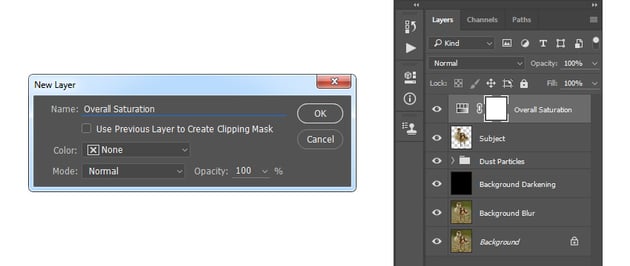
In this section, we are going to make some final adjustments to the design. Select the Subject layer, go to Layer > New Adjustment Layer > Hue/Saturation to create a new hue/saturation adjustment layer, and name it Overall Saturation.
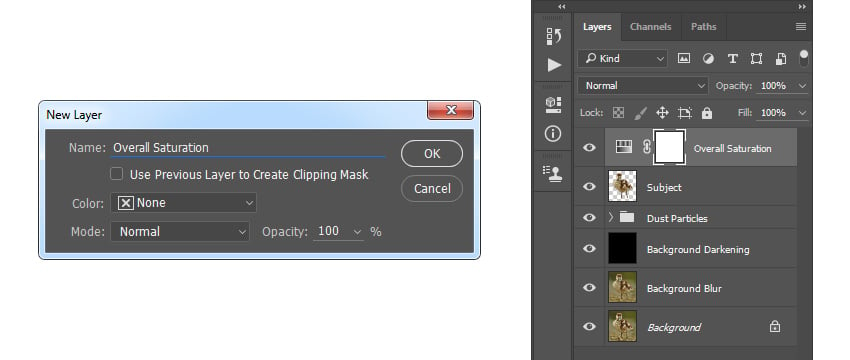

Step 2
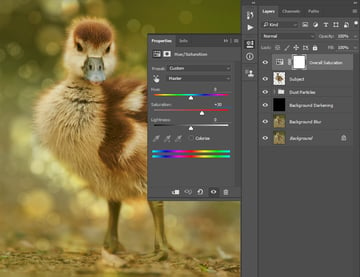
Now Double-click on this layer thumbnail, and in the Properties, set the Saturation to +30 as shown below:


Step 3
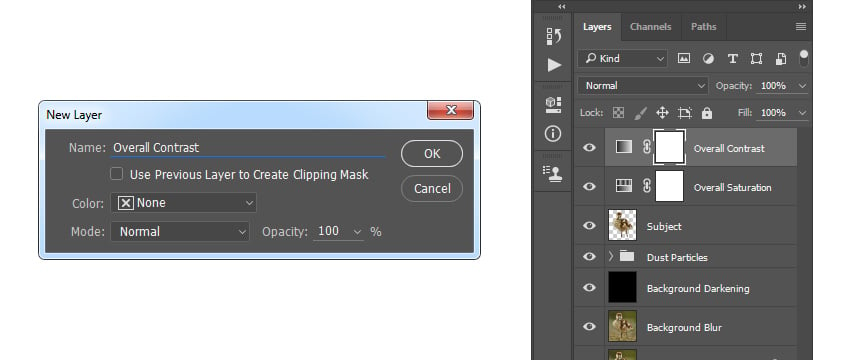
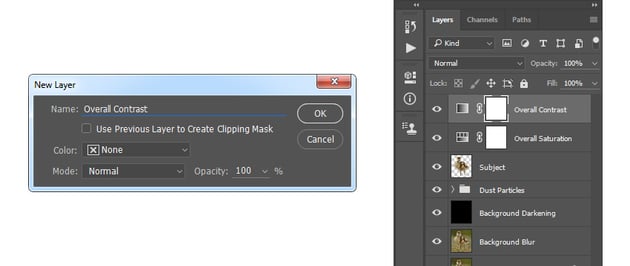
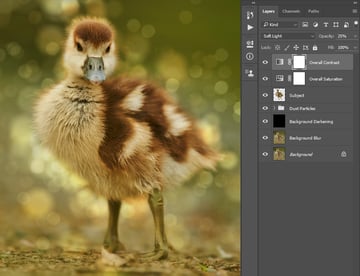
Press D on your keyboard to reset the swatches. Go to Layer > New Adjustment Layer > Gradient Map to create a new gradient map adjustment layer and name it Overall Contrast.
Step 4
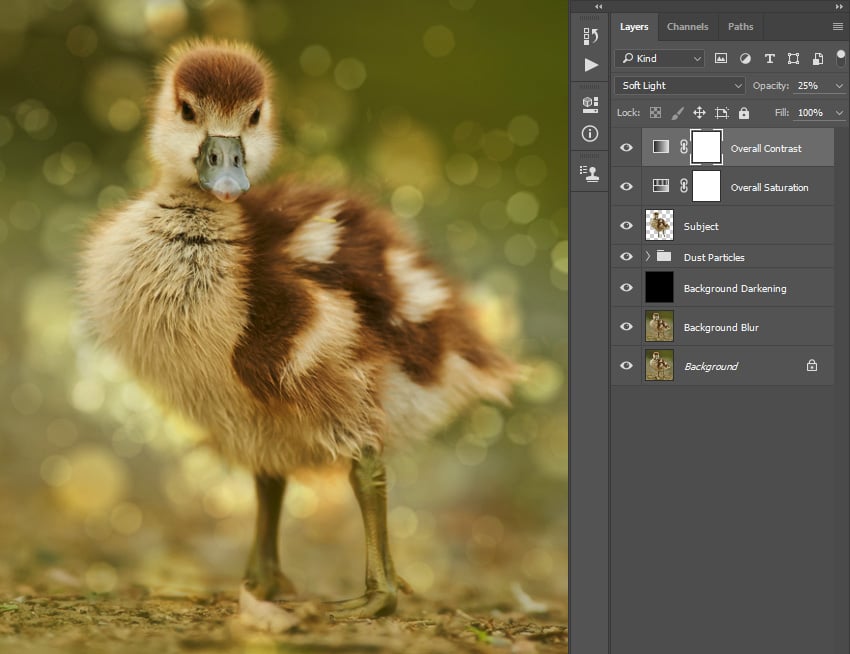
Now change the Blending Mode of this layer to Soft Light and set the Opacity to 25%.

Step 5
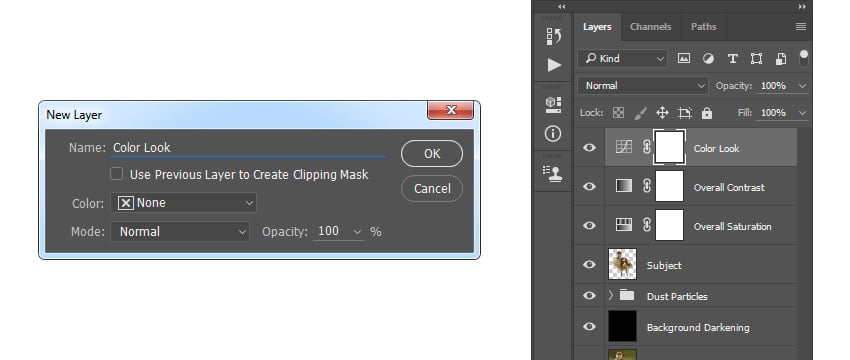
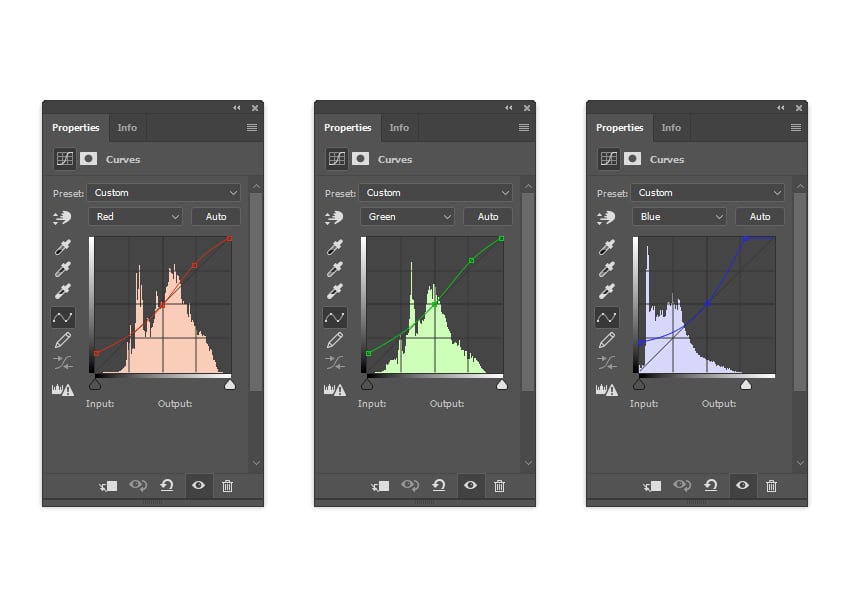
Go to Layer > New Adjustment Layer > Curves to create a new curves adjustment layer and name it Color Look.
Step 6
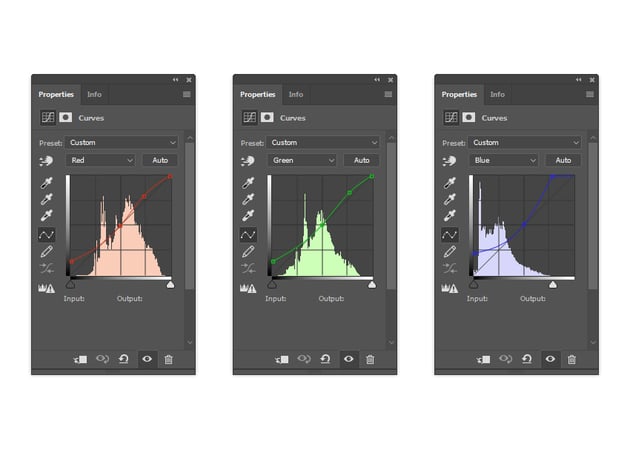
Now Double-click on this layer thumbnail and in the Properties panel enter the settings below:
Step 7
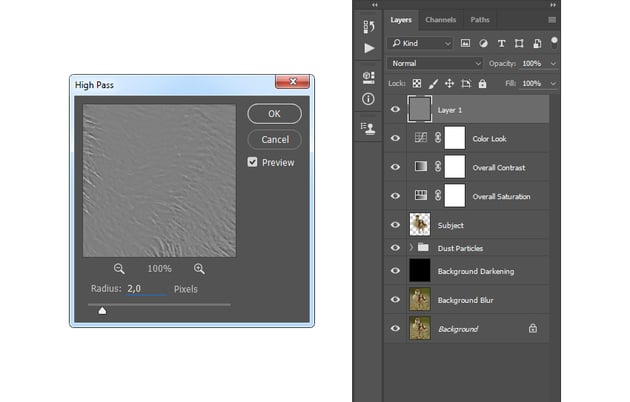
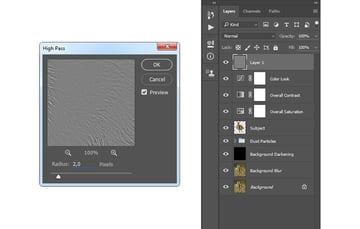
Press Control-Alt-Shift-E on your keyboard to make a screenshot, and then press Control-Shift-U to desaturate this layer. Then, go to Filter > Other > High Pass and set the Radius to 2 px as shown below:

Step 8
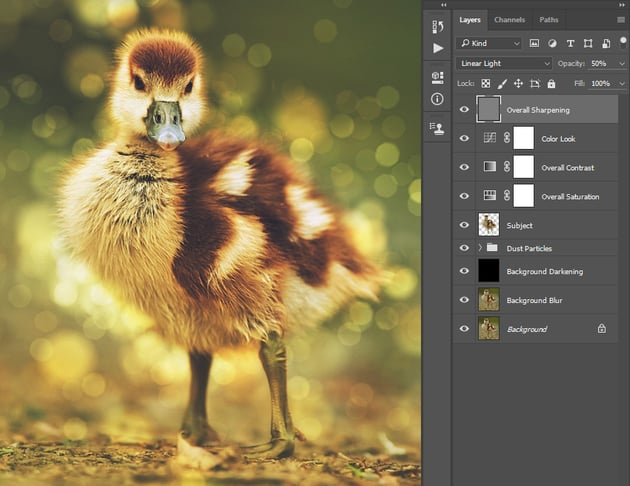
Name this layer Overall Sharpening, change the Blending Mode of this layer to Linear Light, and set the Opacity to 50%.


You Made It!
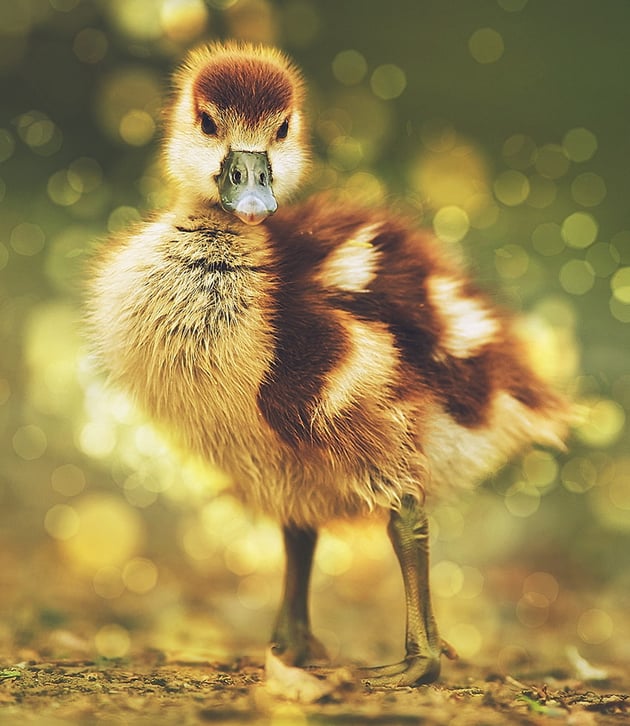
Congratulations, you have succeeded! Here is our final result:


If you would like to create the even more advanced lens dust effect shown below, using just a single click and in only a few minutes, then check out my LensDust Photoshop Action.
The action works so you simply brush over your subject and
just play the action. The action will do everything for you,
giving you fully
layered and customizable results. The action also creates 10 preset
color looks that you can choose from.

