


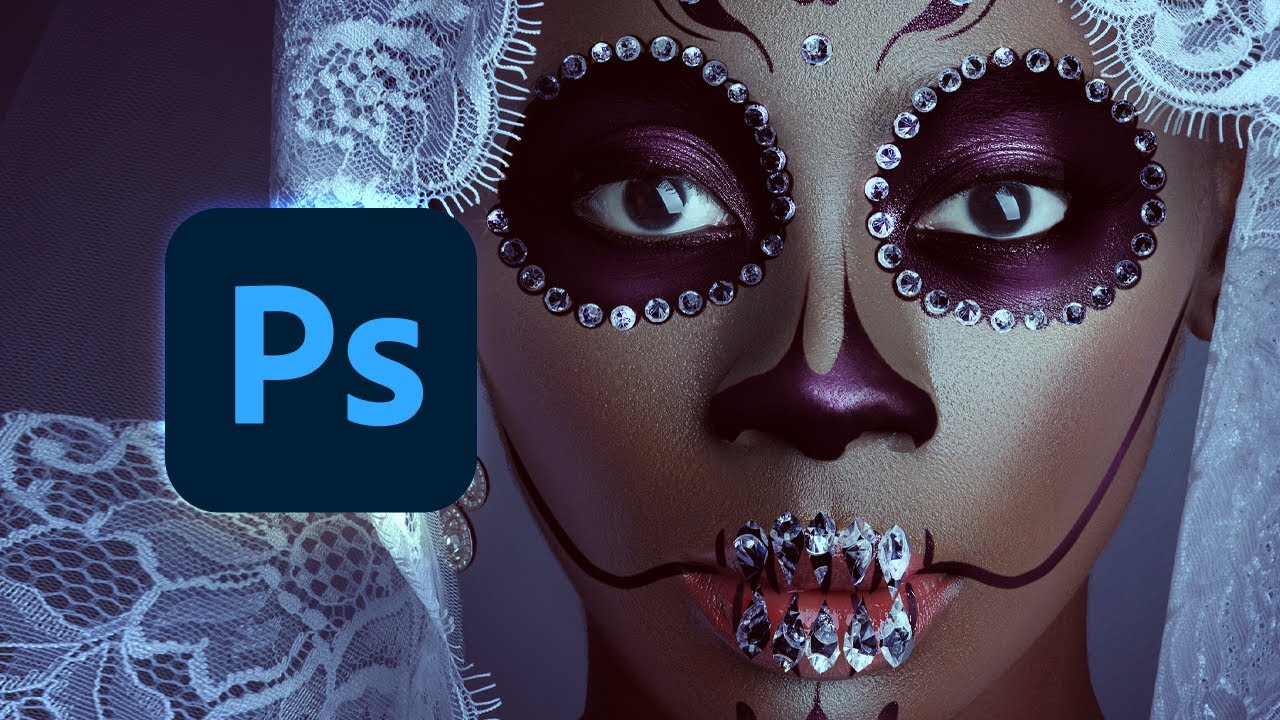
In this Day of the Dead Photoshop tutorial, we will be looking at how to recreate a makeup look inspired by La Catrina, the skeleton commonly associated with the holiday.
Looking for more festive photo effects? Create them instantly using one of the hundreds of Photoshop add-ons and actions found on Envato Elements!


Interested in a video tutorial instead? Don't forget to visit the Envato Tuts+ YouTube channel to find the best content, like this new video on how to recreate La Catrina for Day of the Dead in Photoshop:
What You'll Learn in This Day of the Dead Photoshop Tutorial
- Who is Catrina in Day of the Dead and the Catrina meaning
- How to create a Dia De los Muertos lady of the dead makeup effect
- How to create face paint in Photoshop
- How to create fast color grades in Photoshop
- How to create a diamond Dia De los Muertos lady of the dead makeup look
What You'll Need
To complete this project, you will need the following resources:
Find more resources on Envato Elements!
Who Is La Catrina on the Day of the Dead?
Have you ever wondered who La Catrina is when the Day of the Dead is celebrated? La Catrina, shown as a skeleton, is the internationally recognized Dia de los Muertos symbol. While reimagined in the 1900s by Mexican artist José Guadalupe Posada, La Catrina goes as far back as Aztec culture, with her role being to watch over the remains of the dead.
Posada adapted and reimagined her imagery closer to what we know today—showing her wearing elaborate fashion worn by higher society to criticize the class divide. The idea was to show that death comes regardless of wealth.
Now for the La Catrina meaning—with her elaborate gown, she represents an enthusiastic celebration of those who have passed and comfort with the inevitability of death.
1. How to Prepare a Day of the Dead Photoshop Effect
Step 1
I started by doing a very optional face swap on this image, combining this image with this face. It ended up being almost completely pointless since I decided on a closer crop.
Doing the face swap gives you a bit of freedom if you want a more pulled-back crop, but it's optional. To do the face swap, I lined up the two faces, added a Layer Mask to the face layer, and used a soft round Brush to mask the edges.


Step 2
Next, we have a Brightness/Contrast adjustment layer set to -103 Brightness and 60 Contrast. I masked the middle with a soft black Brush to give a vignette effect.


Step 3
And then, to finish off the prep work, we have a Color Balance layer set to +22 Blue.


2. How to Paint a Day of the Dead Photoshop Effect
Step 1
Now, we can get right into the face paint! We're going to be creating three adjustment layers. Those three layers will make up our paint.
This is not a 'one size fits all' formula. Image brightness, skin tone, and personal preference will all play a role here. But let's start with a Black & White layer set to the default settings. This will turn our image grayscale.


Step 2
Now, add a Brightness/Contrast layer set to around -80 Brightness and +55 Contrast. This layer controls how bright the paint looks and the finish of the paint. More matte paint will have lower contrast. I'm going for a metallic look, so I wanted it higher.
We also want to adjust the Blend If settings in the Layer Style panel, removing the layer from the highlights so that they stay nice and bright.


Step 3
And then we have a Color Balance layer. This layer will control the color of the paint. I want it to be a purple shade, so I increased the Red and Blue to +100 and reduced the Green by -100.


Step 4
With these three layers done, we want to Group them and name the group "Purple Paint." Then we want to Invert the Layer Mask using Control/Command-I, turning the mask black.
Step 5
We're going to use this Layer Mask and a hard round Brush to mask in our design.
I always recommend references for things like this. I also recommend a tablet if you're doing a very intricate design. But I'm going to keep it quick and simple as I have an alternative option for those without a tablet.


Step 6
If you have a tablet or are really good with a mouse, now would be a great time to use the Symmetry options in Photoshop. We want to choose Vertical Symmetry. Then, adjust the blue lines to where the middle line is in the middle of the subject's face. Now, if we paint on one side, the same line will appear on the opposite side.
Once we are done painting, we can return to Symmetry and turn it Off. We can also go back and forth between on and off, adjusting lines as we need to.


Step 7
Once we are happy with our design, we can add a bit more depth and shine using two New Layers set to Overlay.
Name one "Light" and one "Dark" and set both to 75% Opacity. And make sure both layers are in the "Purple Paint" group.
First, let's take a soft round Brush set to black, and on the "Dark" layer, paint around the edges of the design, deepening and darkening the color. If we want to preserve some of the highlights, we can adjust the Blend If settings. Here are mine:


Step 8
We're going to do the same thing on the "Light" layer, only using whites and increasing the highlights of the makeup.
We can also use Blend If to keep the areas' darkest shadows dark, like creases in the skin and dark eyelashes. Here are my Blend If settings for the "Light" layer.


3. How to Paint White Face Paint
Step 1
We could stop here, but let's look at another variation of face paint by adding an off-white base below our purple paint.
So below the Purple Paint group, create a Black & white adjustment layer. Use the default settings, just like before.


Step 2
Next, add a Brightness/Contrast layer set to 100 Brightness and -50 Contrast. Since this is white paint, we want it to be brighter.


Step 3
And then, add a Color Balance layer set to -25 Red and +25 Blue. I prefer white paint to have a hint of blue to it.
This seems a little strong, but we'll lower the Opacity of these layers in a moment.


Step 4
First, we have to Group them together and name that group "White Paint." And then we can lower the group's Opacity to 40% or so.


Step 5
As before, we want to Invert the Layer Mask using Control/Command-I, turning the mask black. And we are going to mask in where we want our white paint. I'm going to use a very large soft Brush to paint white right in the middle of the face.


Step 6
Now, I want to ensure the white paint isn't interfering with the purple color. Luckily, all we have to do is hold Control/Command and click on the "Purple Paints" layer mask. And with our "White Paints'" mask selected, we just hit Delete. This will remove all the white from the purple.
Don't forget to mask the white from the eyes, too.


4. Jewel Day of the Dead Photoshop Tutorial
Step 1
Next, we'll add some jewel detailing for those who aren't too experienced with painting but still want a highly detailed design. I'll be using diamonds, and all of my diamonds will be coming from this photo of diamonds.
Shrink the image down to roughly the size you want your diamonds to be or a little larger. Then we'll use the Elliptical Marquee Tool to create a circular selection around a diamond. You can use any diamond. It's even okay if it has other diamonds overlapping it; you won't be able to tell in the end.


Step 2
Now, add a Layer Mask to the diamond image, and place the diamond in your design. In this case, I'm going to place diamonds around the eyes.
If you need to, adjust the Layer > Adjustment > Brightness/Contrast of the diamond. Some diamonds need to be darker, while others need to be lighter. It will all depend on the placement.
I made this diamond darker, with less contrast, since it's on the darker side of the face.


Step 3
We can Copy and Paste this same diamond, using it multiple times.
Just don't place the same diamond side by side, and try to rotate the diamond or even resize it. That'll stop them from looking too similar to each other.


Step 4
Once you've used a diamond a few times, create a new diamond using the same method as the first, only mask from a different area in the diamond texture.


Step 5
We will repeat this step until all of our round diamonds are placed.
I ended up with a total of 60 diamond layers; you'll likely have a lot too. So I definitely recommend grouping them all once you're done.


Step 6
For the teeth-shaped diamonds, we want to create a New Layer. And on that layer, we want to create a tooth-like shape using the Polygonal Lasso Tool. Fill that shape with a solid color—the color does not matter.


Step 7
Let's copy and paste them along the upper lip of the subject.


Step 8
And then, let's Clip our diamond texture into each shape. Move each texture around slightly, so there are no repeating patterns.


Step 9
Group those layers, and Duplicate the group.
Right-click > Flip Vertical and use the duplicate as the bottom row of teeth.
As before, we want to move the clipped diamond texture in each tooth slightly, so there is no apparent repeating detail.


5. How to Add Shine in Photoshop
Step 1
We're going to finish these diamonds off with a few layers that'll help add a bit of luster. So make sure all the diamond layers are grouped.
Now Create and Clip a Color Fill layer set to Blue #001987 into the "Diamond" group. Then we'll set that layer to Soft Light at 50% Opacity. This will give it a slightly blue tone.


Step 2
Right above the Fill layer, let's create a New Layer set to Soft Light.
On this layer, we're going to use white on the diamonds near the bright parts of the face, and black on the diamonds near the darker parts of the face.
This layer is very important because not only is it going to add shine, but it'll also help mold the diamonds with the curves of the face.


Step 3
And finally, add a New Layer set to Overlay so we can paint some shines and light blooms. I prefer a six-pointed star for my shine, but any light reflection will work.


6. How to Create a Quick Color Grade in Photoshop
Step 1
Let's finish everything off with a Curves layer similar to what you see here.


Step 2
And add a Vibrance layer set to +30 Vibrance and +10 Saturation.


You're Done!
That is how to create a La Catrina Day of the Dead photo effect in Photoshop! This face paint effect can be as elaborate as you want it to be. In fact, the bigger the better! You can also try using different colors and mixing colors together. The possibilities are endless.


Create Photo Effects Even Faster With Envato Elements!
Envato Elements has hundreds of different Photoshop Resources, add-ons, and actions! All of them are high-resolution, professionally made, and easy to use.
Halloween Photoshop Action (ATN, PNG)
If you like the La Catrina Day of the Dead theme but want it to be a bit more horror-inspired, then this is the action for you. Create an instant skull face paint effect with just a few clicks.
Halloween Lightroom Presets Pack (ATN, LRTEMPLATE)


Finish off your Day of the Dead Photoshop effect with one of these premade Lightroom presets! These LUTs are easy to use, and yes, you can use them in Photoshop too.
Haunted Photoshop Actions (ATN)


The haunted Photoshop action is one of my favorites. It creates an elegant but striking horror effect instantly, while still retaining complete editability.
Mystic Text Logo Effect (PSD)


This mystic text effect is perfect for all kinds of genres, from horror to fantasy to sci-fi. You can change the font, and it works on shapes. That includes logos!
50 Magic Photo Overlays Vol. 4 (PSD)


Speed up your workflow with this set of 50 magic photo overlays! Just drag and drop to add a touch of magic to any photo.
Discover More Awesome Photoshop Resources


 By
By


