

1. Setting Up Particle Emission
Step 1
Open Maya.

Step 2
Jump in the Dynamics mode so
that you get the dynamics menu items.


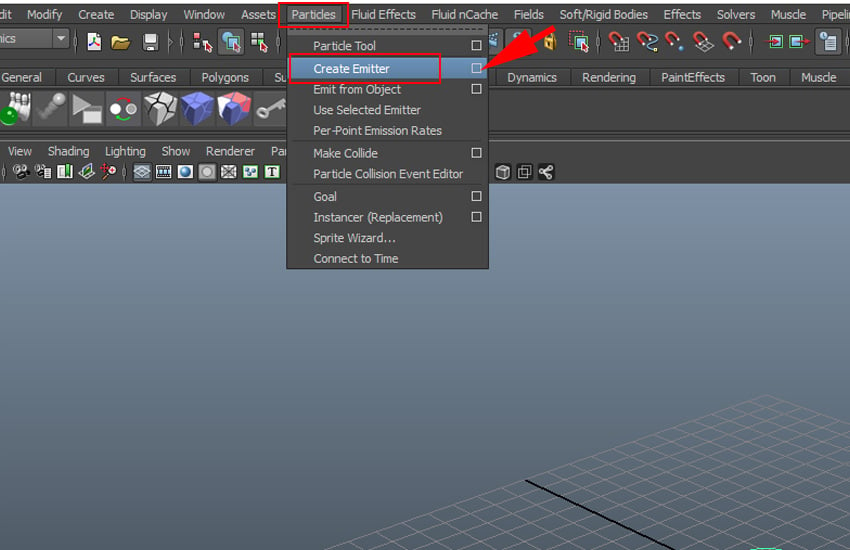
Step 3
Go to Particles > Create Emitter
and click on the option box.


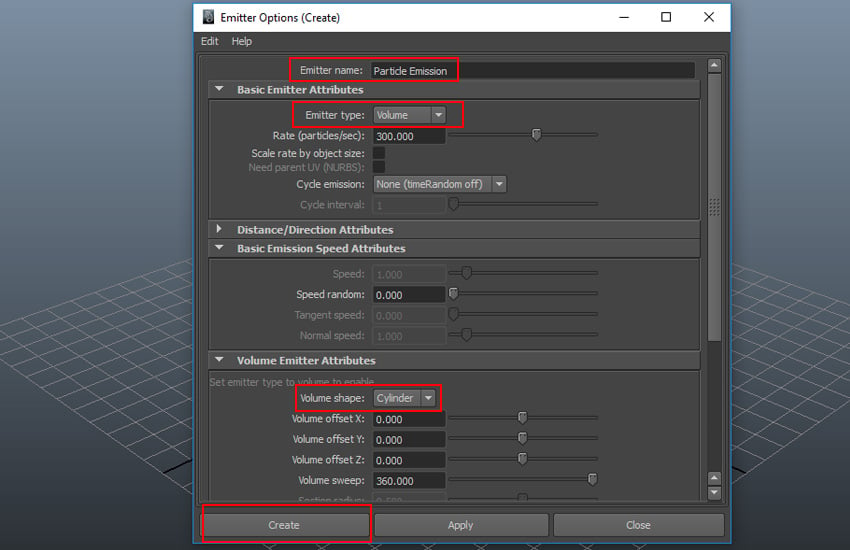
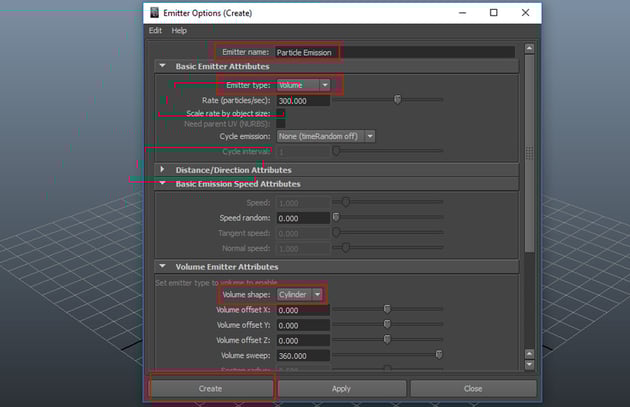
Step 4
In the Emitter Options box, give
the emitter a name as Particles Emission.
Set the values of Emitter type to Volume and Volume shape
to Cylinder and then click on Create button to create the emitter
in the viewport.

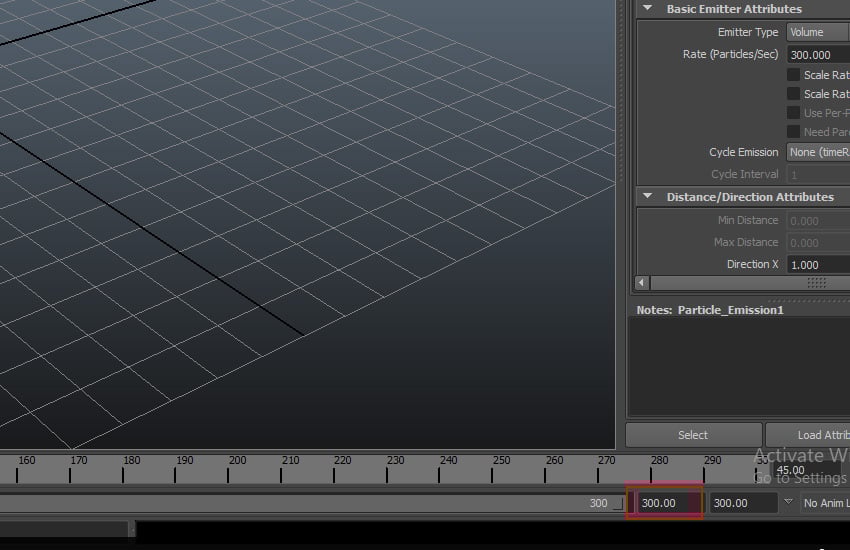
Step 5
The default timeline length is up to 24 frames only. You need to
Increase the frames number on the timeline because in order to view the
particles act, you need more numbers of frames. Increase the frame numbers to 300
as shown in the following image.


Step 6
With the emitter icon selected, press Ctrl-A
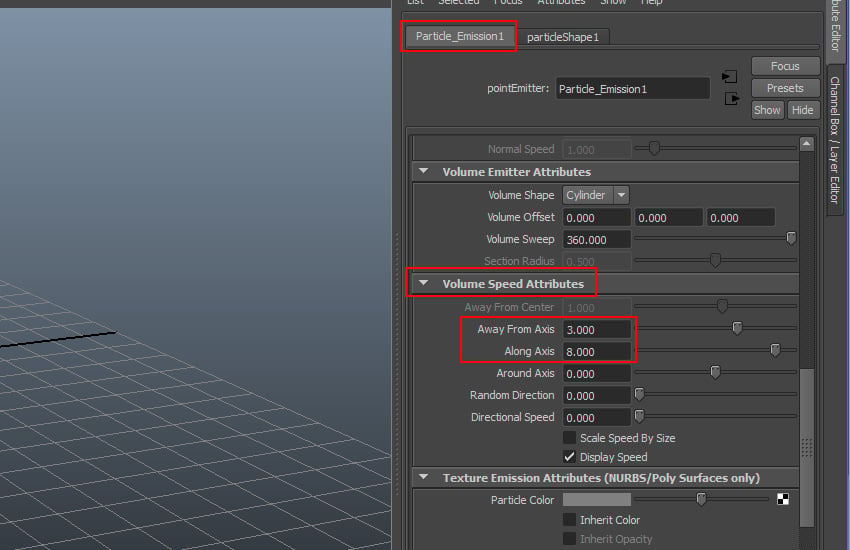
to go to Attribute Editor of the
emitter. Here set the values of Away From Axis to 3 and Along
Axis to 8.


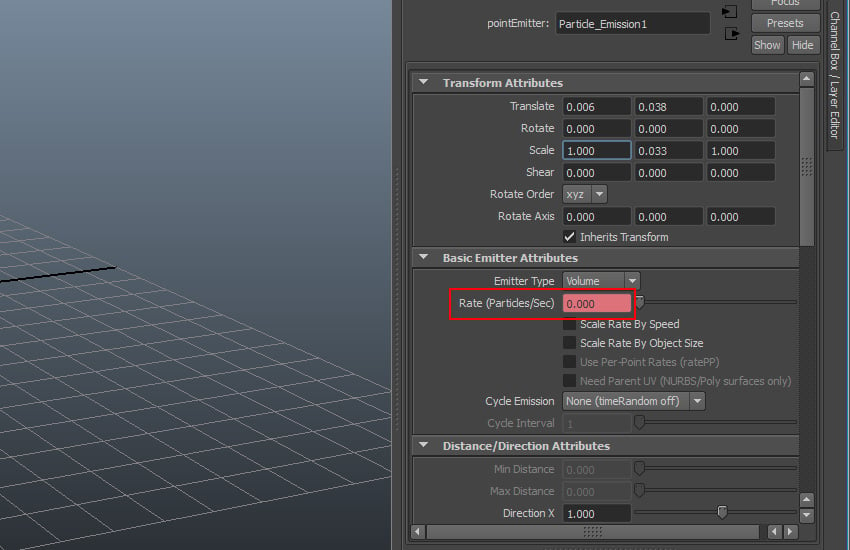
Step 7
Go to first frame on the timeline and set the value of Rate (Particles/Sec) to 300 and click on Set Key option.


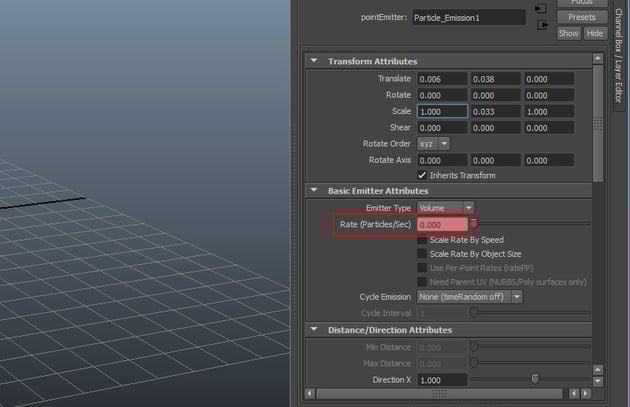
Step 8
Move to the fifth frame on the timeline and change the value of Rate (Particles/Sec) to 0 and click on Set Key option.

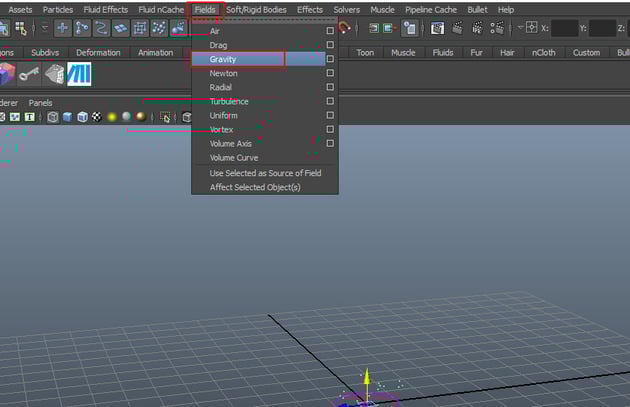
Step 9
To make the particles fall on the ground, you need to apply the gravity
field in the scene. So, with the particles selected, go to Fields > Gravity and apply the gravity.


Step 10
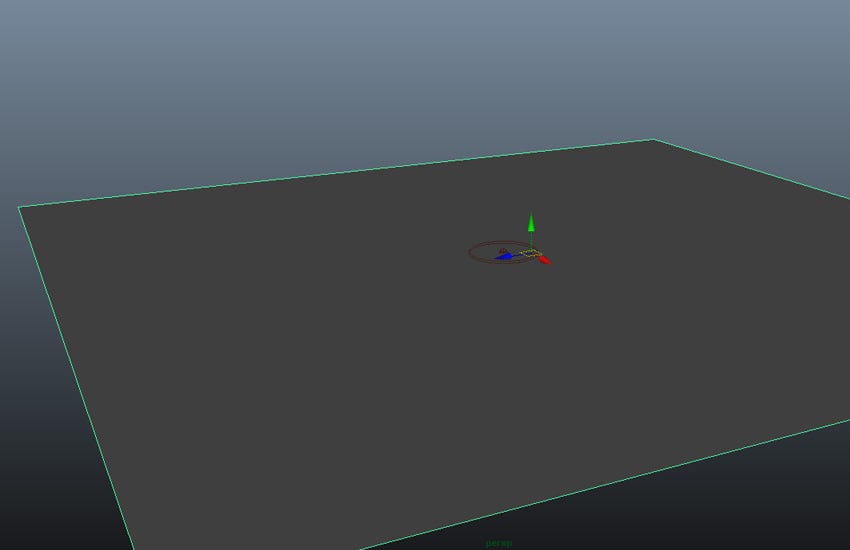
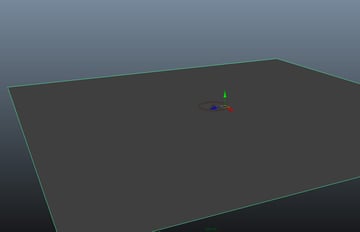
You can also show the particles to react with the ground plane. To create the ground plane, go to Create > Polygon Primitives > Plane and drag and draw a plane in the perspective viewport.

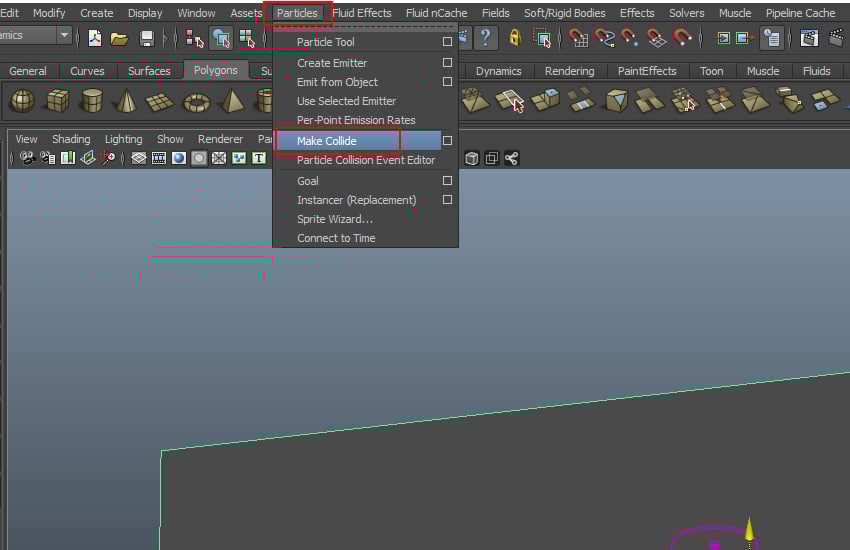
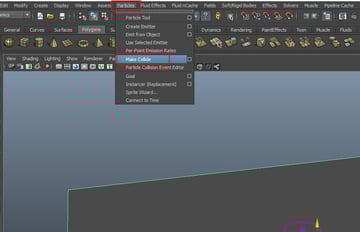
Step 11
To collide the particles with the ground, first select the particles
followed by the plane and then go to Particles
> Make Collide.

Step 12
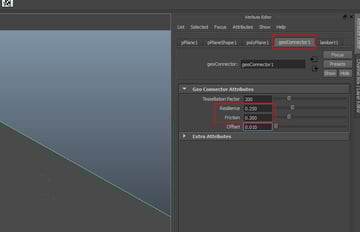
With the plane selected, go to geoConnector1 attribute and set the values of Resilience to 0.250 and Friction to 0.200.


2. Setting Up Particle Emission
Step 1
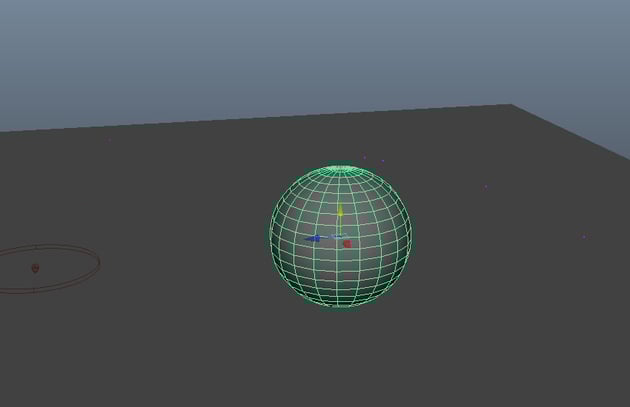
Create a sphere in the perspective view port as shown in the following
image.


Step 2
With the sphere selected, go to PulldownIt shelf menu and click on
the ShatterIt feature icon.


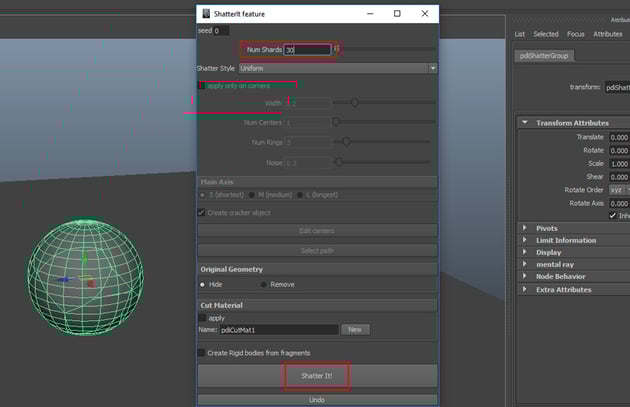
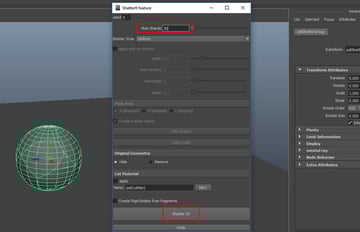
Step 3
In the ShatterIt feature window, set the value of Num Shards
to 30 and click on Shatter It! Button. The sphere gets shattered
in 30 pieces.

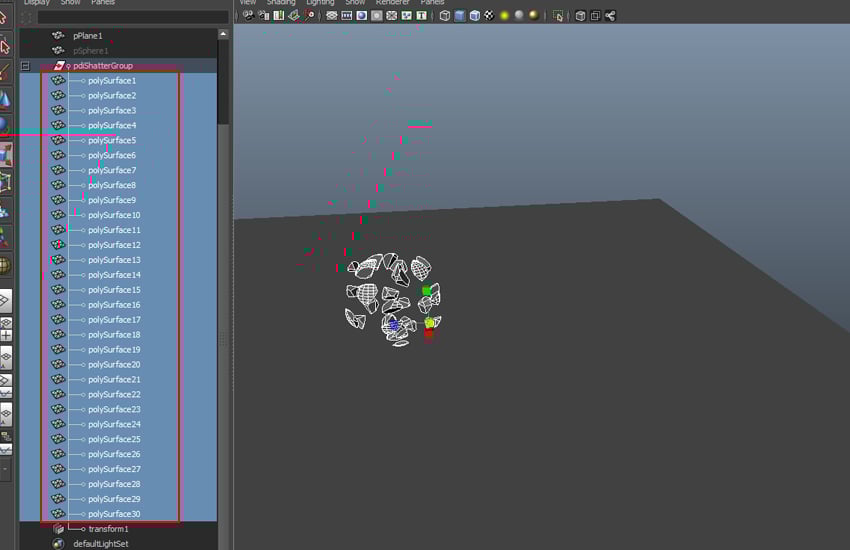
Step 4
Open Outliner window. You can see the different broken parts of the
sphere inside the pdiShatterGroup. With all chunks selected inside the Outliner
window, scale down the size of the chunks by using Scale tool.

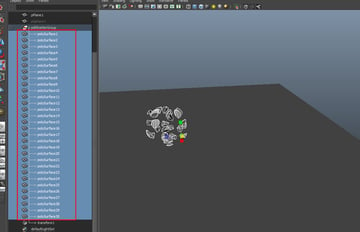
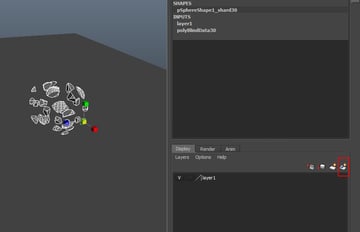
Step 5
Create a new layer for the chunks as shown in the following image.

Step 6
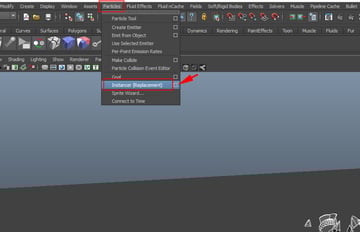
With all chunks selected, go to Particles > Instancer (Replacement)
and click on the option box.


Step 7
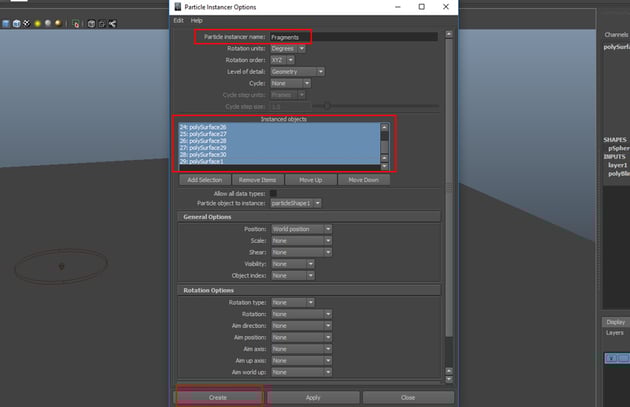
In the Particles Instancer Options box, set the name as Fragments
and with all instanced objects selected, click on the Create button.


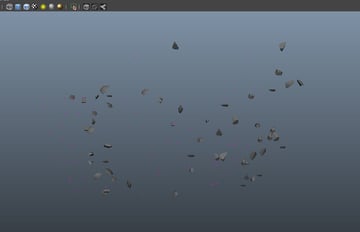
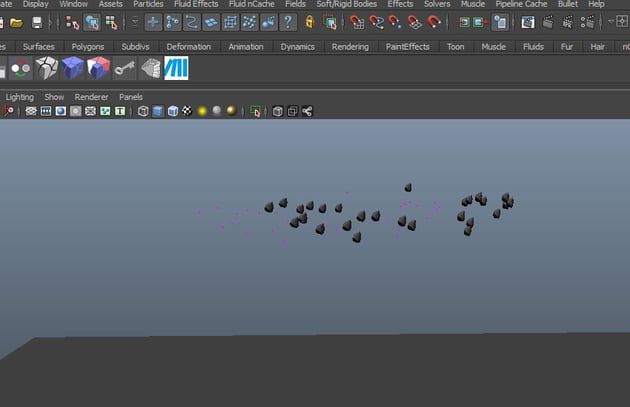
Step 8
Press the Play button and you will see chunks coming out from the particle emitter.


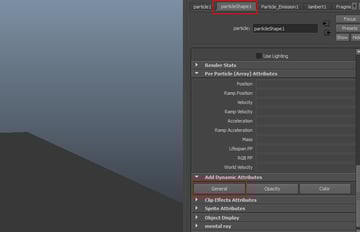
Step 9
With the particles selected, go to particleShape1 attribute and click on General tab.

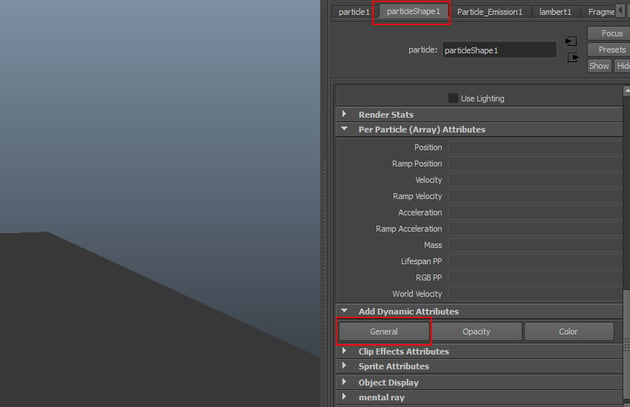
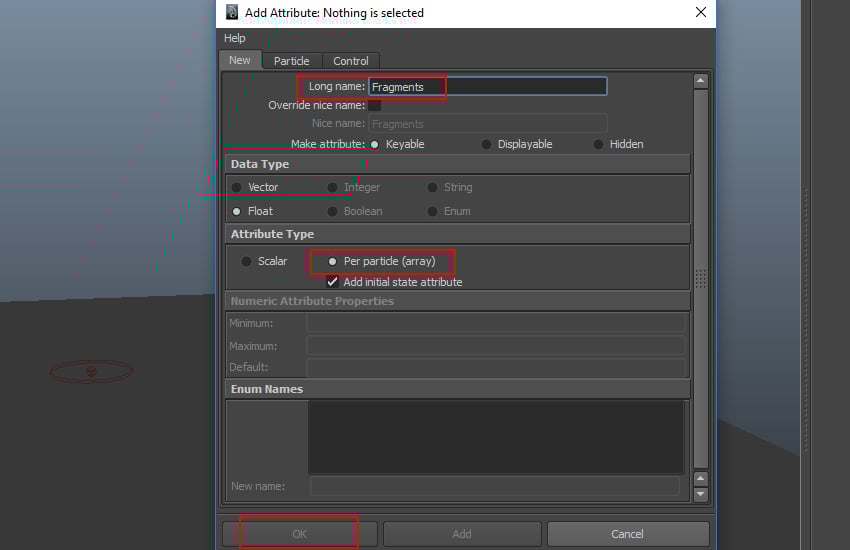
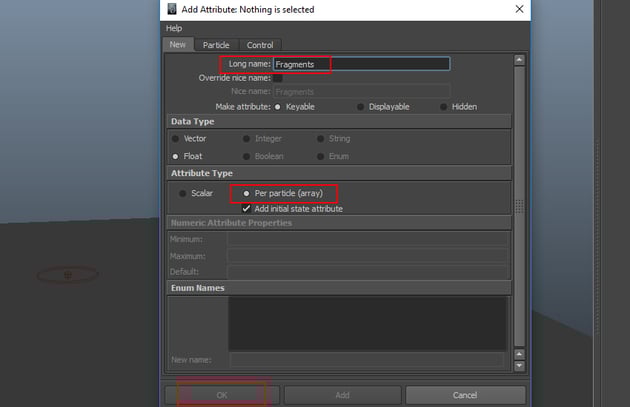
Step 10
In the Add Attribute window, set the Long Name as Fragments
and Attribute Type as Per Particle (Array). Click on OK
button.

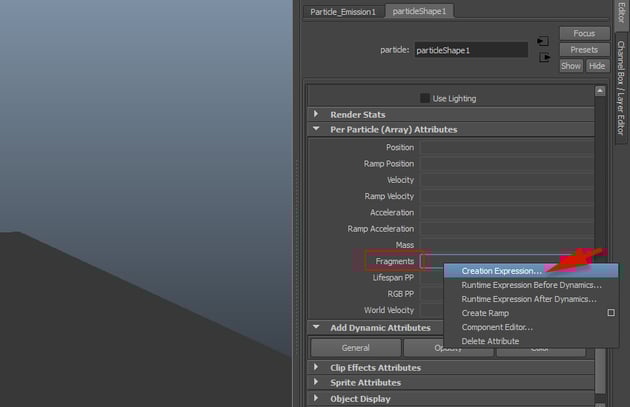
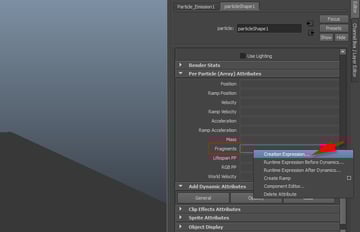
Step 11
Make a right mouse click on the Fragments attribute and select Create
Expression option.

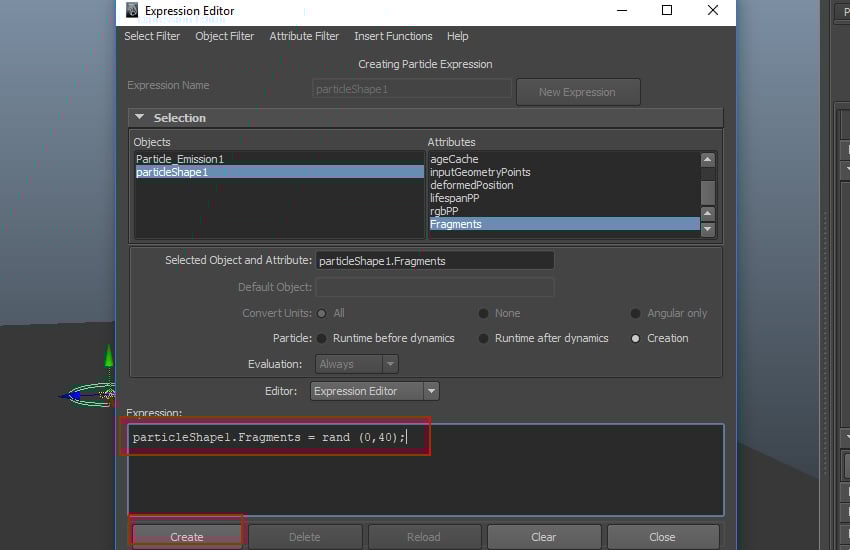
Step 12
In the Expression Editor, write the expression as particleShape1.Fragments
= rand (0,40); and then click on Create button.


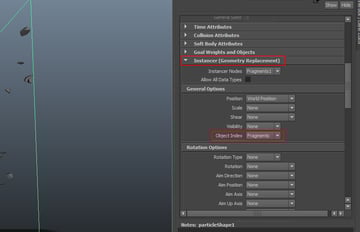
Step 13
Go to Instancer (Geometry Replacement) tab and set Object Index
as Fragments.
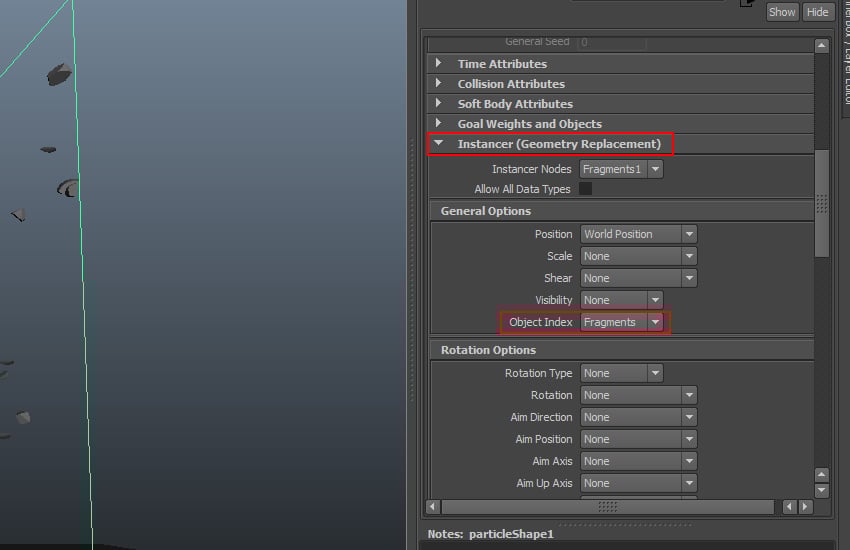

Step 14
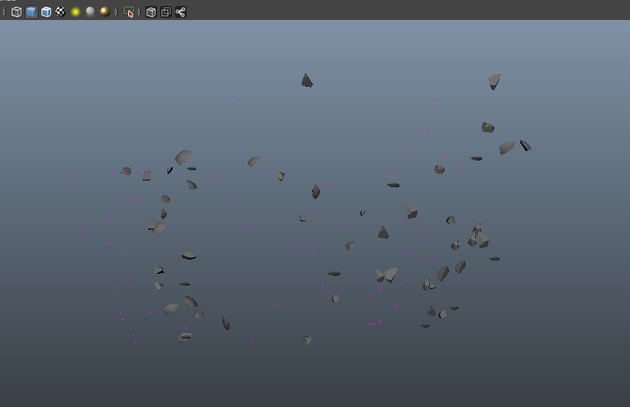
Press the Play button and you will see the random explosion of the
particle chunks.


Conclusion
In the next part of the tutorial, I'll show some more aspects of shattering objects using PDI in Maya.
 By
By


