
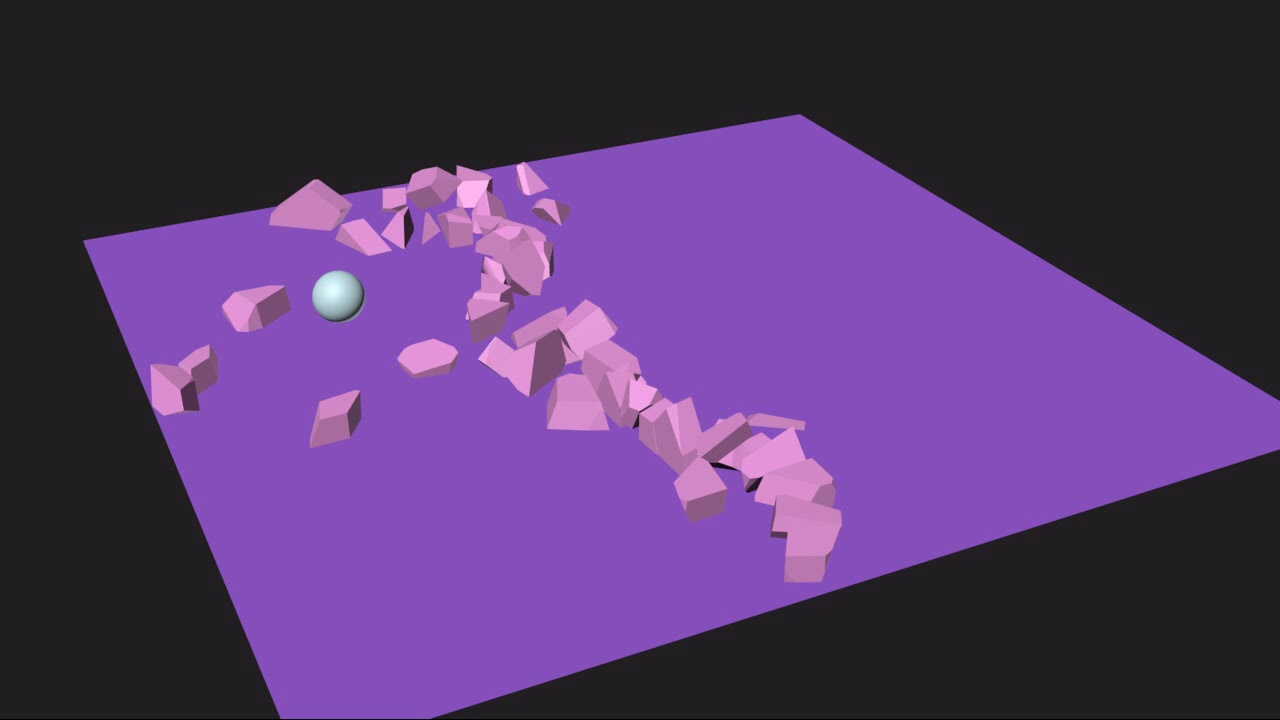
This is a new series on destructing elements in 3ds Max with the industry standard plugin RayFire. In the first instalment of the tutorial, I'll show you how to work in RayFire with the most basic operations and methods of demolishing elements in 3ds Max.
Preview
1. Preparing the Scene
Step 1
Open 3ds Max.


Step 2
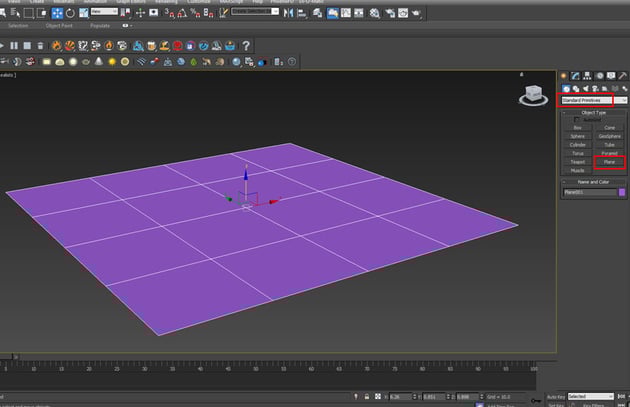
Go to Create > Standard Primitives > Plane and create a
ground plane on the perspective viewport as shown in the following image.


Step 3
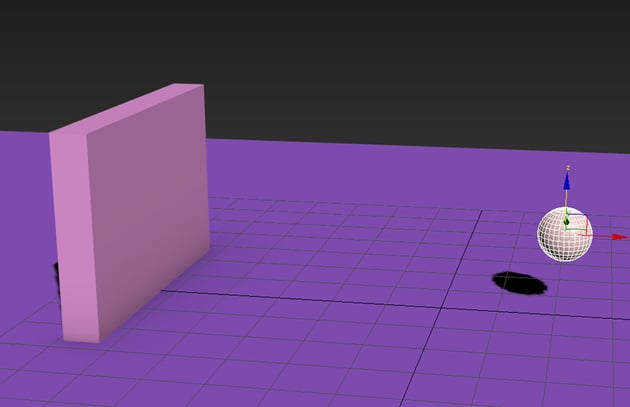
Go to Create > Standard Primitives > Box and create a wall
structure on the ground plane.


Step 4
Go to Create > Standard Primitives > Sphere and create a ball
on the ground plane.


Step 5
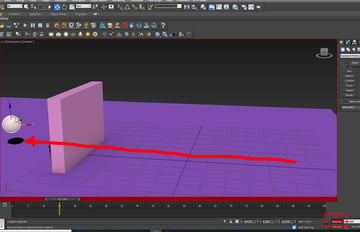
With Auto Key button turned on, animate the position of the ball in such a way that it should pass through the wall from 0 to 15 frames.


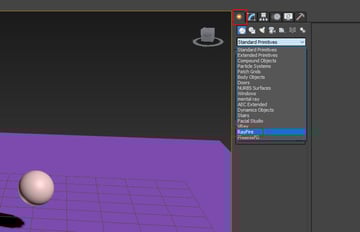
2. RayFire Simulation
Step 1
Go to Create > RayFire.


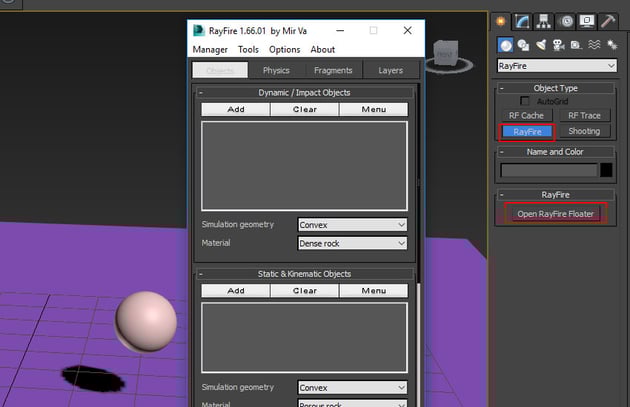
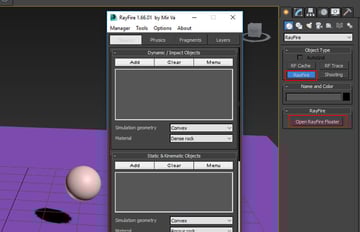
Step 2
Go to RayFire > Open RayFire Floater. It opens the RayFire
floater window.

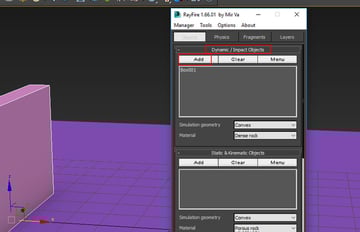
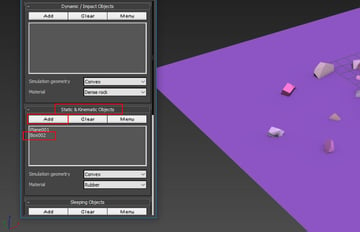
Step 3
With the wall selected, go to Dynamic/ Impact Objects window and
click on Add. It will add the wall object in the list.


Step 4
With the ball and plane selected, go to Static & Kinematic Objects
window and click on Add button to add the selected objects in the list.


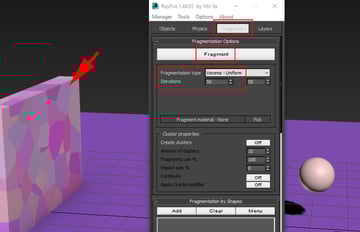
Step 5
Go to Fragments tab and set the Fragmentation type to Voronoi-Uniform
and Iteration to 50. Click on Fragment to break the wall
into pieces.


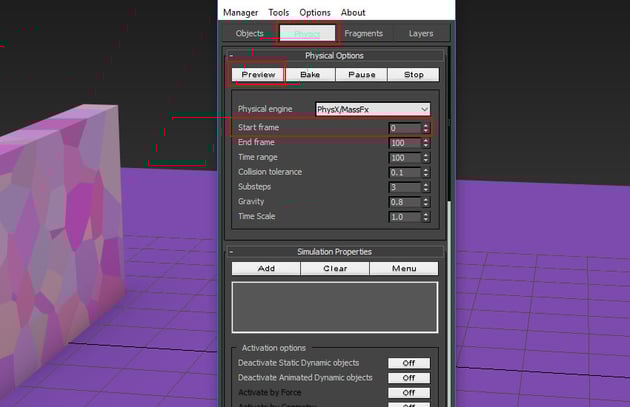
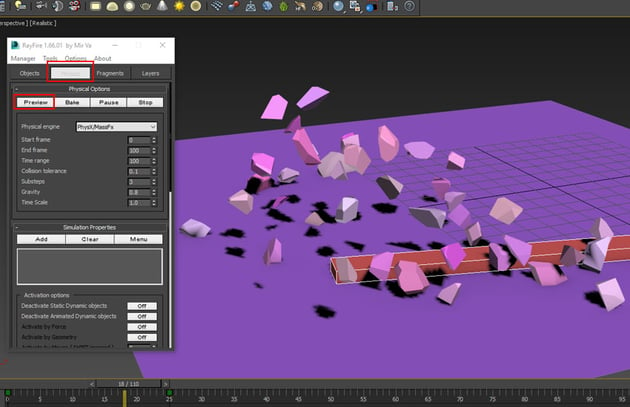
Step 6
Go to Physics tab and set the set the Start Frame to 0.
Click on Preview button.


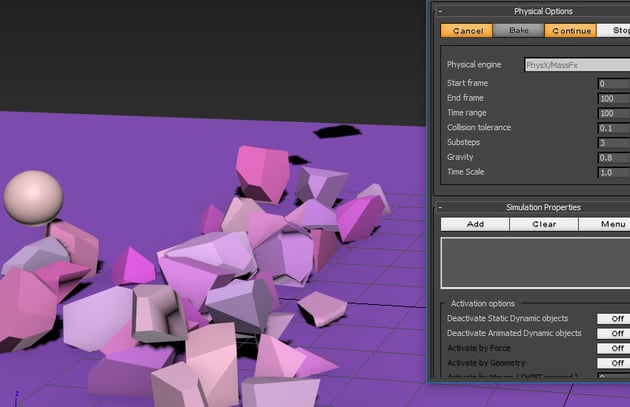
Step 7
As soon as you click on Preview button, the simulation starts and
you'll see the ball shatters the wall into pieces.


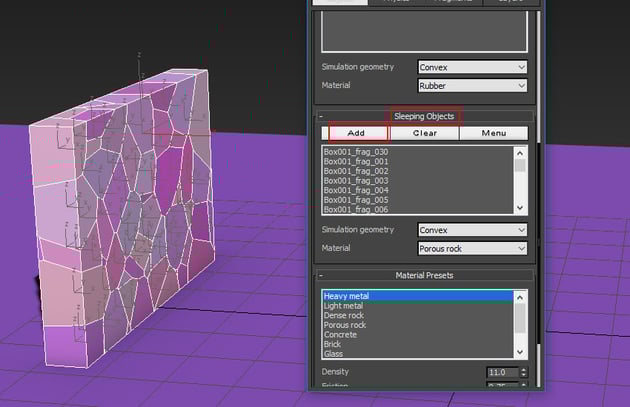
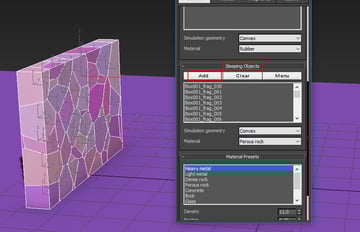
Step 8
Sometimes you'll notice that the wall fragments start simulating even before they're hit by the ball. In this case, with all fragments selected, go to Sleeping Objects window and click on Add button.
Now, the
fragments will react only upon getting hit.

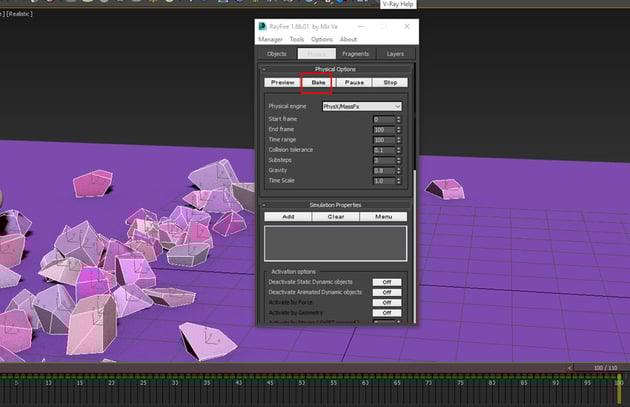
Step 9
Once you are happy with the simulation, click on Bake button to finalise the simulation. It will create keyframes on the timeline.


3. Alternate Simulation
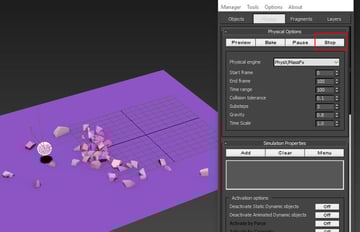
Step 1
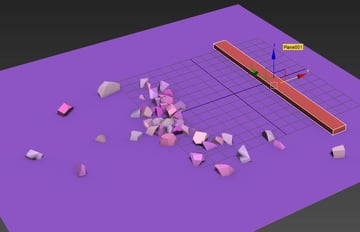
If you want the scattered fragments to stick to the ground from the very beginning, let the simulation preview reach to 100 frames and then click on Stop button.


Step 2
Delete the sphere and create a box on the ground plane as shown in the
following image.

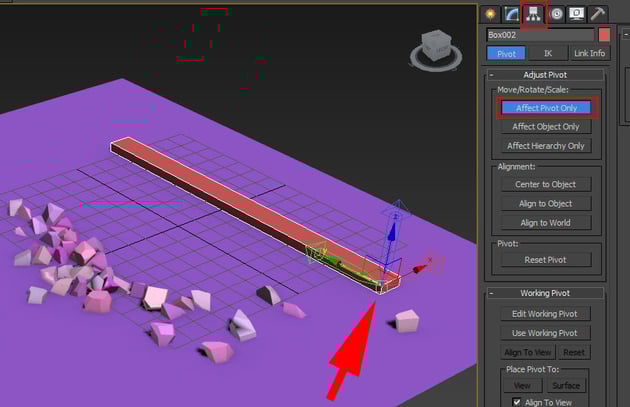
Step 3
With the box selected, go to Hierarchy and click on Affect Pivot Only to set the pivot of the box to the end as shown in the following image.


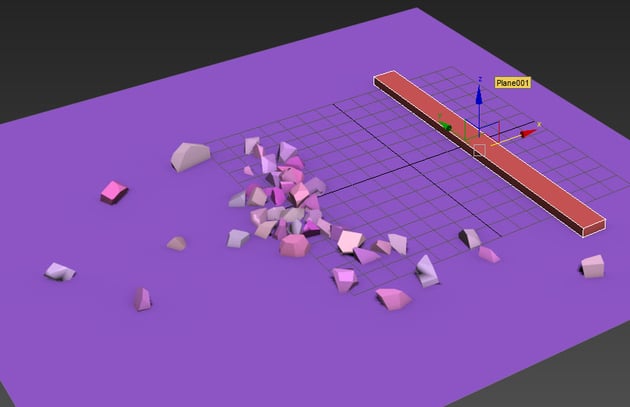
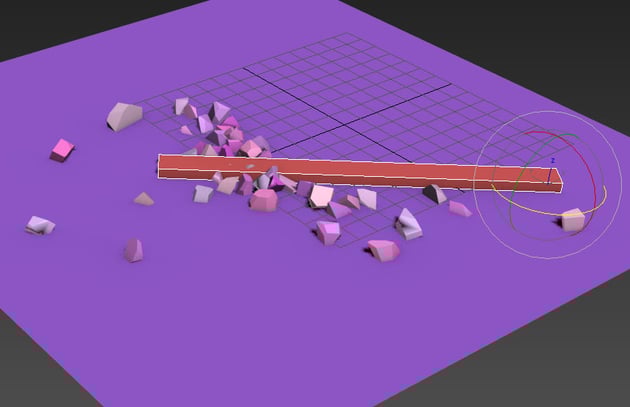
Step 4
With Auto Key button turned on, animate the rotation of the box in such a way that it rotates through the fragments on the ground plane from 0 to 15 frames as shown in the following image.

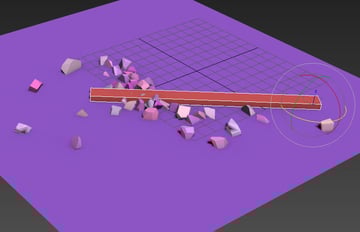
Step 5
With the box selected, go to Static & Kinematic Objects window
and click on Add button to add the box in the list.


Step 6
Go to Physics tab and click on Preview button. You'll see the box swapping out the lying fragments on the ground plane.


 By
By


