


In the fourth part of the iPhone series we'll begin creating textures and the many shaders needed for our model. While most will be procedural materials, a few of the elements do require image based textures, so we'll first tackle the uvmapping on these elements. We'll then move on and construct a studio lighting rig using V-Ray lights and introduce image based lighting to the scene. Along the way we'll rely heavily on the power of V-Ray's RT engine to fine tune our materials, lighting and render settings to balance the scene and achieve the look we're after for our final render.
Additional Files/ Plugins:
- Download the Blueprint images for this tutorial
- Download the Reference images for this tutorial
- Download the Texture Source images for this tutorial
Project Overview:
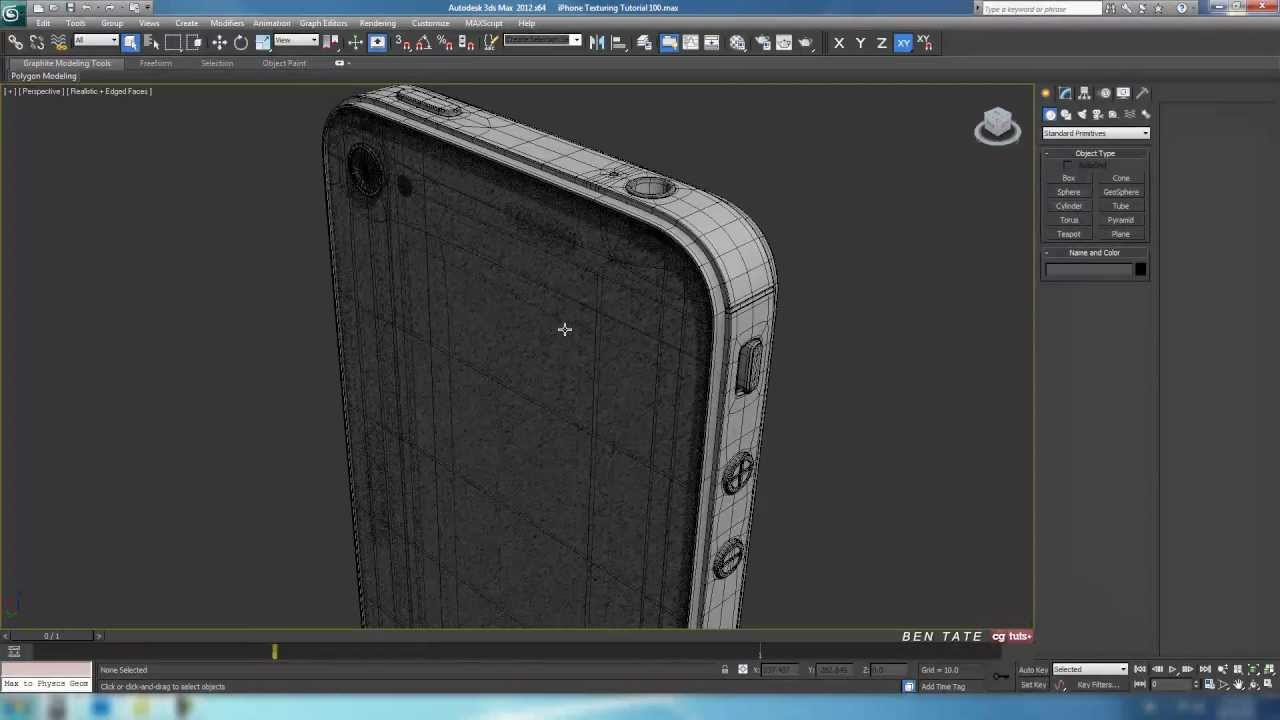
In this multi-part project, we'll be creating the iPhone 4S in 3d Studio Max using tried and true poly modeling techniques. You'll learn how to setup and model from six view blueprints, create precision cuts and holes, terminate edge loops and how to add proper supporting geometry to retain surface shape when adding subdivision. We'll be aiming to cram as much detail as possible into the model, while creating the cleanest mesh we can. The overall goal of the project will be to create a model capable of standing up to even the closest renders.
Tutorial Time-lapse Preview
I decided to try something new with this post, so if you're curious as to what the final two parts of the iPhone 4S series will cover. Get a sneak peak at some of the key stuff we'll be covering by checking out the time-lapse video below.

iPhone 4S Part 4-1
Note: Click the 'Box' icon to view the tutorial in full-screen HD (all videos available in 1080p.)
iPhone 4S Part 4-2

iPhone 4S Part 4-3

Use the link below to download this tutorial for offline viewing.
 By
By


