


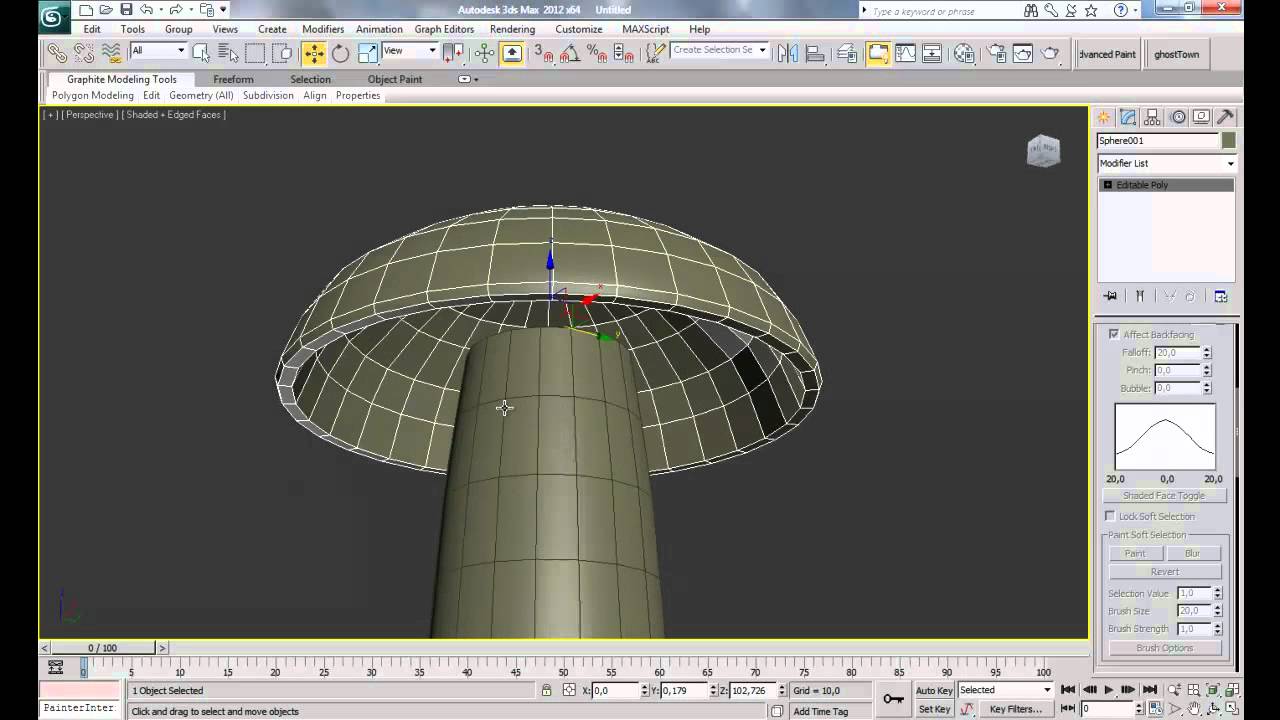
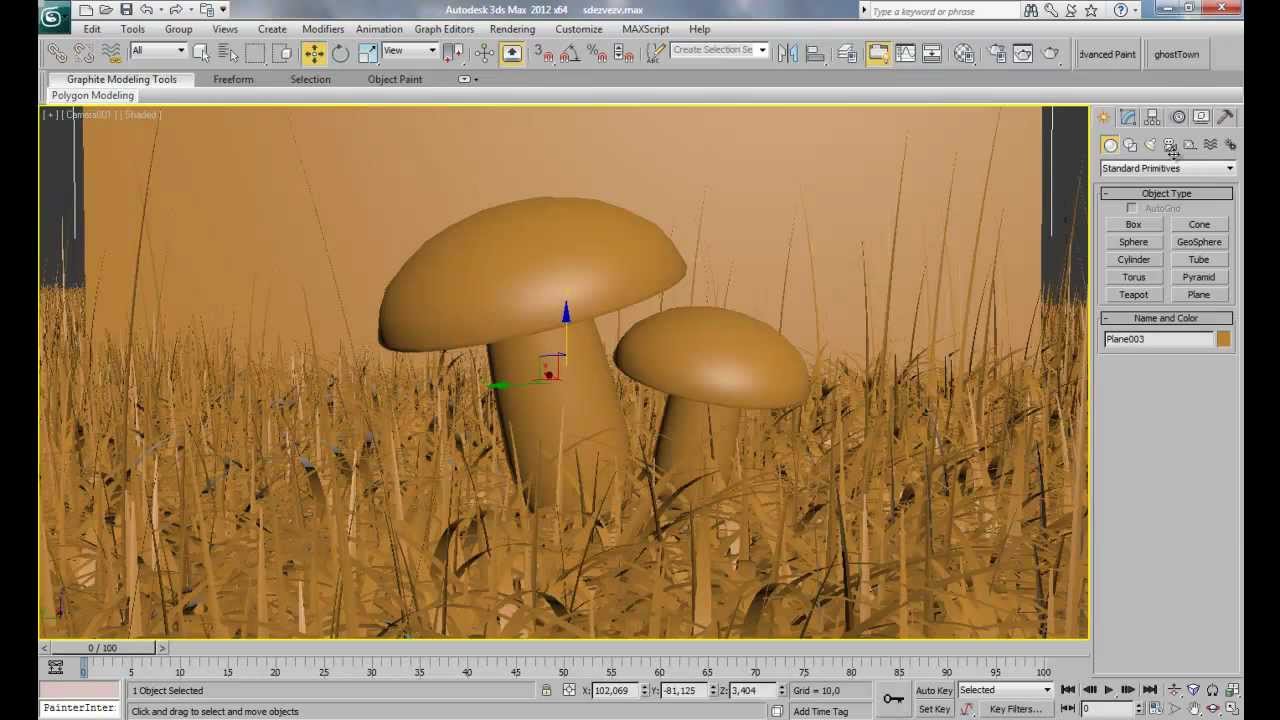
We’re kicking off a new four part tutorial series where you’ll learn to create a cool macro style render using 3D Studio Max, Photoshop and V-Ray. Throughout the series author Wassim Ouartsi will walk you through the entire process he used to create this fantastic image. In part 1 you’ll model the mushroom and create a few different types of grass using the free "Grass-O-Matic" plugin, and then learn how to distribute it using the always popular Advanced Painter script. Get started after the jump!
Over the course of the series, you'll learn how to Model, Uv Map, Texture, Light and render the scene before moving into Photoshop for post production. Where you'll learn how to use Z-Depth to create depth of field, apply color correction and make final adjustments.
Additional Files/ Plugins:
- Advanced Painter Script (Free)
- Grass-O-Matic (Free)
- MultiTexture Map (Free)
Introduction

Note: Click the 'Box' icon to view the tutorial in full-screen HD.
Part 1-1
Part 1-2
Use the link below to download this tutorial for offline viewing.
 By
By


