


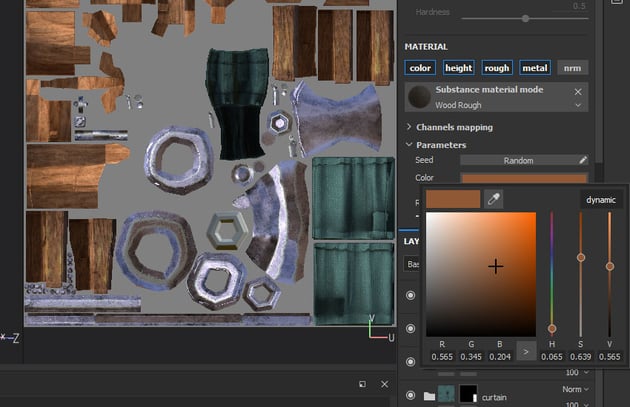
1. Texturing in Substance Painter
Step 1
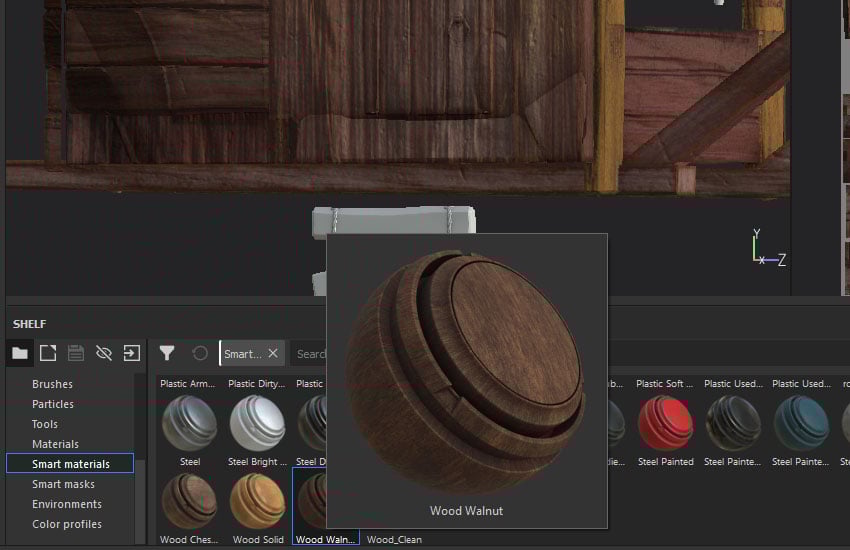
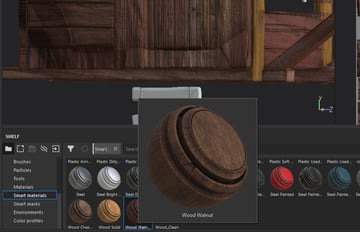
Continuing on from the last part of the tutorial series, go to Smart Material shelf, drag and drop Wood Walnut material into Layers. Add a black mask, fill the colour for staircases.

Step 2
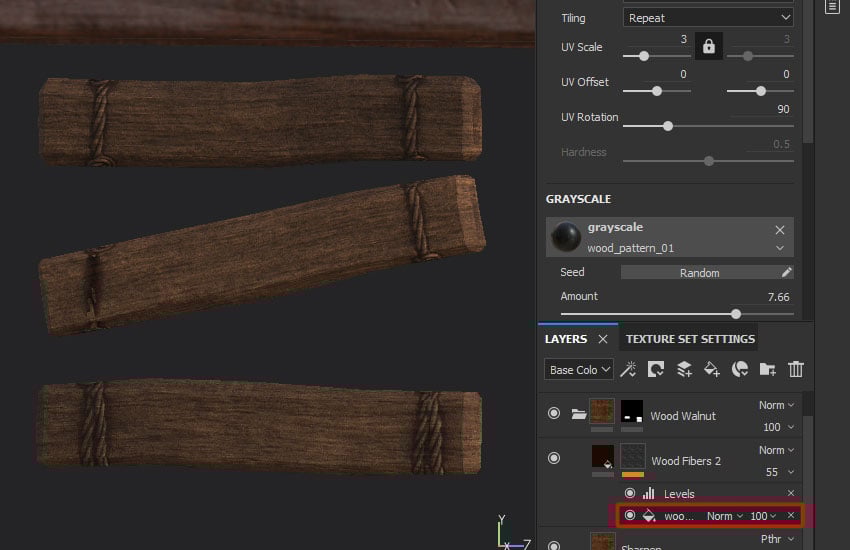
If
the direction of wood grain is not correct, rotate the Wood Fibers layer to 90º
and select Wood Fibers 2 masking > select wood_pattern_01 > rotate 90º.
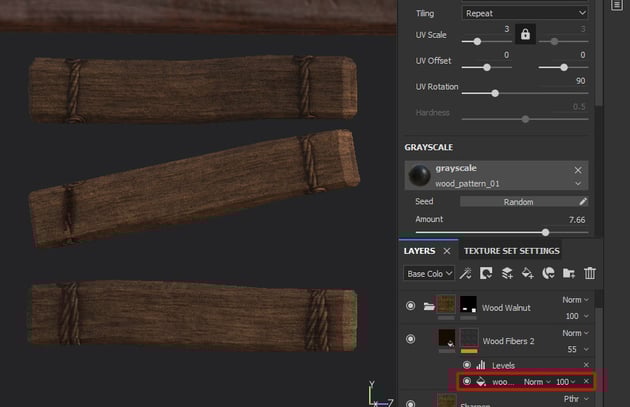

Step 3
Change
the Base layer’s color to lighter colour.


Step 4
Repeat
this step for the small wood log in the front. Change the color to a yellowish
colour.


Step 5
Create
a fill layer on the top of the layers. Turn off height, metal and nrm.


Step 6
Change
the base colour to dark brown. Increase the roughness to 1.0.


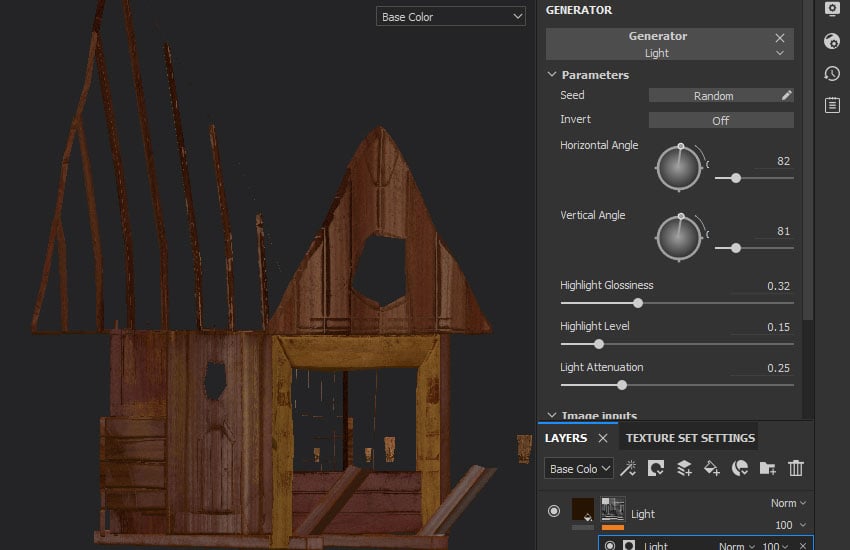
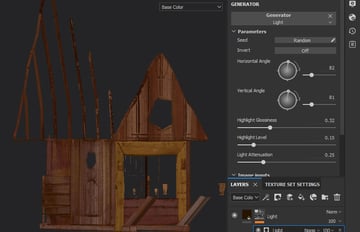
Step 7
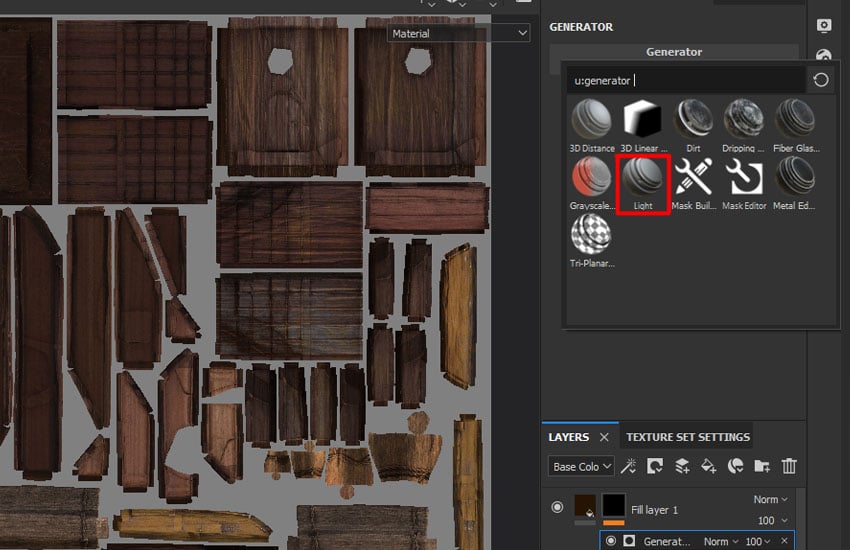
Add
a black mask, right click on the mask and select Add generator. Click on
Generator and select Light.


Step 8
Adjust
the angle to cast shadow in the textures. You can press C to view the base
colour mapping for easier judgement. That's the mapping in 1001.

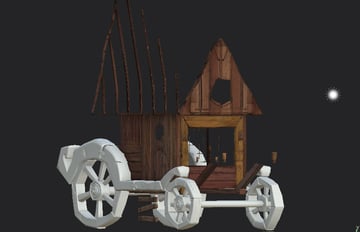
Step 9
Move
to 1002, press M to back to Material view. What I've put in 1002 are the
wheels UVs.


Step 10
Drag
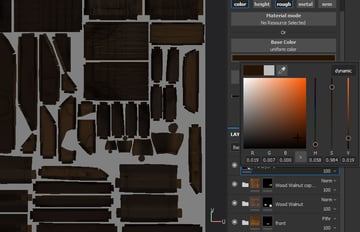
and drop Wood Beech Veined material from Smart Materials shelf to Layers.


Step 11
Change
the base wood colour to darker brown.


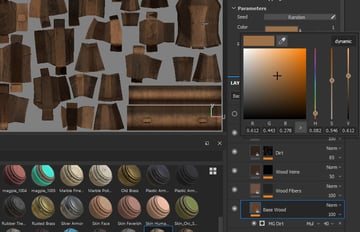
Step 12
Duplicate
Base Wood layer, change the colour to lighter brown and add a black mask.


Step 13
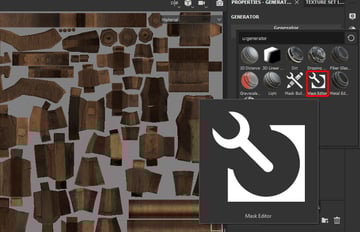
Right
click on black mask > Add Generator > click on Generator > select Mask
Editor.


Step 14
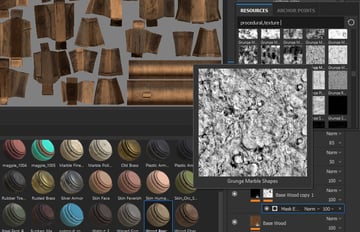
Scroll
down to Image inputs, click on the Texture and select Grunge Marble Shapes.


Step 15
Adjust
the settings of this generator to achieve the desired result.

Step 16
Click
on the black mask, right click and select Add Paint.


Step 17
Using Bark brush, change to black colour by pressing X (invert colour) to erase
some of the bright edges.


Step 18
Add
a black mask for the folder, press 4 and fill in the wheels’ UVs.


Step 19
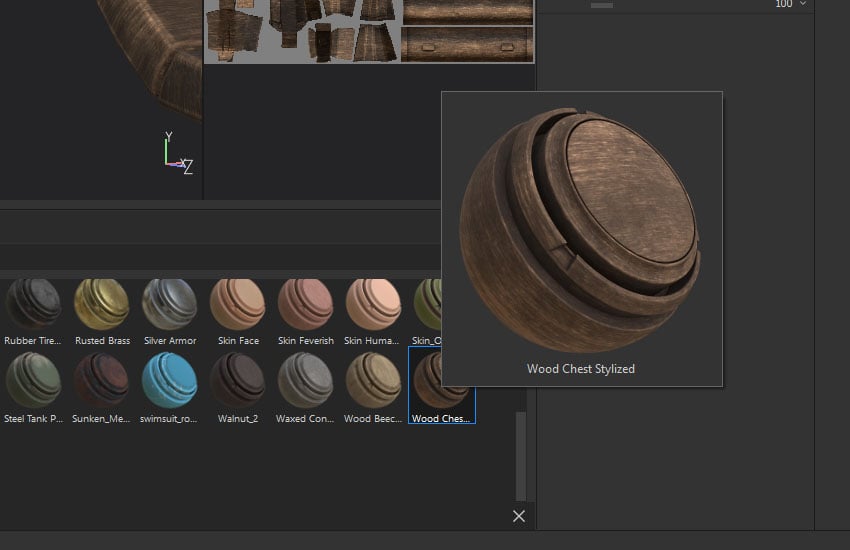
Drag
a Wood Chest Stylized smart material into layers.


Step 20
Add
a black mask and fill in the wheel’s support UVs.


Step 21
Drag
a Steel Rust Surface into the layers. Delete the Rust layer.


Step 22
Add
a black mask to the folder and fill in the steels’ UVs. Change the Base Metal
colour to light purple.


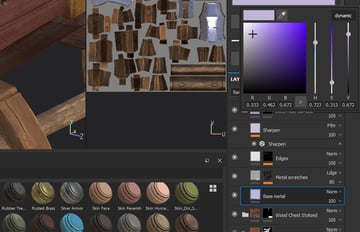
Step 23
Adjust
the settings for metal scratches layer > masking > Grunge_scratches_dusty.


Step 24
Add
paint into the black mask of Edges layer. Use Bark brush to add some details.


Step 25
Then
you've completed the texturing for 1002.


Step 26
Move to 1003. Here are the UVs in the 1003 texture.


Step 27
Copy the Steel Rust Surface from 1002 by pressing Ctrl-C and paste Ctrl-V into 1003.
Add a black mask then fill all the steels’ UVs.


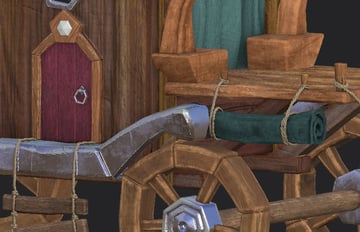
Step 28
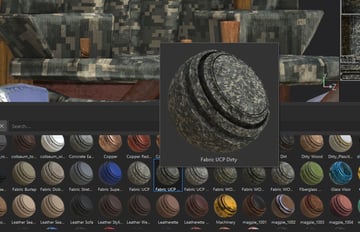
Drag
and drop Fabric UCP Dirty smart material into layers.


Step 29
Turn
off Use Custom Color in Fabric UCP layer.

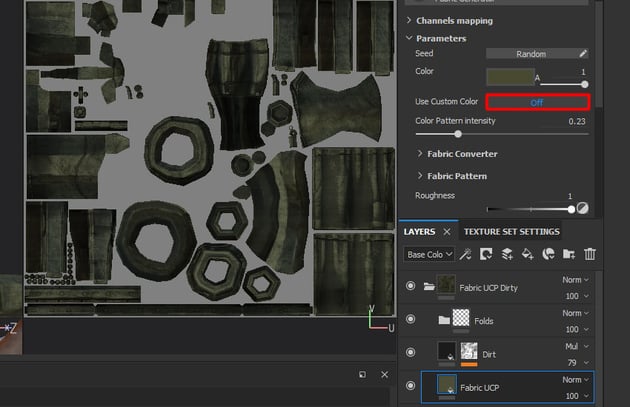

Step 30
Change
the colour to a turquoise colou.


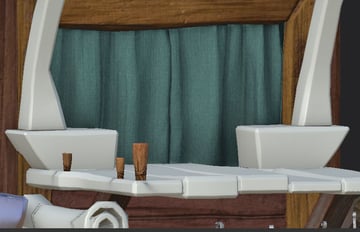
Step 31
Adjust the settings of Dirt layer > masking > MG_Dirt.


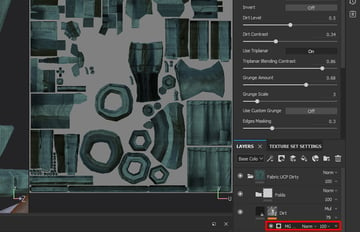
Step 32
Adjust
the settings of Folds too. Create a black mask for the folder and fill the
curtain’s UVs.


Step 33
Duplicate
the curtain folder, add a black mask and fill colour for the rolled cloth.


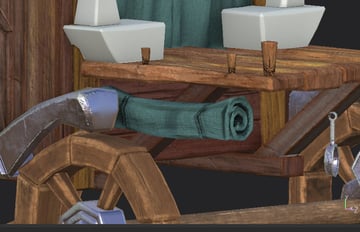
Step 34
Change the colour to darker green.


Step 35
Drag
and drop Wood Rough material into layers. Change the colour to orange-brown.


Step 36
Add
a black mask and fill colotr for the wood planks.


Step 37
Duplicate
the Wood Rough layer and change to darker brown. Add black mask then use Sponge brush to paint some parts to become darker.


Step 38
Repeat
steps for the desk in front. Change the dark brown to light yellow for some
variation.


Step 39
Next,
move to 1004. What I've put in 1004 are roof tiles’ UVs.


Step 40
Drag
and drop Mortar Wall material to layers.


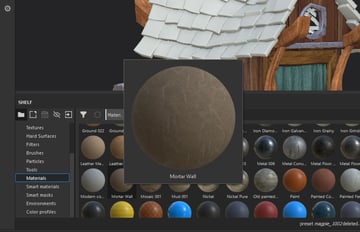
Step 41
Change
the colour to light maroon colour. Increase the roughness.


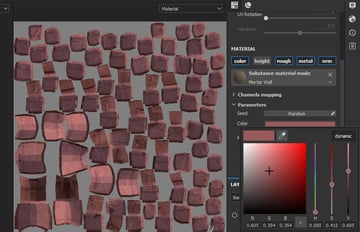
Step 42
Duplicate
the layer, change the colour to darker red. Add a black mask, using Sponge brush to paint some variation on the roof tiles.


Step 43
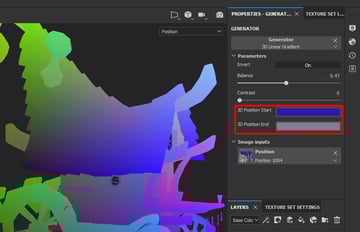
Duplicate
again the dark red layer, change to purple color and multiply. Add black mask,
right click and add generator, select 3D Linear Gradient.

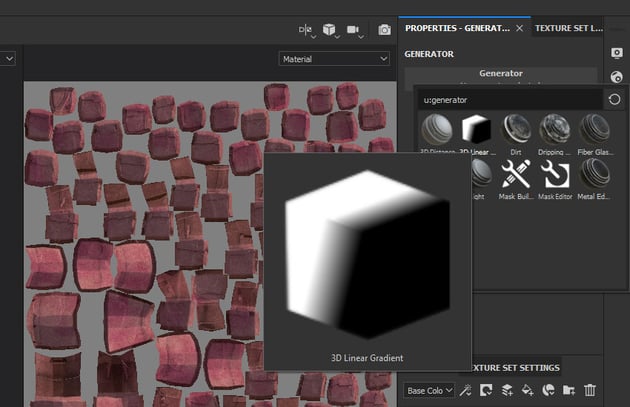

Step 44
Press B to view Position mapping, pick the colour from the top and bottom of the roof
for 3D Position Start and End.


Step 45
Duplicate
again the Mortar Wall layer, change the colour to orange and add black mask,
paint on the roof tiles to create variation.


Step 46
Move to the last texture 1005, repeat the previous steps for the door and ropes. The Ropes’ material was using Fabric Rough Aligned while door was using Wood Walnut smart material.


Step 47
For
gemstone, create a Fill layer and change the colour to turquoise.


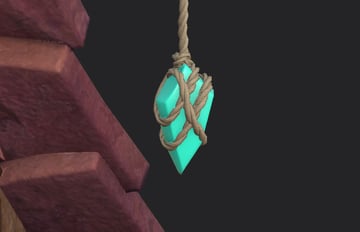
Step 48
Duplicate
the fill layer, add a black mask and generator > select Fiber Glass Edge
Wear.


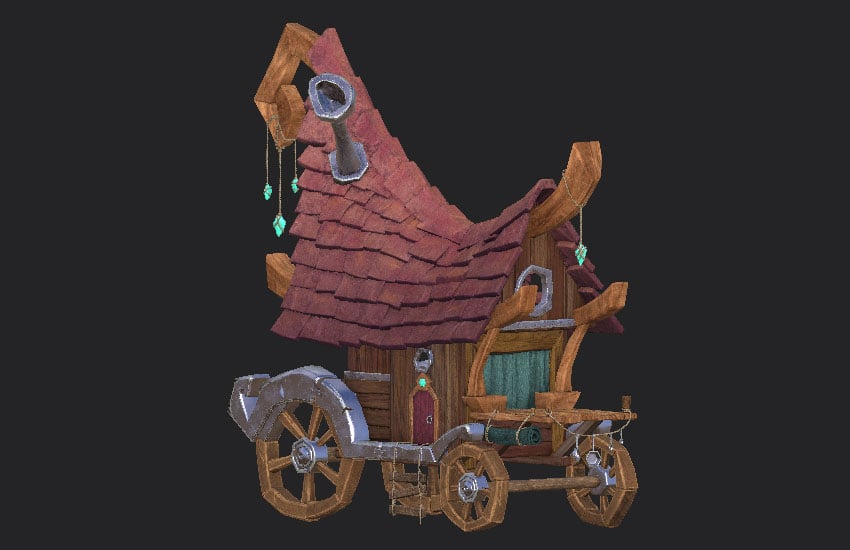
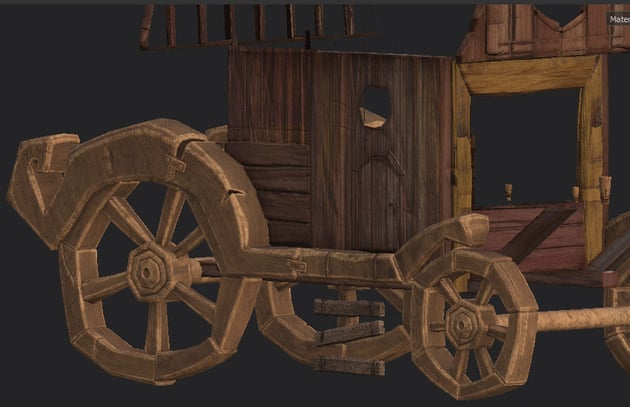
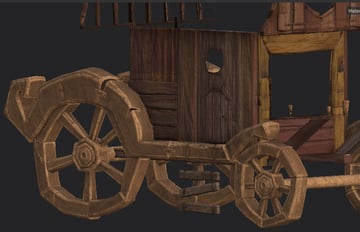
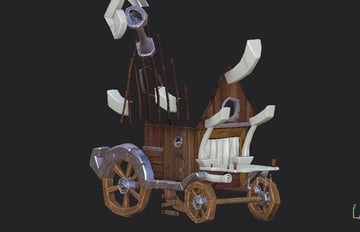
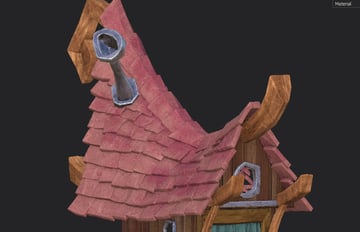
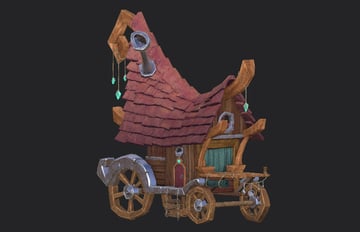
Step 49
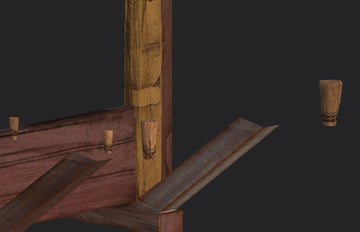
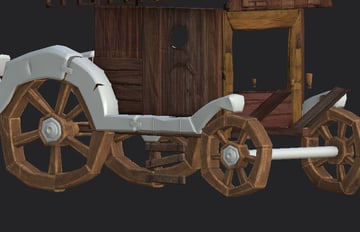
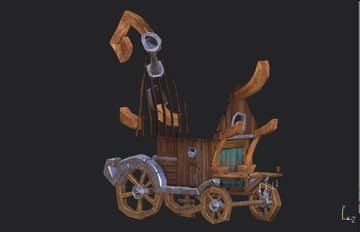
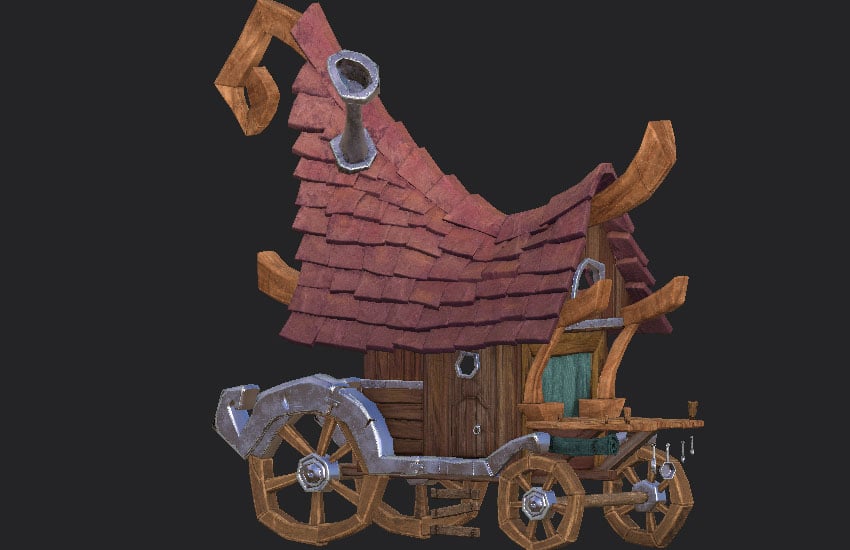
Now you've completed the texturing of the magpie cart in Substance Painter and here's the final
look.


Conclusion
In the next part of the tutorial series, I'll show you how to export the textures to Maya and finalise the model and render.
 By
By


