


1. Modelling in Maya
Step 1
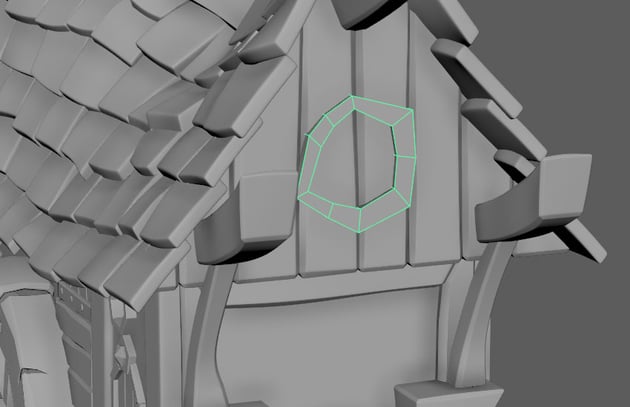
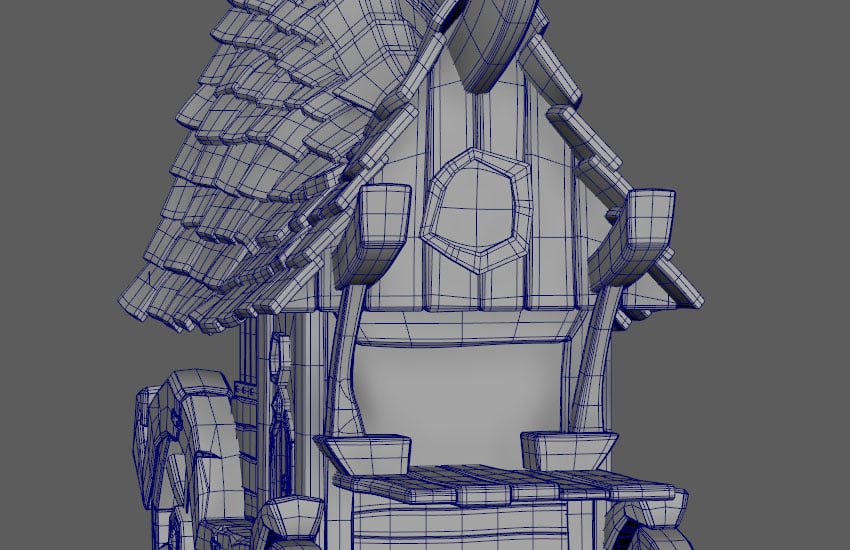
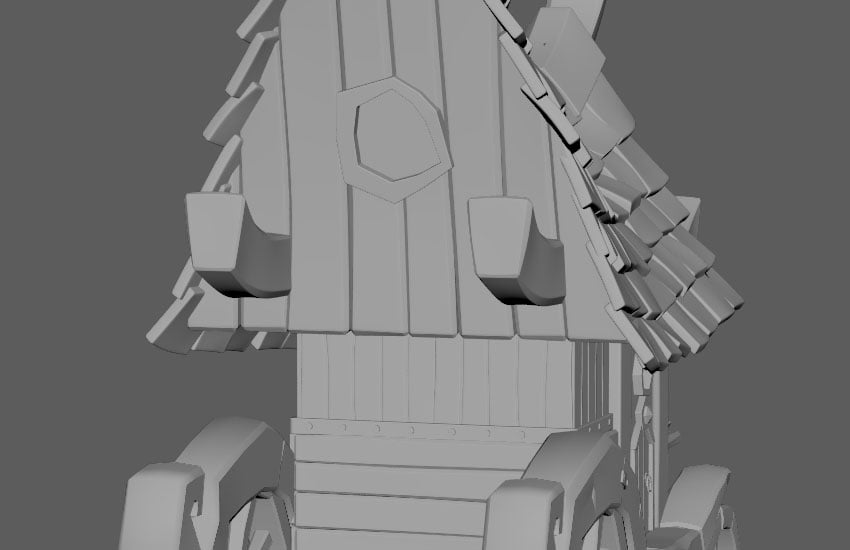
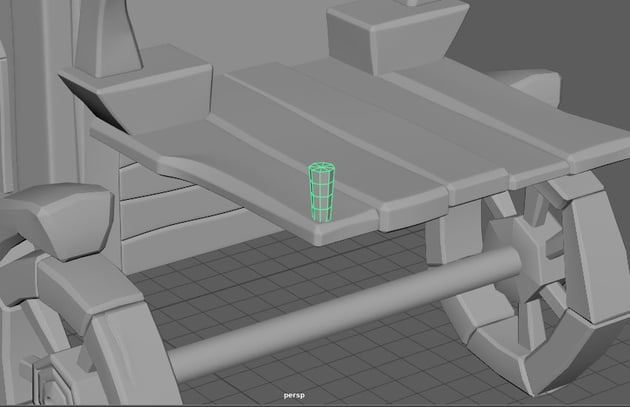
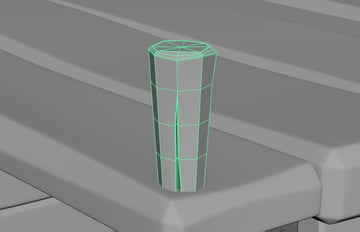
Continuing on from the last tutorial, create a cylinder as the front window. Adjust the shape
and extrude thickness.


Step 2
Using three-edge-bevel method to bevel the window.
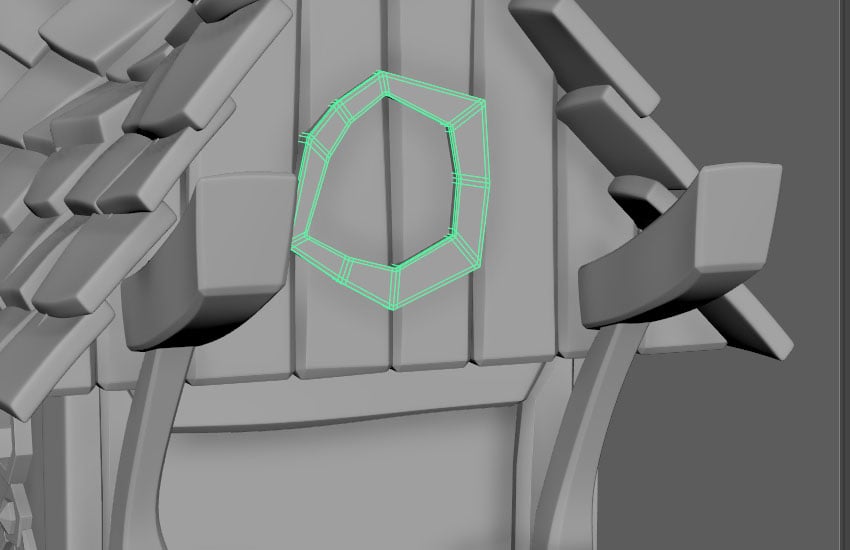

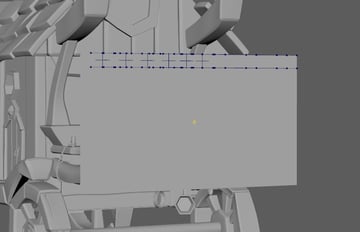
Step 3
Select
the wood plank then select the edge loop nearest to the window. Go to Modeling
Toolkit, change the Transform Constraint to Edge.


Step 4
Rotate
the selected edge loop to fit the window shape.


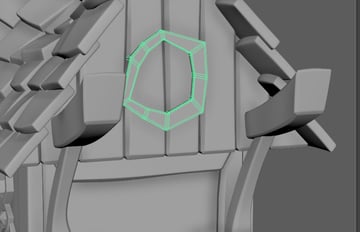
Step 5
Repeat
steps for the bottom edge loop and for another wood plank. Then turn off the
Transform Constraint.

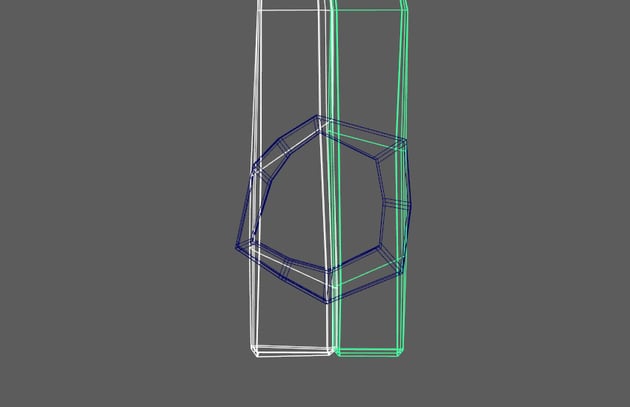

Step 6
Delete
the faces of wood plank within the window frame.


Step 7
Create a cube as the window glass to cover the hole. Bevel with three-edge-bevel method.


Step 8
Repeat
previous steps for the back too.


Step 9
Select
the wood plank and make live.


Step 10
Create
> Curve Tools > EP Curve Tool.


Step 11
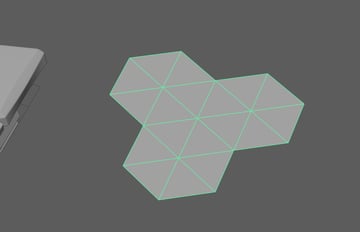
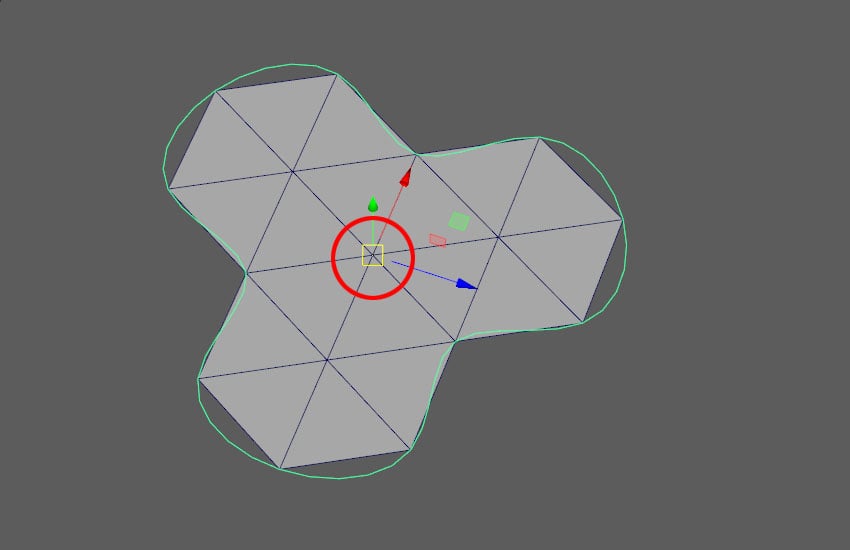
Click on the live wood plank to create a circle. Don’t connect the end and root.


Step 12
Create a cylinder, reduce the Subdivisions Axis to 6. Delete the faces and only leave the top surface.


Step 13
Duplicate
the cylinder, snap the pivot point to one of the vertices (D and V), then snap
the cylinder to the side of original cylinder.


Step 14
Duplicate
one more cylinder and snap to the bottom. Combine all three cylinders by clicking
Mesh > Combine.


Step 15
Merge
the vertices to connect the cylinders to each other. Select the border edge of
the combined Cylinder > Modify > Convert > Polygon Edges to Curve.


Step 16
Select
the new curve and delete history, Shift-Alt-D, snap the pivot point to the
centre of the cylinder. Delete the cylinder.


Step 17
Select
the curve we created before, go to Display > NURBs > CVs.


Step 18
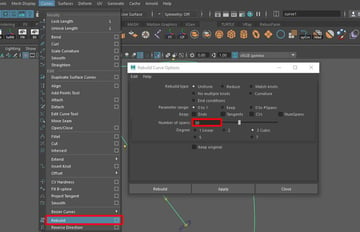
Go
to Curves > Rebuild options > Increase the Number of spans and click Rebuild.


Step 19
Snap
the second curve to this curve’s first CV by holding V. Adjust the size and
rotation.


Step 20
Select
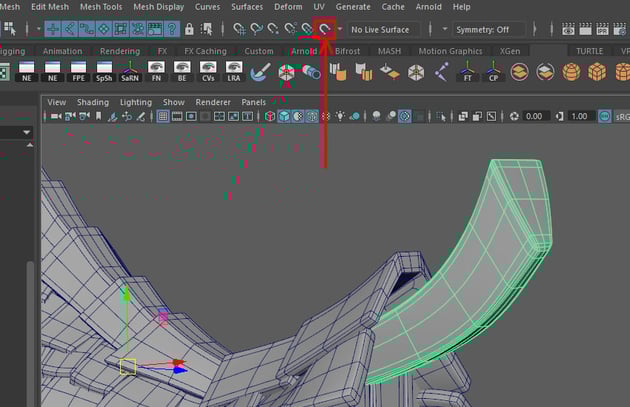
the second curve then First curve > Surfaces > Extrude options >
change the settings following the image below.


Step 21
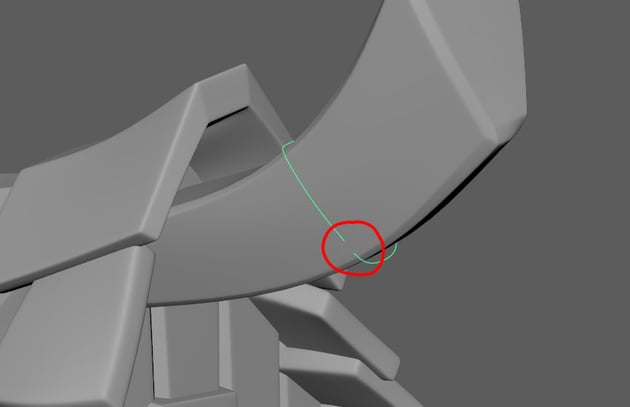
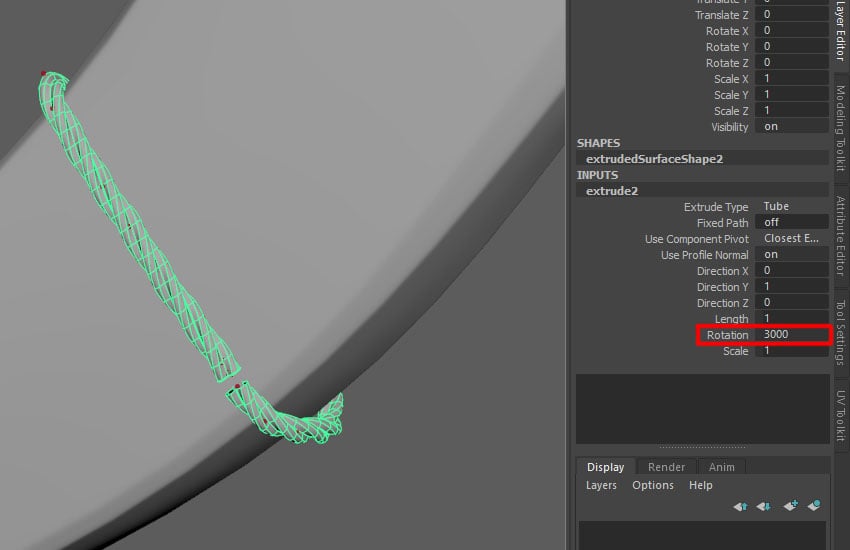
Select
the extrudedSurface, go to the Extrude input, increase the Rotation number.


Step 22
Go to Modify
> Convert > NURBS to Polygons options. Select Control points then click on Tessellate.


Step 23
Delete
history for this rope geometry, Shift-Alt-D, and delete the long curve and
NURBs. Select the edge loops of the rope’s border edges > Shift-Right
click and select Bridge.


Step 24
Select
EP curves tool > go to front view > create a straight curve > back to perspective
view > move the curve to front.


Step 25
Snap
the curve in Step 16 to the new curve’s first CV, then repeat Step 17-22.


Step 26
Create
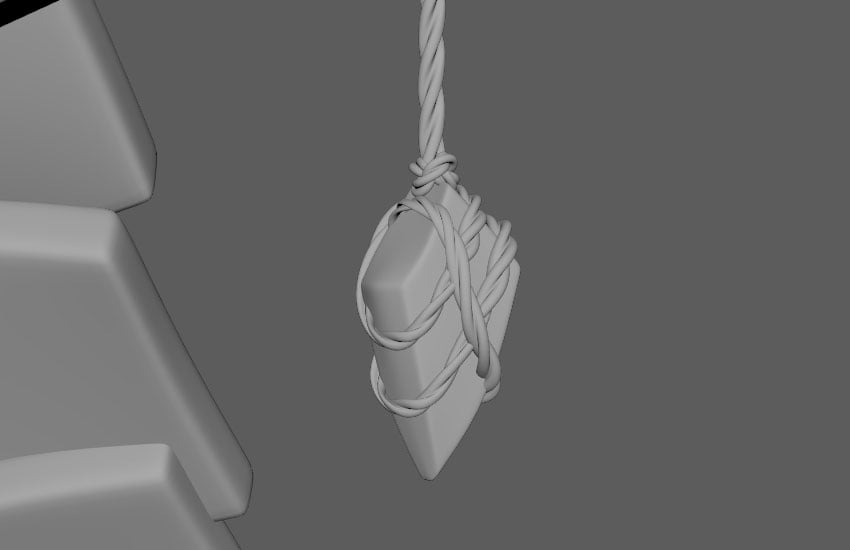
a cube as the gem, adjust the shape according to the concept art.


Step 27
Insert
more edge loop to form a more details shape.


Step 28
Use three-edge-bevel method to bevel the gem geometry.


Step 29
Repeat
Step 9-23 to tie up the gem stone.


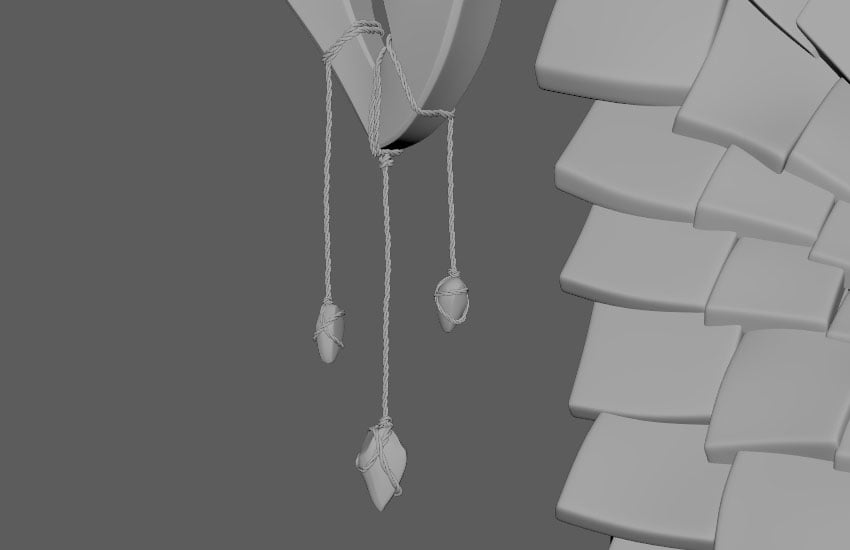
Step 30
Repeat
the previous steps for the gem stones at the back.


Step 31
Create
a cylinder as chimney.


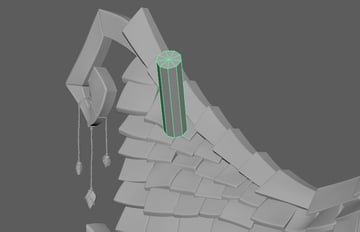
Step 32
Delete
the top and base faces, adjust the shape of chimney.


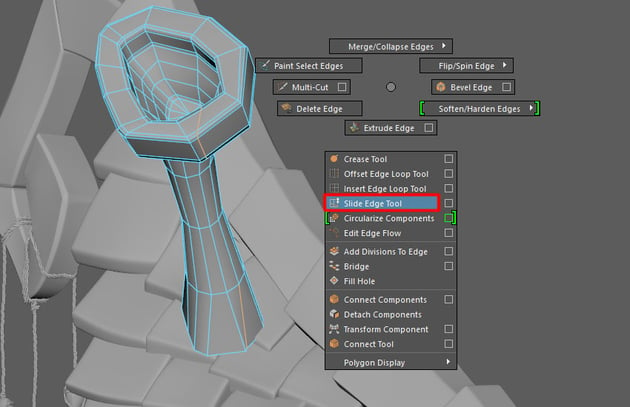
Step 33
Select
the top border edges and extrude to form the shape like image below. Use three-edge-bevel method to bevel, you can slide the existing edges to make the
bevel by using Shift-Right click > Slide Edge Tool.


Step 34
Create
another cylinder for the chimney base, then use three-edge-bevel method.


Step 35
Create
a cylinder as the wood stick.


Step 36
Using
Multi Cut Tool, draw some lines to create a cracked surface. Push the middle edges
inwards.


Step 37
Insert
an edge loop in the crack surface to create bevel, then use five-edge-bevel method
at the top surface.


Step 38
Repeat
steps for other wood sticks.


Step 39
Go
to front view, create a spiral curve using EP Curves Tool. Back to perspective
view and move the curve to front.


Step 40
Duplicate
the spiral curve and move backward.


Step 41
With bot curves selected, go to Surfaces > Loft options > choose Polygons and Control
Points.


Step 42
Adjust
the shapes of this cloth geometry, then extrude thickness and add three-edge-bevel.


Step 43
Create
the ropes like Step 11-23.


Step 44
Create
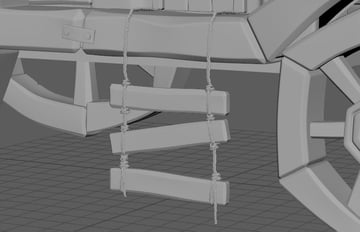
some cylinders and adjust the shapes for the hanging pots and spoons.


Step 45
Repeat
the steps from the previous tutorials for the wooden staircase. And also the
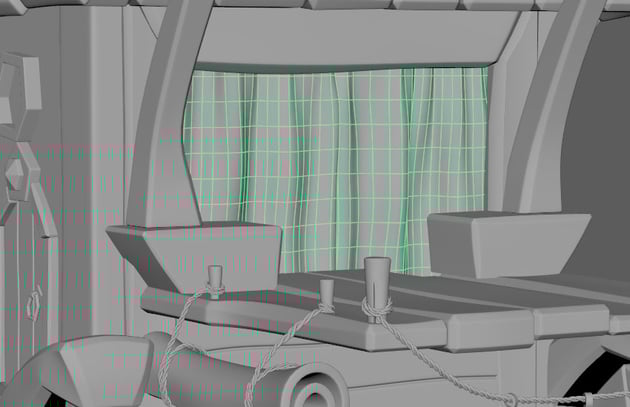
ropes to support the staircase.


Step 46
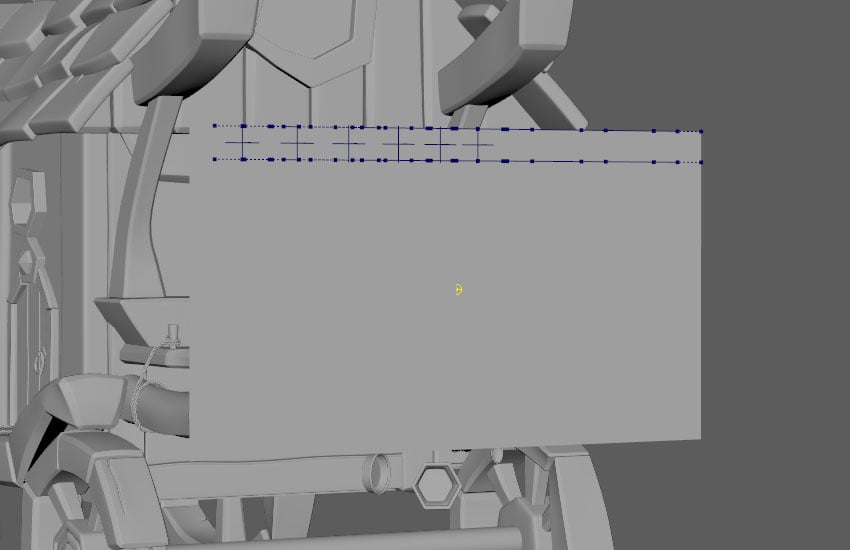
Since
we'll not be making the interior of the cart, create a big plane as curtain
to cover the door. Go to FX module > nCloth > Create nCloth.


Step 47
Select
2-3 vertices from the top, go to nConstraint > Transform Constraint.


Step 48
Repeat
this step for the following vertices. Leave some vertices in between the two constraints without assigning the Transform Constraint.


Step 49
Select
all Transform Constraint from outliner, set key at the first frame by pressing
S, go to frame 25, move the transform constraints to the left side and press S
again to set key.

Step 50
Playback the animation, pause at the frame which the shape looks nice, duplicate the curtain geometry, delete all the nCloth, nucleus, Transform Constraint and original curtain plane.
Lastly, extrude some thickness and add three-edge-bevel for
the curtain.


Conclusion
We've now finished the modelling part, in the next part of the tutorial series, I'll show you how to unwrap the UVs.
 By
By


