


1. Linking Mesh With Joints
Step 1
Start Maya and open the file which was saved in the last part of the tutorial.
Step 2
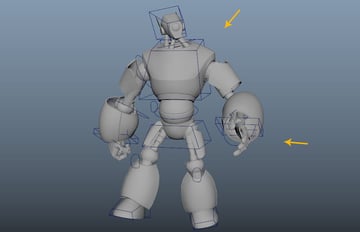
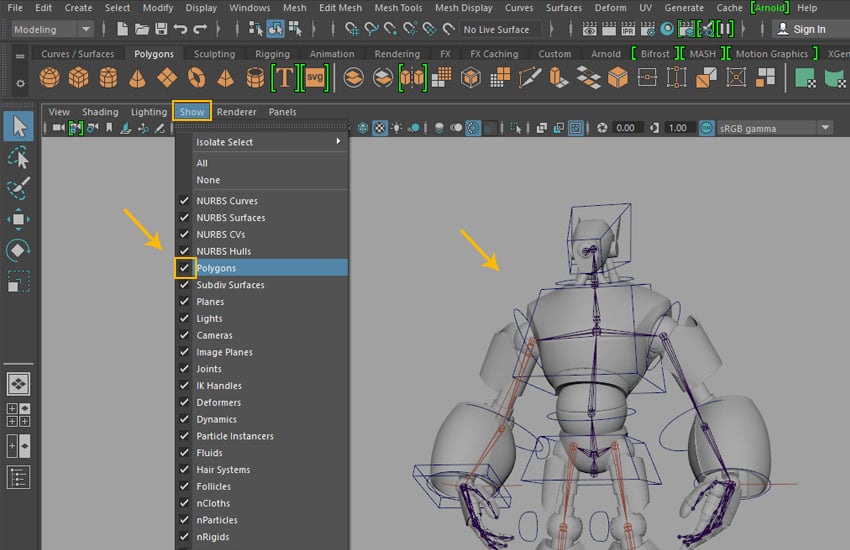
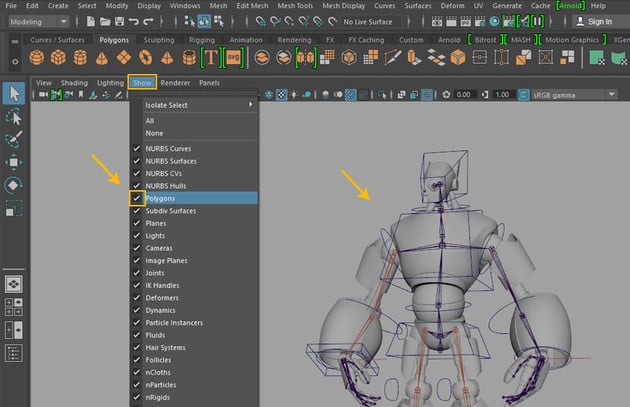
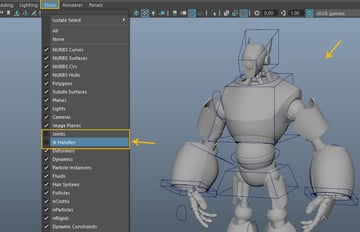
First of all, go to Show > Polygon and turn on the check box to show all hidden body parts.

2. Linking the Foot Control
Step 1
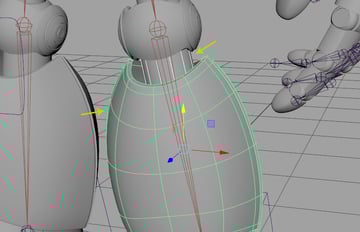
Select left foot followed by Left_Heel_Jnt and then press P key to make the joint as parent.

Step 2
For testing purpose, rotate the foot control which is already connected to the Left_Heel_Jnt.
You'll see the foot mesh also rotates according to the rotation of the foot control.


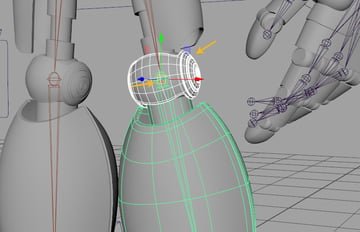
Step 3
If you move the foot control, you will see the knee mesh doesn't follow it. You need to link the knee joint to the knee mesh.


Step 4
Select the knee mesh followed by Left_Knee_Jnt and then press P key to make the knee joint as parent.


Step 5
Next,
you need to split the knee mesh into two parts. The upper part will be linked to the thigh joint and the lower part will be linked to the knee joint.


Step 6
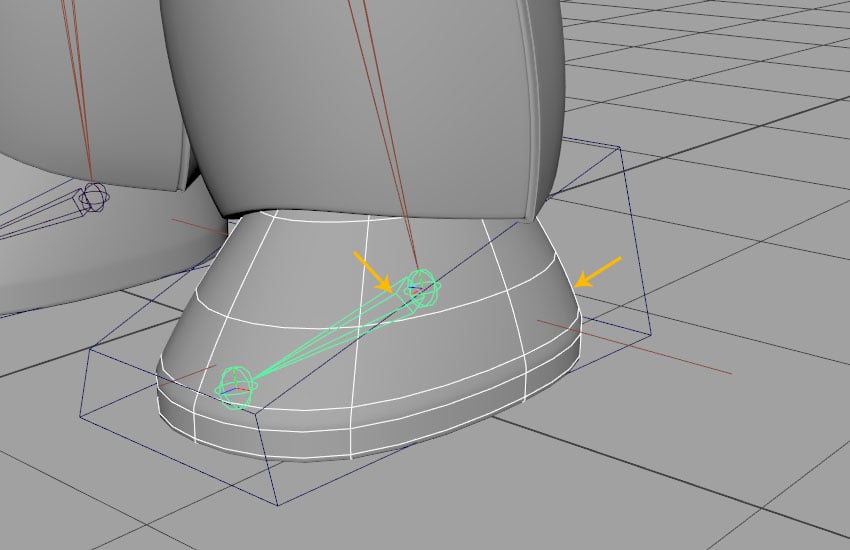
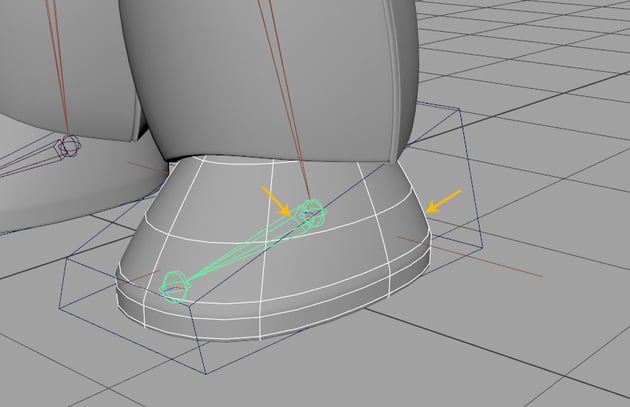
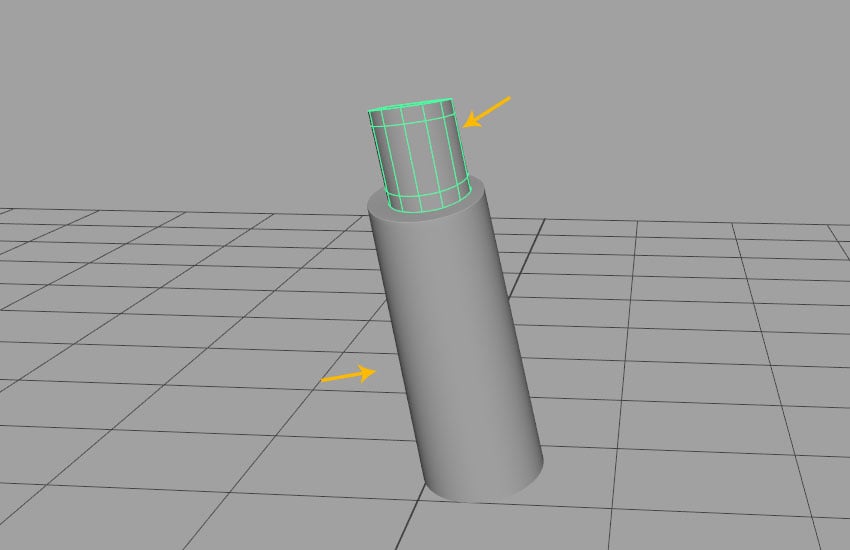
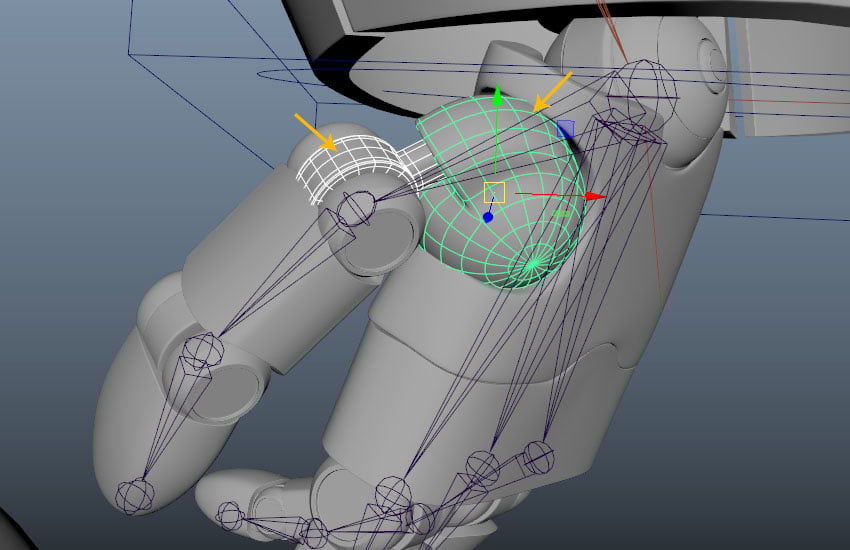
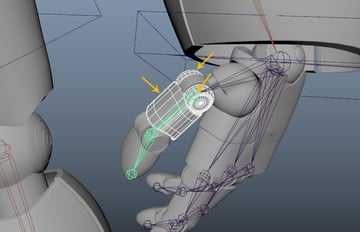
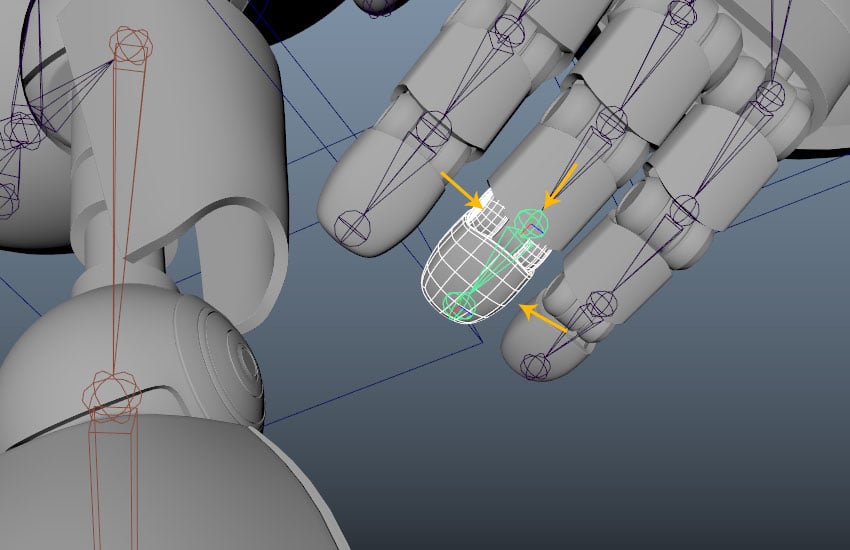
First, isolate the knee blocked mesh. Jump in the face selection mode and select the upper indicated faces of the mesh. With the faces selected, go to Edit Mesh > Extract command to split the mesh.


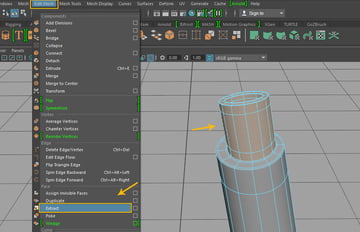
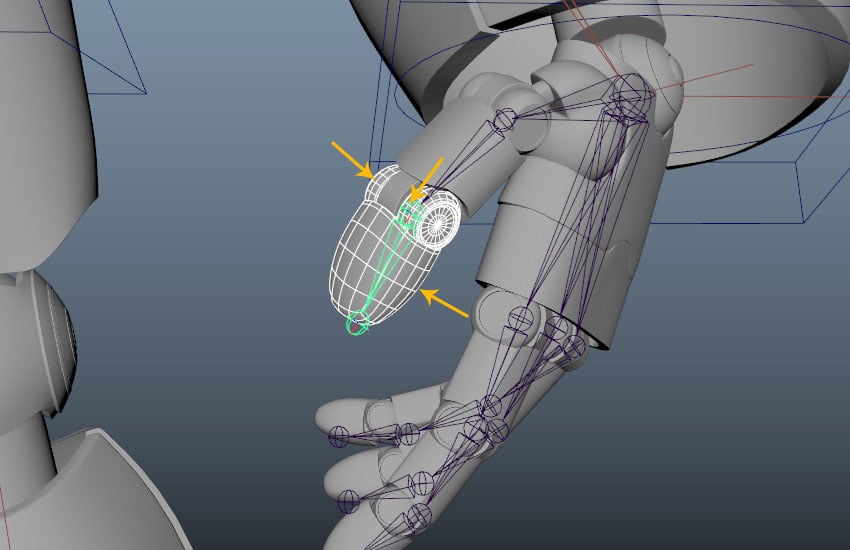
Step 7
The mesh has been split in two parts as shown in the following image.

Step 8
Unhide all meshes. Select the blocked polygon mesh followed by the outer shell mesh and then press P key.

Step 9
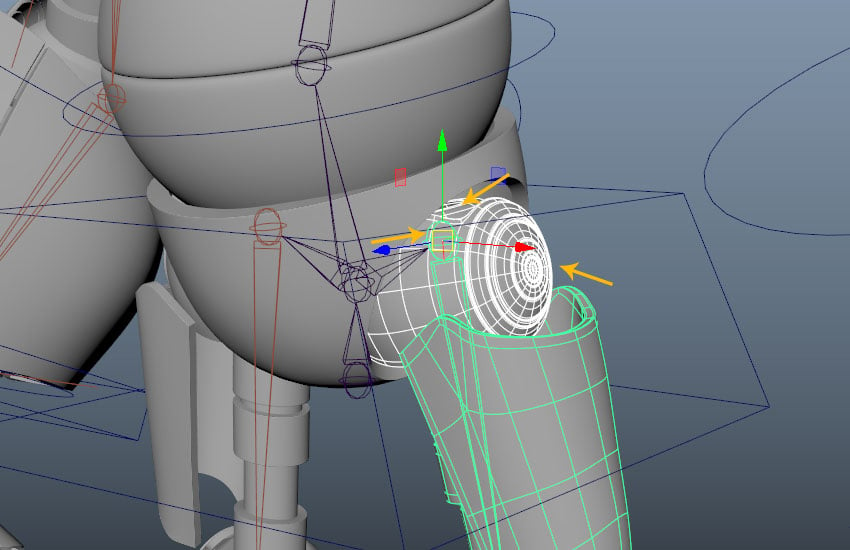
Select knee ball mesh followed by Left_Knee_Jnt and then press P key.


Step 10
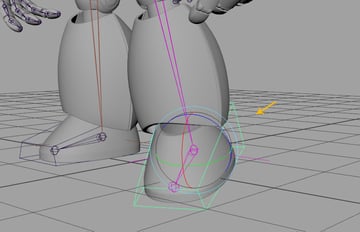
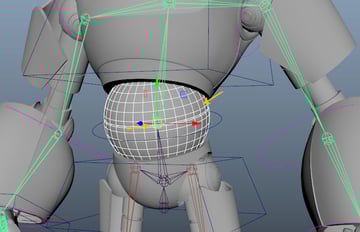
With upper and lower mesh selected followed by Left_Thigh_Jnt, press P key.
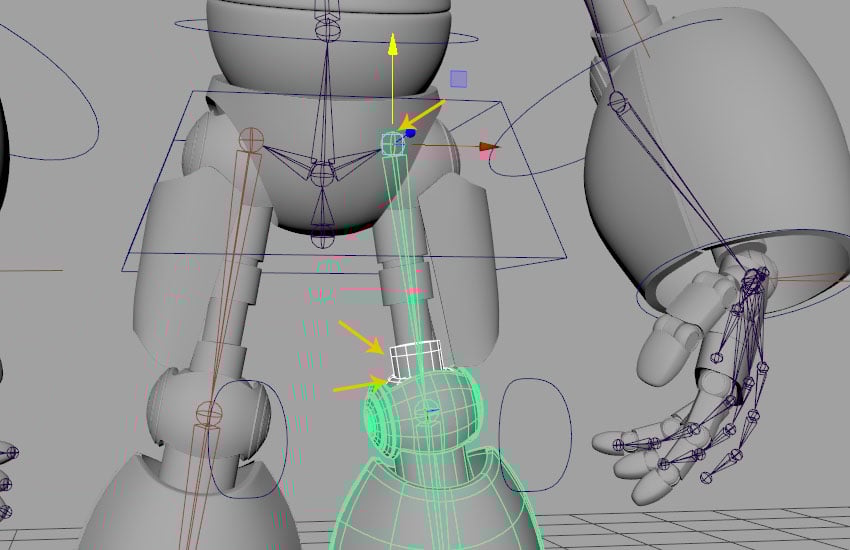


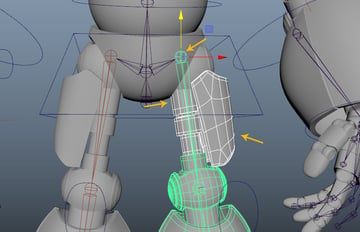
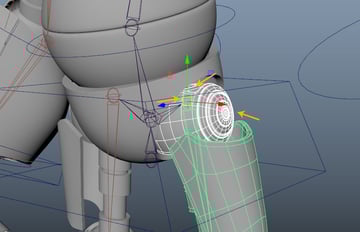
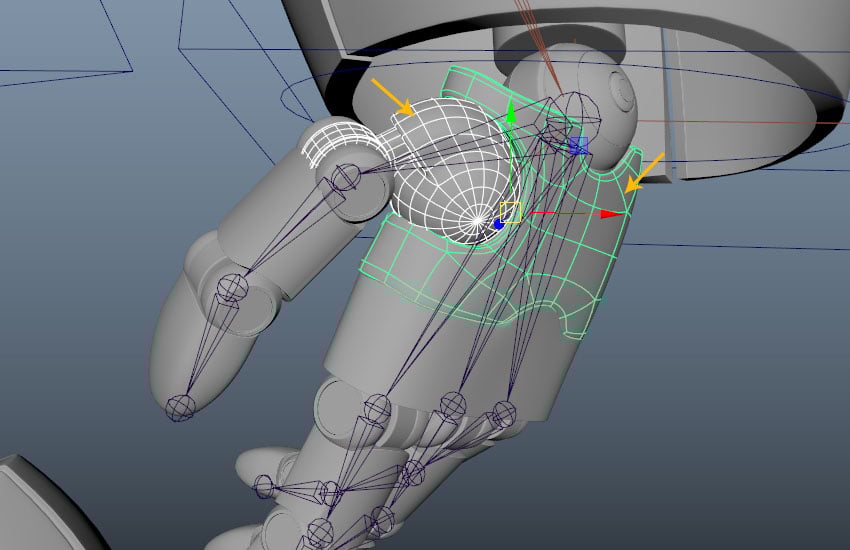
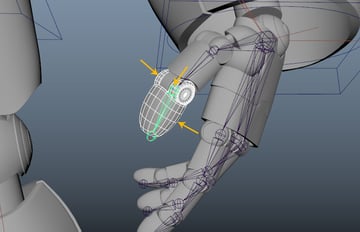
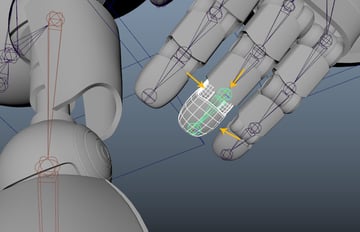
Step 11
For checking purpose, move the foot control up a little bit and you will see the knee ball along with the respective mesh parts orient well as shown in the following image.

Step 12
Select all thigh meshes followed by Left_Thigh_Jnt and then press P key.


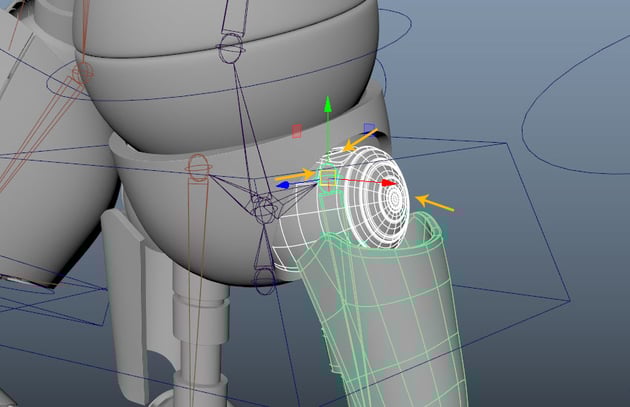
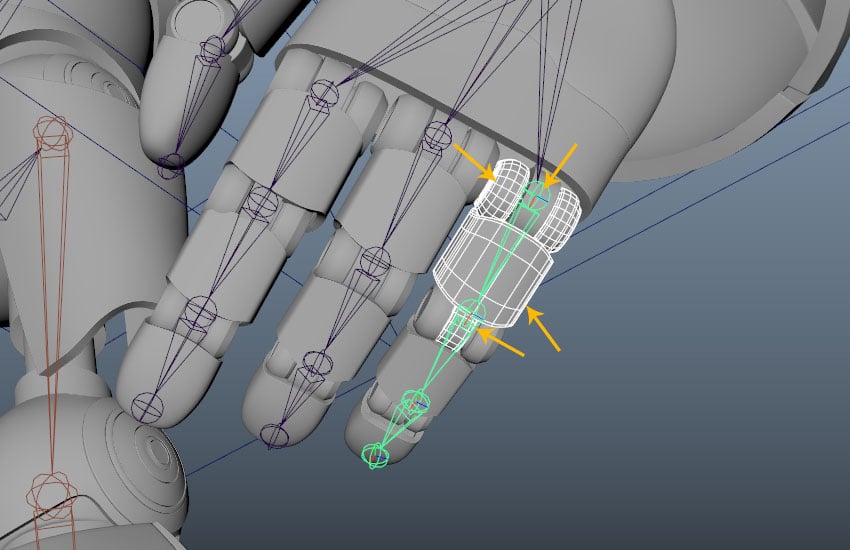
Step 13
For checking purpose, move the foot control up a little bit and you will see the knee ball along with the respective mesh parts orient well as shown in the following image.
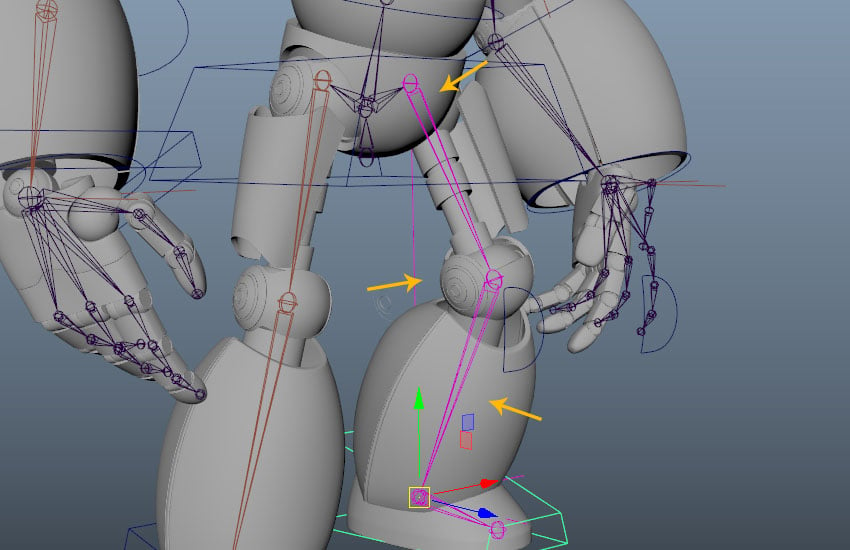

Step 14
Select all thigh meshes followed by Left_Thigh_Jnt and then press P key.
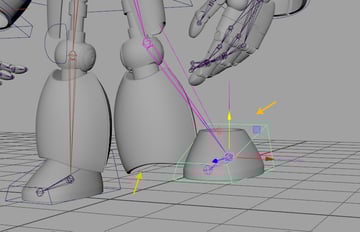
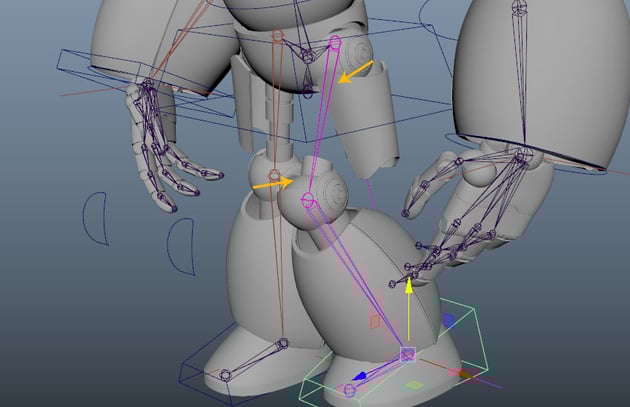
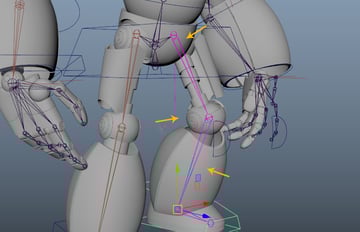
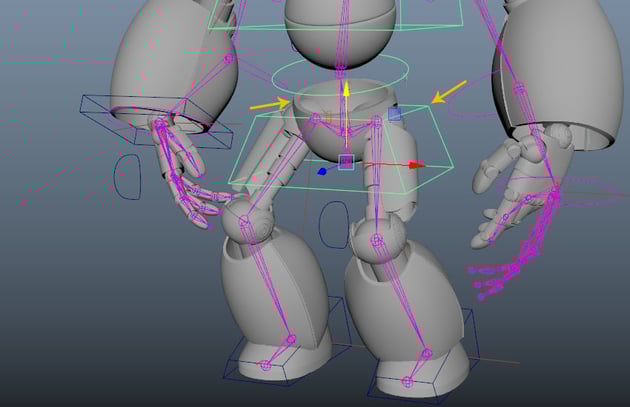
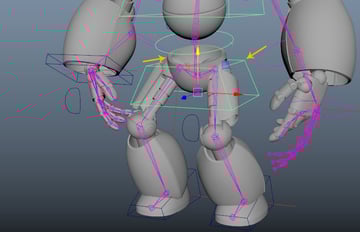
Step 15
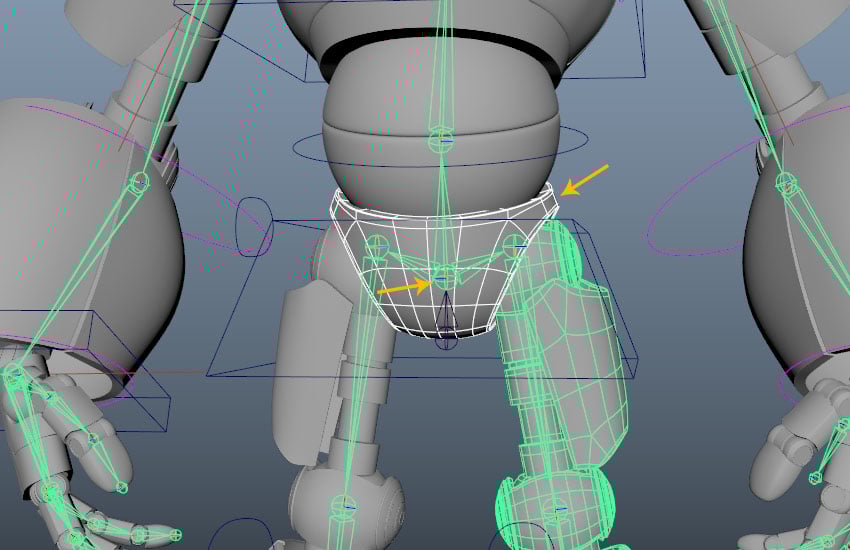
Select robot's Pelvis mesh followed by Hip_Jnt and then press P key.


Step 16
In this way, you have completed the linking of the right side's leg meshes with joints.


Step 17
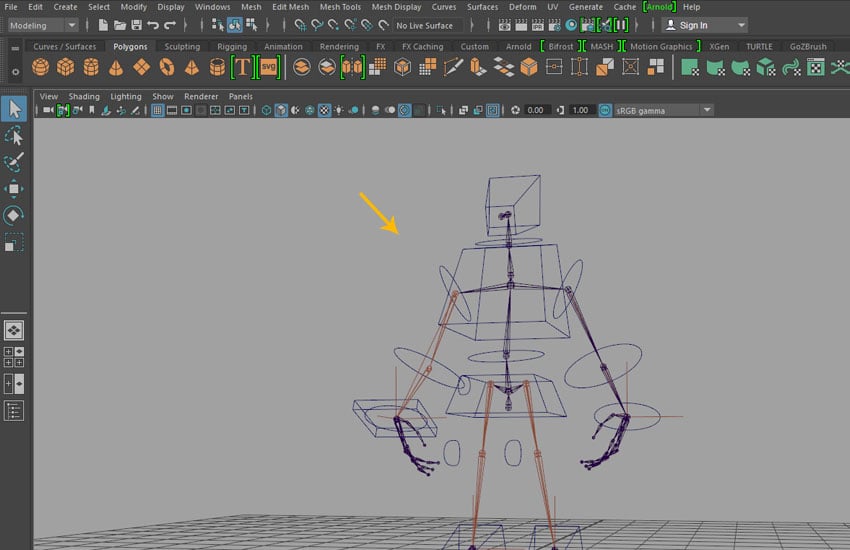
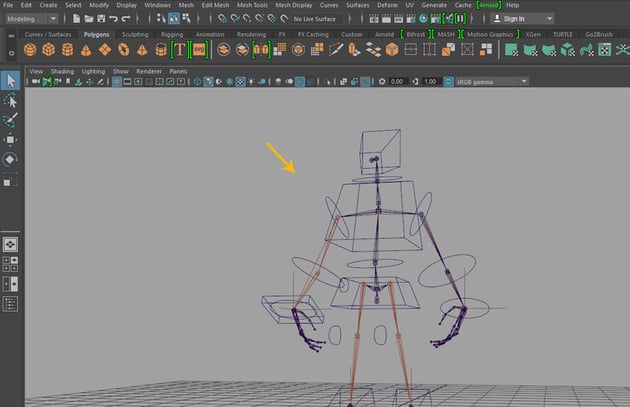
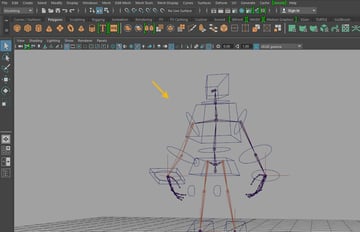
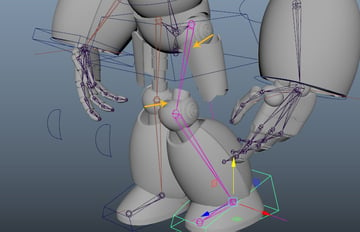
You can test the linking by moving Hip_Control in any direction.

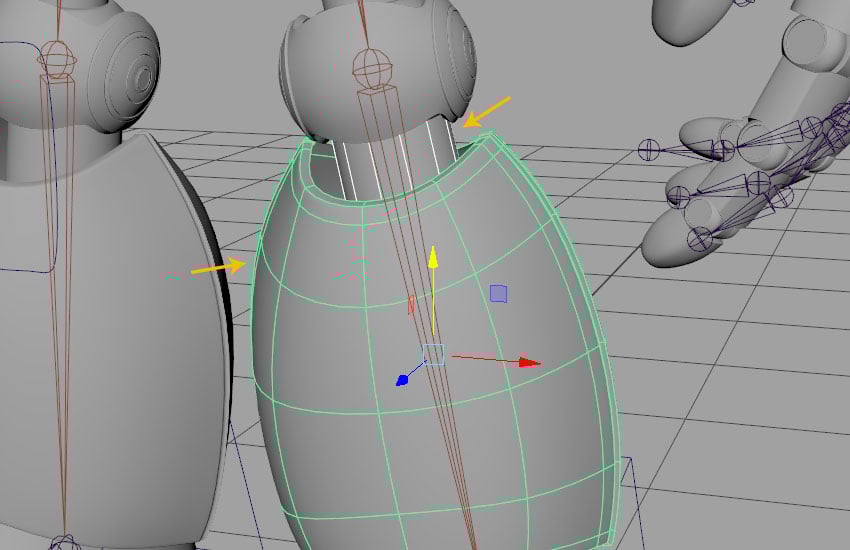
3. Linking the Spine
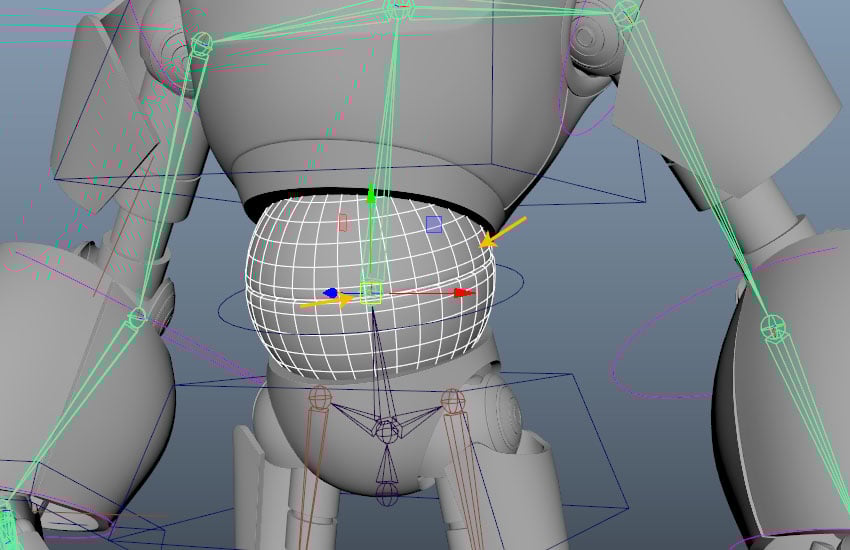
Step 1
Select Abs ball mesh followed by Abs_Jnt and then press P key.

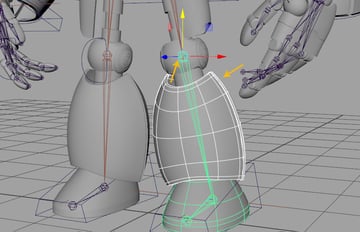
Step 2
Next, select Chest parts mesh followed by Chest_Jnt and then press P key. for parenting.


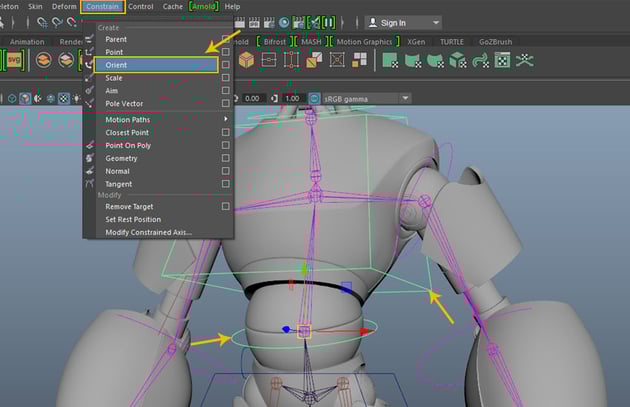
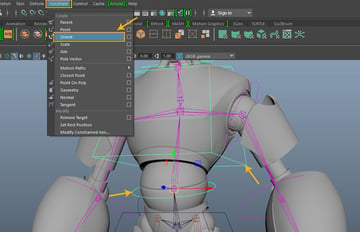
Step 3
Next, select Abs_Control followed by Chest_Control and then go to Constrain > Orient constrain.

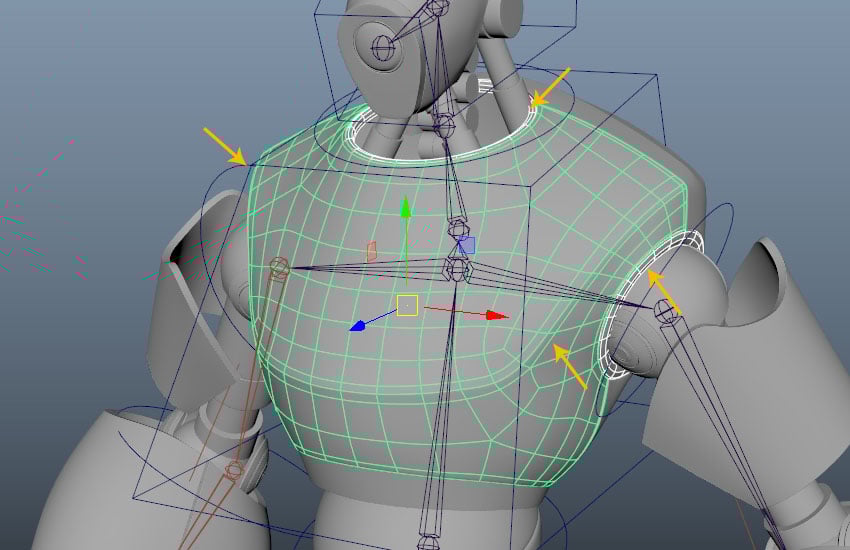
Step 4
Select the rest parts of the chest followed by the main chest mesh and then pressed P key.


4. Linking the Hand
Step 1
Select thumb ball mesh followed by the connector mesh and then press P key.


Step 2
Select the base ball mesh followed by the palm mesh and then press P key.

Step 3
Select both parts of the palm mesh followed by Left_Wrist_Jnt and then press P key.


Step 4
Next, select thumb joint mesh parts followed by Left_Thumb_Jnt01 and then press P key.


Step 5
Select the centre thumb mesh followed by Left_Thumb_Jnt01 and then press P key.


Step 6
Select the thumb joint mesh and the thumb tip mesh followed by Left_Thumb_Jnt02 and then press P key.

Step 7
Next, select all finger connector meshes followed by the second part of the palm and then press P key.

Step 8
Now, select the index finger's first joint mesh followed by Left_Index_Jnt01 and then press P key.


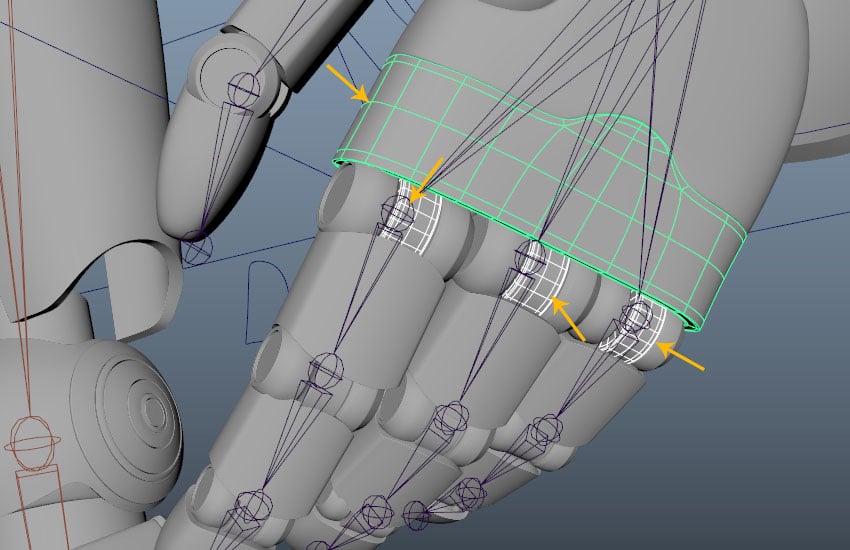
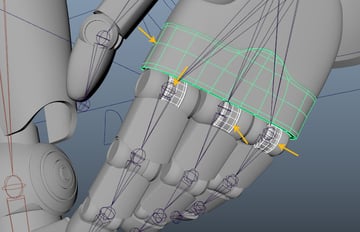
Step 9
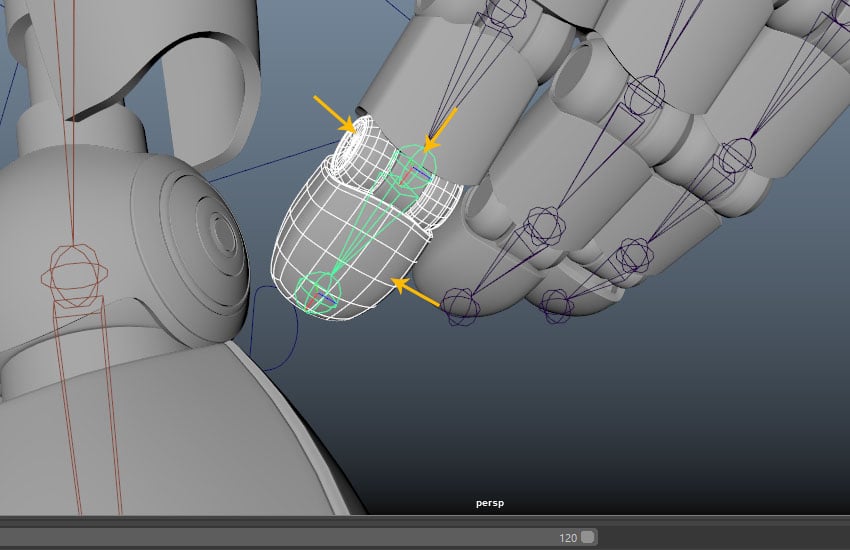
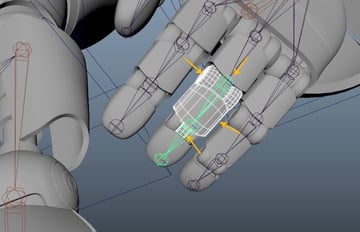
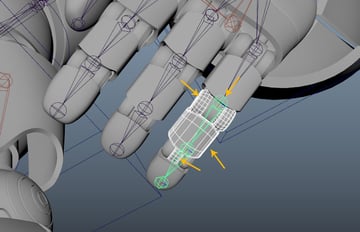
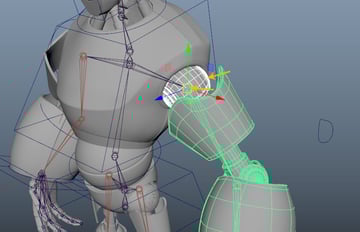
Next, first select the index finger's first mesh and the first joint mesh followed by Left_Index_Jnt01 and then press P key as shown in the following image.

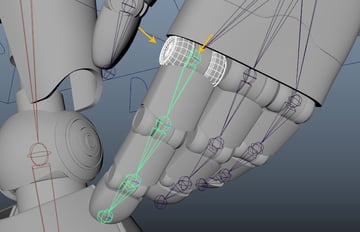
Step 10
Again, first select the index finger's second mesh and the second joint mesh followed by Left_Index_Jnt02 and then press P key as shown in the following image.


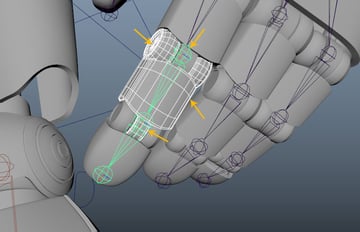
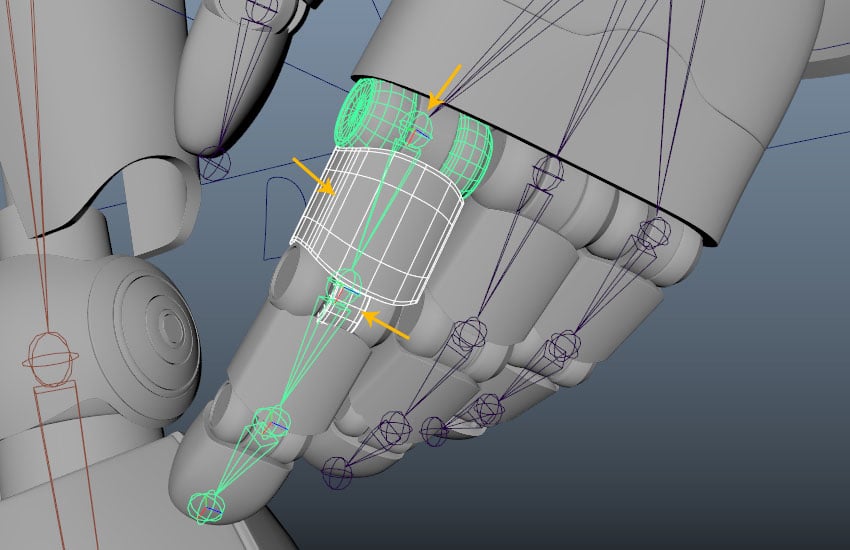
Step 11
Again, first select the index finger tip mesh and the third joint mesh followed by Left_Index_Jnt03 and then press P key as shown in the following image.


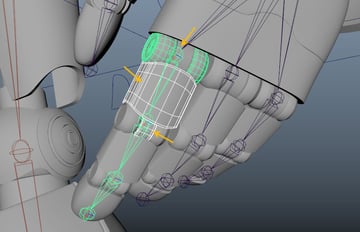
Step 12
Now, select the middle finger's first joint mesh followed by Left_Middle_Jnt01 and then press P key.


Step 13
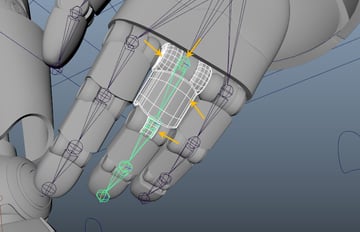
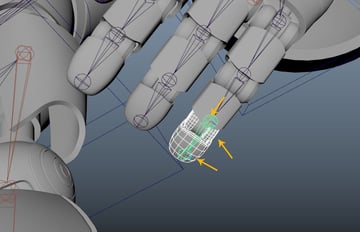
Again, first select the middle finger's second mesh and the second joint mesh followed by Left_Middle_Jnt02 and then press P key as shown in the following image.

Step 14
Again, first select the middle finger tip mesh and the third joint mesh followed by Left_Middle_Jnt03 and then press P key as shown in the following image.

Step 15
Now, select the small finger's first joint mesh followed by Left_Small_Jnt01 and then press P key.


Step 16
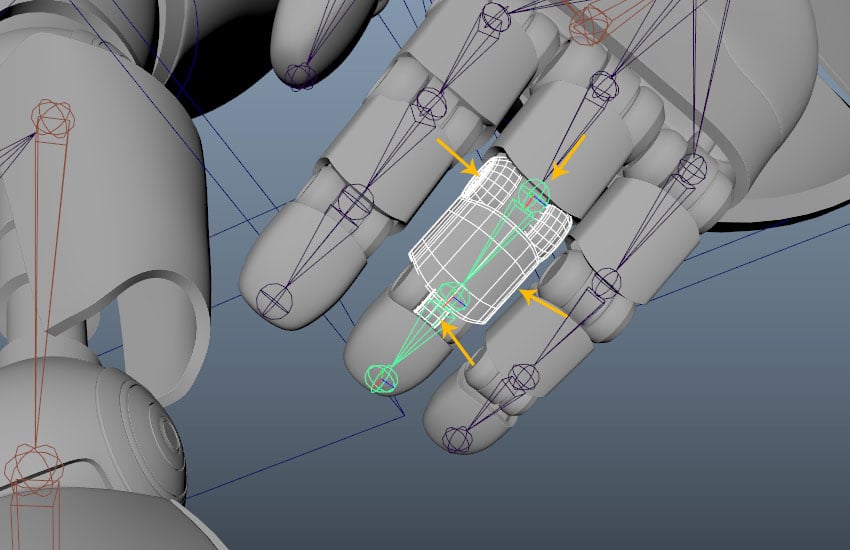
Again, first select the small finger's second mesh and the second joint mesh followed by Left_Small_Jnt02 and then press P key as shown in the following image.


Step 17
Again, first select the small finger tip mesh and the third joint mesh followed by Left_Small_Jnt03 and then press P key as shown in the following image.


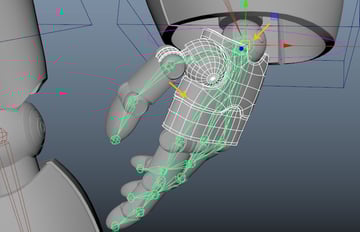
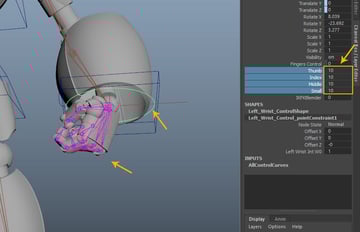
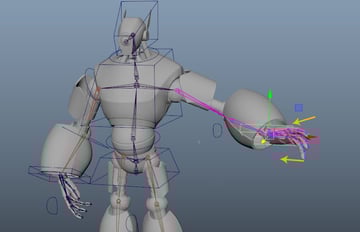
Step 18
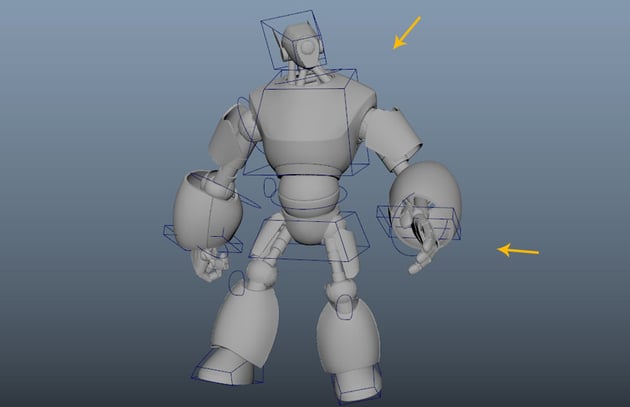
After connecting all fingers and joints respectively, you can check their movements by adjusting the values of the fingers' attributes as shown in the following image.


5. Linking the Hand Joints
Step 1
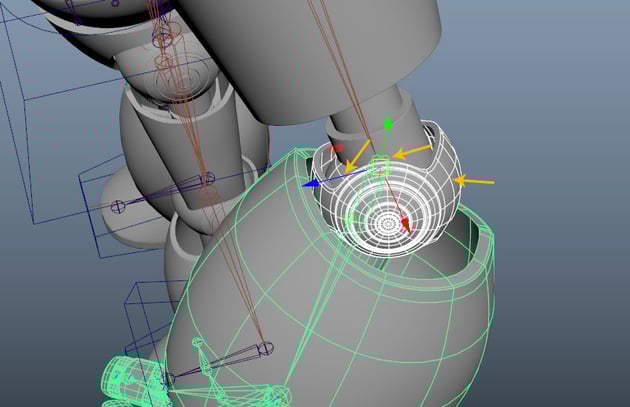
Select wrist joint ball mesh followed by Left_Wrist_Jnt and then press P key.


Step 2
Select left hand cover mesh followed by Left_Elbow_Jnt and then press P key.

Step 3
Select wrist meshes followed by Left_Elbow_Jnt and then press P key.


Step 4
Select elbow ball meshes followed by Left_Elbow_Jnt and then press P key.


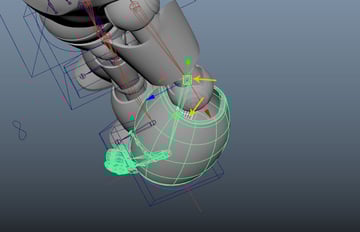
Step 5
Select the left arm's pipe meshes followed by Left_Arm_Jnt and then press P key.


Step 6
Select the left arm mesh followed by Left_Arm_Jnt and then press P key.

Step 7
Again, select left arm's ball meshes followed by Left_Arm_Jnt and then press P key.

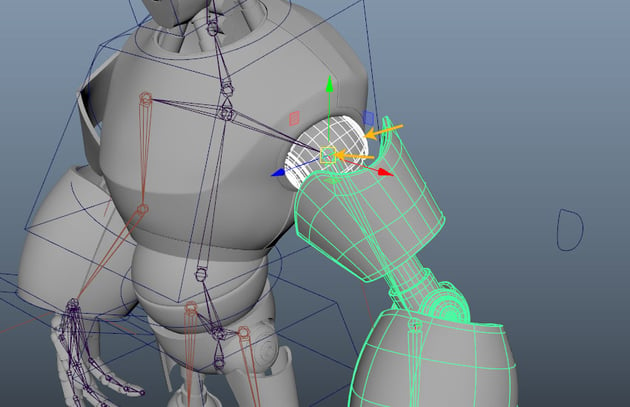
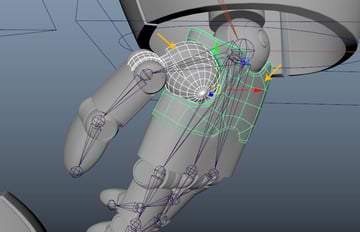
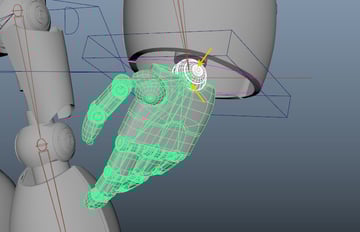
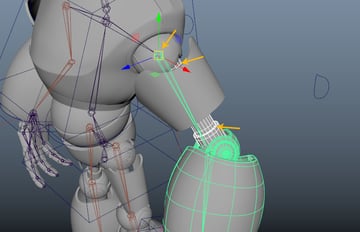
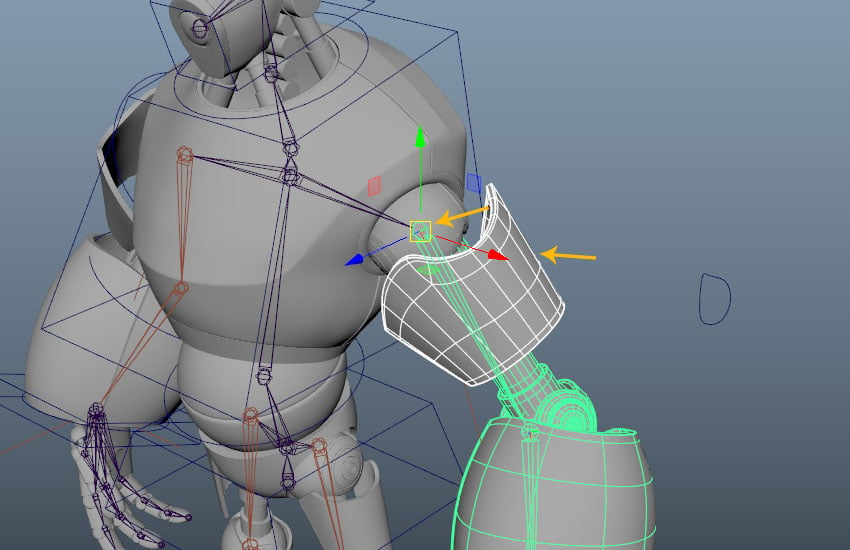
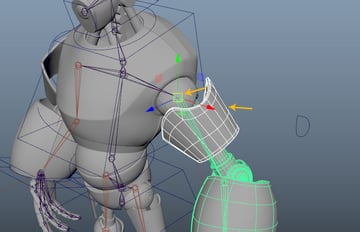
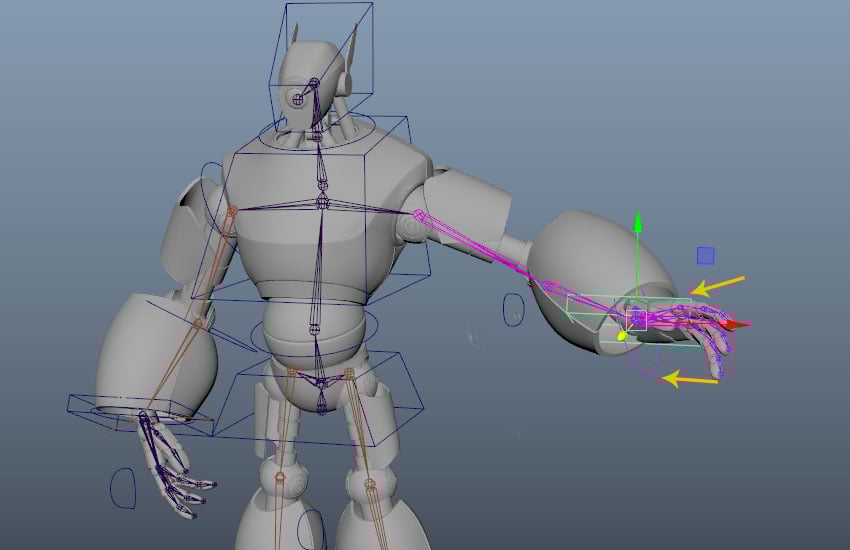
Step 8
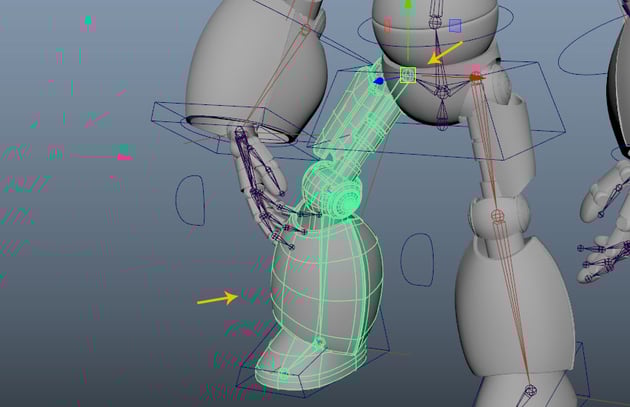
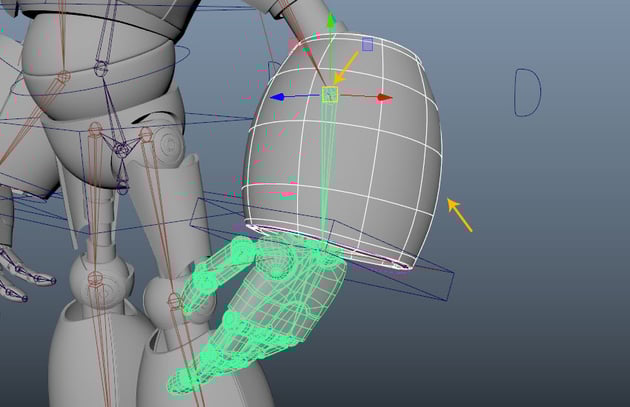
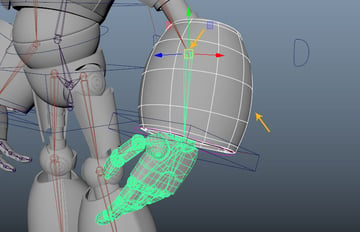
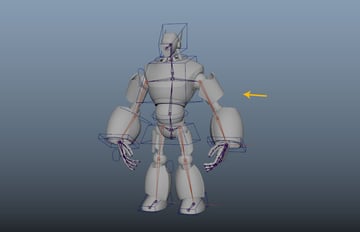
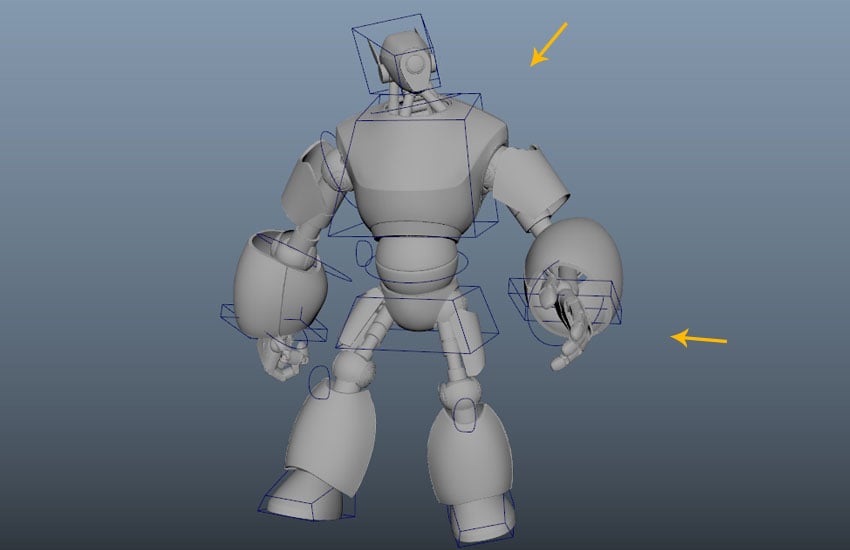
After connecting all left arm’s meshes with joints, you can check its movement by moving the hand control as shown in the following image.

Step 9
Following the same way, you can connect all joints and meshes for the opposite side of hand also.


Step 10
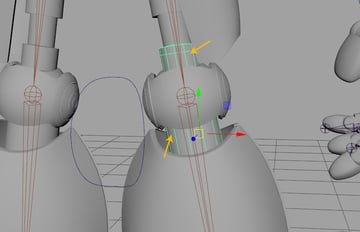
First, select all neck parts followed by Head_Jnt and then press P key.


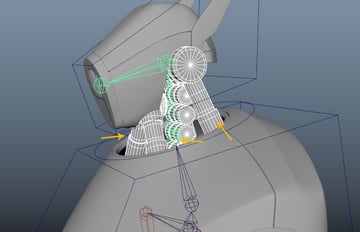
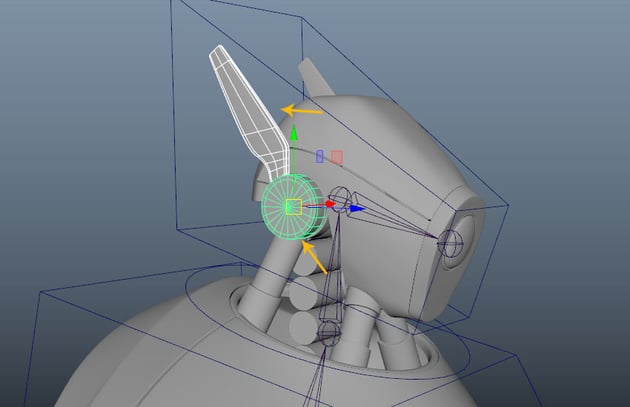
Step 11
Select the aerial mesh followed by the jointed mesh and then press P key. Repeat the same process for the opposite side mesh too.


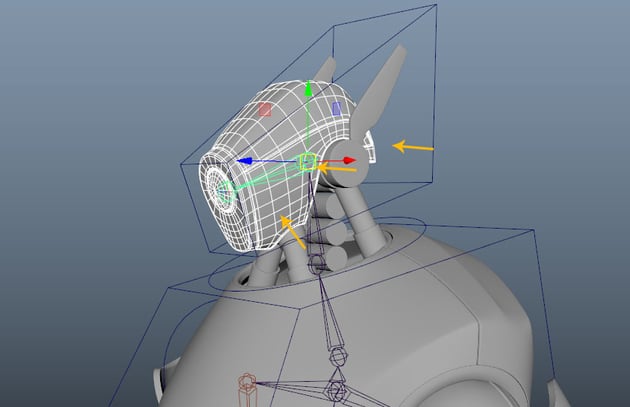
Step 12
Next, select all head parts meshes including the front light mesh followed by Head2_Jnt and then press P key.


Step 13
In this way, the rigging process is completed.


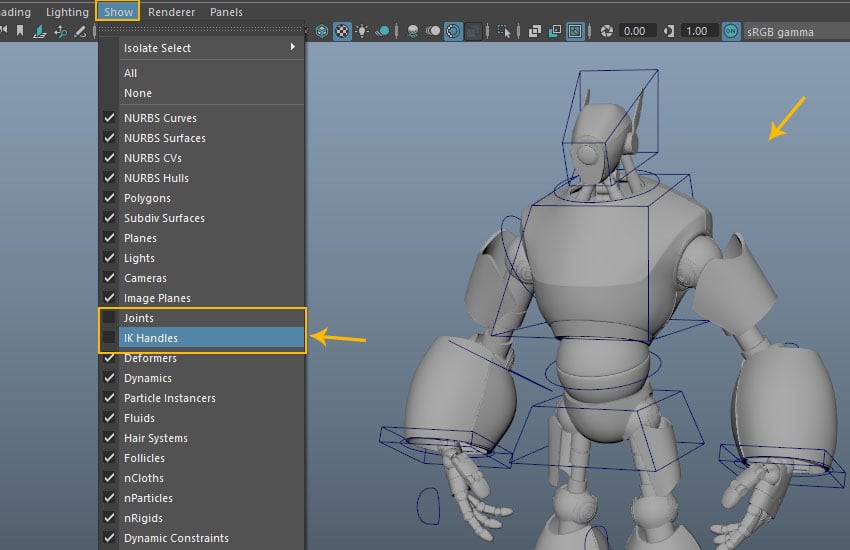
Step 14
Go to Show menu and turn off Joints and IK Handles option to hide these.

Step 15
Since the rigging is completed, so you can play with the desired poses you want.

Conclusion
I hope you must have enjoyed the series. Now you can follow the process to create any kind of mecha character.
 By
By


