


1. Applying Materials on Body Mesh
Step 1
Start Maya and open the file that was saved in the last part of the tutorial.


Step 2
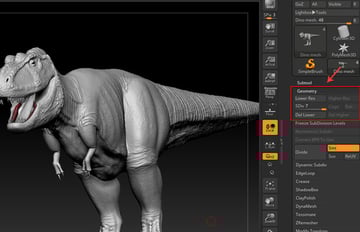
Go to Geometry and set the SDiv label to 7 as shown in the following image.


Step 3
Click on Dino mesh layer in the Subtool palette to apply the selected material on the mesh.


Step 4
With the body mesh selected, apply Skin shade in the Standard Materials section as shown in the following image.


Step 5
Press M button for material channel. Go to Color menu in main menu bar and then click on the FillObject button to apply the material on the selected body mesh.


2. Painting Body Mesh
Step 1
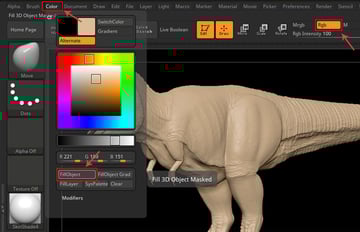
For the skin painting, first click on Rgb button and then select the light skin colour from the colour palette as shown in the following image.


Step 2
With Rgb button pressed, go to Color menu in main menu bar and then click on the FillObject button to apply the material on the selected body mesh.


Step 3
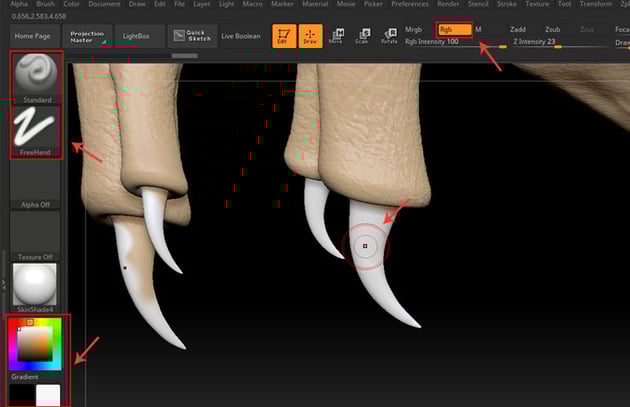
Select the white colour shade and apply it on the nails as shown in the following image.


Step 4
With a bit darker skin colour shade selected, apply spray strokes on the skin as shown in the following image.


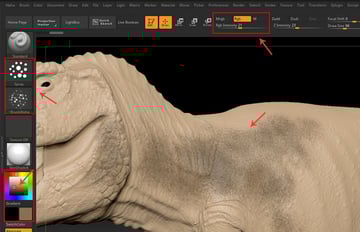
Step 5
Following the same procedure, keep painting the upper body skin as shown in the following image.


Step 6
In this way, the basic body colour has been applied on the dinosaur mesh.


Step 7
To add details to the mouth texture, go to Brush menu in main menu bar followed by Auto Masking option and then turn on Cavity Mask button.


Step 8
Expand the Cavity Mask curve settings and set the curve as shown in the following image.


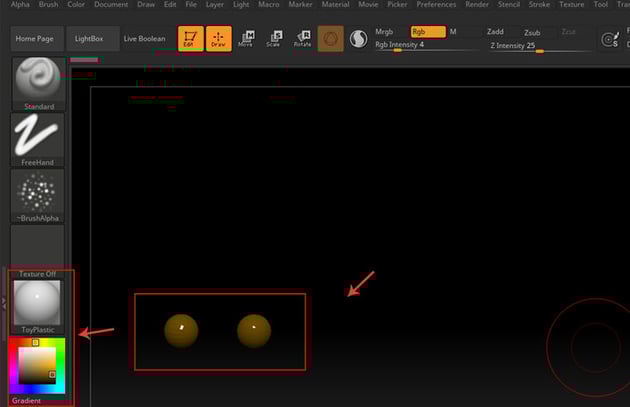
Step 9
Click on Rgb button and then select the darker skin colour as shown in the following image.


Step 10
Paint the outer mouth surface and the rest of the body as shown in the following image.


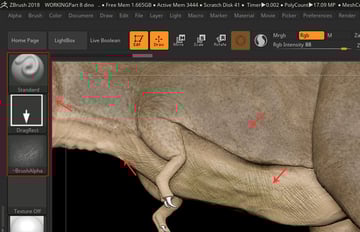
Step 11
Following the same way, paint the body mesh with the controlled brush strokes as shown in the following image.


3. Applying Materials on Gums, Teeth and Eye Balls
Step 1
Select the Gum mesh under Subtool panel as shown in the following image.


Step 2
With the ToyPlastic material selected, apply it on the gum mesh.


Step 3
Press M button for material channel. Go to Color menu in main menu bar and then click on the FillObject button to apply the material on the selected gum mesh.


Step 4
Select the Teeth mesh under Subtool panel as shown in the following image.


Step 5
With SoftPlastic material selected, press M button for Material Channel. Go to Color menu in main menu bar and then click on the FillObject button to apply the material on the selected teeth mesh.


Step 6
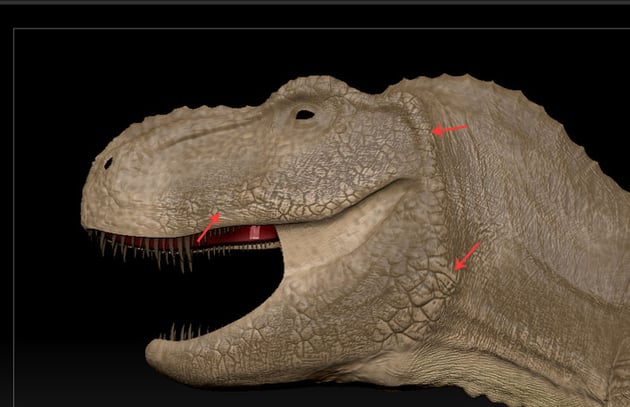
Following the same way, apply the ToyPlastic material with dark yellow colour on the eye balls as shown in the following image.


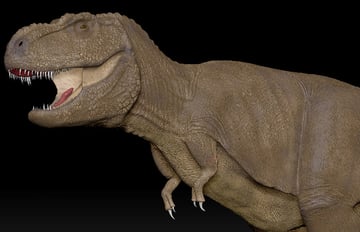
Step 7
In this way, all basic materials and colours have been applied to the dinosaur body mesh.


Conclusion
In the next part of the tutorial, I'll show you how to paint gums, teeth, mouth, claws and nails of the dinosaur.
 By
By


