


1. Setting Up Lights
Step 1
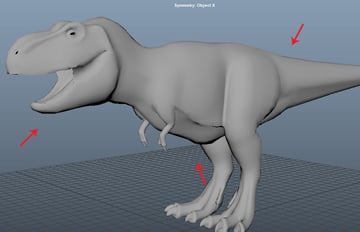
Start Maya and open the file which was saved in the last part of the tutorial.


Step 2
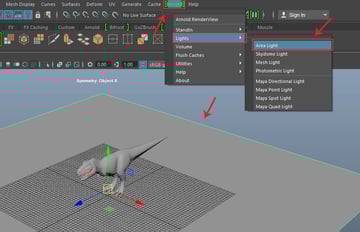
Go to Arnold > Lights > Area Light to create the area light.


Step 3
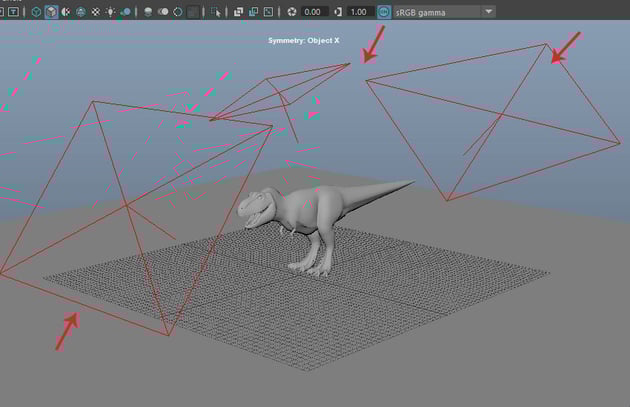
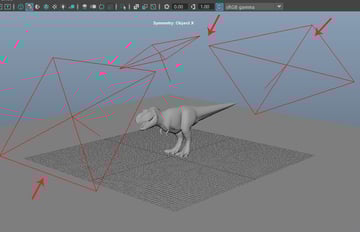
Create three lights and place them as shown in the following image.

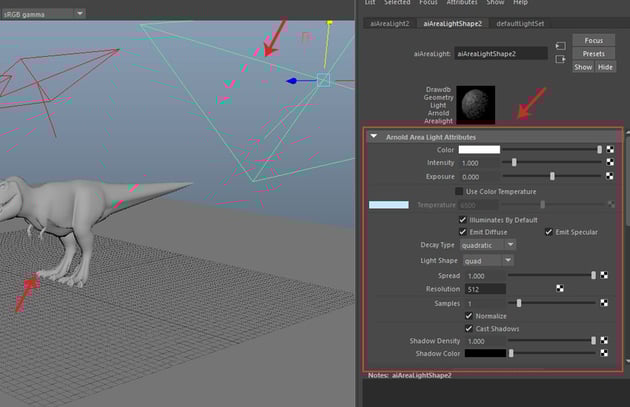
Step 4
Open the light's attributes to set the exposures and others properties as well.

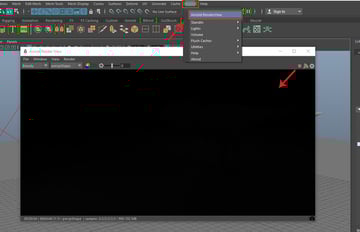
Step 5
Go to Arnold > Arnold RenderView to open it.


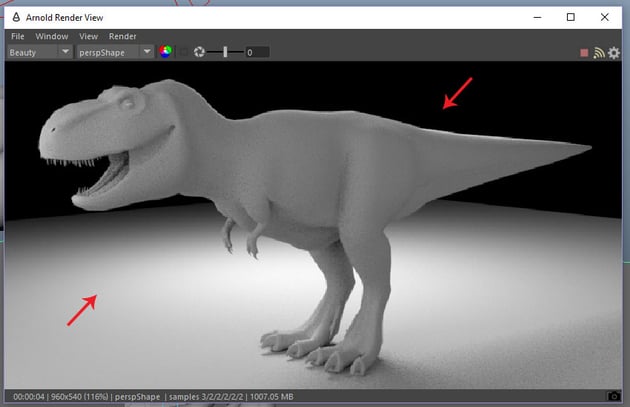
Step 6
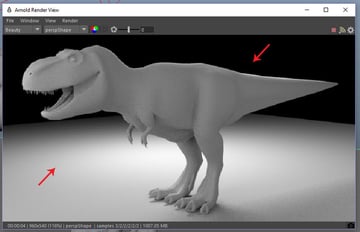
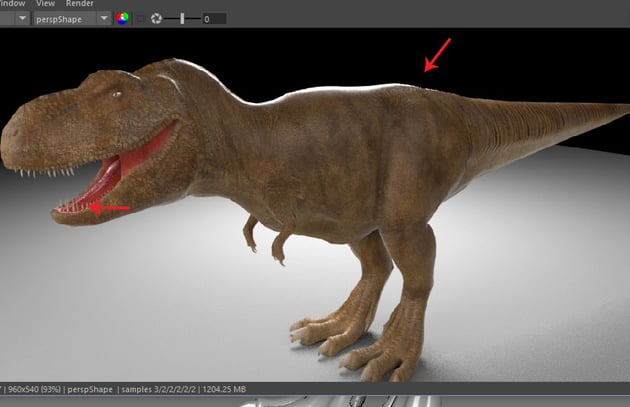
Increase the Exposure value to 8 and render the frame to see the result.


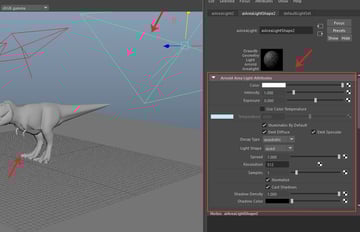
Step 7
Following the same way, set the Exposure values for all area lights as per need.

Step 8
Apply aiStanderd material on Eye, Teeth and Gum meshes and also rename them as shown in the following image.


2. Creating SSS Skin Shader
Step 9
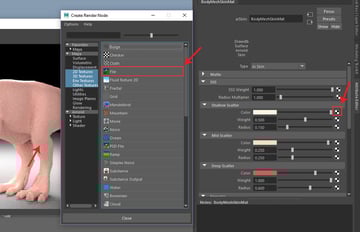
Create aiSkin and apply it on the mesh. Rename it as BodyMeshSkinMat.


Step 10
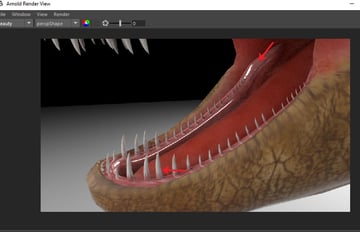
Render the frame to see the result.


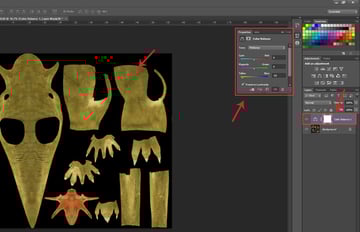
Step 11
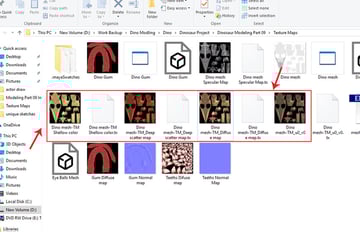
Open the Diffuse texture file in Photoshop application. Apply an adjustment layer and then change the texture colour for different variety of colours of maps and then save it as Dino mesh-TM Shellow colour as shown in the following image.


Step 12
Following the same way, save other maps as Dino mesh-TM_Deep scatter map and Dino mesh-TM_Diffuse map.


Step 13
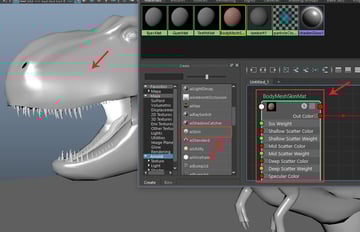
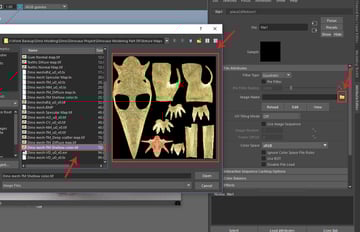
Selected BodyMeshSkinMat attributes. Click on Color map link button under Shallow tab. Click on File node to apply the texture map.


Step 14
Browse for the Dino mesh-TM Shellow file.


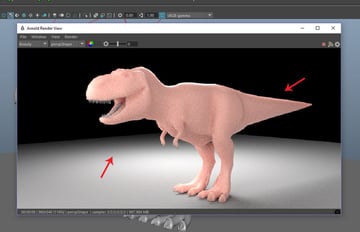
Step 15
In this way, apply Dino mesh-TM_Deep scatter map and Dino mesh-TM_Diffuse map in Mid Scatter and Deep Scatter tabs. Render the frame.


3. Creating Eye Texture
Step 1
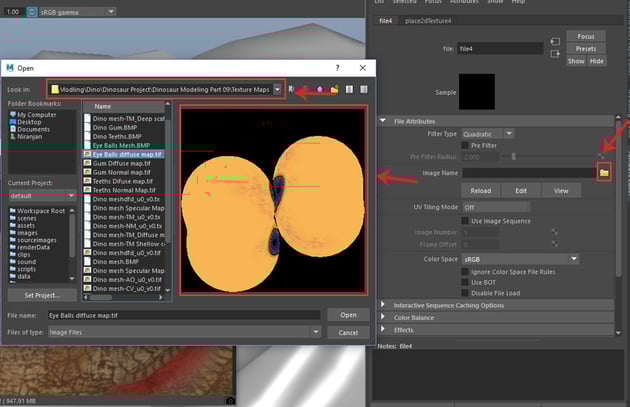
Apply the eyeball texture to the eye balls.


Step 2
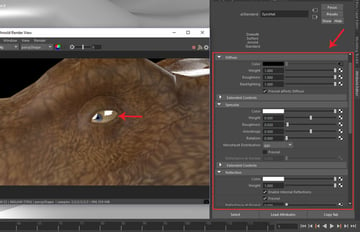
Set the EyesMat attributes as shown in the following image.


4. Creating Teeth and Gum Textures
Step 1
Following the same way, apply the teeth and gum textures as well.


Step 2
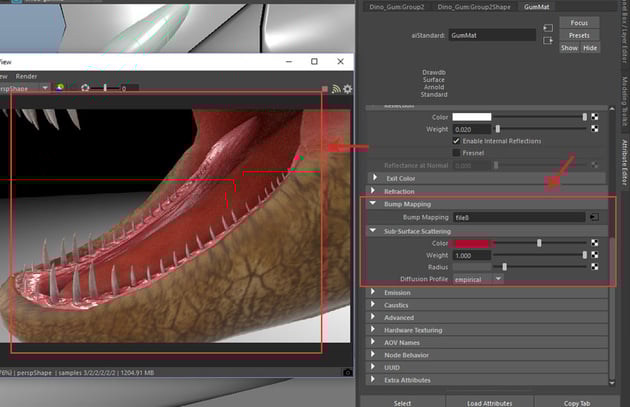
Apply bump texture map for gums which was extracted from ZBrush. Also adjust the values of Color and Weight under Sub Surface Scattering tab.


Step 3
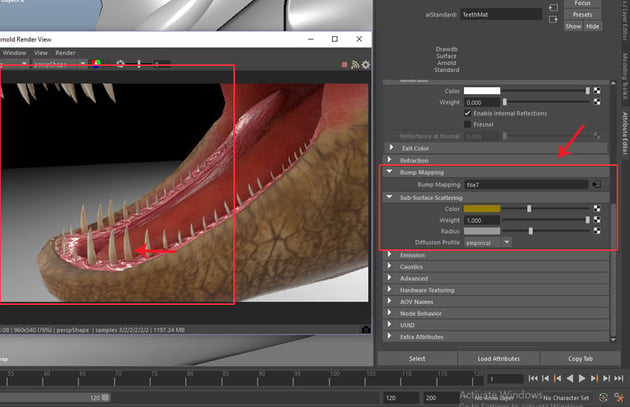
Following the same method, apply bump texture map for teeth as well.


Step 4
In this way, we have applied all texture maps excluding displacement map.


5. Applying Displacement Map
Step 1
With the body mesh selected, go to BodyMeshSkinMat , select aiSkin1SG node and then click on Displacement mat connector button as shown in the following image.


Step 2
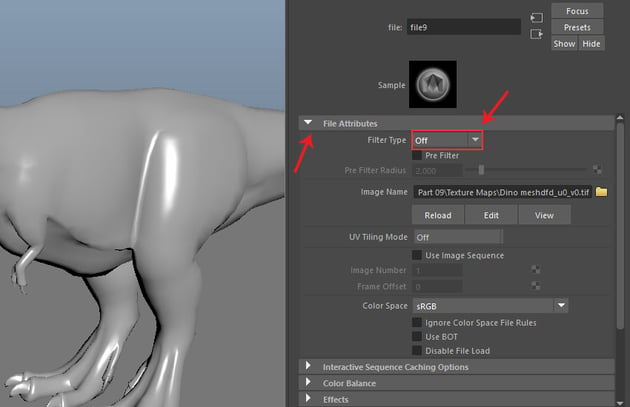
Locate linked Dino meshdfd_u0_v0 map as shown in the following image.


Step 3
Under File Attributes, turn off Filter Type option.


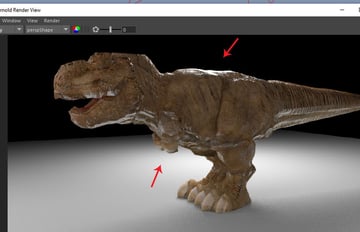
Step 4
Render the frame. It rendered frame looks quite bobble. You need to adjust displacement subdivisions mesh.


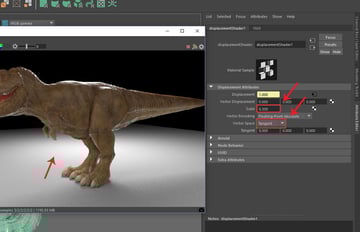
Step 5
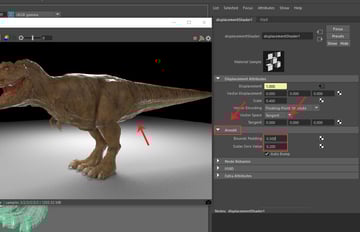
With DisplacementShader1 node selected, set Scale to 0.300 and Vector Space asTangent under Displacement Attributes.


Step 6
Under Arnold tab, set Bounds Padding to 0.500 and Scalar Zero Value to 0.200.


Step 7
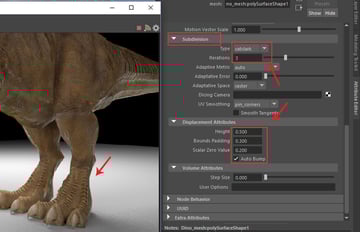
Under Subdivision tab, set Type to Catclark and Iterations to 3. Under Displacement Attributes, set Height to 0.500, Bounds Padding to 0.300 and Scalar Zero Value to 0.200 and then turn on Auto Bump option.
Render the frame. Now it looks much more realistic.


 By
By


