
In this multi part tutorial series, I'll show step wise how to make a giant robot in 3ds Max. I will do unwrapping and apply realistic metallic texturing and lighting to the robot model.
It will be then rigged using the bone system in 3ds Max and after that I'll animate it. The live action footage will be then tracked in Boujou and after animation, I will composite all the materials in After Effects.
Preview

1. Creating the Main Body
Step 1
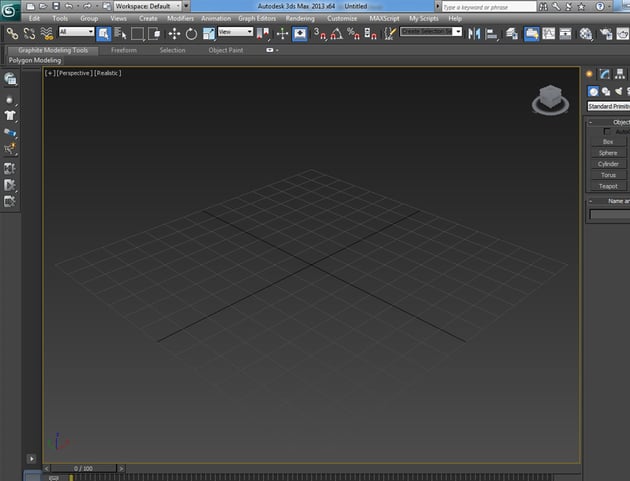
Open 3ds Max.

Step 2
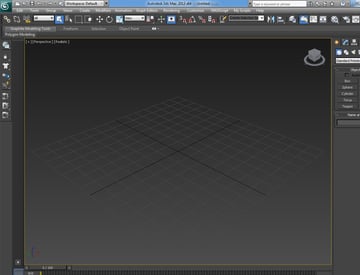
In the Left viewport, press Alt-B key on the keyboard. It opens the Viewport Configuration window.
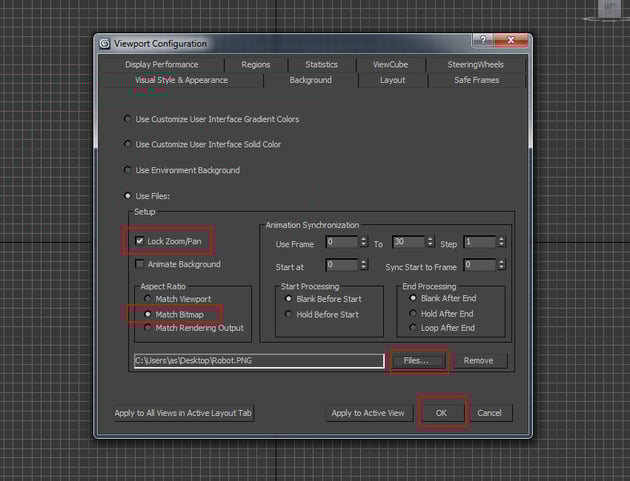
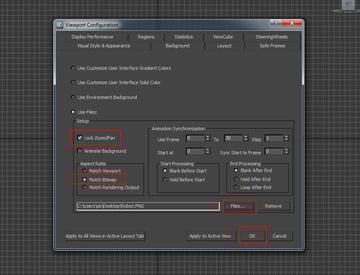
Turn on Lock Zoom/Pan and Match Bitmap options. Click on Files and go to the reference file location and load the robot image.

Step 3
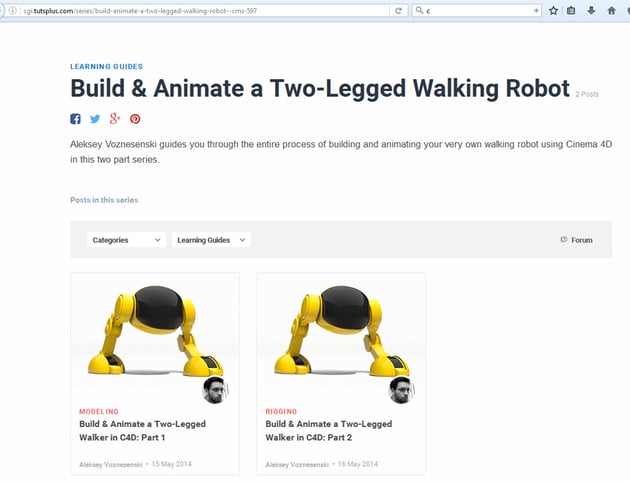
This image comes from Aleksey Voznesenski who has made a fantastic
tutorial series based on Cinema 4D. You can see his tutorial Build & Animate a Two-Legged Walking Robot.

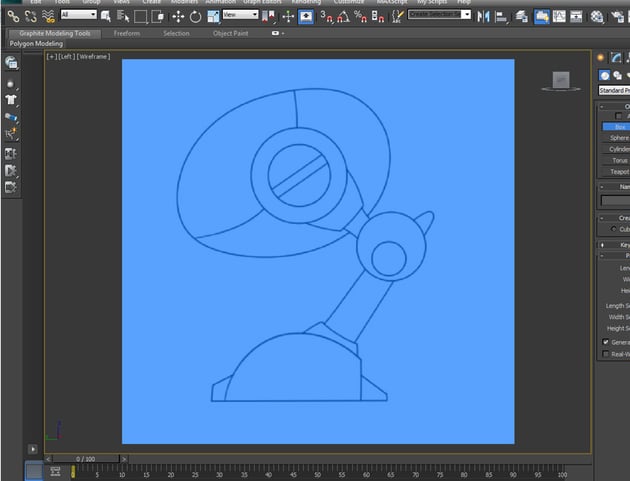
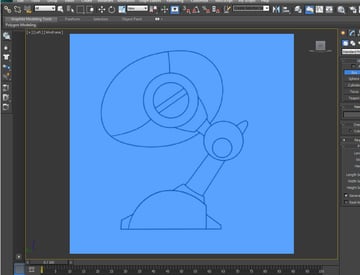
Step 4
After importing the reference image in the left viewport, you will see
something like this. I'll follow the reference image only till certain
extent. Rest will be based on the creativity.

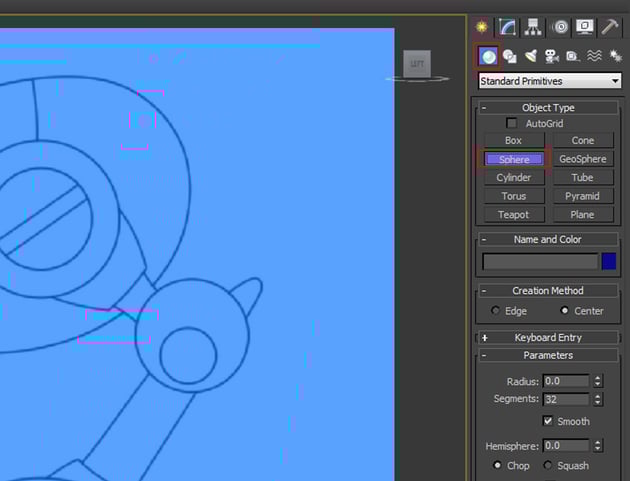
Step 5
Go to Create > Geometry > Standard Primitive and select Sphere.


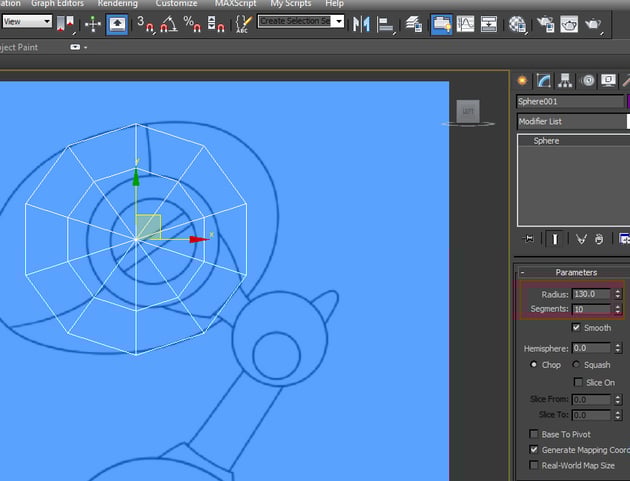
Step 6
Draw the sphere in the perspective viewport with the Radius as 130
and Segments as 10.


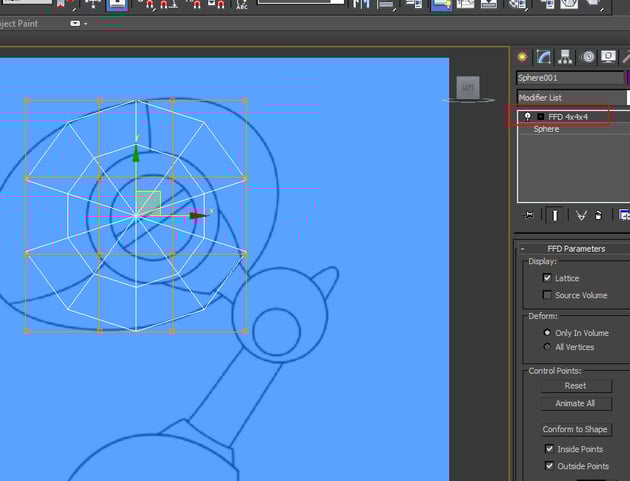
Step 7
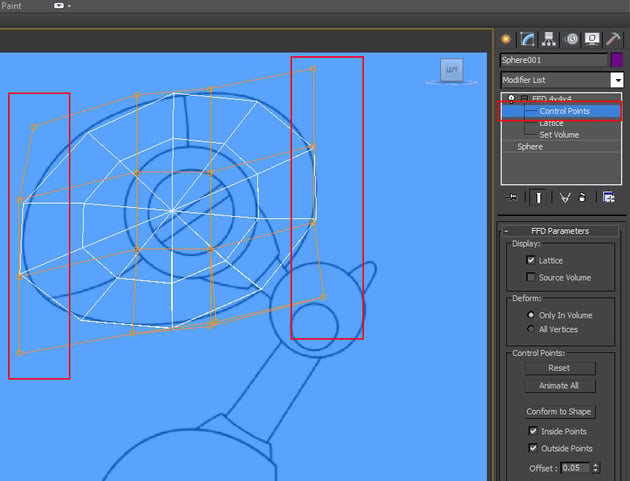
Open the Modifier list and apply FFD 4x4x4 modifier onto the
sphere.

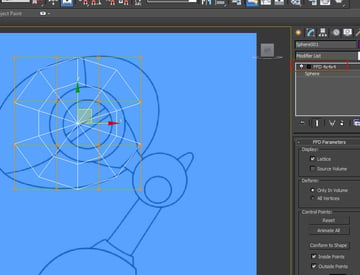
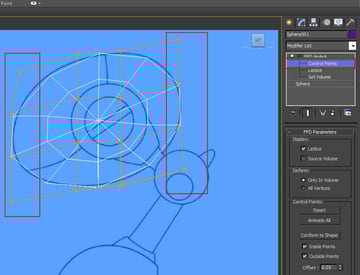
Step 8
Open FFD 4x4x4 rollout and select Control Points. With
the front and back control points selected, reshape the sphere according to the
reference image.

Step 9
Make a right click on the sphere mesh and convert it into Editable Poly.


Step 10
Jump in the vertex selection mode and then rearrange the indicated vertices
as shown in the following image.


Step 11
Press 4 on the keyboard to jump in the face selection mode. Select
the faces as shown in the following image.


Step 12
With the faces selected, set the Set ID as 1 and press Enter
on the keyboard. The selected faces get the id no. 1.


Step 13
Press Ctrl-I key on the keyboard to select the inverted faces. With
the inverted faces selected, set the Set ID as 2 and press Enter
on the keyboard. The selected faces get the id no. 2.


Step 14
With the id no. 1 faces selected, apply Extrude command twice to
extrude the selected faces a bit.


Step 15
You can see the result in smooth shaded mode after applying the Turbo Smooth modifier.


2. Creating the Leg
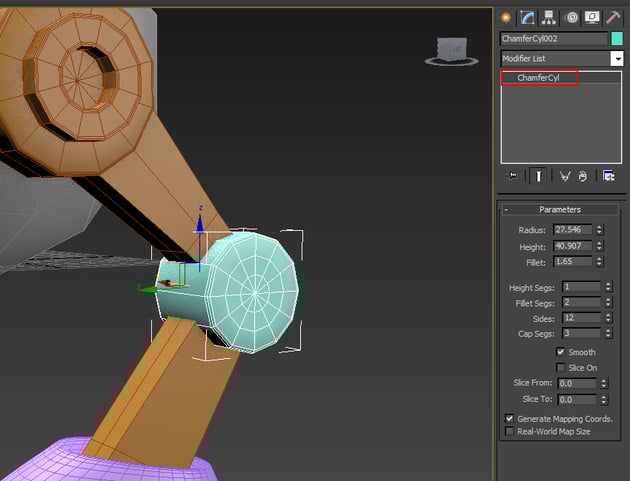
Step 1
Go to Create > Geometry > Extended Primitive > Chamfer
Cyl and draw the shape in the perspective viewport as shown in the
following image.


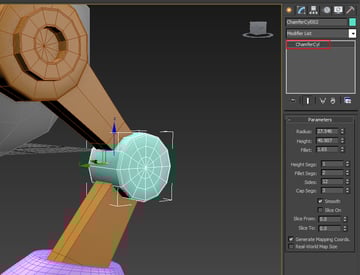
Step 2
Convert the mesh into Editable Poly.


Step 3
With the indicated faces selected, apply Extrude command to extrude
the faces as shown in the following image.


Step 4
Keep extruding the faces as shown in the following image.


2. Creating the Foot
Step 1
Go to Create > Geometry > Standard Primitive > Sphere
and draw the shape in the perspective viewport as shown in the following image.


Step 2
Increase the Hemisphere value to cut the sphere in half as shown in
the following image.


Step 3
Turn the hemisphere into editable poly. Jump in the vertex selection mode
and adjust the vertices as shown in the following image.


Step 4
Delete the top faces of the foot mesh.


Step 5
With the help of Connect tool, insert two supporting edges as shown
in the following image.


Step 6
Following the same way, insert two more supporting edges in the bottom.


Step 7
Insert several more edges and adjust the vertices to make the foot mesh as
shown in the following image. I am not following the image reference 100% as I
am adding my own creativity to it.


3. Creating the Extra Parts
Step 1
With the indicated faces of the mesh selected, apply Extrude command
to extrude the faces as shown in the following image.


Step 2
Go to Create > Geometry > Extended Primitive > Chamfer
Cyl and draw the shape in the perspective viewport as shown in the
following image.

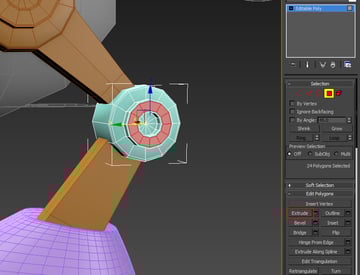
Step 3
Turn the mesh into editable poly. With the indicated faces of the mesh
selected, apply Extrude command to extrude the faces as shown in the
following image.


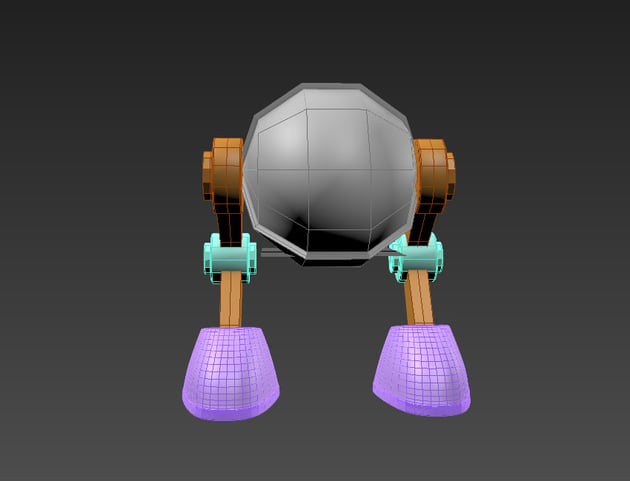
Step 4
Make a duplicate copy of the entire leg system and place it to the opposite
side as shown in the following image.

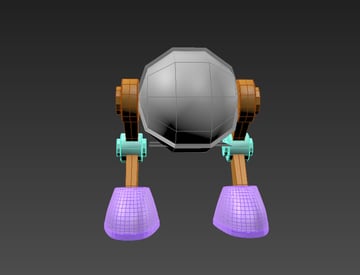
Step 5
The basic model of the robot is completed. In the next part of the tutorial,
I will show you how to unwrap and texture the robot with realistic materials
and shaders, lighting and rigging procedure.


Conclusion
I am making a very basic robot model for the tutorial purpose. But I will show each and every step in detail which you can follow to make your own detailed version.
 By
By


