
In this tutorial I will show you how to create a leather texture of different colors using Adobe Illustrator. This is a basic tutorial to follow and will take around thirty minutes to complete. You can use this vector texture in your artwork when you need to add a leather texture. Let's get started.
Step 1
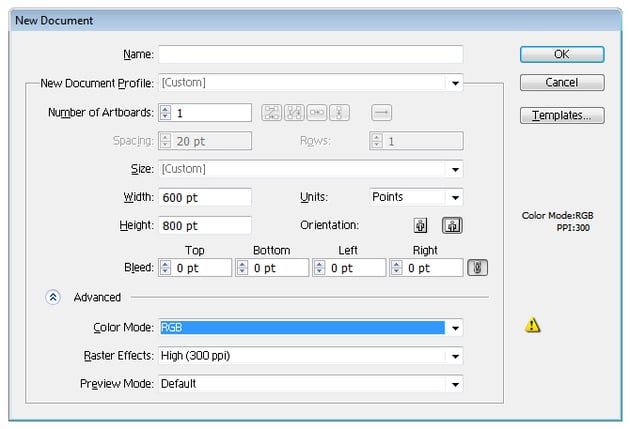
Create a new document with File > New (Command + N).

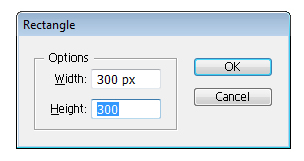
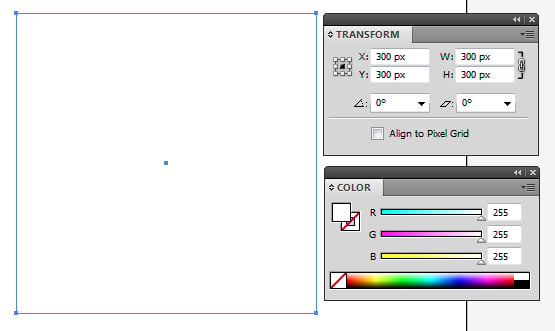
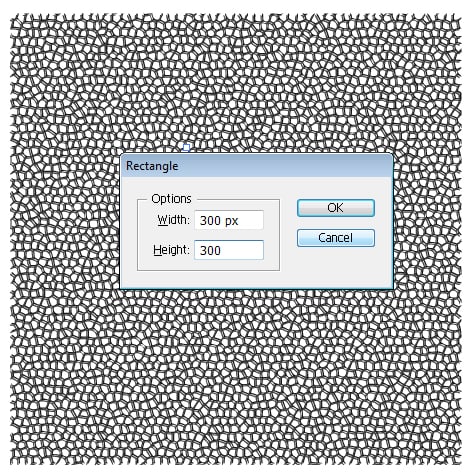
Step 2
Use the Rectangle Tool (M) to create a square with the settings shown below. Set the stroke to none, color it with RGB (R=255, B=255, G=255) and position it to center.
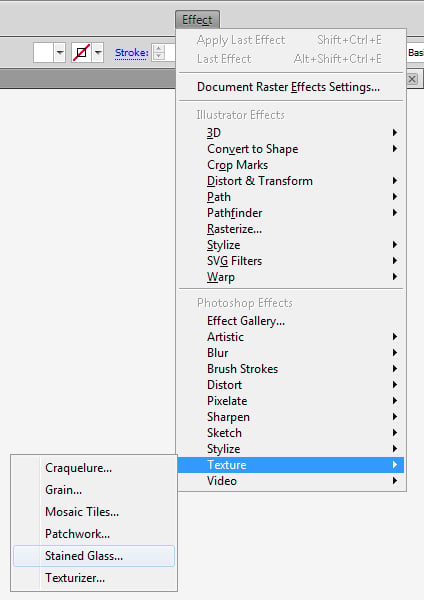
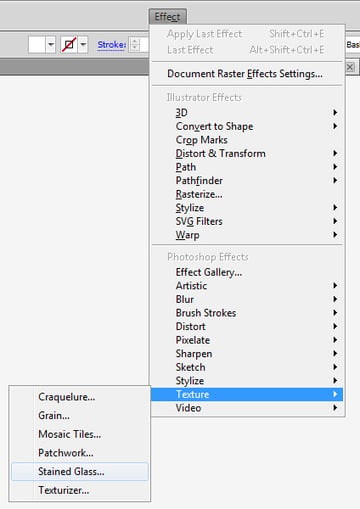
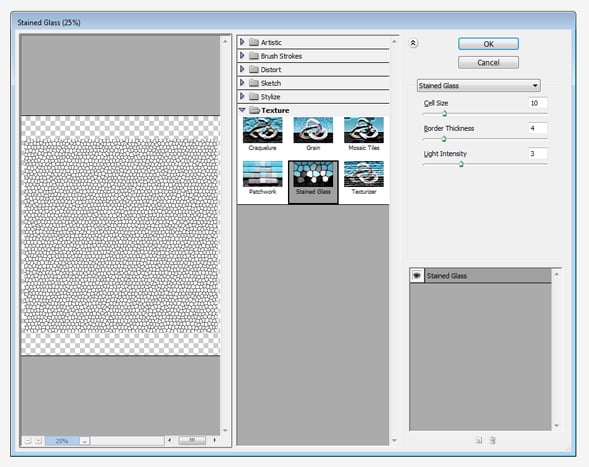
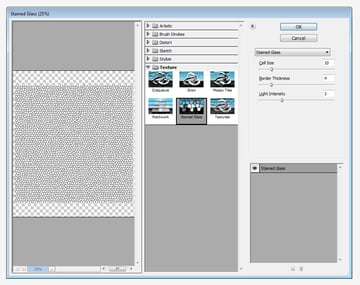
Step 3
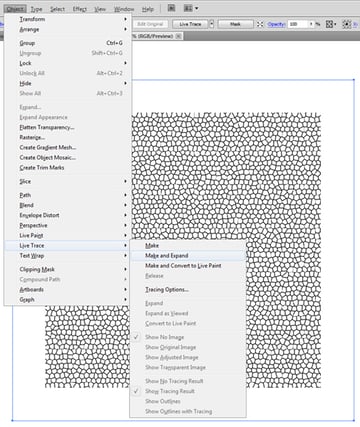
Go to Effect > Texture > Stained Glass..., a window opens and then click OK to apply it. Go to Object > Expand Appearance.
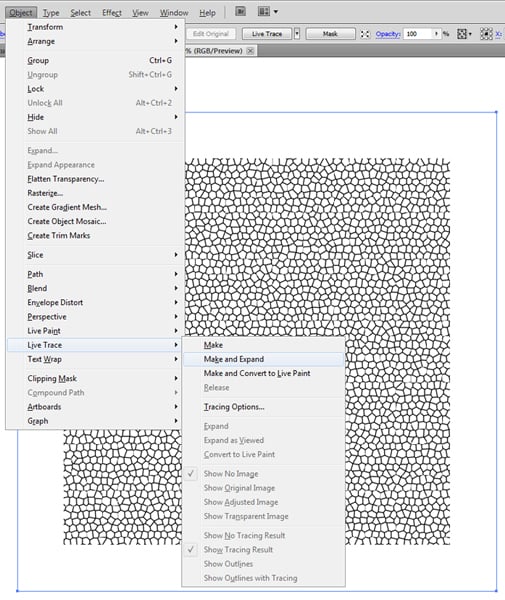
Step 4
Go to Object > Live Trace > Make and Expand.
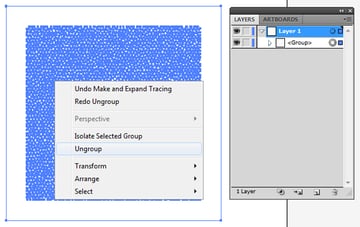
Step 5
Right-click and Ungroup the layer.

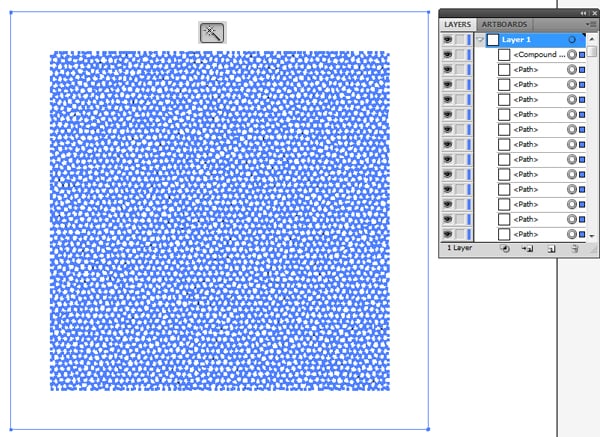
Step 6
Use Magic Wand Tools (Y), select the white colors and delete.
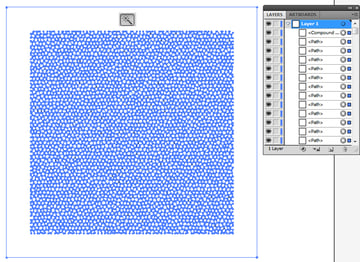
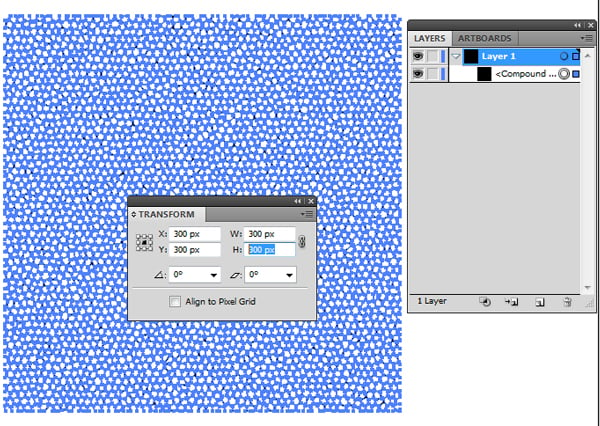
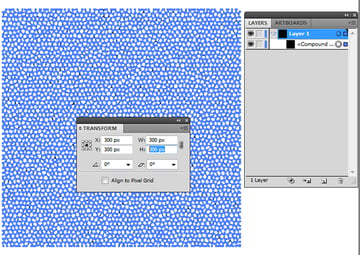
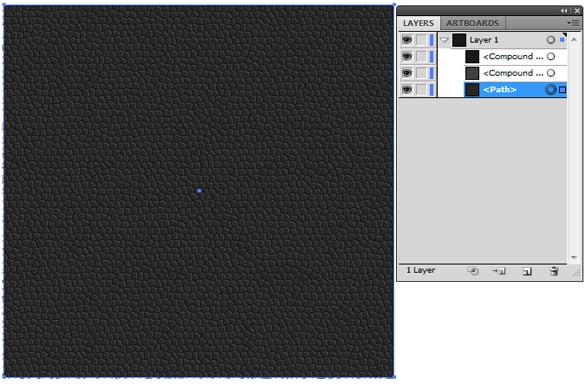
Step 7
Color the layer with RGB (R=25, G=25, B=25), position it in the center of artboard, and modify the size to 300 px. Uncheck the constrain proportion.
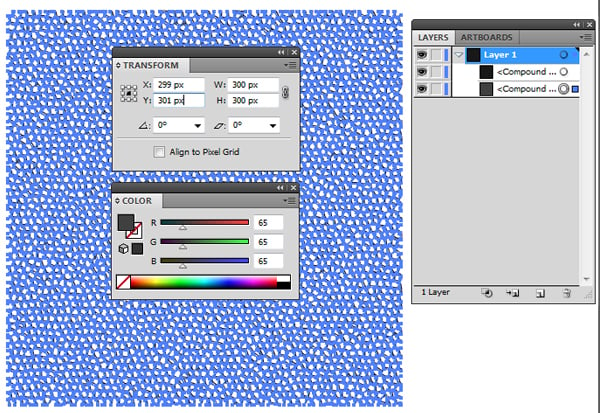
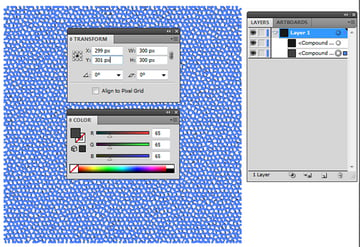
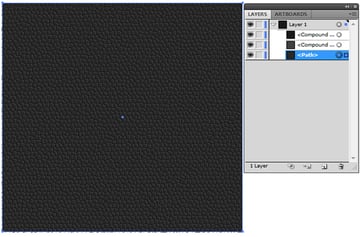
Step 8
Make a copy of the layer (Command + C) and paste in back (Command + B). Color the layer with RGB (R=65, G=65, B=65), and modify its position: transform x=301 and y=299.
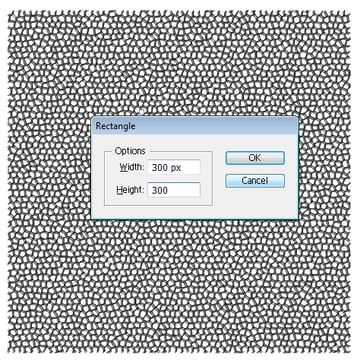
Step 9
Use the Rectangle Tool (M) to create a square with the following settings:
Step 10
Color the layer with RGB (R=40, B=40, G=40), and modify its position in the center of artboard as x=300 and y=300. Move the order layer down as shown.
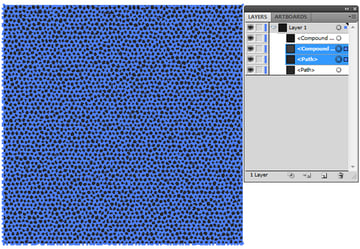
Step 11
Make a copy of the layer (Command + C) and Paste in Front (Command + F). Keep the Command key pressed to select the layers in the image below.
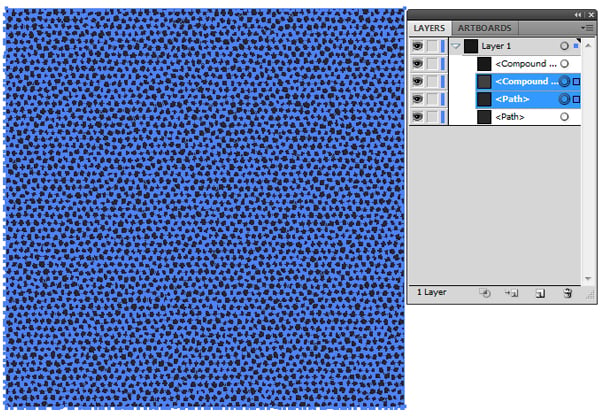
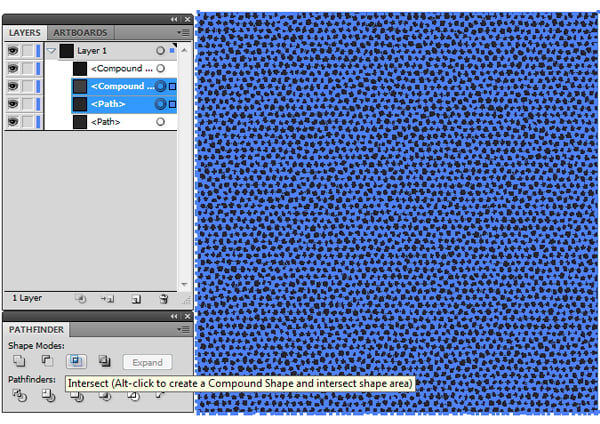
Step 12
Keep the Alt key pressed to select Intersect from the Pathfinder window and Expand.
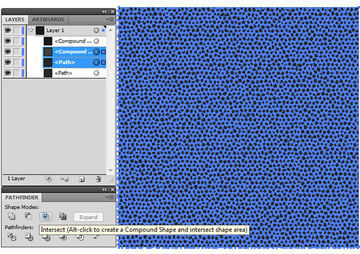
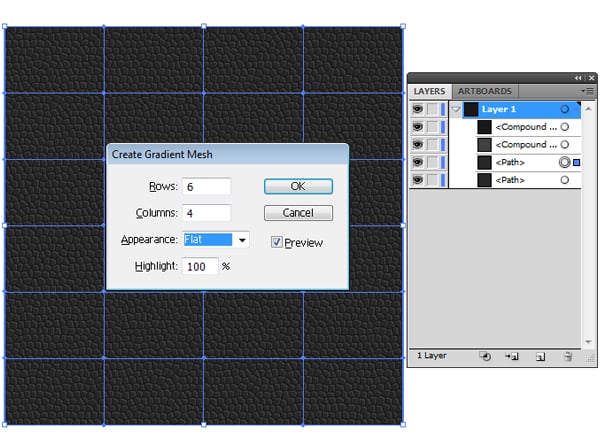
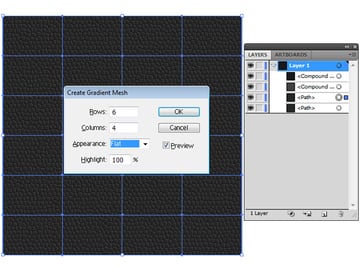
Step 13
Make a copy of the bottom layer (Command + C) and Paste in Front (Command + F). Select the layer you just copied and go to Object > Create Gradient Mesh. Enter the data shown in the following image and click OK.
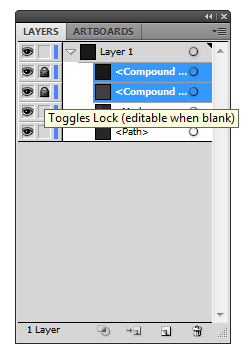
Step 14
Lock the top layers.
Now color the mesh points with the following colors:

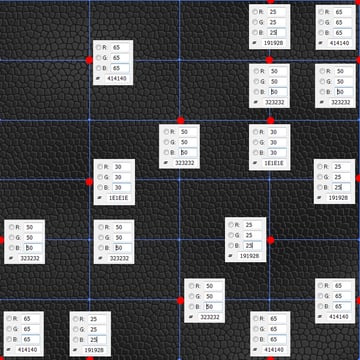
Step 15
Now after you have finished coloring you can unlock the layers. Select the Ellipse Tool and click on the artboard to create a circle with the following settings:

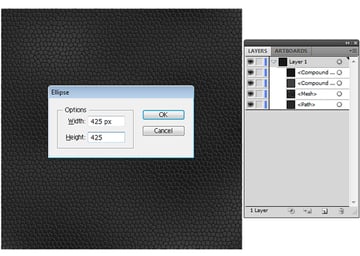
Step 16
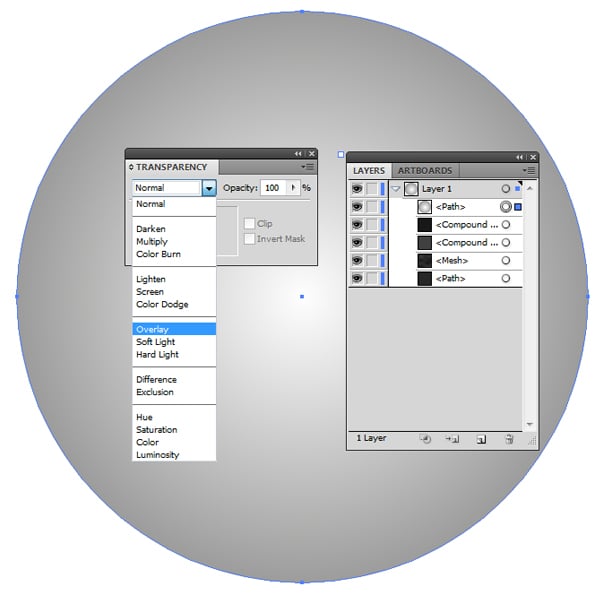
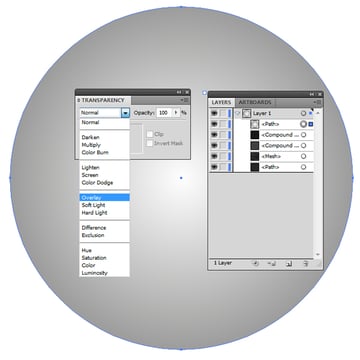
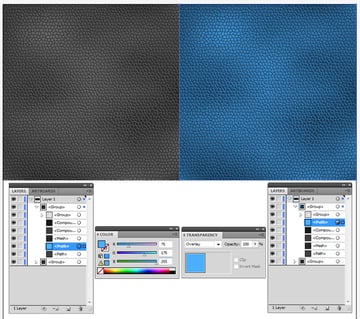
Color the circle with the Gradient Tool (G), using the following colors: RGB (R=255, G=255, B=255) and RGB (R=150, G=150, B=150) with a type of Radial. Modify its position in the center of artboard x=300 and y=300, then select Overly from the Transparency window.
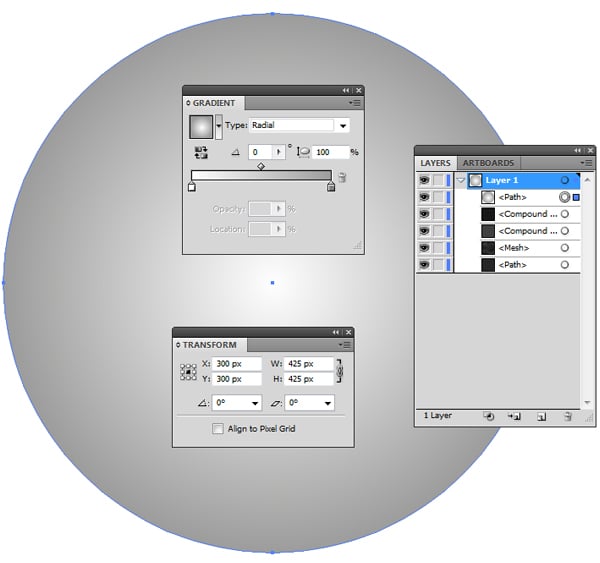

Step 17
Use the Rectangle Tool (M) to create a square with the following settings: x=300 and y=300, then modify its position in the center of the artboard: x=300 and y=300.
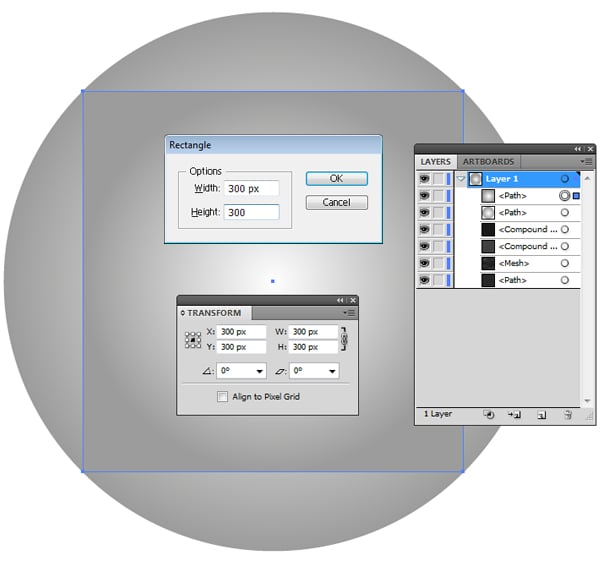
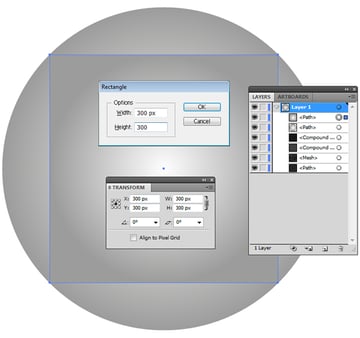
Step 18
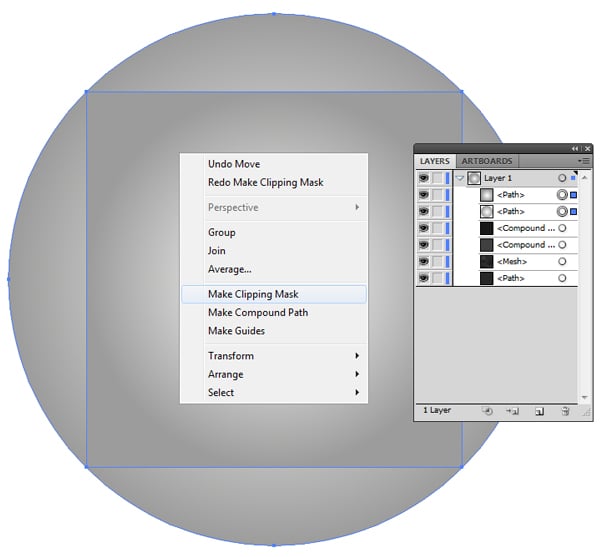
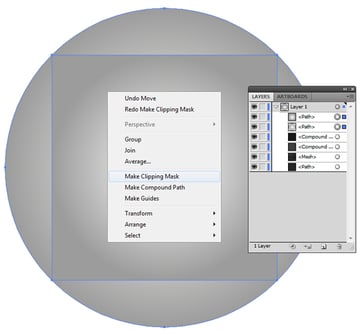
Select the first two layers you just created and Right-click > Make Clipping Mask. Select all the layers and group them (Command + A > Command + G).
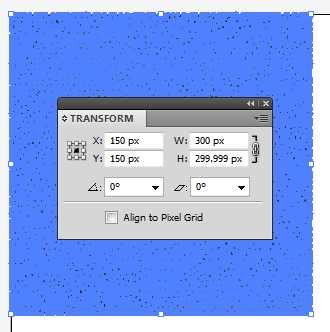
Step 19
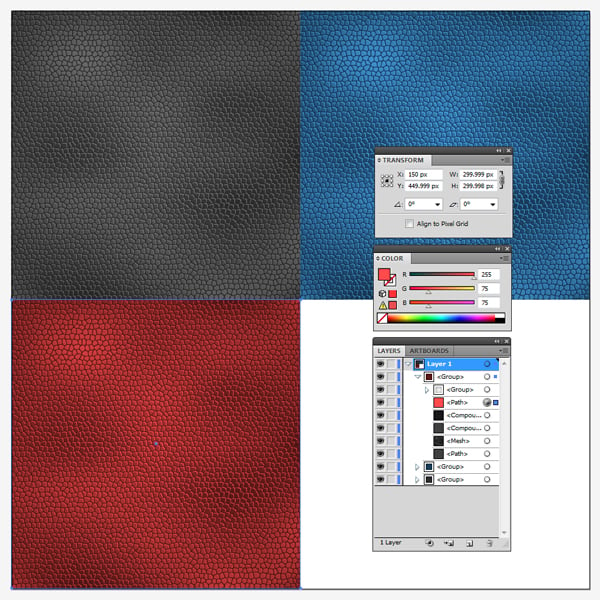
Modify its position in the top right corner of artboard: x=150 and y=150.
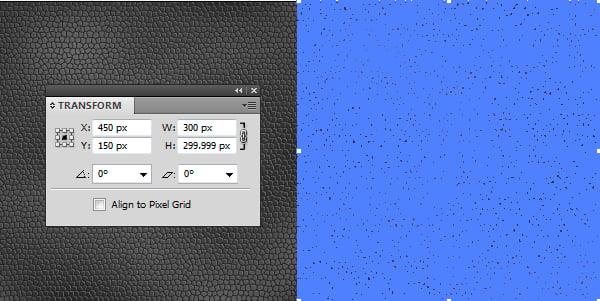
Step 20
Make a copy of the group layer (Command + C) and Paste in Front (Command + F). Modify its position in the top left corner of the artboard: x=450 and y=150.
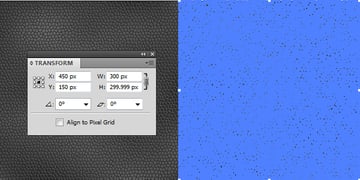
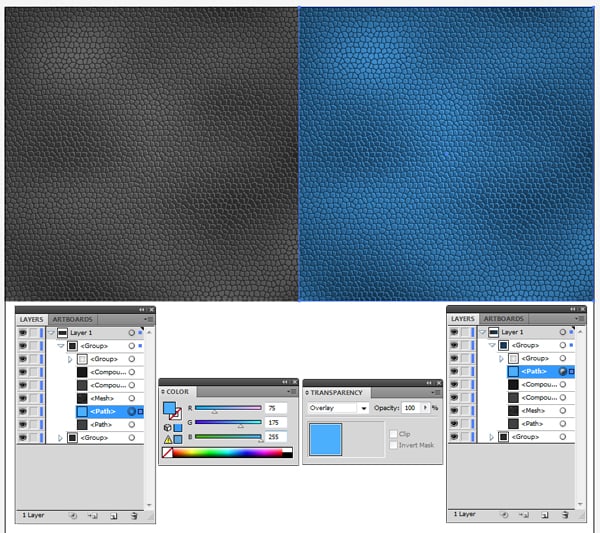
Step 21
Open the group and make a copy of the square for the bottom layer (Command + C) and Paste in Front (Command + F). Color the layer with RGB (R=75, G=175, B=255), select Overly in the Transparency window, and move up the layer to the second from the group, then close the group.
Step 22
Make a copy of the group layer (Command + C) and Paste in Front (Command + F). Modify its position in the bottom right corner of the artboard: x=150 and y=450. Change the RGB color (R=75, G=175, B=255) and layer of the group to a RGB color (R=255, G=75, B=75).

Step 23
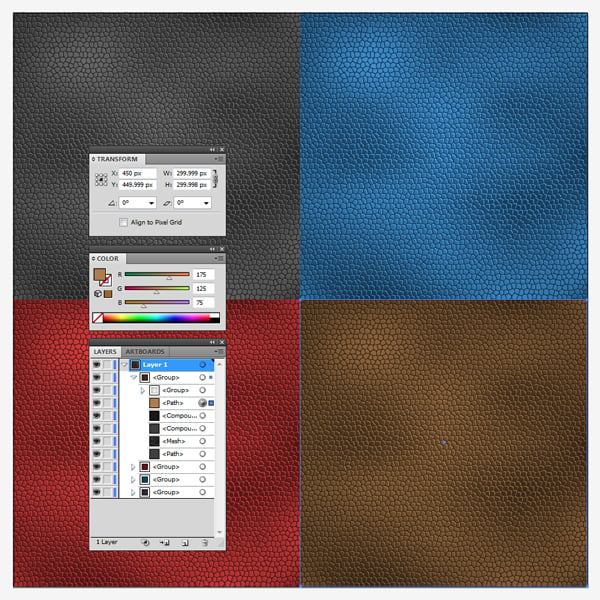
Make a copy of the group layer (Command + C) and Paste in Front (Command + F). Modify its position in the bottom left corner of the artboard: x=450 and y=450. Change the RGB color (R=255, G=75, B=75) and layer of the group to RGB (R=175, G=125, B=75).

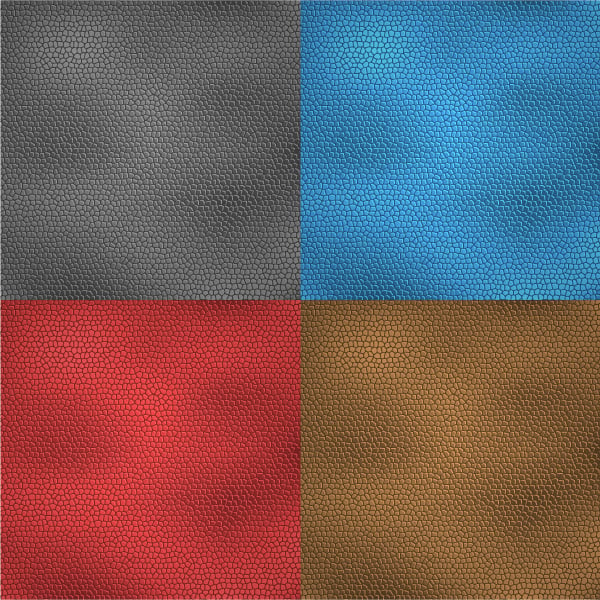
Conclusion
Now your leather texture with different colors is done. I hope you've enjoyed this tutorial.
 By
By


