


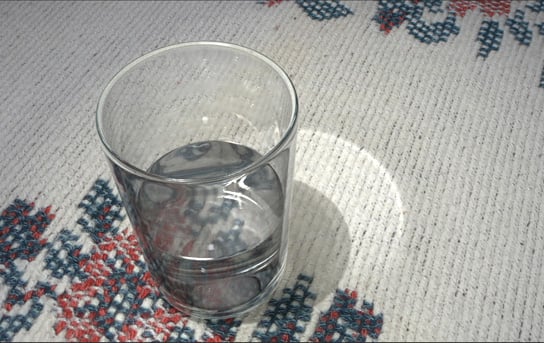
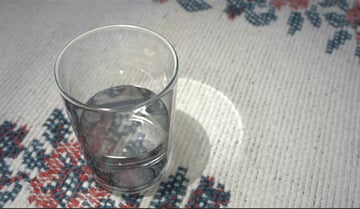
Achieving a realistic render can be a challenging task, especially when re-creating a real-world object or scene. In this two-part tutorial, you learn how to build and render a realistic glass of water, complete with accurate caustics in Maya.
1. Enabling Mentalray
Step 1
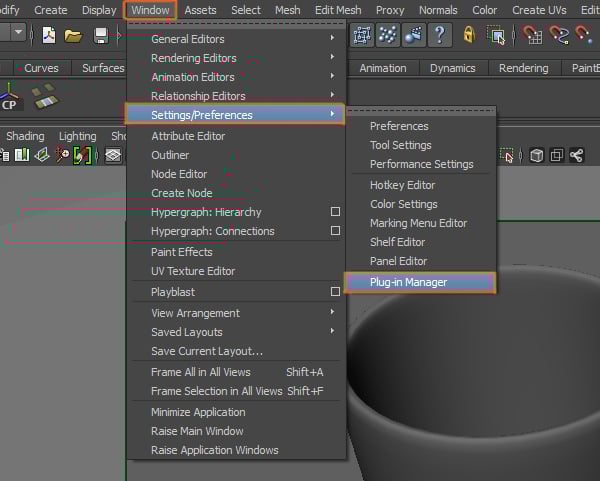
To start, we need to activate Mental Ray. Go to Window > Settings/Preferences > Plug-in Manager.

Step 2
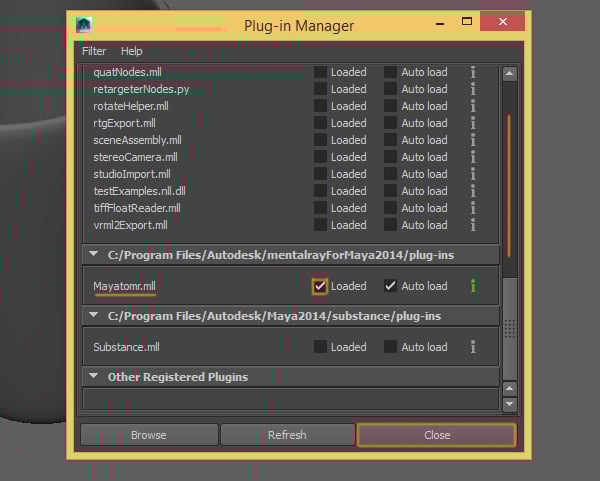
The Plug-in Manager window will open, look for the Mayatomr.mll plug-in and make sure to activate it. Then you can close the window.

2. Creating the Glass Shader
Step 1
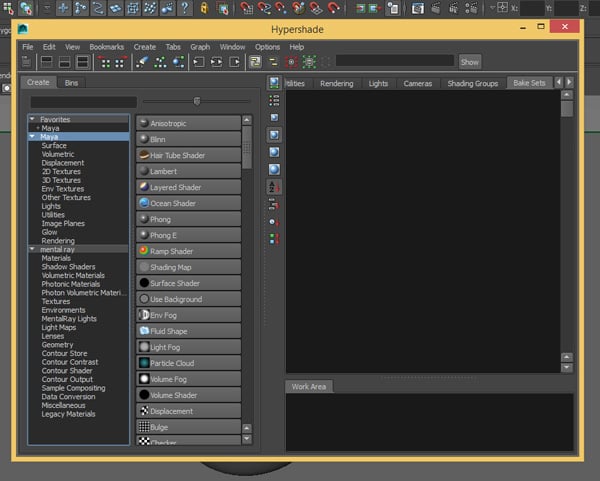
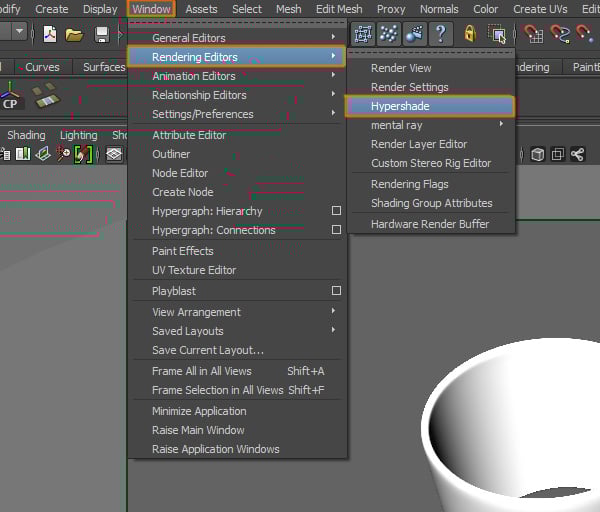
Now we'll start creating the shaders, go to Window > Rendering Editors > Hypershade.


Step 2
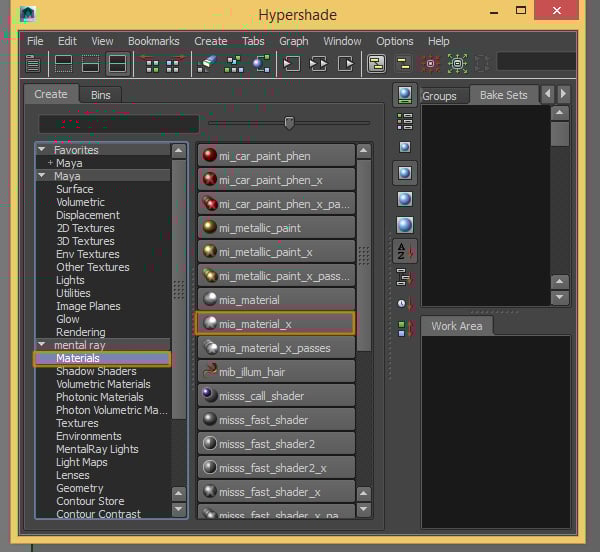
You should see the Hypershade window.

Step 3
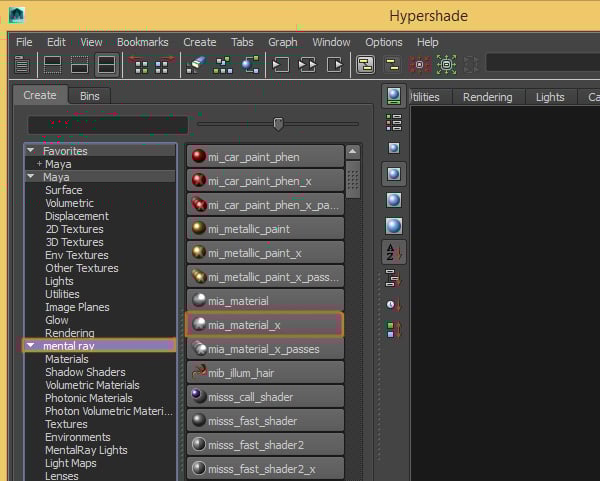
Under the Mental Ray materials, search for mia_material_x and click on it to create a new material.

Step 4
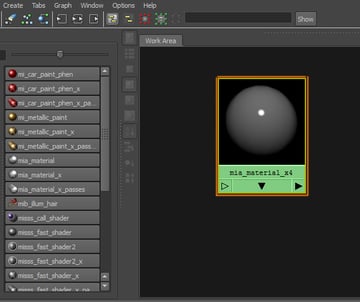
You'll see the shader created in the Work Area. Now we have to adjust its settings.


Step 5
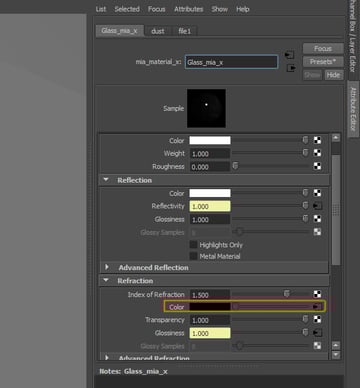
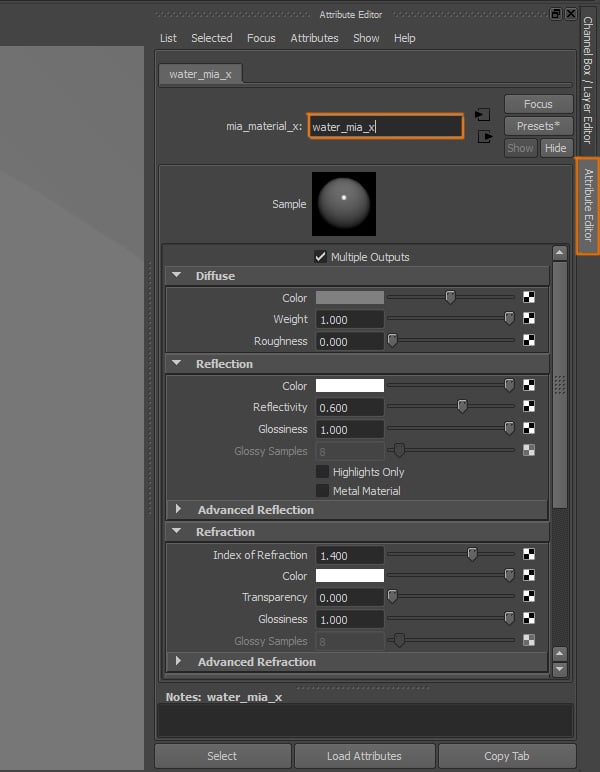
Open its Attribute Editor and rename the material to something meaningful and related to the glass.
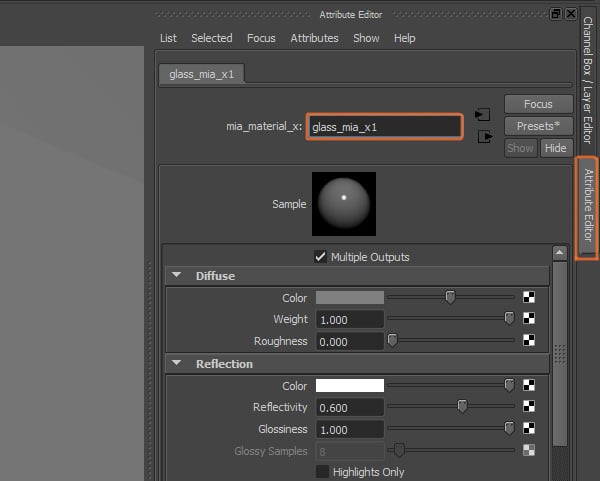

Step 6
Mental ray already has a great preset we can use. Click on the Presets button and choose GlassSolid > Replace.


Step 7
The settings will automatically change, but we still need to make some adjustments to the shader.


Step 8
Change the Diffuse Color to White.


3. Creating the Glass Textures
Step 1
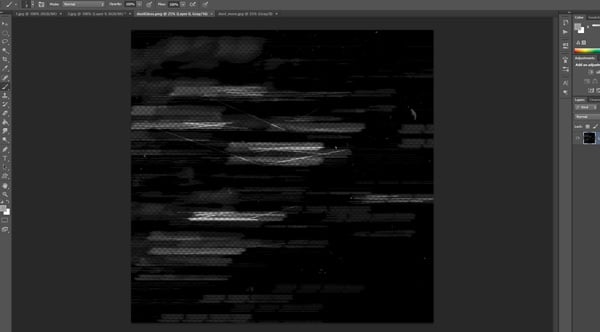
We'll also need to create a texture, I'll show how I created the texture using Photoshop. It has to be a black texture with alpha zones where you would like the glass to become less transparent. It can be very random.

Step 2
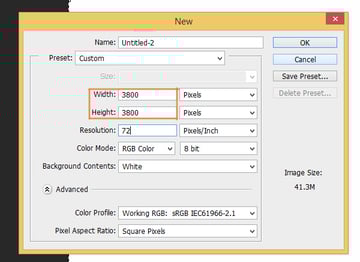
I created a 3800x3800 pixels image.

Step 3
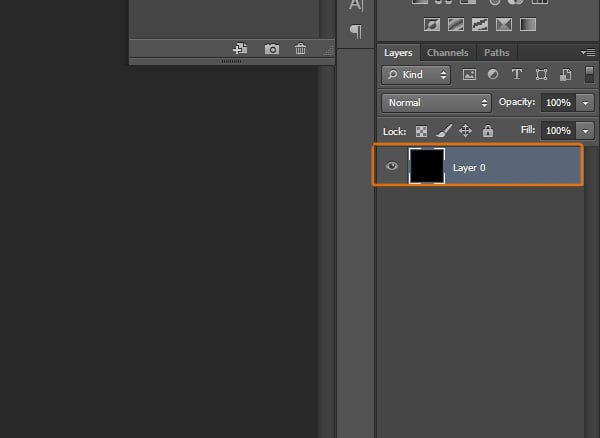
Then filled the layer with black.

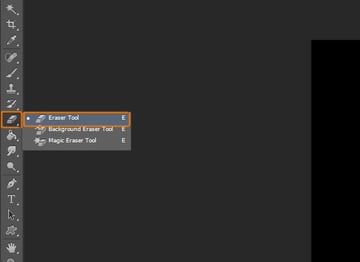
Step 4
Select the Eraser tool

Step 5
You can use several different Brush Presets.
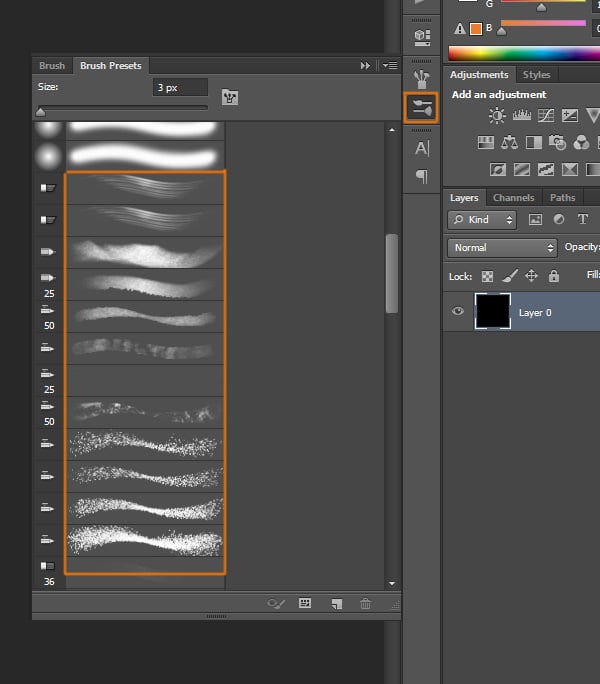

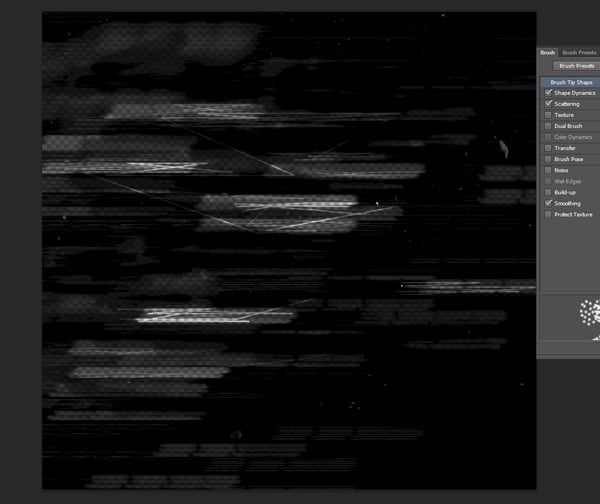
Step 6
Just Erase some parts of the black layer, following horizontal lines to simulate how an old glass looks.

Step 7
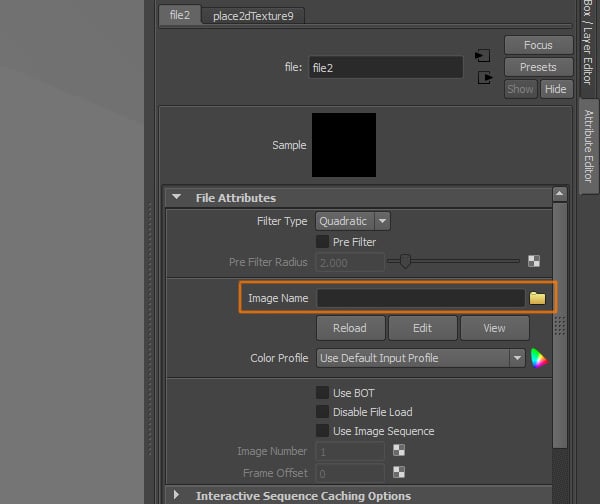
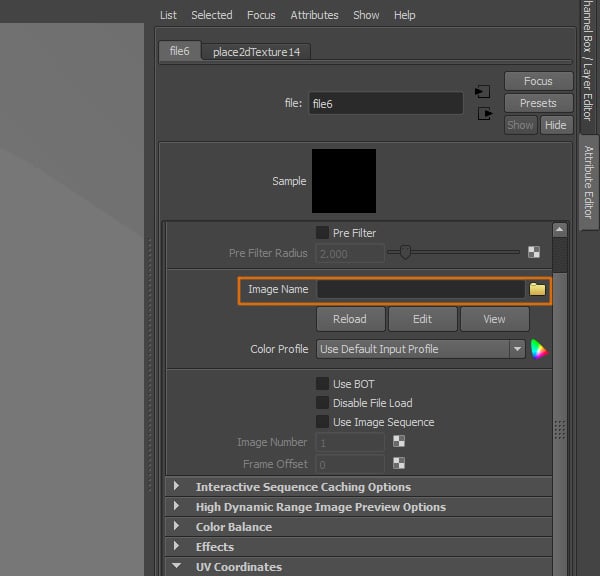
Back in Maya, click on the Texture button next to the Reflectivity option. This will open the Create Render Node window, where you can select File from the list.
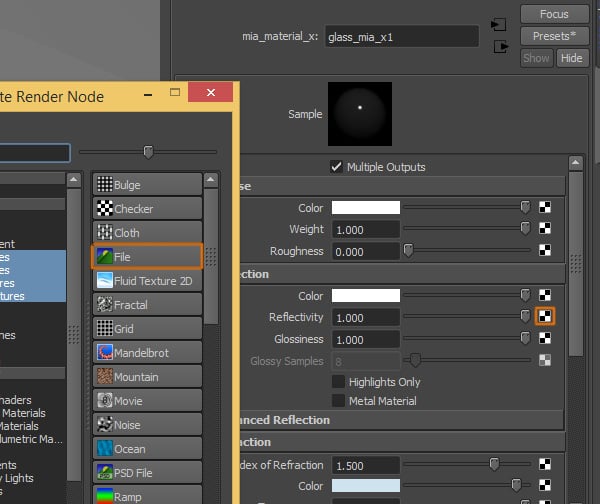

Step 8
Now select the image or texture you are going to use.

Step 9
Go back to the Attributes Editor of the shader, we'll also add a texture to the Glossiness attribute.
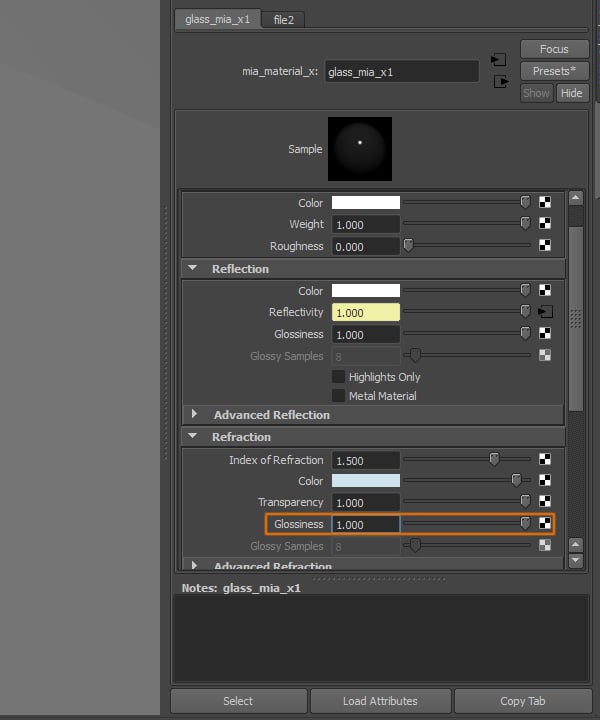

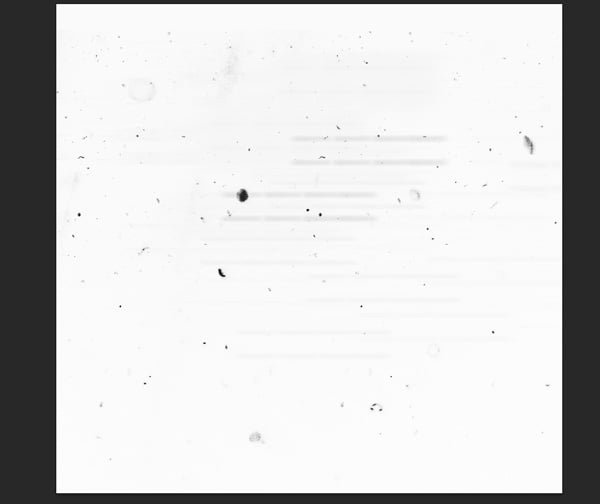
Step 10
This is the texture I created for the glossiness. It's a white background with some grey lines, marks and scratches.

Step 11
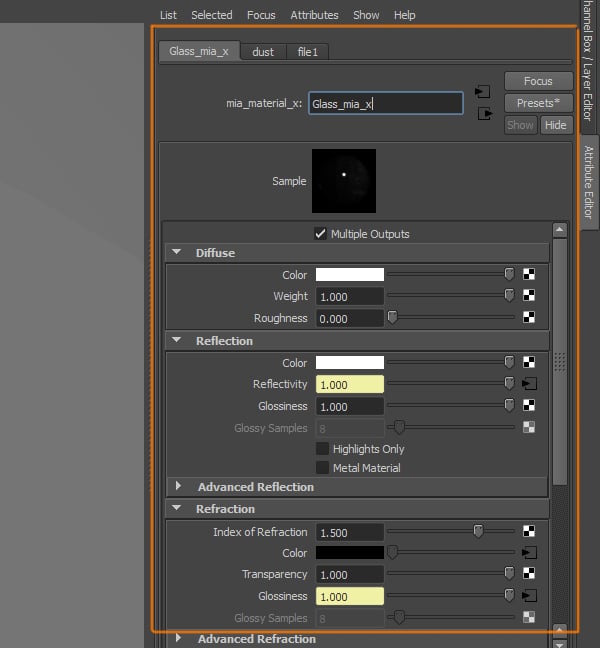
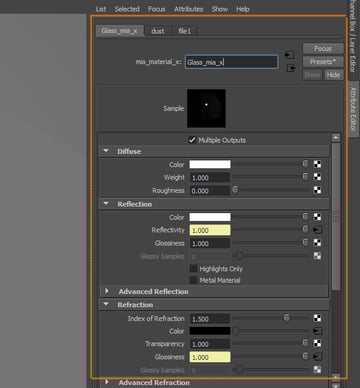
Finally, we also need to add this texture to the Color attribute, under the Refraction settings.
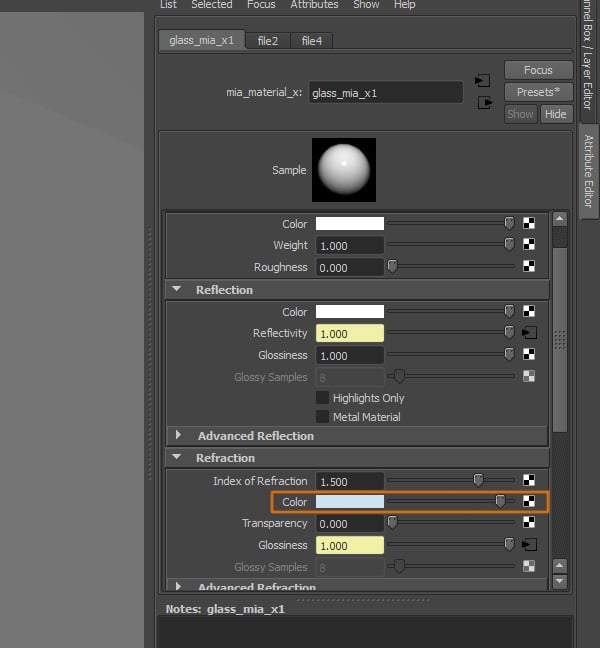

Step 12
You should have added three textures to the shader at this point.

Step 13
This is how the final shader for the glass should look. You can play with the settings to see what works best for you, and try different textures to help you achieve the effect you want.
Step 14
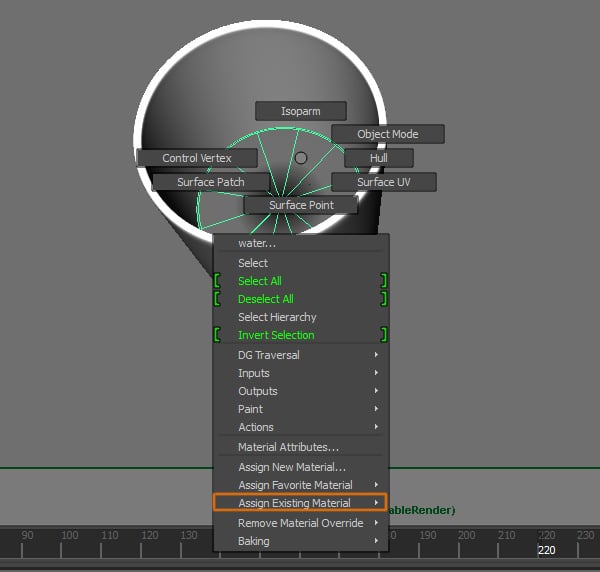
Now we have to apply the shader to the glass. Select the Glass object and Right Click to open the menu, go to Assign Existing Material and select the shader we just created.
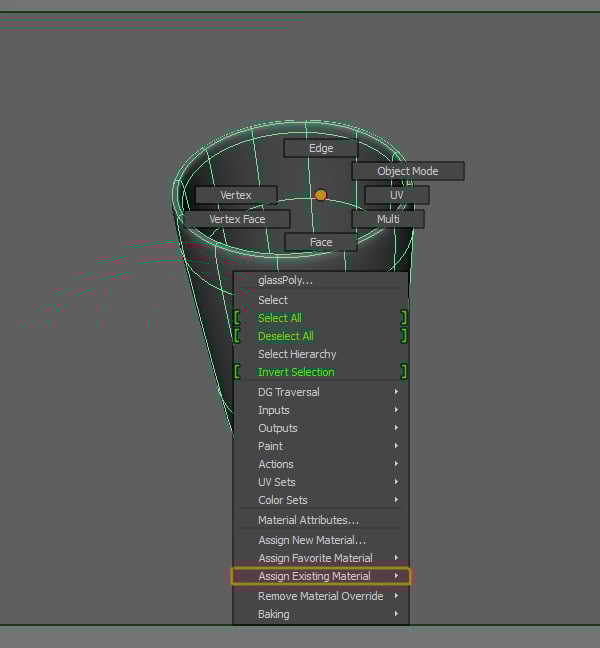

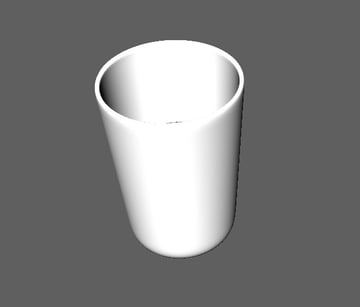
Step 15
The glass will now have the shader applied.

4. Creating the Water Shader
Step 1
We have to create another shader, so go to Window > Rendering Editors > Hypershade.

Step 2
Inside the Hypershade window, create a new mia_material_x.

Step 3
The new shader will again appear in the Work Area.

Step 4
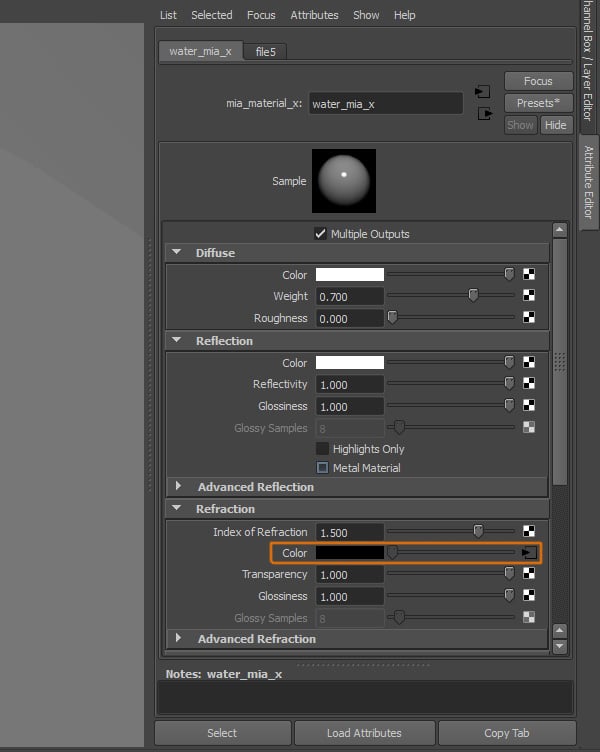
Open its Attribute Editor and change its name, this material will be used for the water inside the glass.

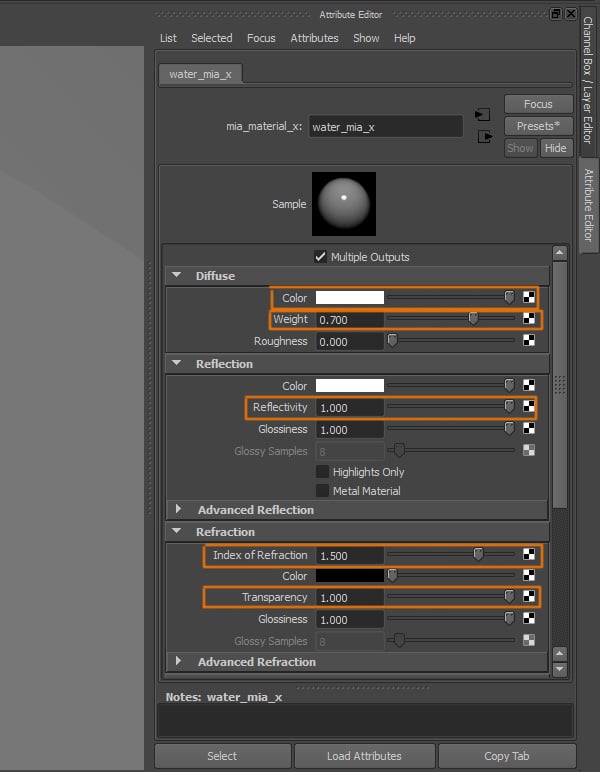
Step 5
We cannot use a preset for this material, so we have to change the attributes as follows. Under the Diffuse Rollout, change Color to White, Weight to 0.700. Under the Reflection rollout, change the Reflectivity to 1. And under the Refraction rollout, change the Index of Refraction to 1.5, and Transparency to 1.

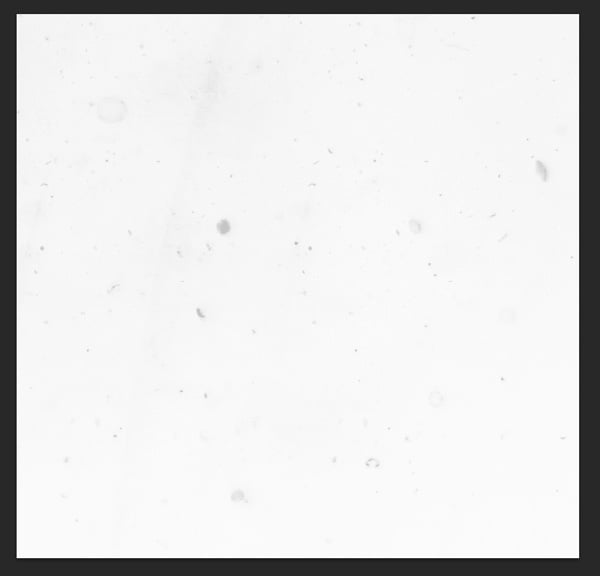
Step 6
For this shader, we'll also need a texture. I created a white background with some marks and scratches in a very soft grey. This will make the water look dirtier.

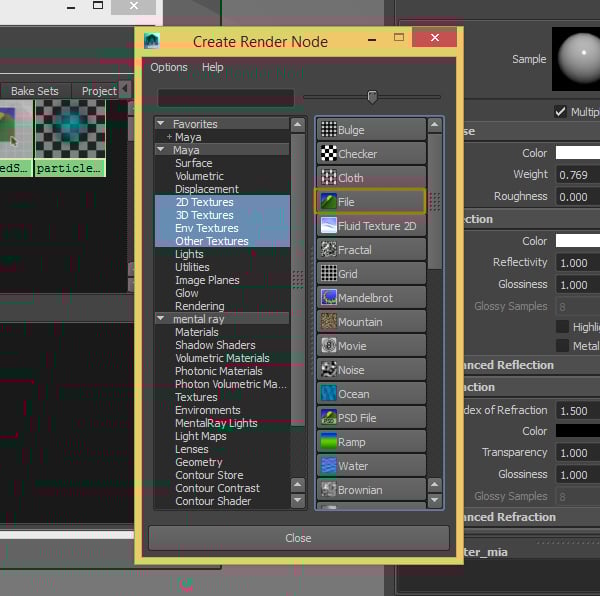
Step 7
Click on the Texture button for the Color attribute, under the Refraction rollout.


Step 8
This will open the Create Render Node window, where you need to select File.

Step 9
Find the texture or image you created for the water.

Step 10
The texture should be added to the Color Attribute.

Step 11
Now we need to assign the material to the water. Select the water object and Right Click to open the menu, go to Assign Existing Material and select the material for the water we just created.

5. Adding the Environment Texture
Step 1
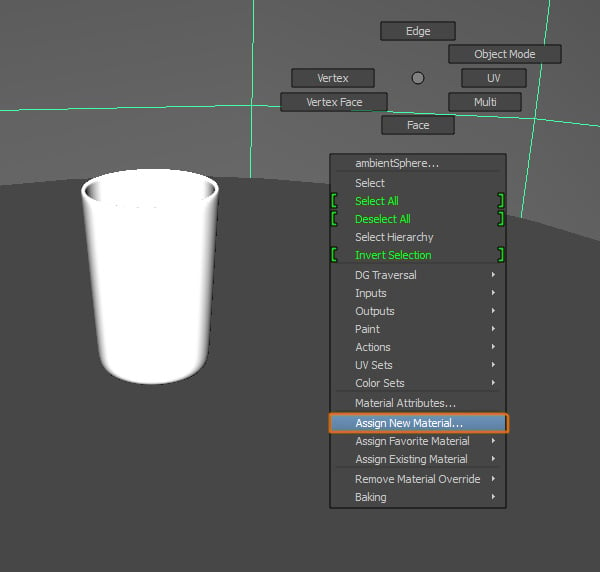
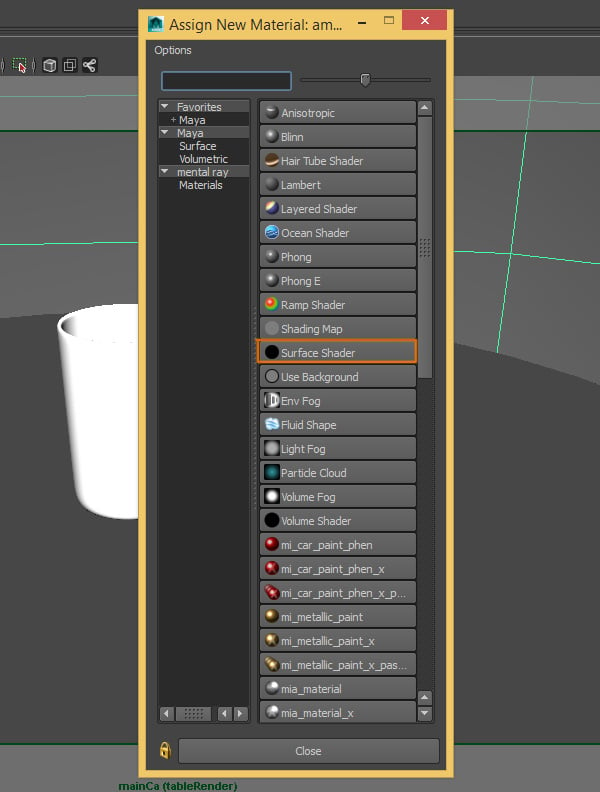
Now we'll create a new material for the Ambient Sphere. We'll create this shader with another method, rather than using Hypershade. Select the Sphere and Right Click to open the menu, go to Assign New Material.

Step 2
A new window will open, click on the Surface Shader button.

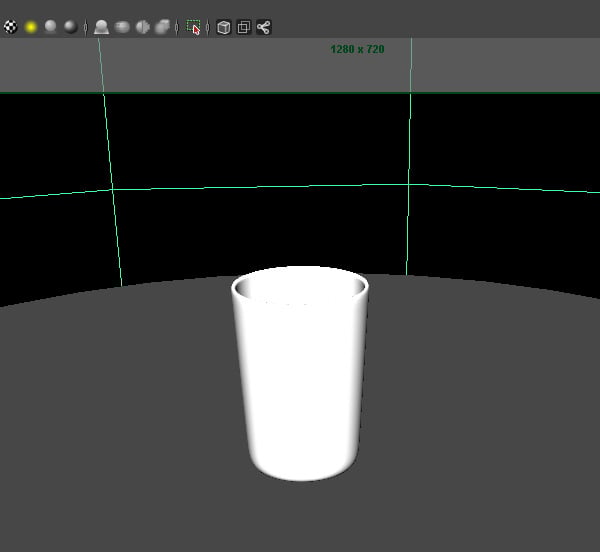
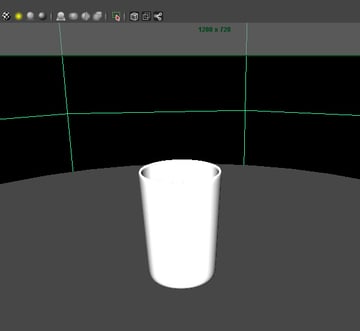
Step 3
This shader should be assigned to the Sphere.
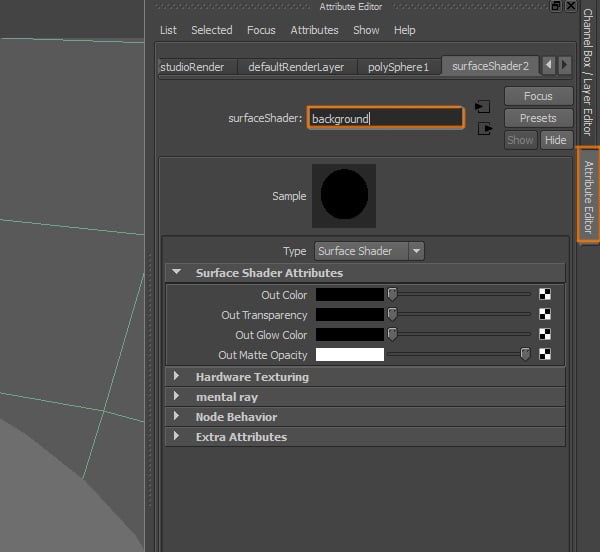
Step 4
Go to the Attribute Editor of the material we just created and change its name.
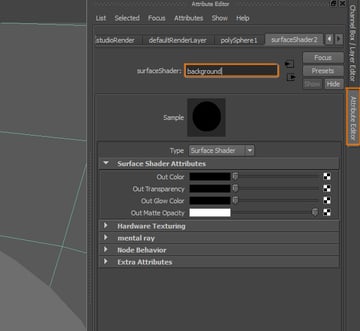
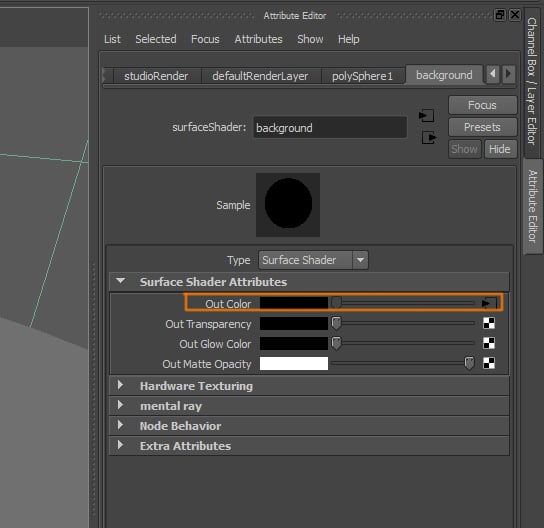
Step 5
Now click on the Texture button of the Out Color attribute.


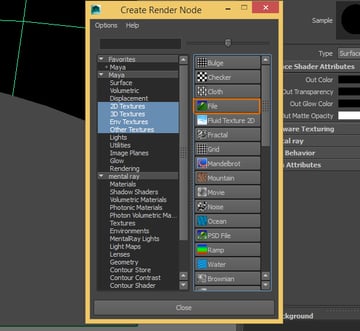
Step 6
A window should open, you need to click on the File button.
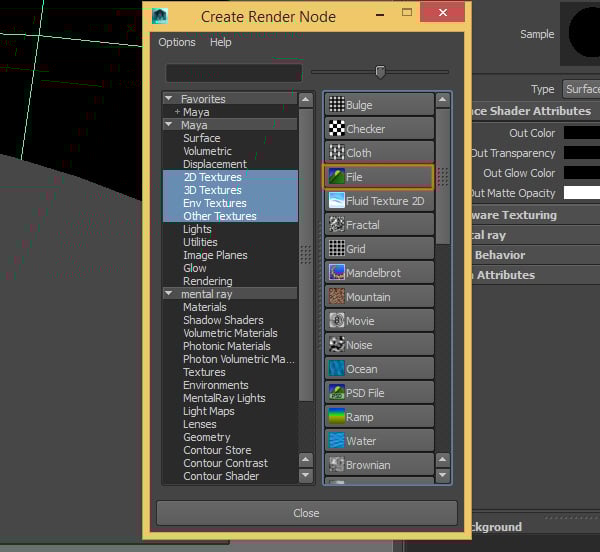
Step 7
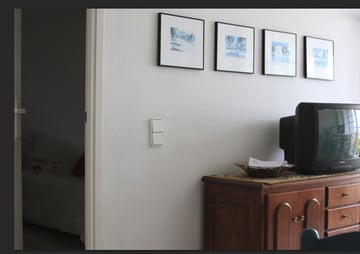
Now we need to select an image that will represent our background and ambient reflections for the scene.
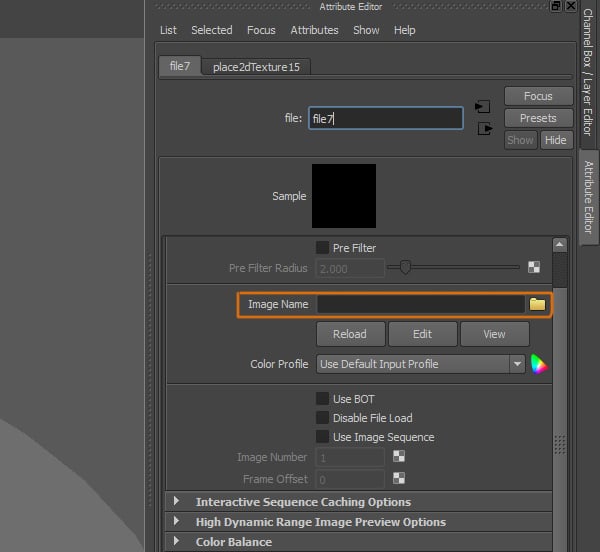

Step 8
I used this basic photo of a living room. Since we are just creating a still image with depth of field, we don't need to use an HDRI or a high quality image.

Step 9
The image should be loaded into the Out Color attribute.

6. Creating the Table Material
Step 1
Now we,ll create a new material for our table. Select the table object and Right Click to open the menu, and click the Assign New Material option.
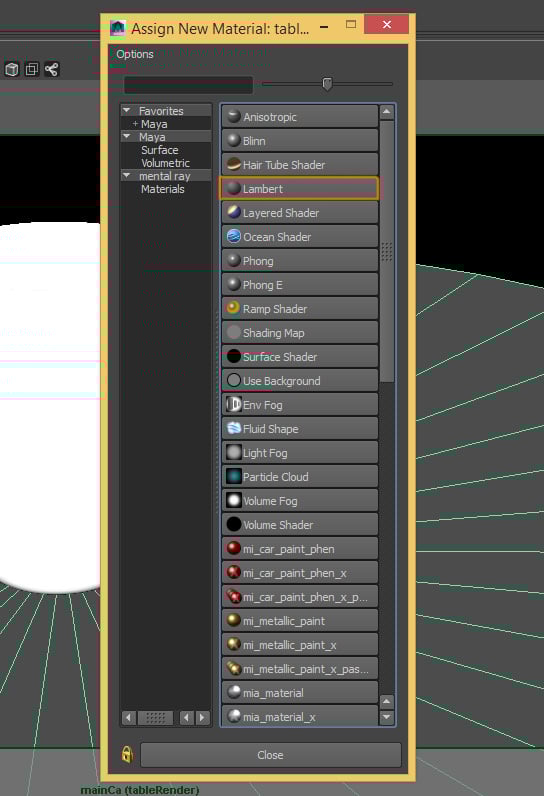

Step 2
Inside the window, select the Lambert material from the list.
Step 3
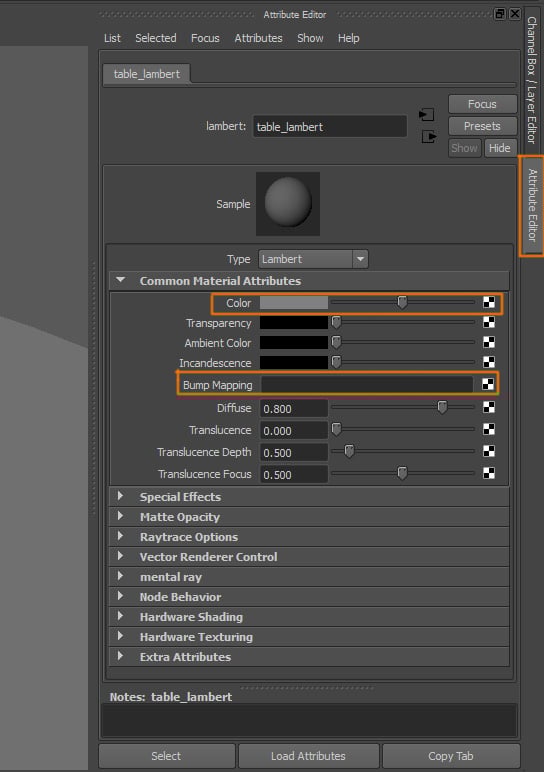
Go to the Attribute Editor of the new material and change its name.
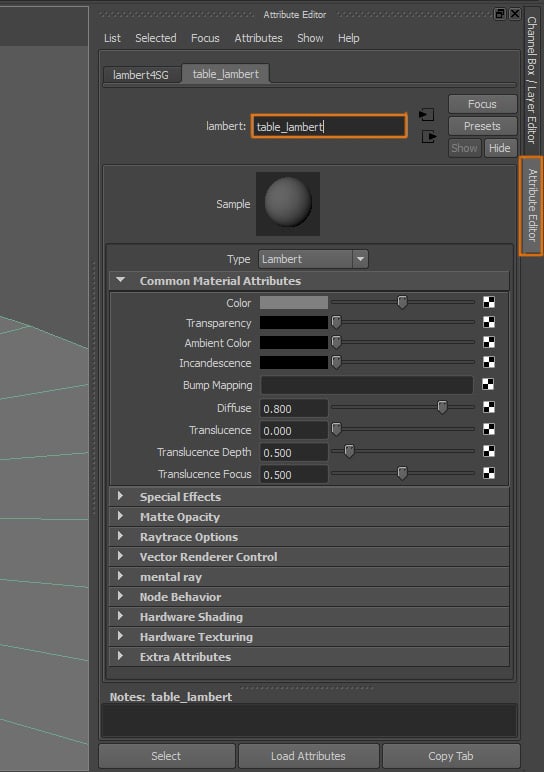

Step 4
We also need to add a texture to both the Color and the Bump Mapping attributes.

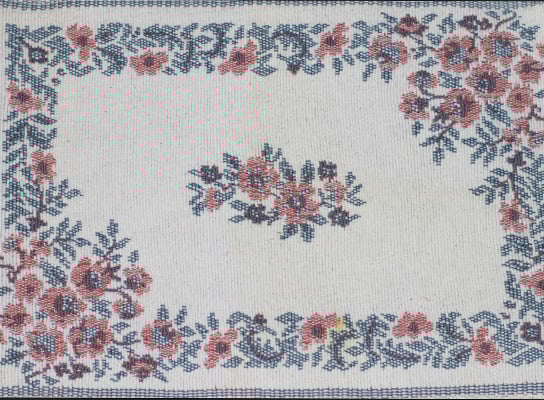
Step 5
This is the texture I used for the table. You can use any cloth or fabric texture, it doesn't have to be tillable, as long as it's large enough.

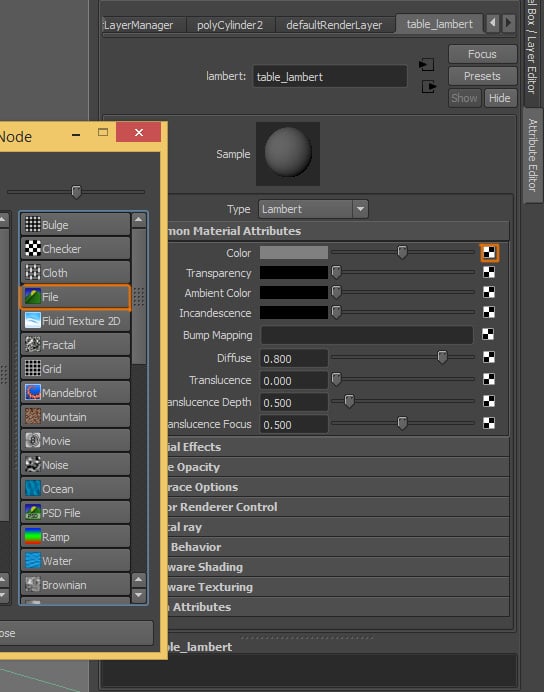
Step 6
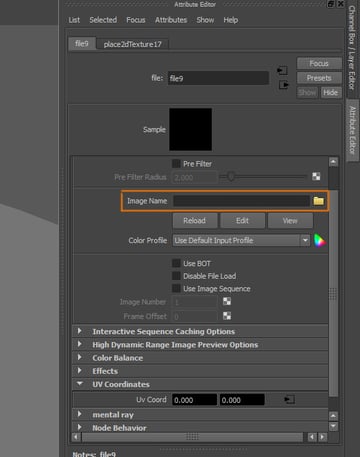
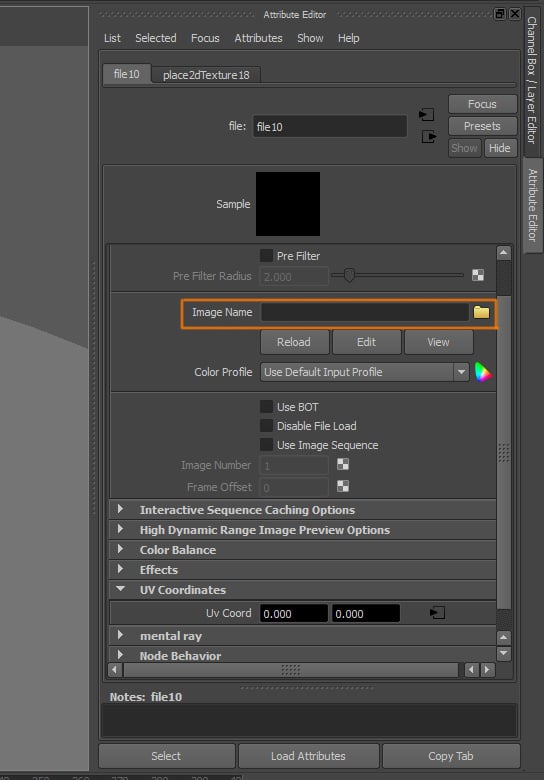
Click on the Texture button of the Color attribute, and select File from the list

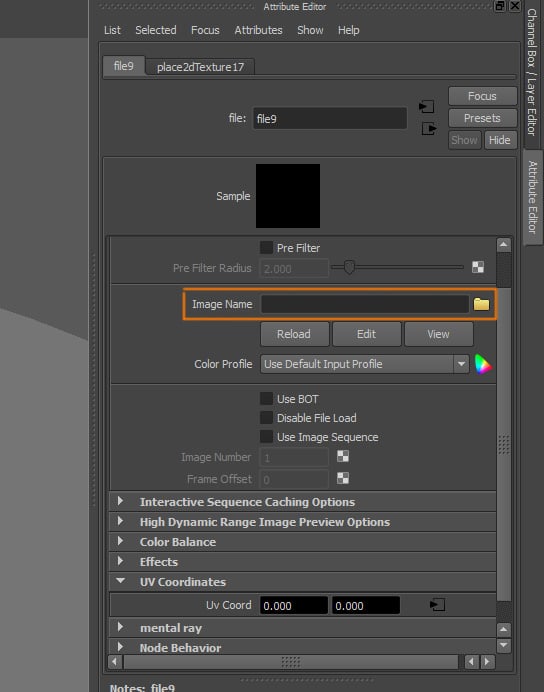
Step 7
Select the texture you are going to use.
Step 8
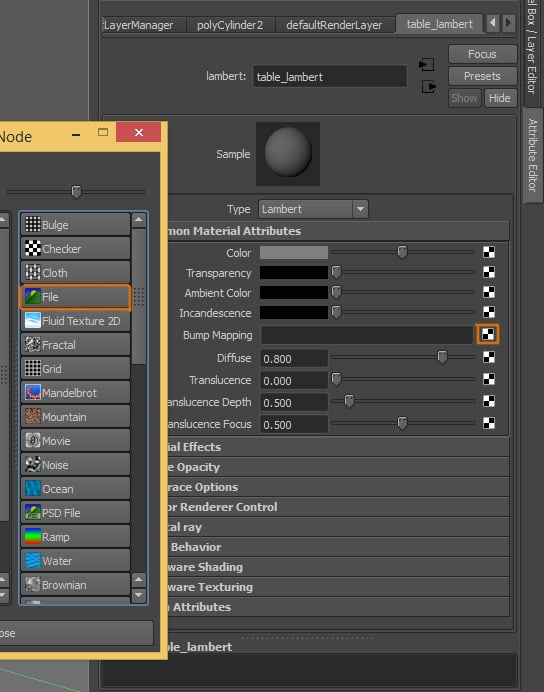
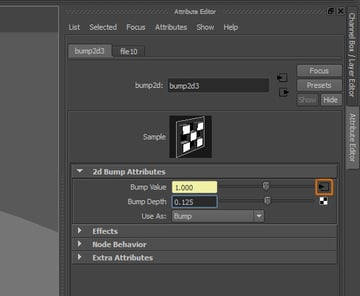
Go back to the Attribute Editor of the material, click on the Texture button of the Bump Mapping attribute, and then select File in the window.

Step 9
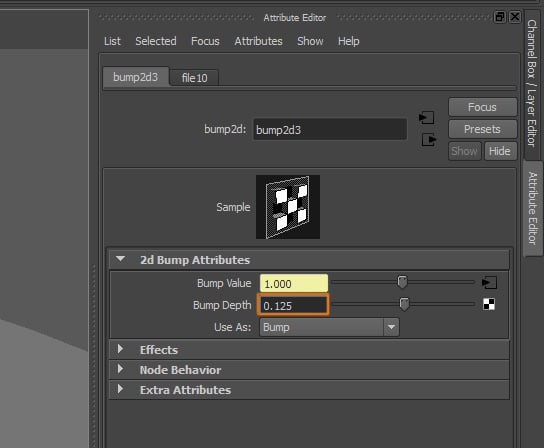
Reduce the Bump Depth value, this value will vary depending on the contrast of the texture you are using.
Step 10
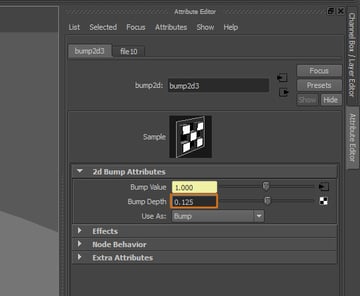
Now click on the button next to the Bump Value attribute.

Step 11
Select your bump texture, I used the same cloth texture as before, we do not need a dedicated bump image for this texture.

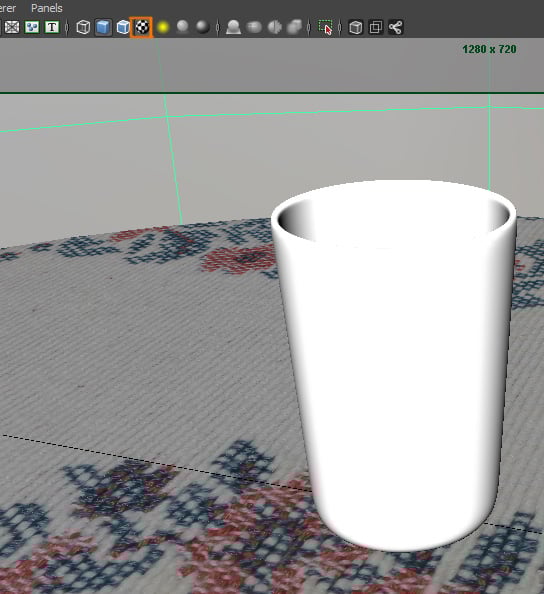
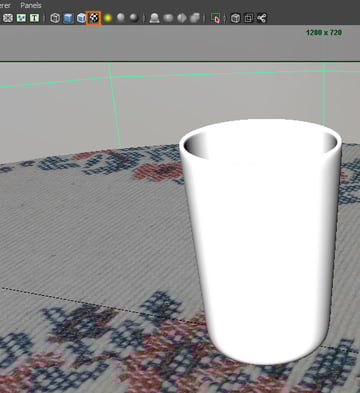
Step 12
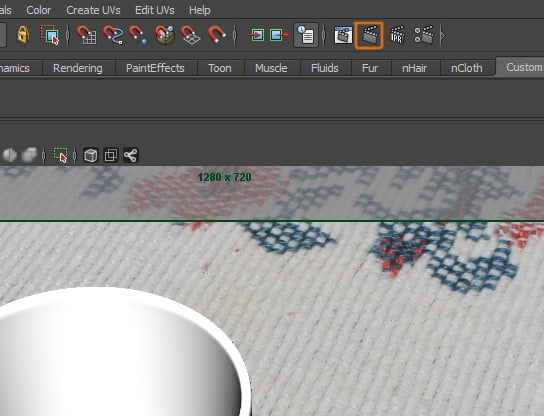
Click on the Textured button in the active view. This will let you see the texture you just applied to the table shader.
7. Adjusting Render Settings
Step 1
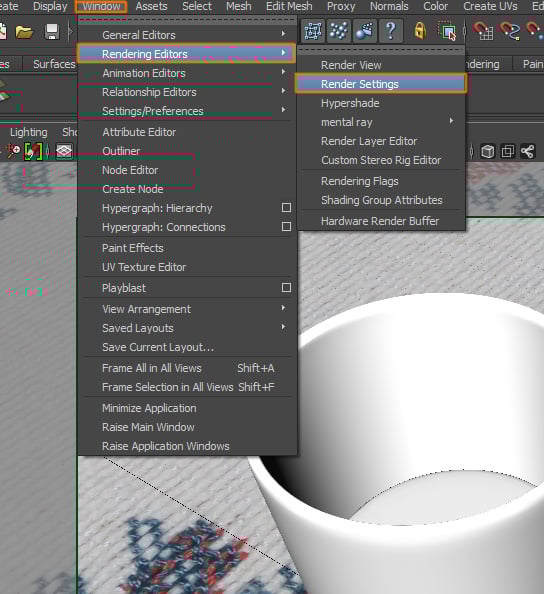
We have created all the materials we need, now we need to change the render settings for the scene. Go to Window > Rendering Editors > Render Settings.

Step 2
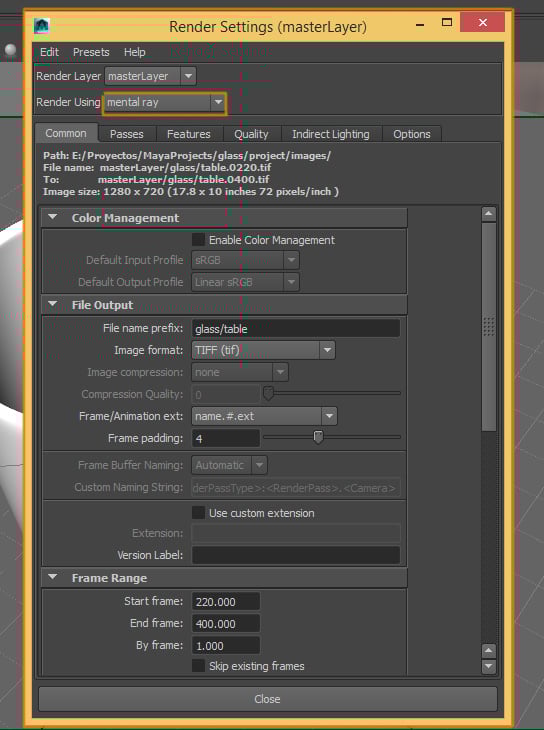
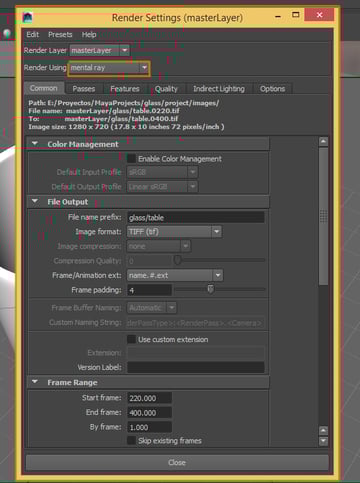
A new window will open. Make sure to activate the Mental Ray rendering engine, by selecting it from the Render Using list.
Step 3
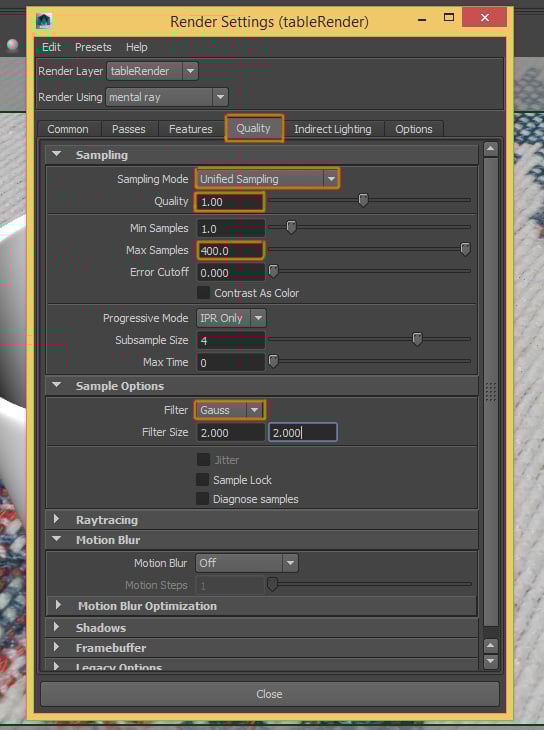
First, in the Quality tab, we need to adjust the Sampling and change these options: Sampling Mode: Unified Sampling, Quality: 1.00, Max Samples: 400. And in the Sample Options, select the Gauss filter. This setting can vary depending on the quality you want to achieve.

Step 4
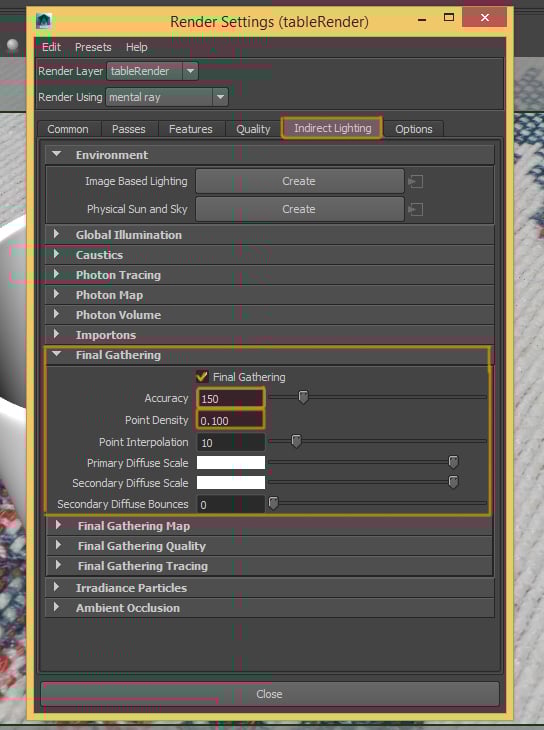
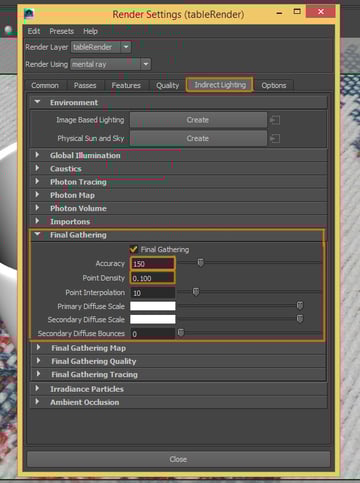
Next go to the Indirect Lighting tab. Activate Final Gathering and change the following settings: Accuracy: 150, Point Density: 0.100. These settings are not going to achieve accurate lighting results, but they help to get a fast and good render.
Step 5
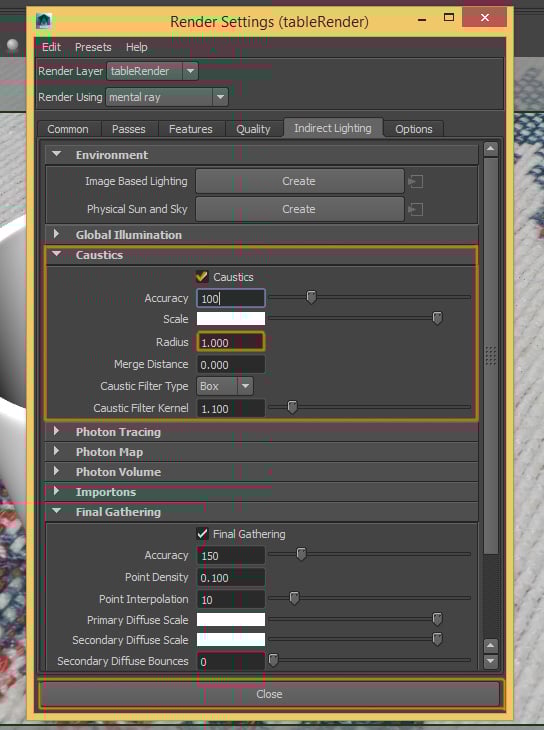
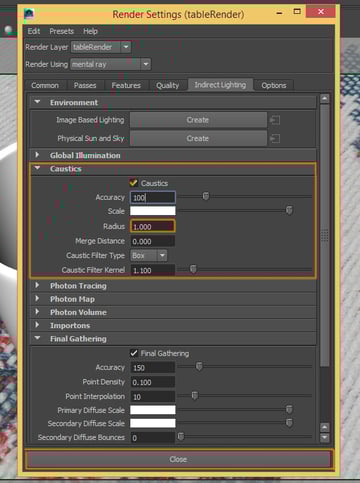
Now activate Caustics and change its radius to 1.000.
Step 6
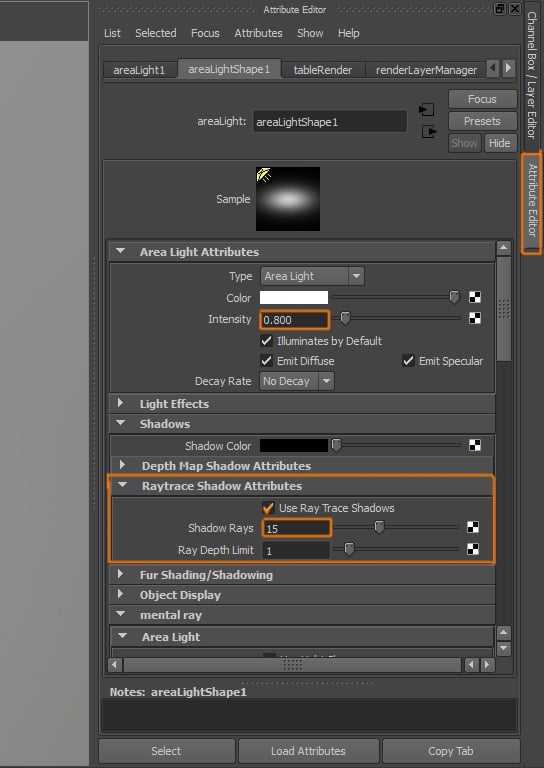
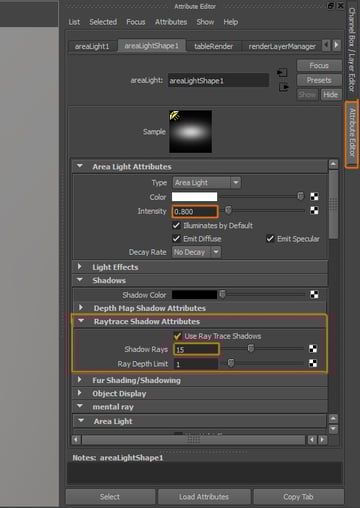
Close the Render Settings window and select the Area Light in the scene. You can either find it in the 3D view, or select it from the Outliner or Hypershade windows.


Step 7
Open the Attribute Editor of the Area Light. Change its Intensity to 0.800. And under the Raytrace Shadow Attributes section, activate Shadows and increase the Shadow Rays to 15.
8. Adjusting the Lighting
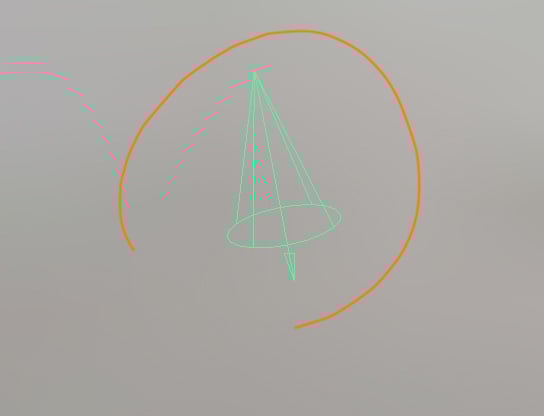
Step 1
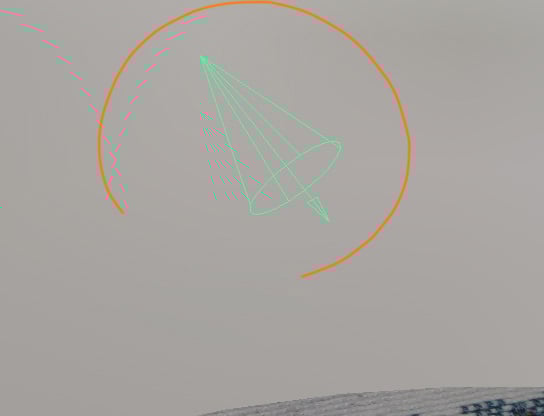
Now select the Spotlight in the scene, that is illuminating from the top.
Step 2
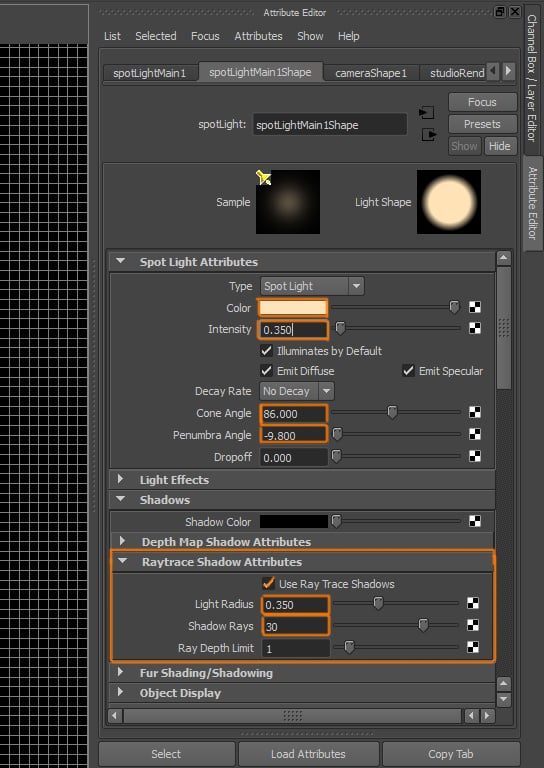
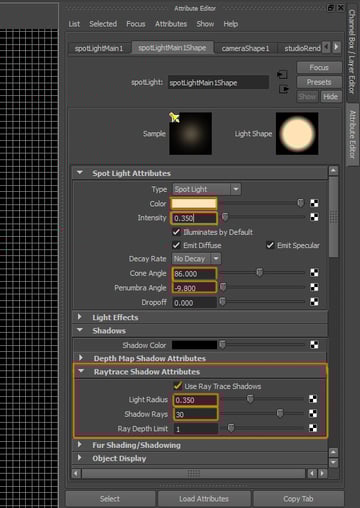
Open the Attribute Editor of the Spotlight. Change the following settings: Color: whitish yellow, Intensity: 0.350, Cone Angle: 86.000, Penumbra Angle: -9.800, activate Ray Trace Shadows and set Light Radius to 0.350, and Shadow Rays to 30.
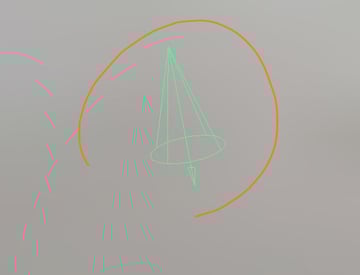
Step 3
Select the other Spotlight from the scene, this Spotlight will generate the Photons for the caustics.

Step 4
Open the Attribute Editor of the Spotlight. Change the following settings: Color: whitish yellow, Intensity: 0.350, Cone Angle: 46, Penumbra Angle: -9.800. Under the Caustics and Global Illumination section, activate Emit Photons and set Photon Intensity to 20000, Exponent to 2 and Caustic Photons to 500000.


Step 5
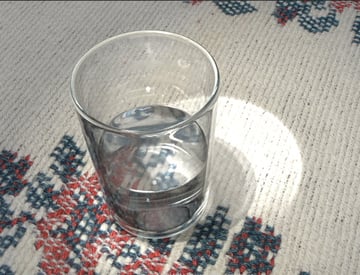
We'll now do our first test render. Click on the Render button.
Step 6
The image is almost finished.

Step 7
There is something we can correct. The caustics over the table look too bright.
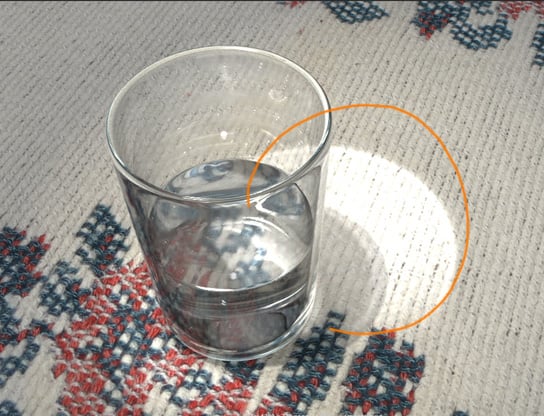

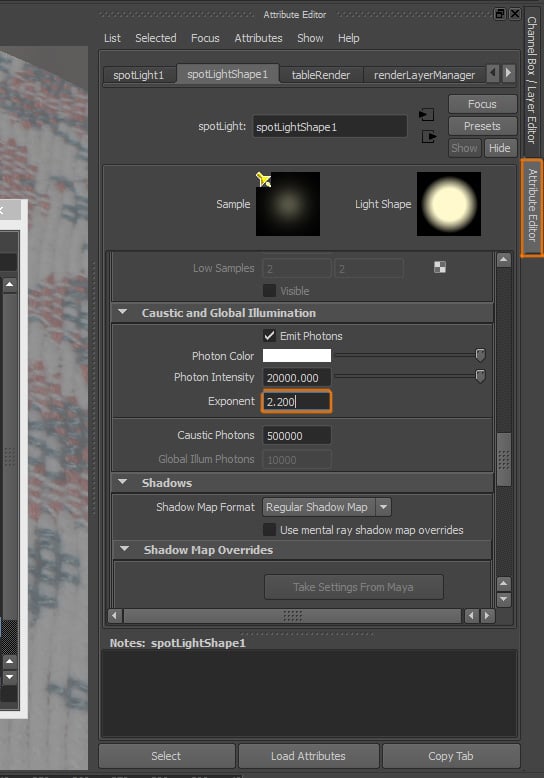
Step 8
We need to go to the Attribute Editor of the Spotlight that emits the photons. Under the Caustics and Global Illumination settings, change the Exponent value to 2.200.

Step 9
Now when we render the scene, we can see an improvement.

9. Adding Depth of Field
Step 1
We just need to add DOF (Depth of field) to the render. Since it's a pretty simple scene, we don't need to use separate passes. Select the render Camera.
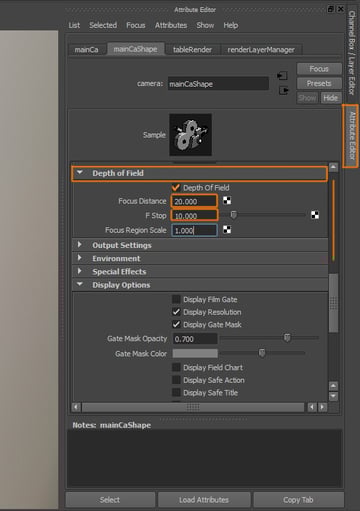
Step 2
Open the Attribute Editor of the Camera, and under the Depth of Field settings, activate Depth of field and change the Focus Distance and F Stop values to achieve the result you want. This settings will be totally different depending on the size of the elements in your scene, and on the distance and position of your objects and camera.

Conclusion
Now render the scene.

 By
By


