


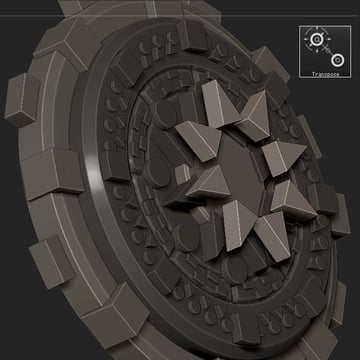
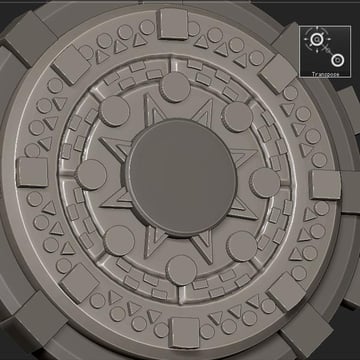
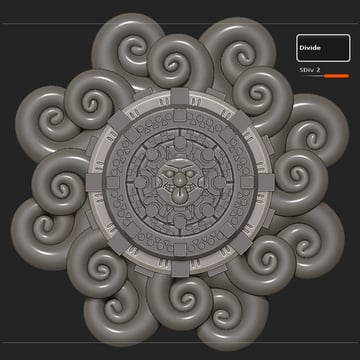
In this tutorial, you'll learn how ZBrush's radial symmetry features and insert mesh brushes can be used to create a detailed Mayan flower.
1. Creating the Base
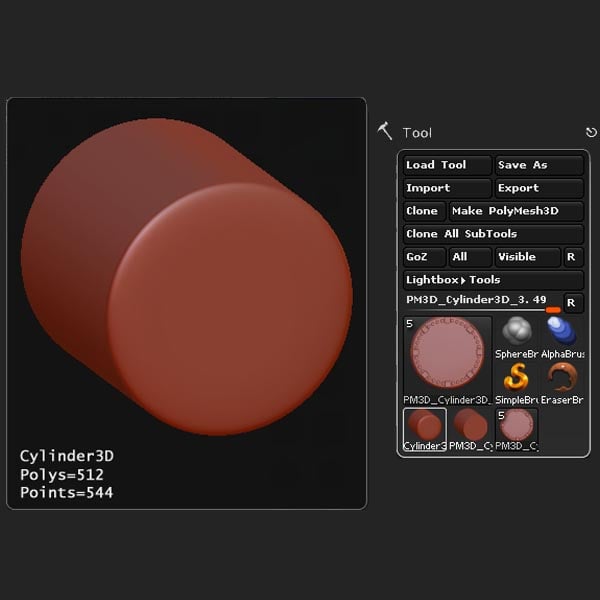
Step 1
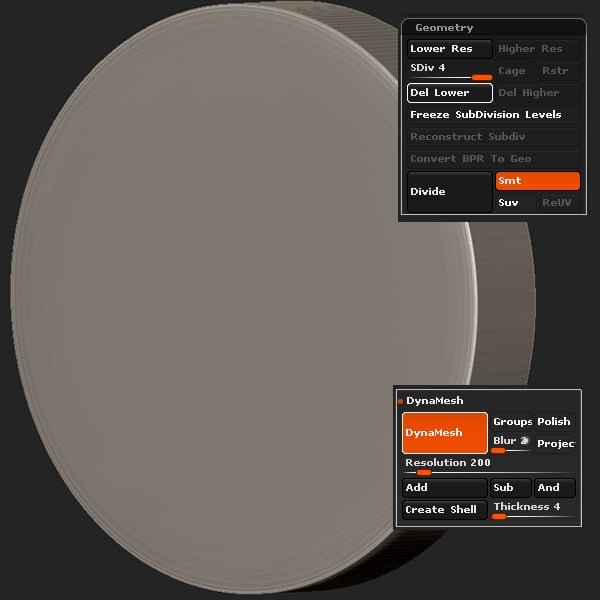
Create a Cylinder3D primitive and edit it into a puck shape, add a few subdivisions by pressing Control-D and then DynaMesh it at a resolution of 200.

Step 2
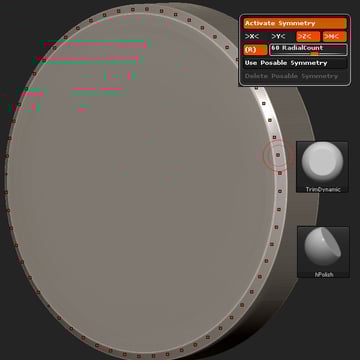
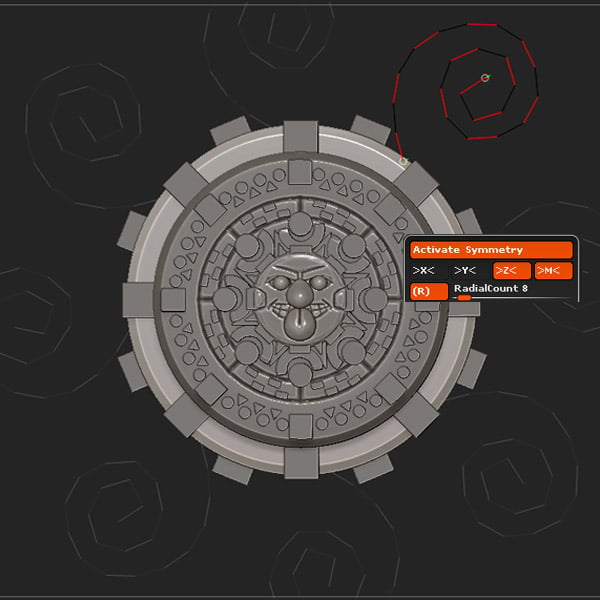
Activate Radial Symmetry (Transform > Activate Symmetry > R) on the Z axis, and use the Trim Dynamic brush to bevel the edge. Follow up with the H Polish brush to clean up the edges.

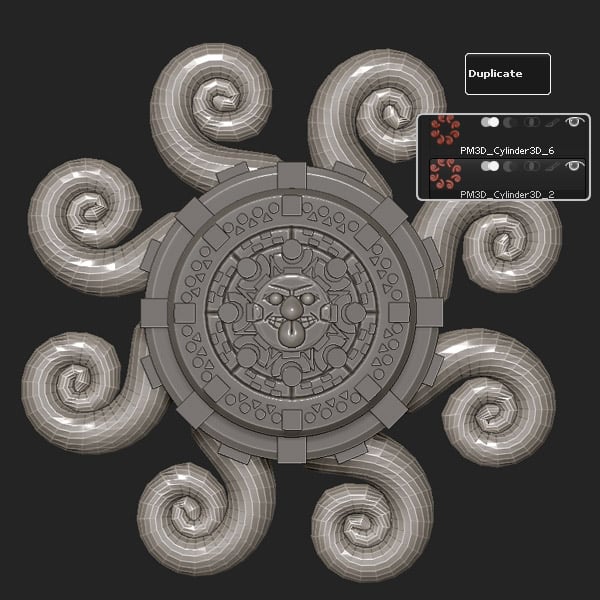
Step 3
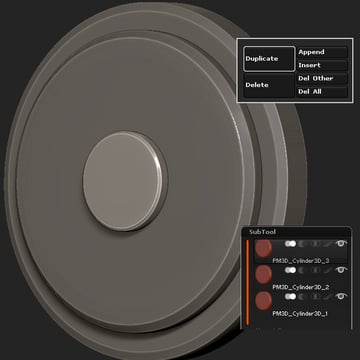
Duplicate the subtool 2 times (Tool > Sub Tool > Duplicate), and size and place appropriately.

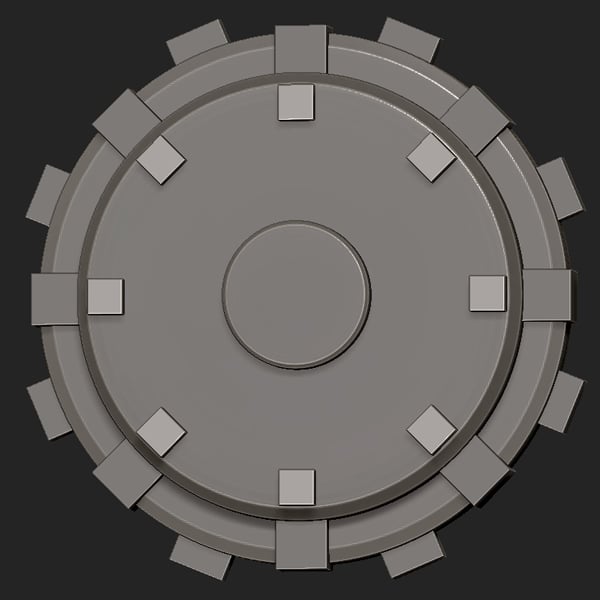
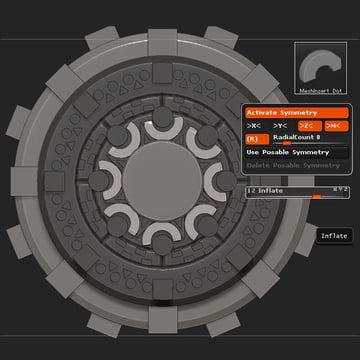
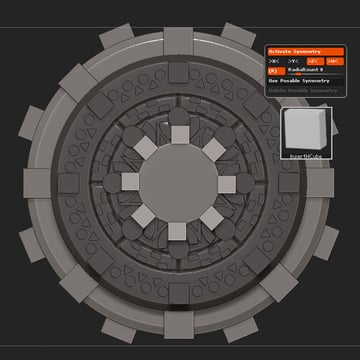
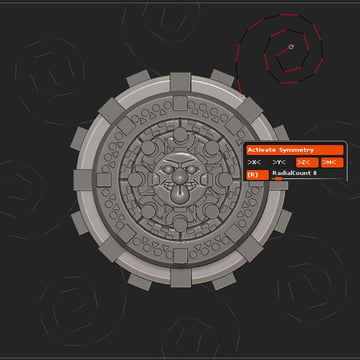
Step 4
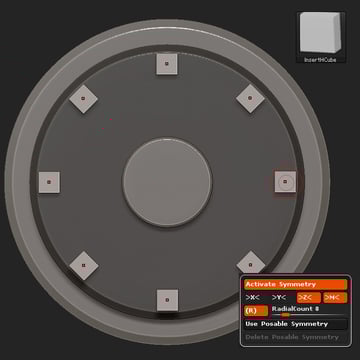
Using Radial Symmetry with a Radial Count of 8, select the InsertHCube brush and insert eight Cubes.

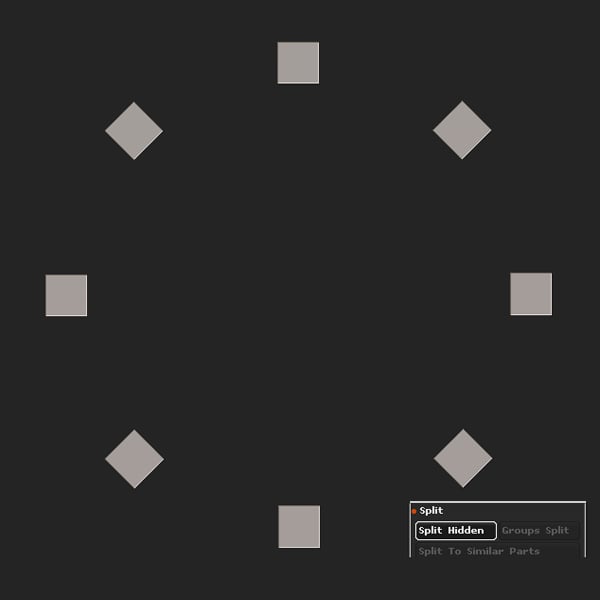
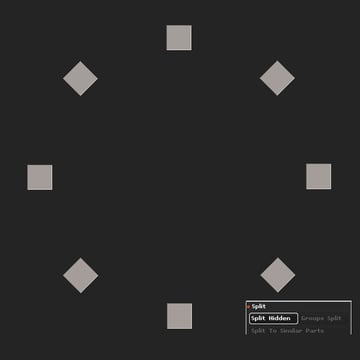
Step 5
Control-Shift click on the cubes to isolate them, and then Split Hidden.
Step 6
Duplicate the subtool 2 times.
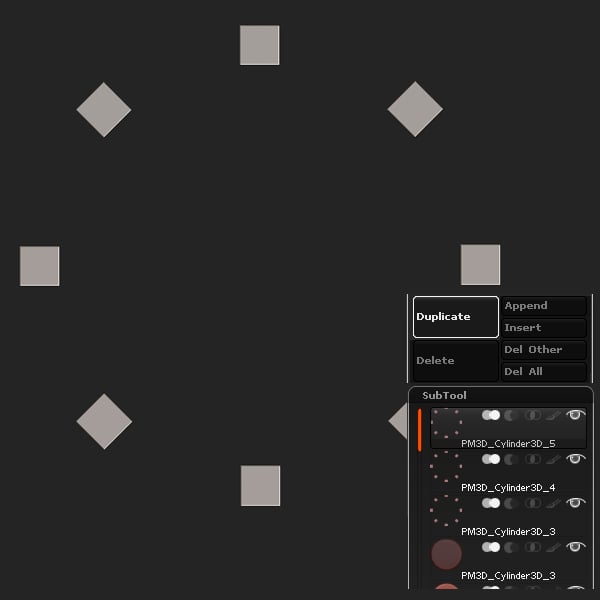
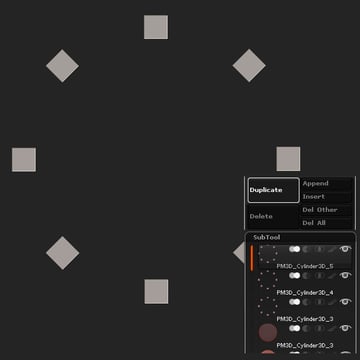
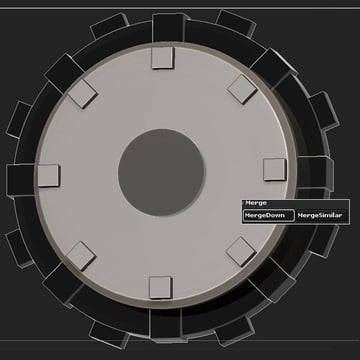
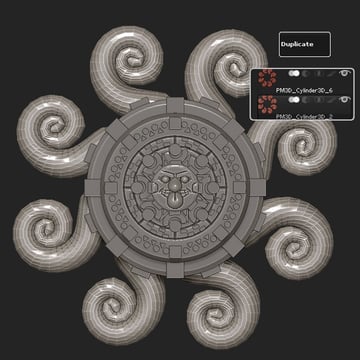
Step 7
Place the duplicates appropriately.

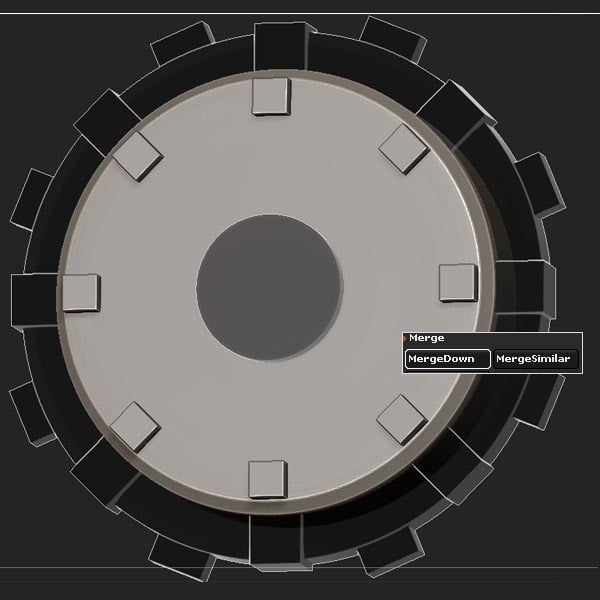
Step 8
Merge the cubes with the base Cylinder by clicking the MergeDown button.
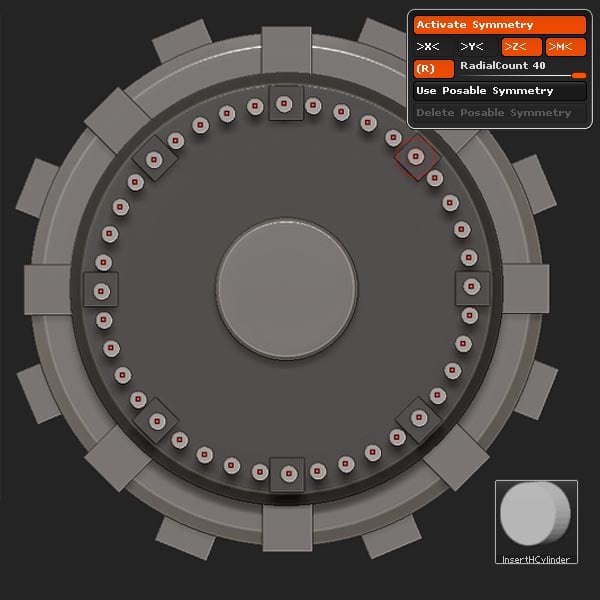
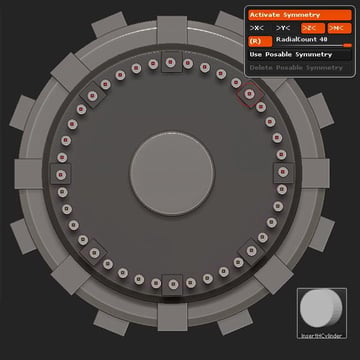
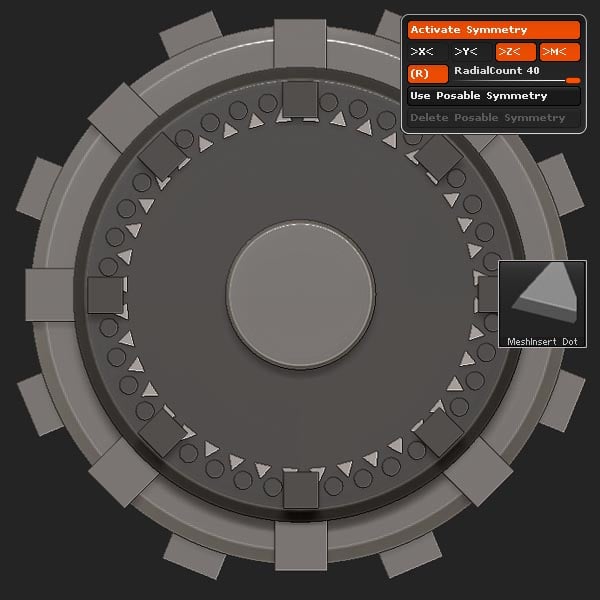
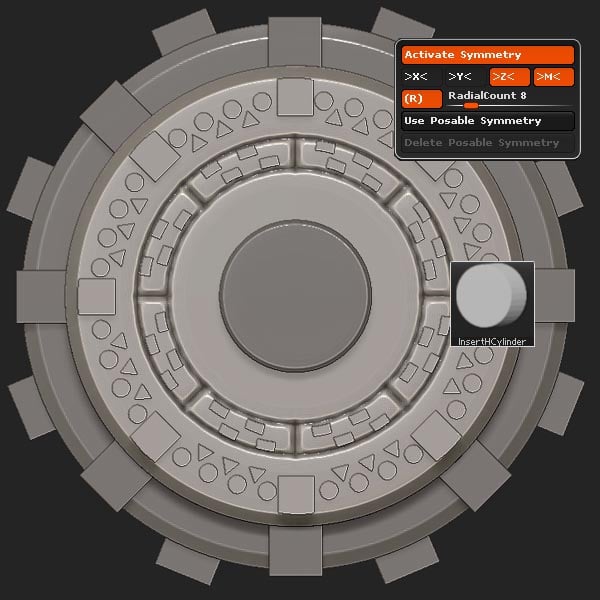
Step 9
Using Radial Symmetry and the InsertHCylinder brush, insert a Cylinder using a Radial Count of 40.
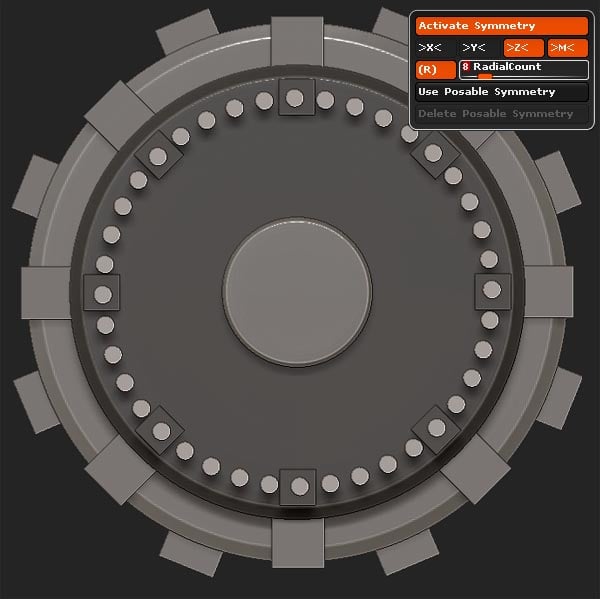
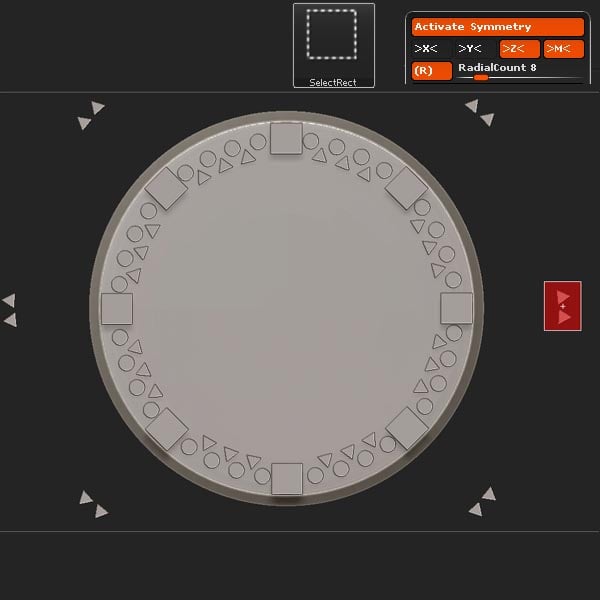
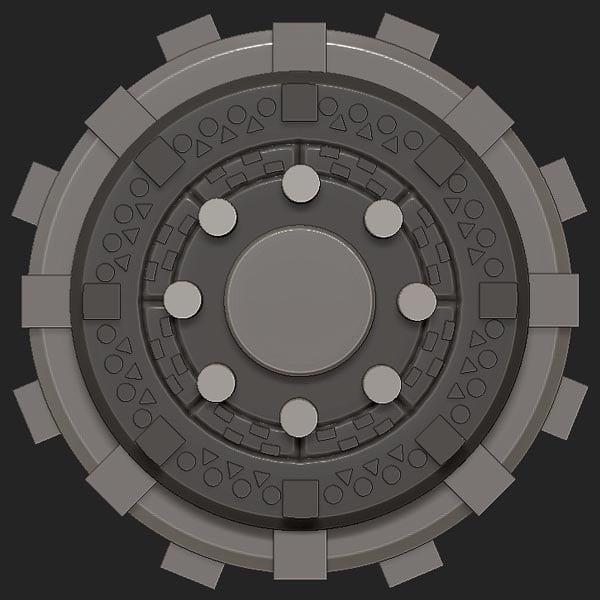
Step 10
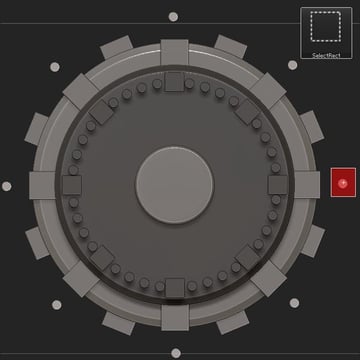
Now set the RadialCount to 8.

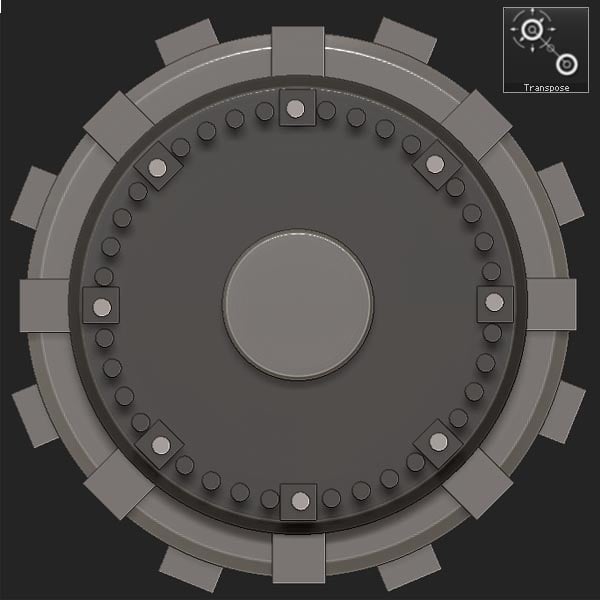
Step 11
Transpose Mask the extra Cylinders, leaving 8 unmasked as shown.

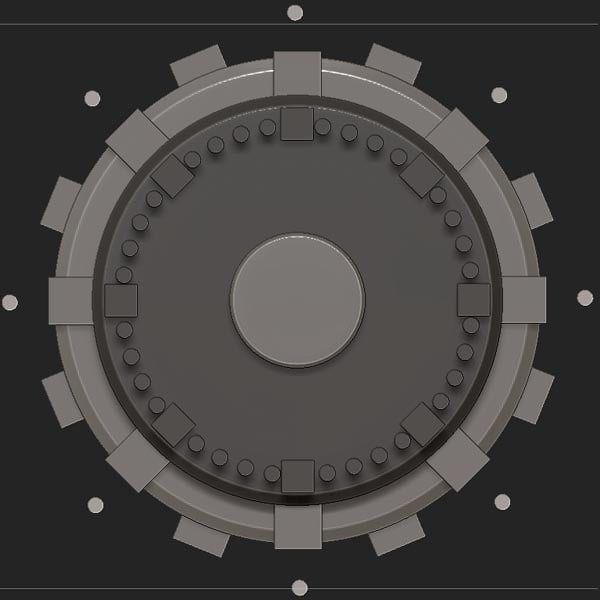
Step 12
Move the unmasked Cylinders outward.

Step 13
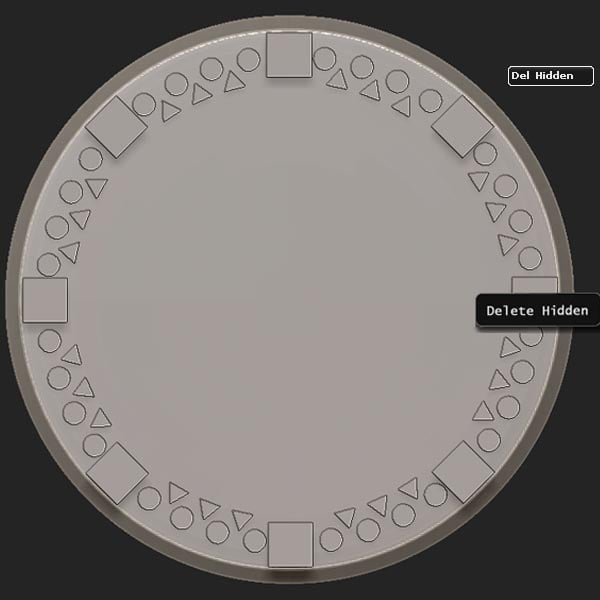
Press Control-Alt-Shift to hide.
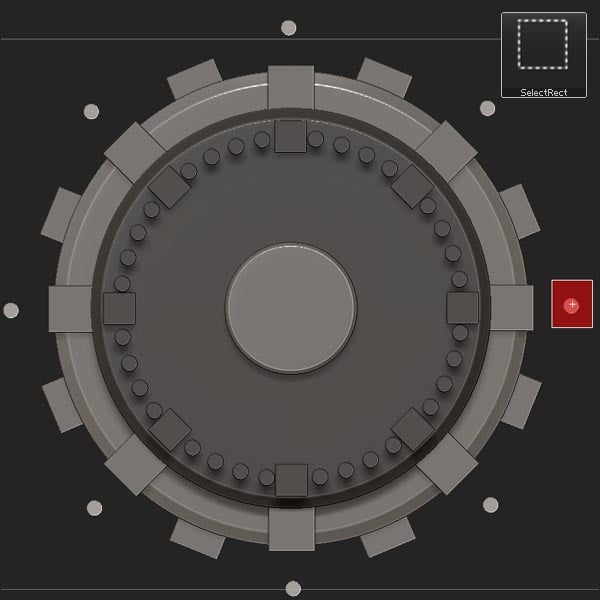
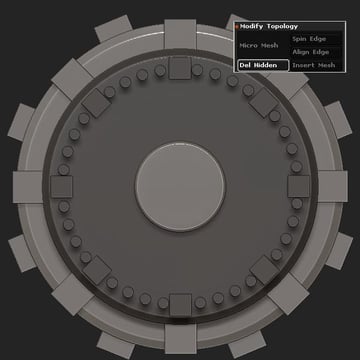
Step 14
Now delete hidden (Tool > Geometry > Modify Topology > Del Hidden).

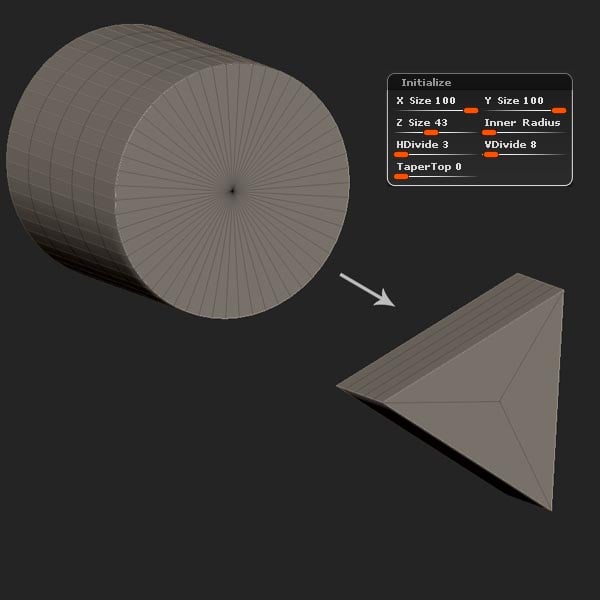
Step 15
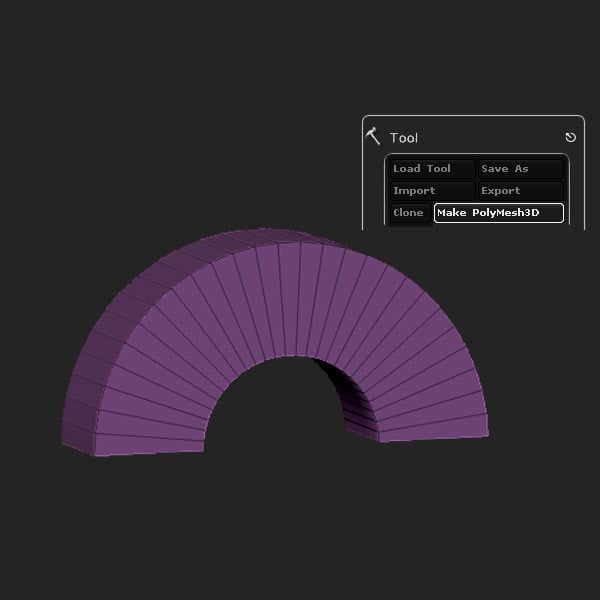
Select the Cylinder 3D primitive and locate the Initialize settings (Tool > Initialize).

Step 16
Change the settings to match what's shown below.

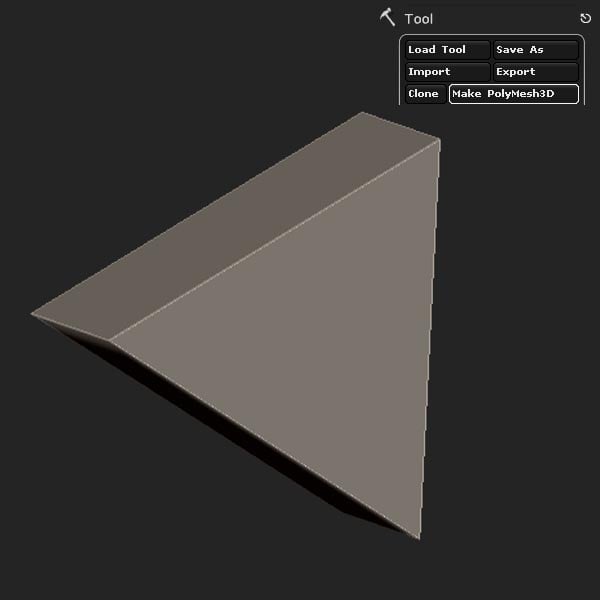
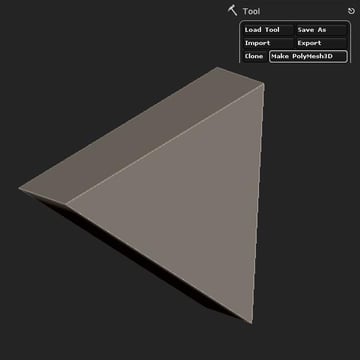
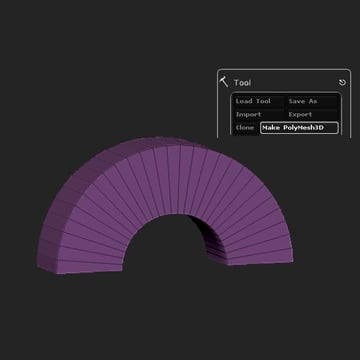
Step 17
Make it a Polymesh 3D.
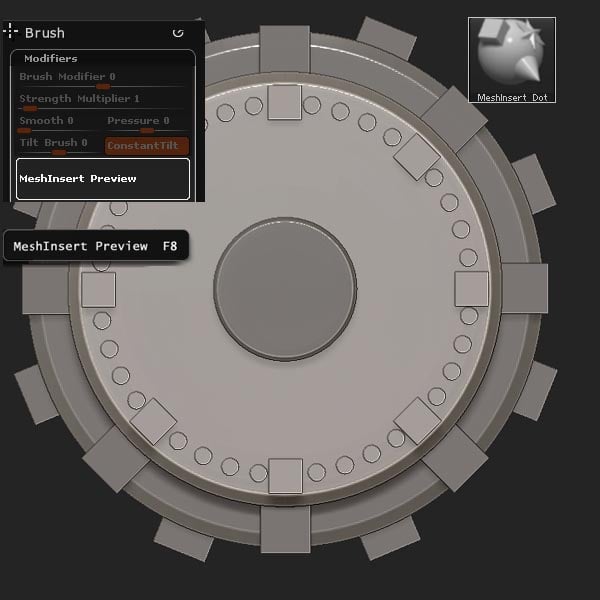
Step 18
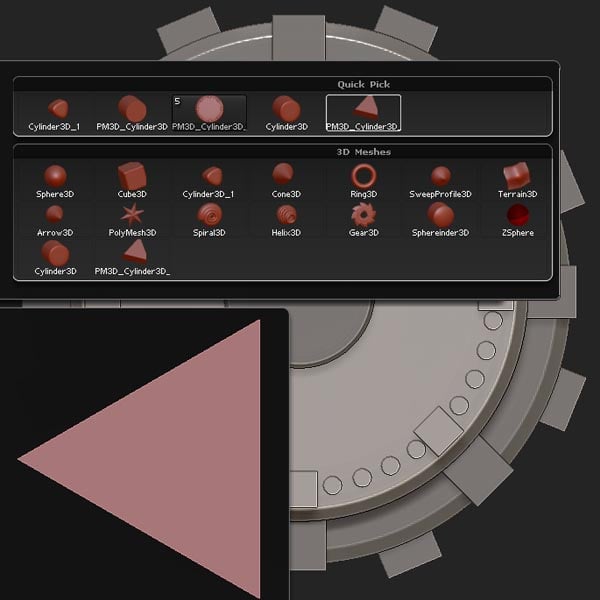
Return to the project ztool, and select the MeshInsert Dot brush. Locate the MeshInsert Preview, located in Brush > Modifiers.

Step 19
Select the newly created triangle.

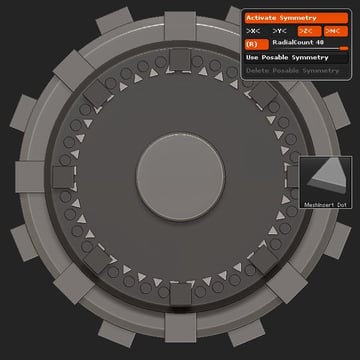
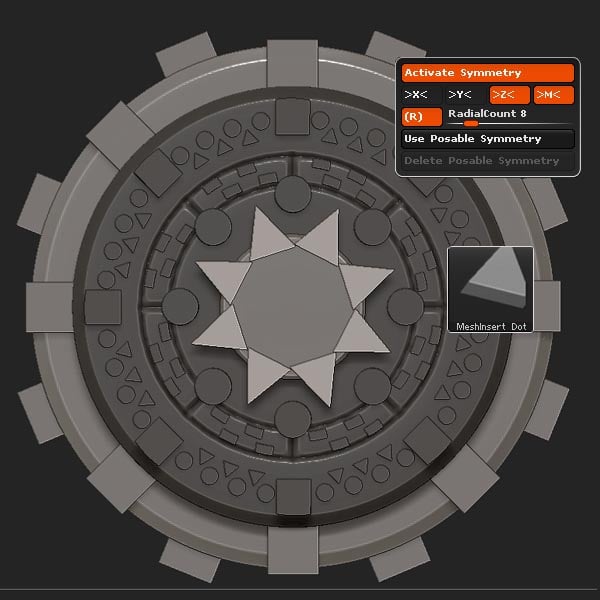
Step 20
Set the Radial Symmetry count to 40, and insert the triangles as shown.
Step 21
Now set the RadialCount to 8, and remove the extra triangles.

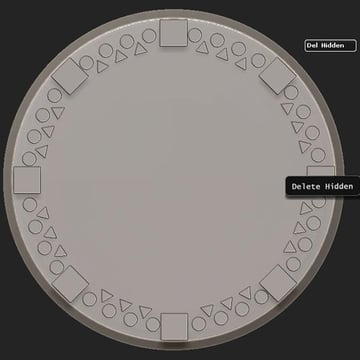
Step 22
Isolate/hide and then Delete Hidden.
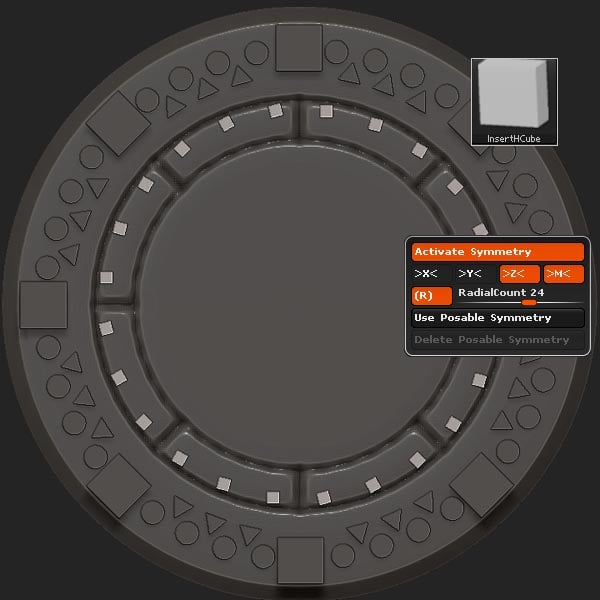
Step 23
Select the InsertHCube brush with the RadialCount set to 24, and insert the cubes.

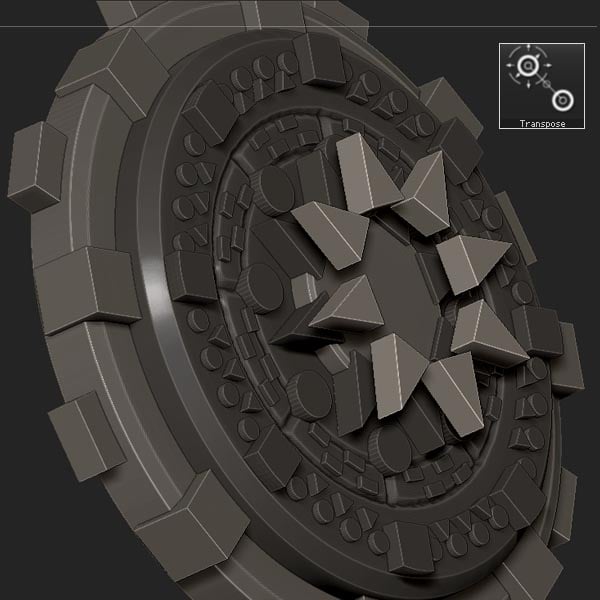
Step 24
Use Transpose Move to edit the shape into a rectangle.
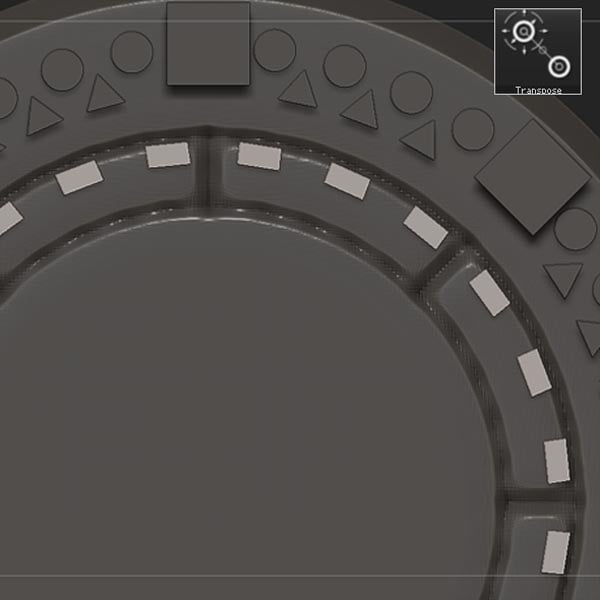

Step 25
Transpose Duplicate, and place as shown.


Step 26
Select the InsertHCylinder brush with the RadialCount set to 8.

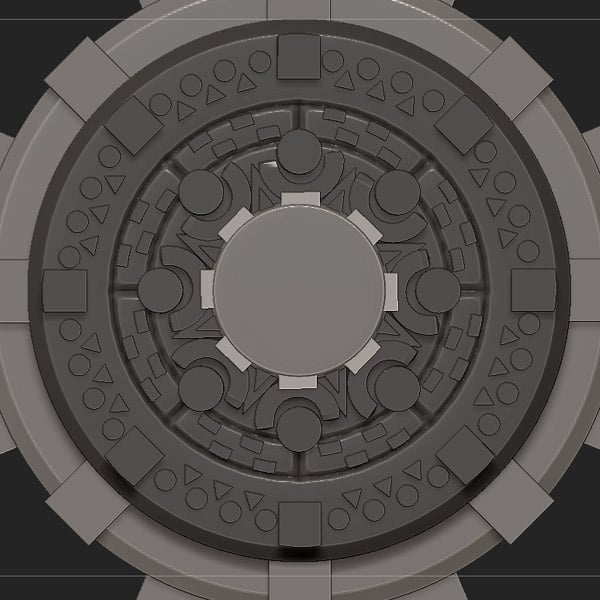
Step 27
Insert the new Cylinders, and place them as shown.

Step 28
Re-select the MeshInsert Dot brush with the triangle. And using a RadialCount of 8, insert the triangles and position them.

Step 29
Transpose duplicate.
Step 30
Scale and place the duplicates.

Step 31
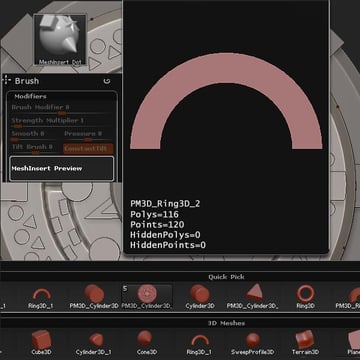
Select the Ring3D primitive.
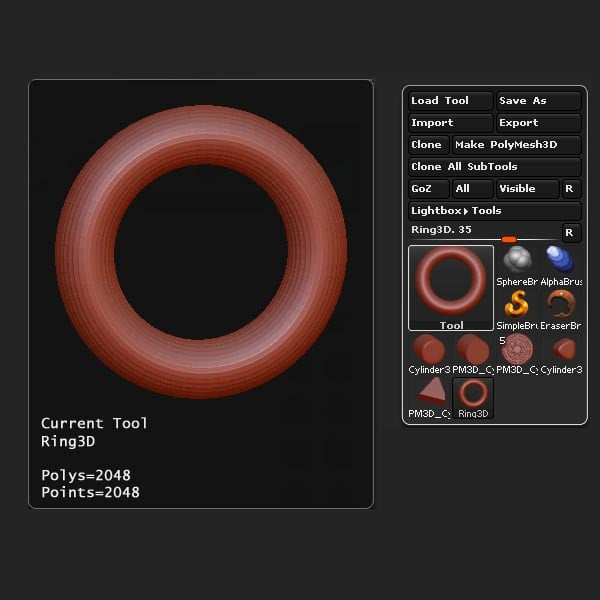

Step 32
Locate the Initialize settings and edit the options to match the settings shown in the picture below.
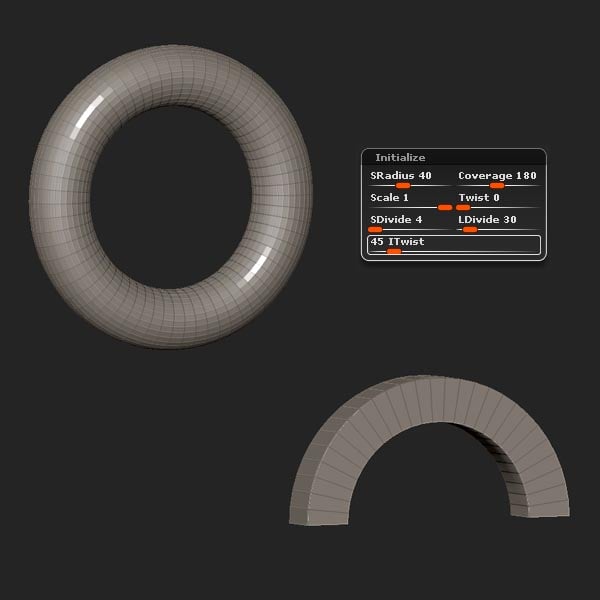

Step 33
Make it a Polymesh3D.
Step 34
Select the MeshInsert Dot brush and load the newly created shape.

Step 35
Set the RadialCount to 8, and insert the mesh.

Step 36
Select the InsertHCube brush, and insert the cubes with the RadialCount still set to 8.

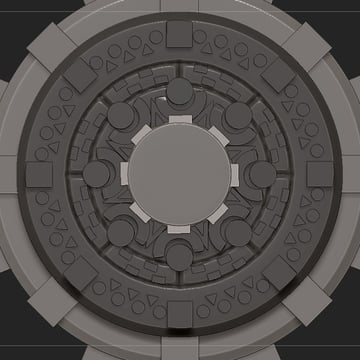
Step 37
Move and place.
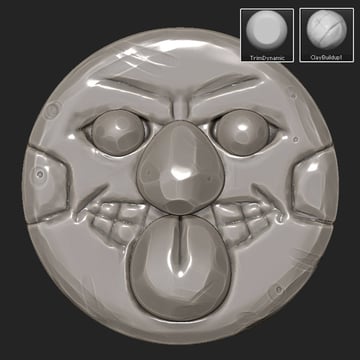
2. Creating the Face
Step 1
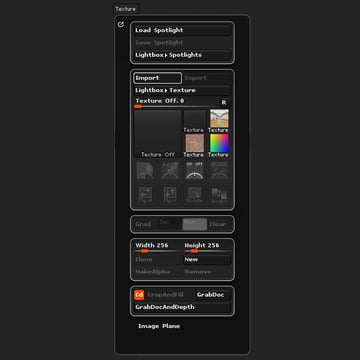
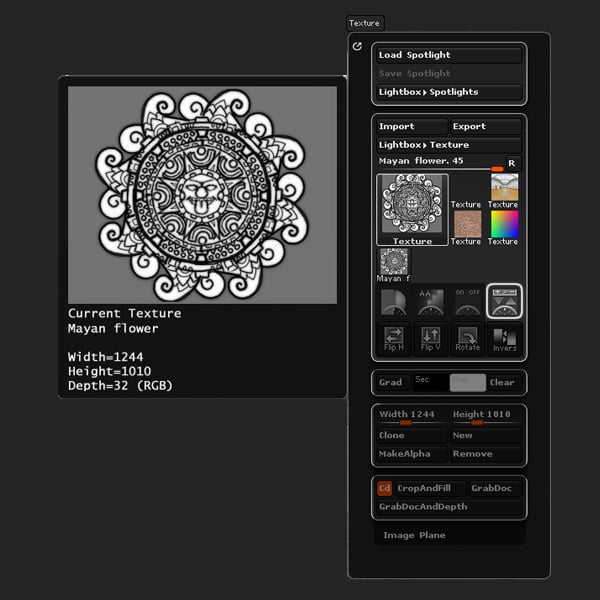
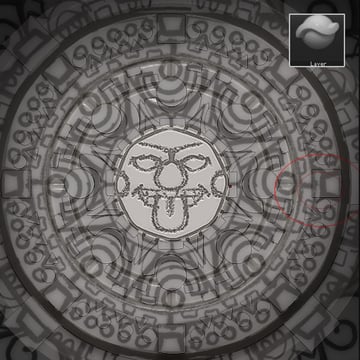
Open the Texture panel and Import the Mayan Flower pic included with this tutorial (or any optional reference). You can download the Mayan Flower image from the Attachments section at the top of this page.
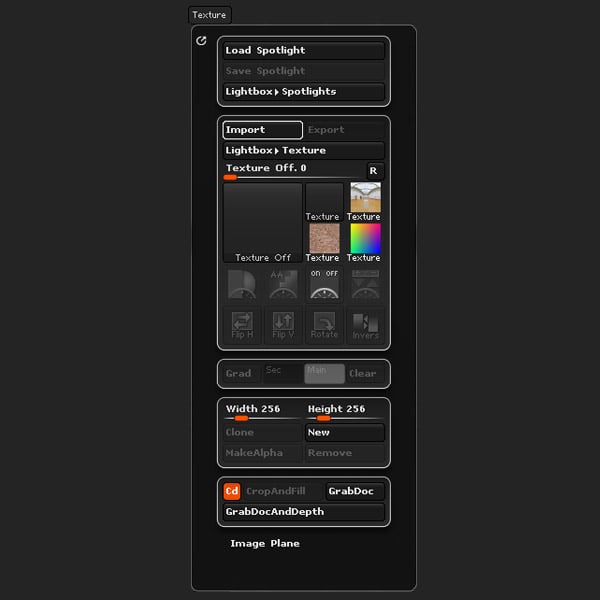
Step 2
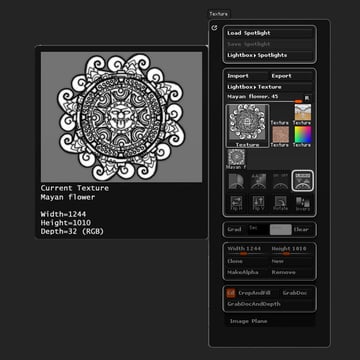
Open the Texture palette, select the image and click the Add to Spotlight button.
Step 3
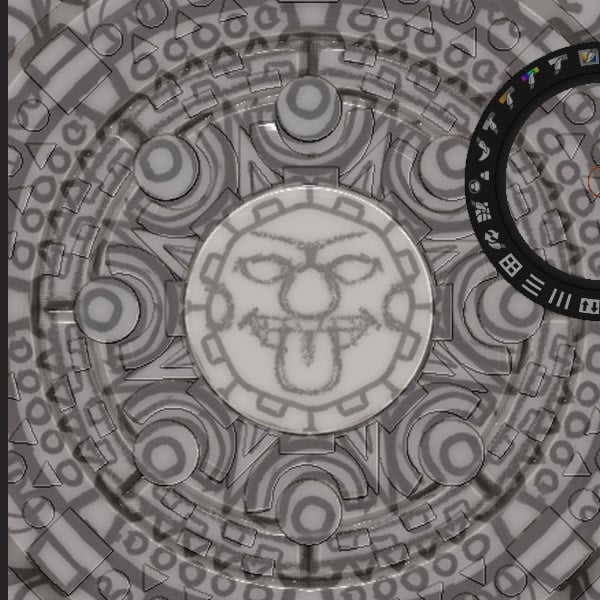
Position the face over the center cylinder.

Step 4
Select the Layer brush and trace over the face to project it onto the geometry.

Step 5
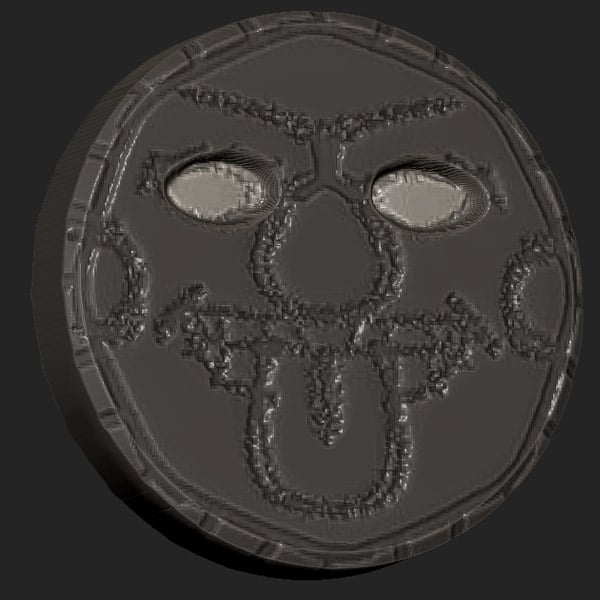
Mask the eye sections, and Invert the mask (Tool > Masking > Inverse).


Step 6
Use move Transpose, or the Move brush to create eye sockets.

Step 7
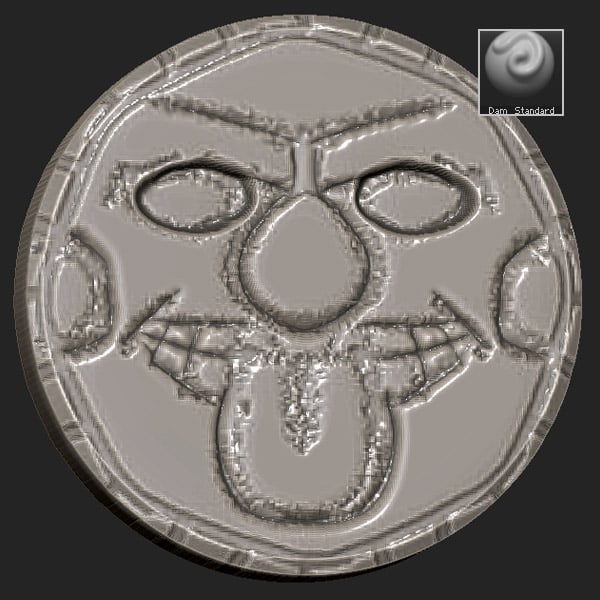
Then use the Damn Standard brush to refine the shapes.
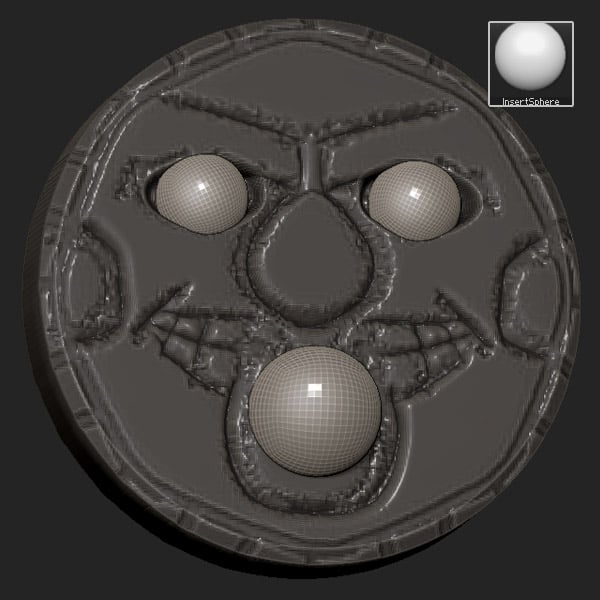
Step 8
Select the InsertSphere brush and insert two eyes and a tongue.
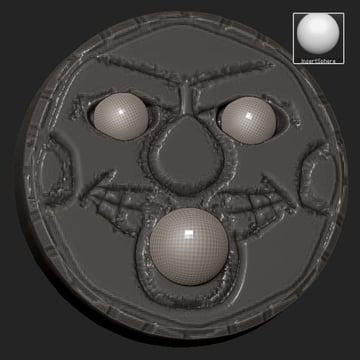
Step 9
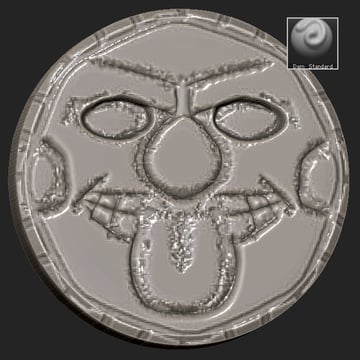
Select the Move brush to tweak the geometry.
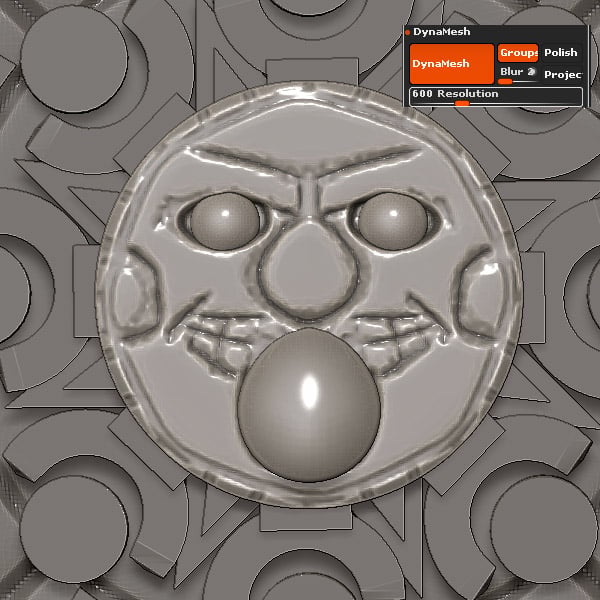
Step 10
Dynamesh at a Resolution of 600.

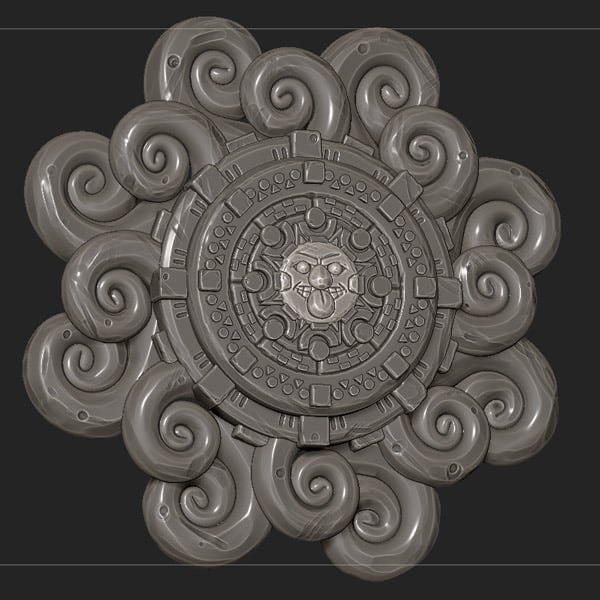
3. Creating the Outer Border
Step 1
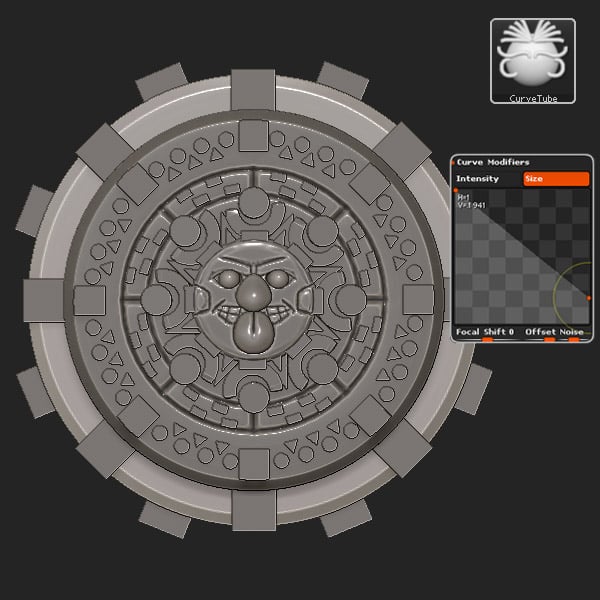
Select the outermost cylinder, and then select the CurveTube brush. Go to Stroke > Curve Modifiers, select Size and edit the Curve to match the image.
Step 2
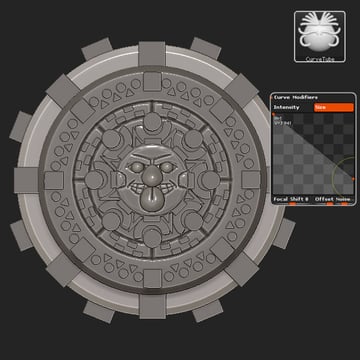
Create a spiral shape.
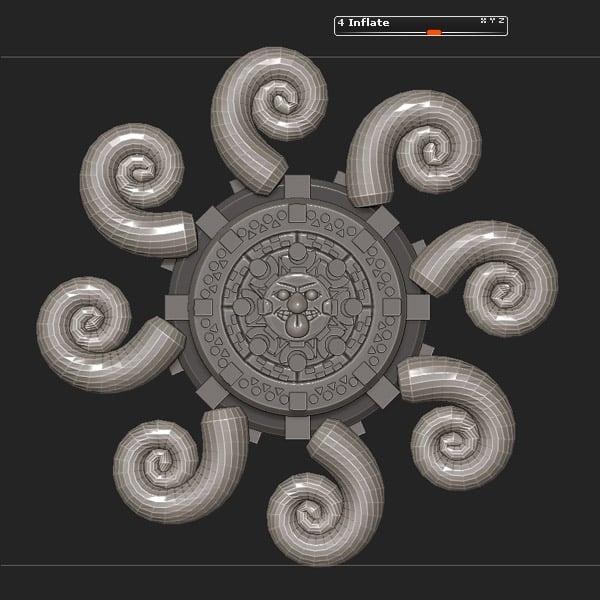
Step 3
Add a little Inflate (Geometry > Deformation > Inflate).

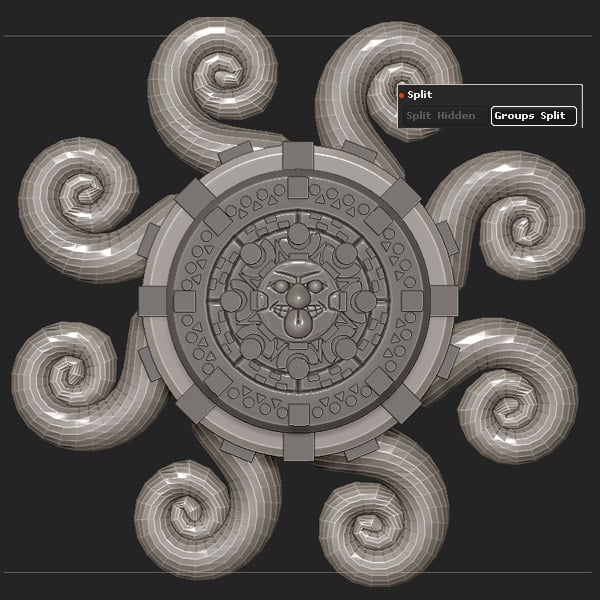
Step 4
Place, and then Group Split (Geometry > Sub Tool > Split > Groups Split).
Step 5
Duplicate the subtool.
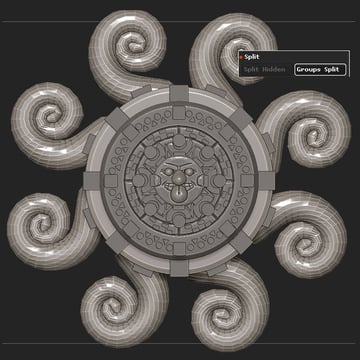
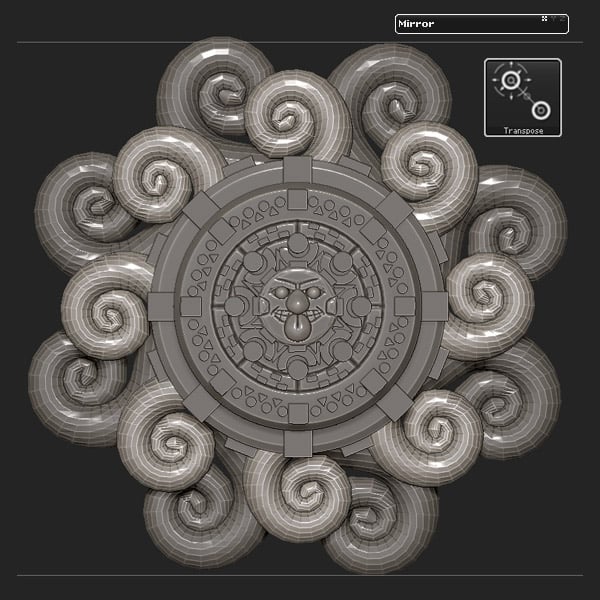
Step 6
Mirror on the X axis, and Scale and place.

4. Sculpting Damage & Adding Surface Detail
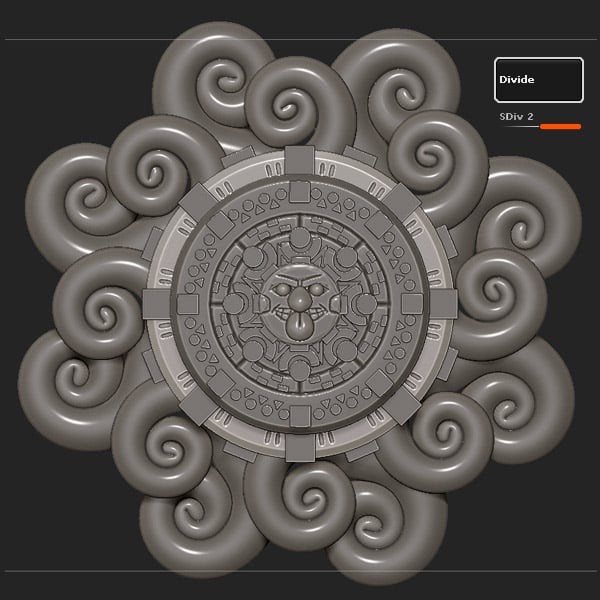
Step 1
Subdivide all subtools 2 times.
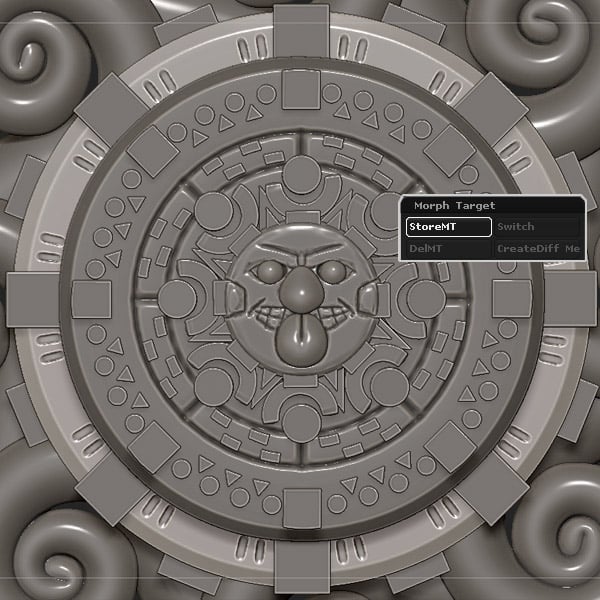
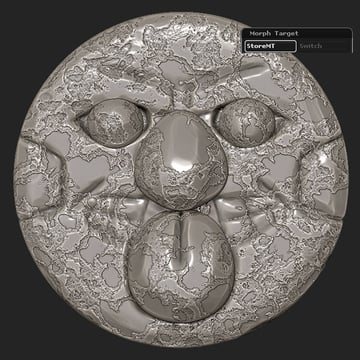
Step 2
Store the Morph Target for the subtools (Tool > Morph Target > StoreMT).
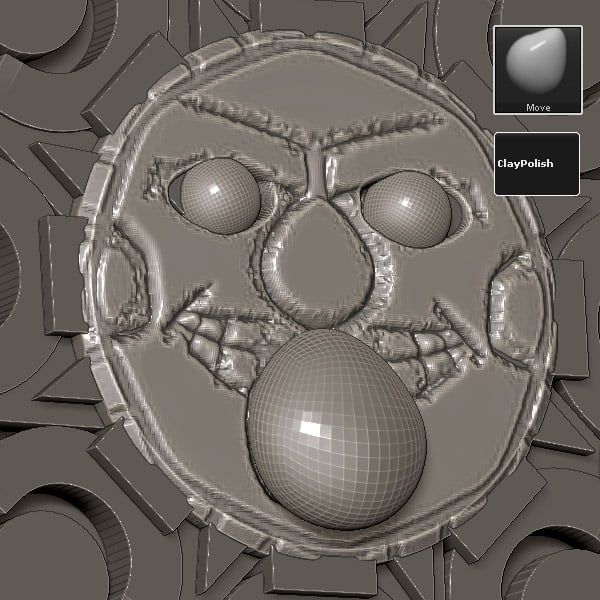
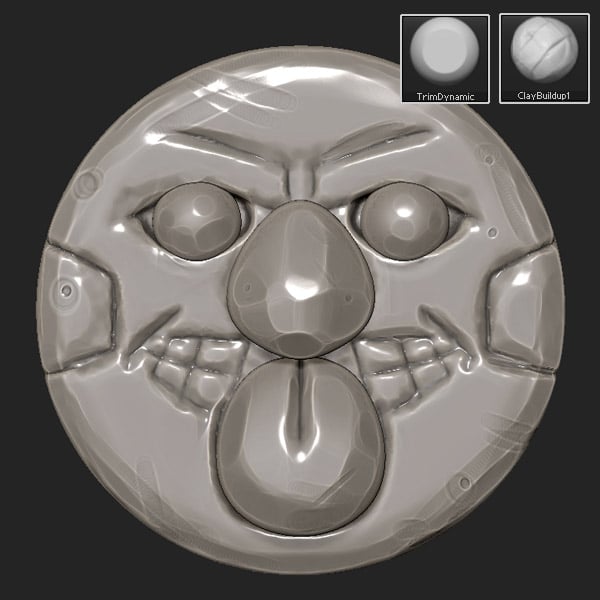
Step 3
Use the TrimDynamic and ClayBuildup brushes to add some damage to the subtools.
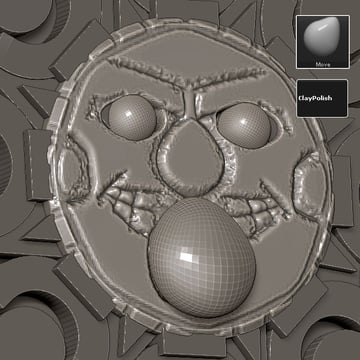
Step 4
Use the Morph brush to reverse the damage in areas of your choice for variety.
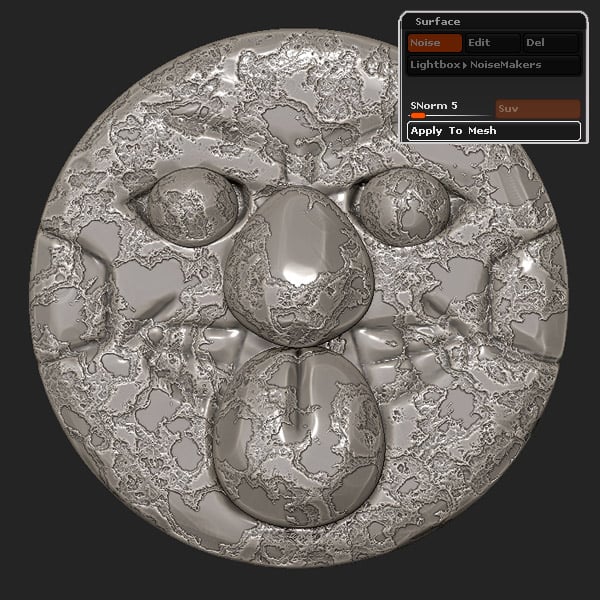
Step 5
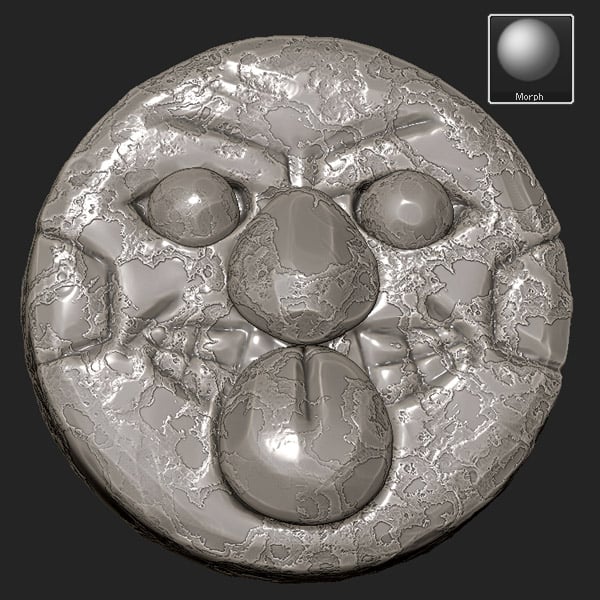
Locate the Surface panel within the Tools menu, and click the Noise button. Play with the Strength slider to make the texture apparent, and then click on NoisePlug.
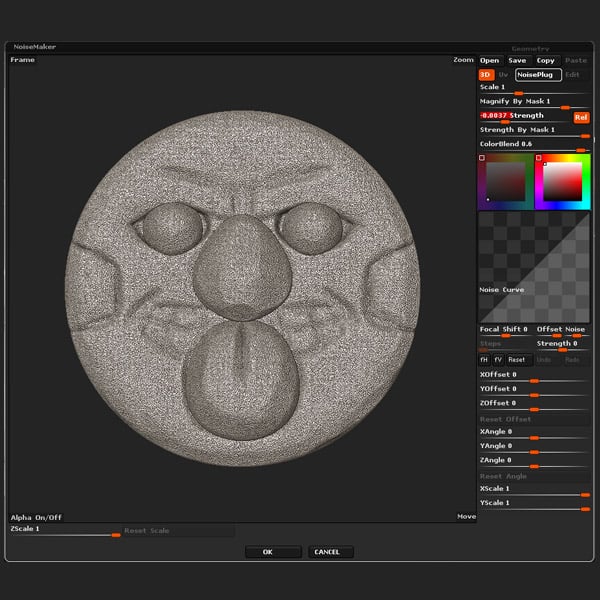
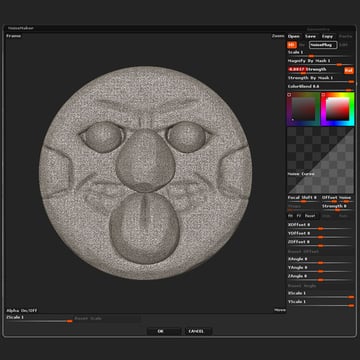
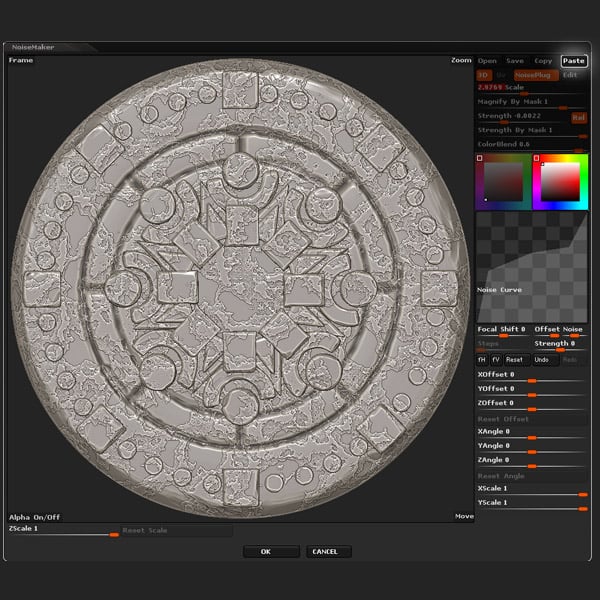
Step 6
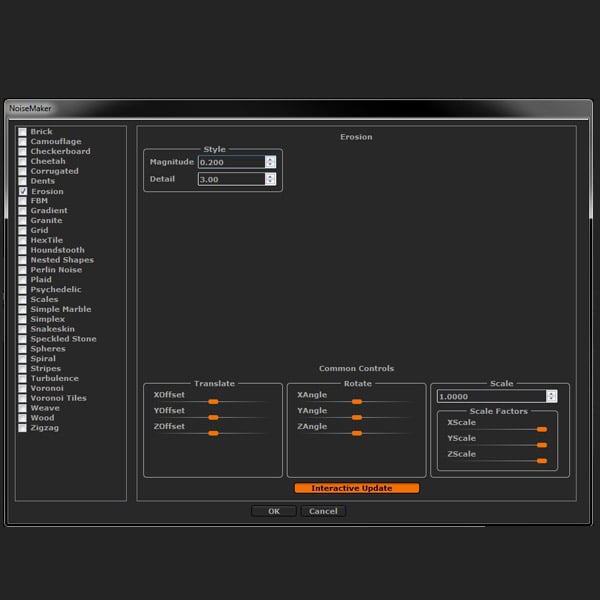
Select Erosion, and modify the settings as shown in the pic below. And then click OK.

Step 7
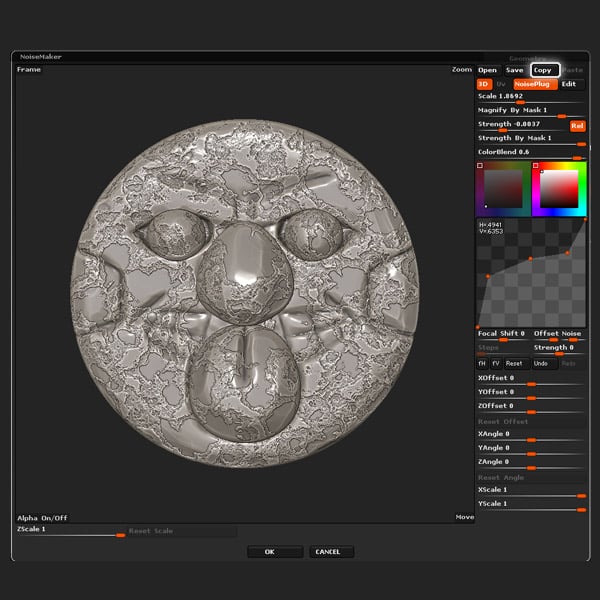
Edit the Curve by adding points and playing with their positions, to greatly change the look of the erosion effect, tweak the Scale, and Strength values as well.
Click the Copy button, and lastly click OK.

Step 8
Store the Morph Target.
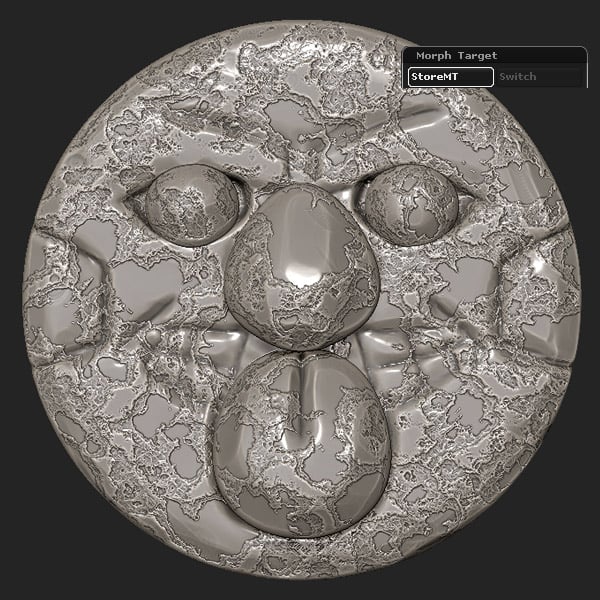
Step 9
Click the Apply To Mesh button.

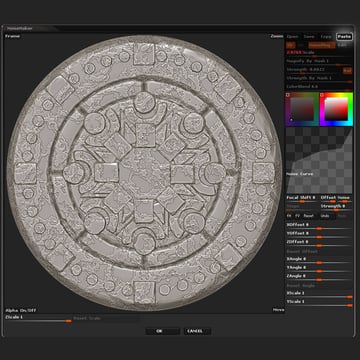
Step 10
When editing each subtool, simply click the Paste button in Noise Maker and then edit the Scale.
Step 11
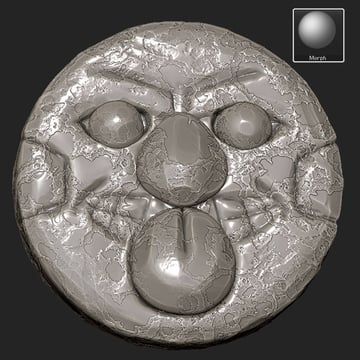
Lastly use the Morph brush to add some variety to the depth of the erosion.
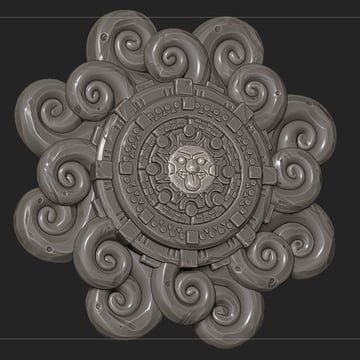
Conclusion
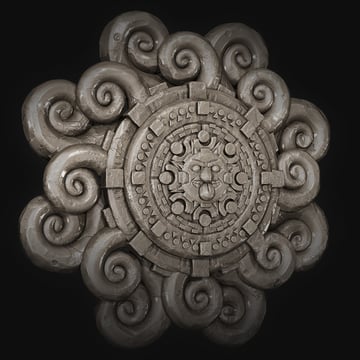
Render out the asset and edit it in Photoshop to add any additional effects.

 By
By


