


Today we're bringing the jam packed second part of Shaun Keenan's massive stylized vehicle tutorial series. In today's post you'll learn how to build the car's windshield, rear window, hood, trunk and roof sections. And begin constructing some of the car's detail pieces including the headlights, tail lights, mirrors, antenna and Fiat emblem. Click through to get started on part 2!
In this massive, multi-part tutorial, you’ll follow professional CG artist Shaun Keenan of MZP Studios, as he walks you through the entire process of creating a high-end, production quality stylized car from scratch using Maya.
Through out the series you’ll gain valuable insights into the tools and techniques used by professional artists, while working your way to a fully realized model. In later lessons you’ll learn how to add detail and construct the car’s interior. A topic rarely covered in car modeling tutorials. Whether you’re a beginner creating your first car, or an experienced artist just looking to brush up, this series is a must watch.
Additional Files/ Plugins:
Part 2-1: Modeling The Headlights 1

Part 2-2: Modeling The Headlights 2
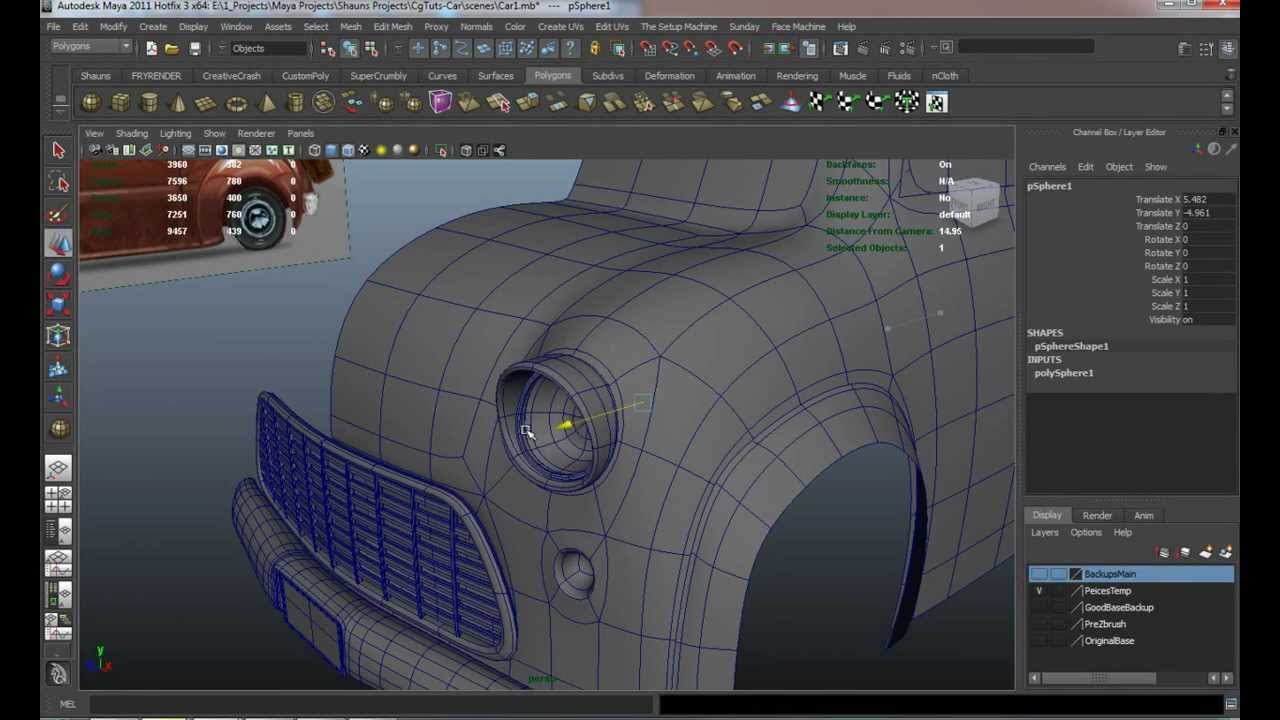
Part 2-3: Modeling The Headlights 3

Part 2-4: Modeling The Headlights 4

Part 2-5: Windshield And Hood
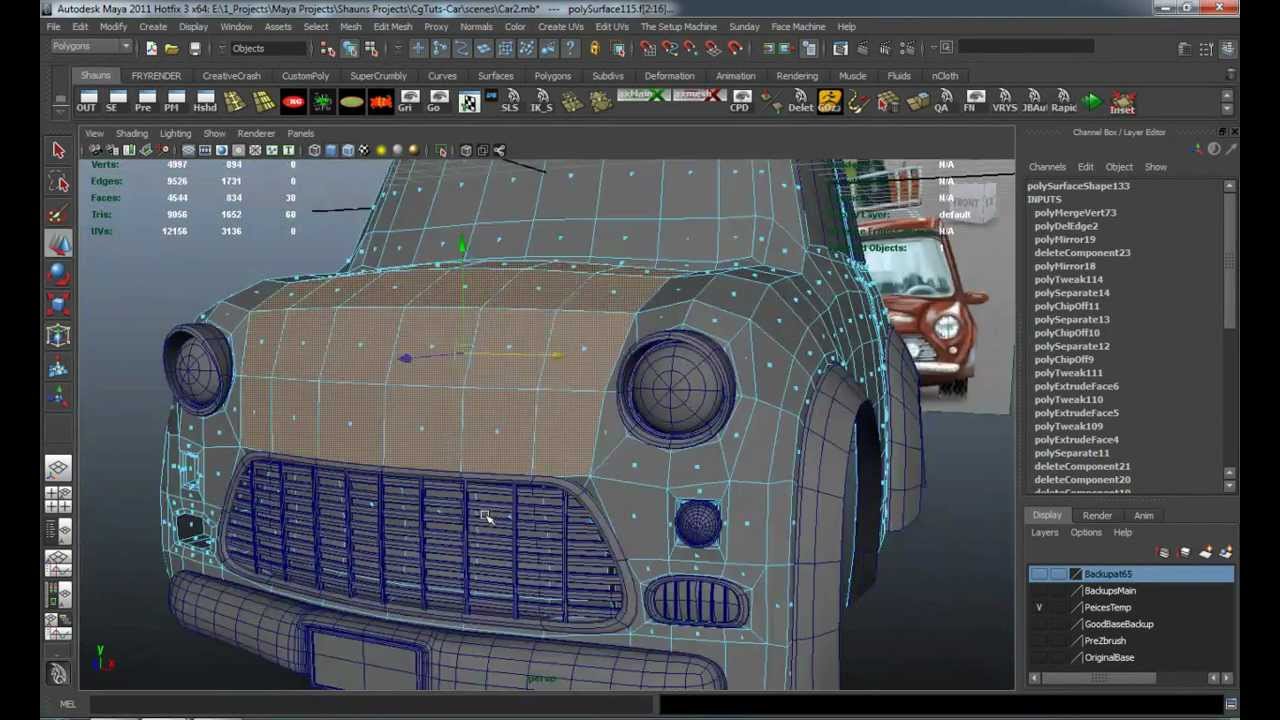
Part 2-6: Windshield Continued

Part 2-7: Trunk And Back Window

Part 2-8: Tail lights

Part 2-9: Roof Detailing

Part 2-10: Door Cleanup

Part 2-11: Mirrors

Part 2-12: Mirrors 2

Part 2-13: Mirrors 3

Part 2-14: Antenna

Part 2-15: Attaching The Antenna

Part 2-16: Car Emblem
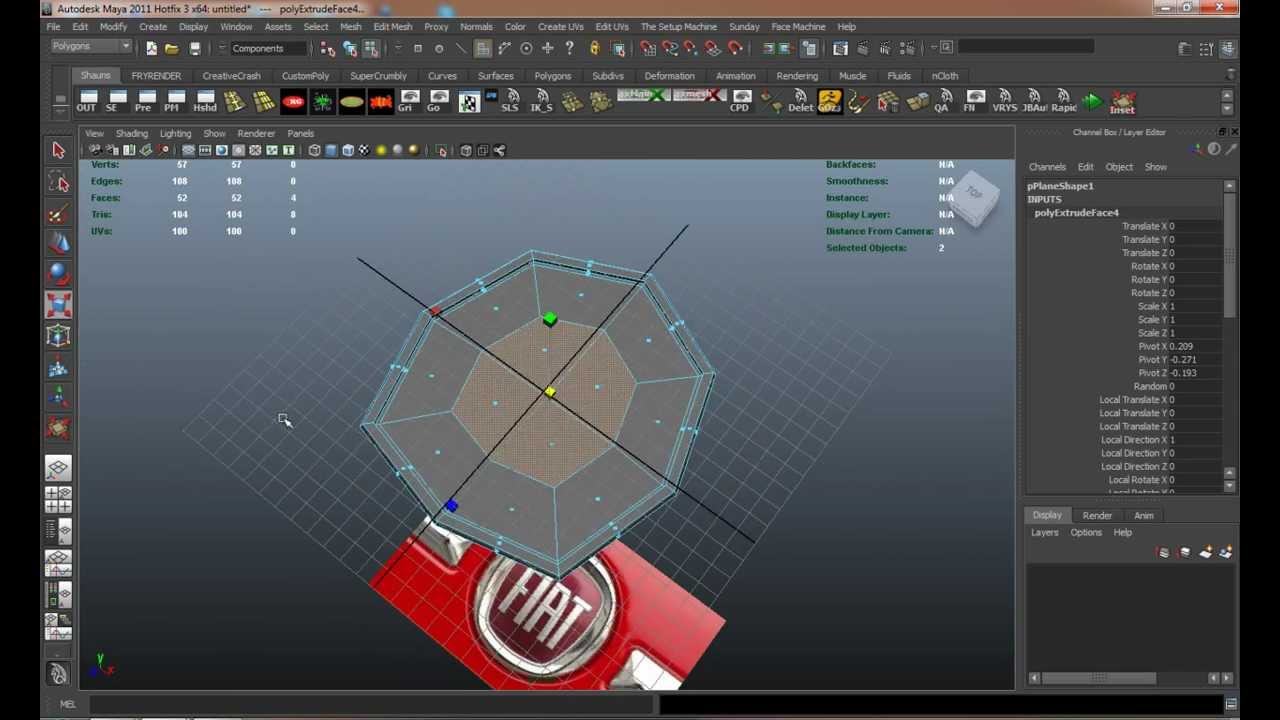
Part 2-17: Importing And Attaching The Emblem

Related Tutorials:
- Building The Caterpillar 797 In 3D Studio Max
- Creating a Next-Gen Video Game Hot Rod: the Complete Workflow
- ‘Mini Semi Truck’
- Modeling The F-16 Fighter Jet in 3D Studio Max
- Modelling the Audi R8 in 3Ds Max - Tuts+ Premium
- Modeling the Bugatti Veyron in Maya - Tuts+ Premium
 By
By


