Create a Shattering Glass Animation in Cinema 4D & AE - Part 3 Rendering
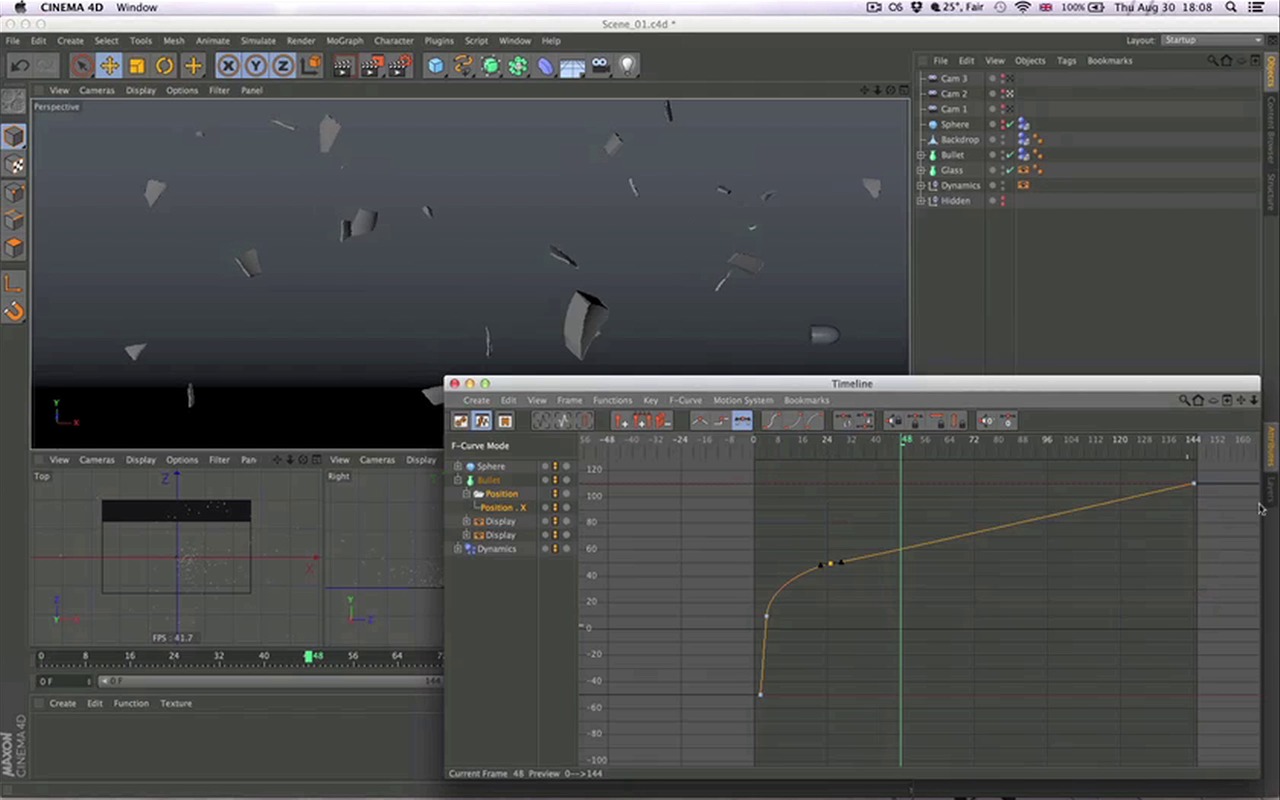
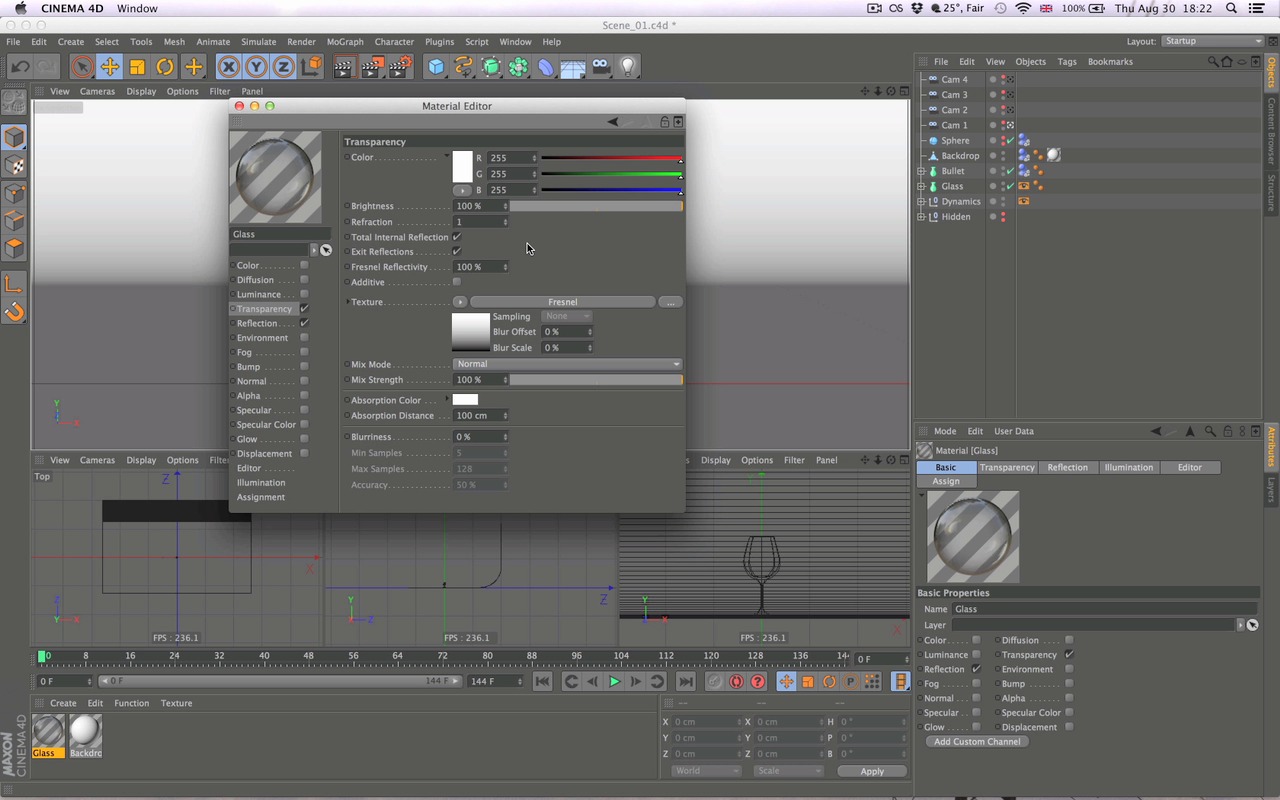
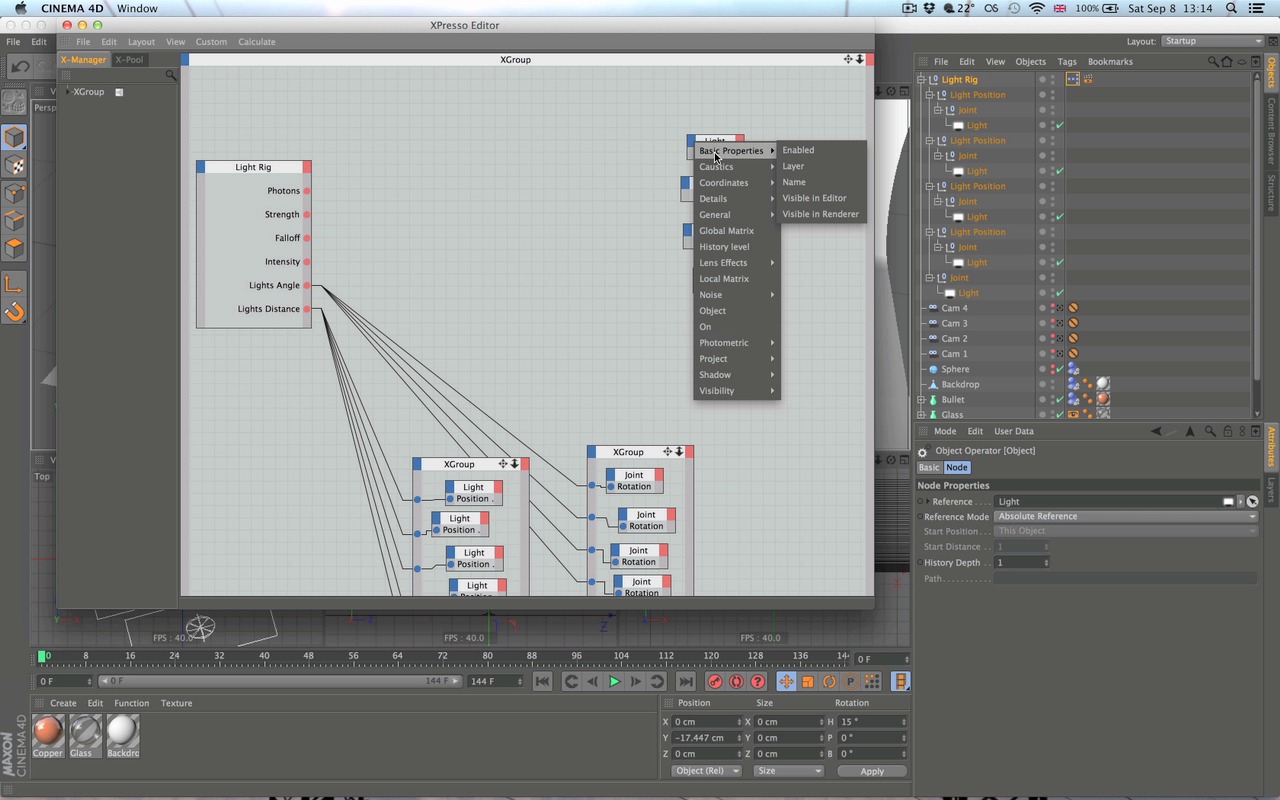
Today's lesson is all about prepping for rendering. You'll start by finalizing the animation with some slight tweaks to the timing. Once done you'll move onto the material setup and learn how to create realistic glass and metal shaders using Cinema 4D's intuitive material editor. Finally, Cyril will walk you through lighting the scene. This lesson includes building a dynamic light rig using XPresso and fine tuning it's position to generate correct caustics at render time.
In the final two chapters of the series, you’ll learn how to work with multi-pass rendering and wrap things up by compositing the final animation in Adobe After Effects. Where you'll learn about re-timing, color correction, motion blur, depth of field and a wealth of other useful tips and tricks.
Also available in this series:
- Create a Shattering Glass Animation in Cinema 4D & AE - Part 1 Modeling & Animation
- Create a Shattering Glass Animation in Cinema 4D & AE - Part 2 Cameras & Pre-Viz
- Create a Shattering Glass Animation in Cinema 4D & AE - Part 3 Rendering
- Create a Shattering Glass Animation in Cinema 4D & AE - Part 4 Final Rendering
Screencast 1 (Preview)

Screencast 2

Screencast 3


