

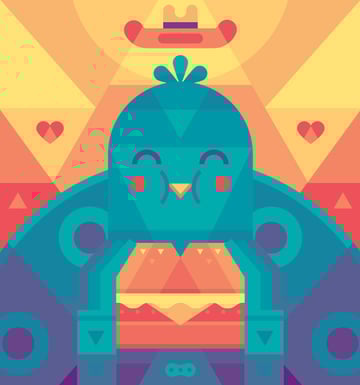
In this tutorial, you'll learn how to draw a cute geometric bird in Adobe Illustrator, with the use of the Shape Builder tool and Outline Stroke.
The main theme in this
illustration is the word “ajua”. This is an expression used mostly in northern
Mexico. When people are having a great time with friends or family, drinking or
singing they yell, “AJUA!!”
1. Create a New Document and Sketch
Step 1
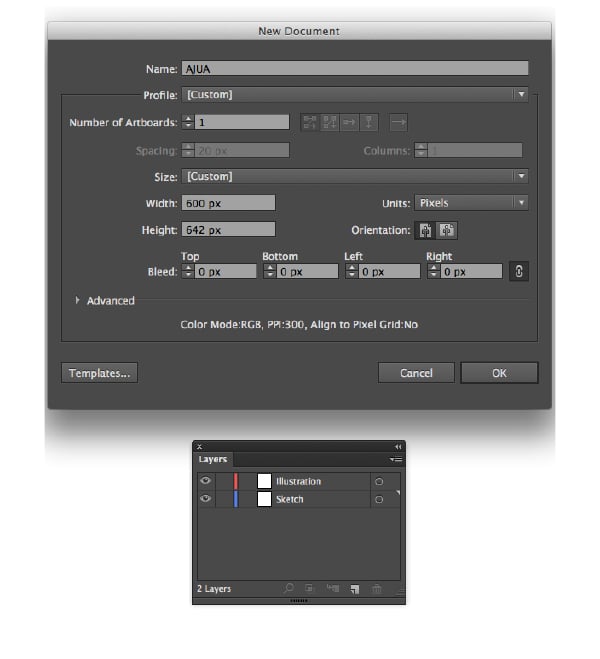
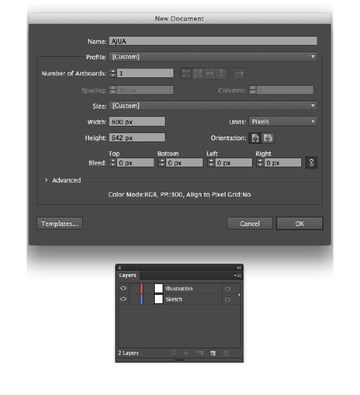
Create a New Document (Command-N), 600 x 642 px in size, and add two layers:
- Illustration
- Sketch
Step 2
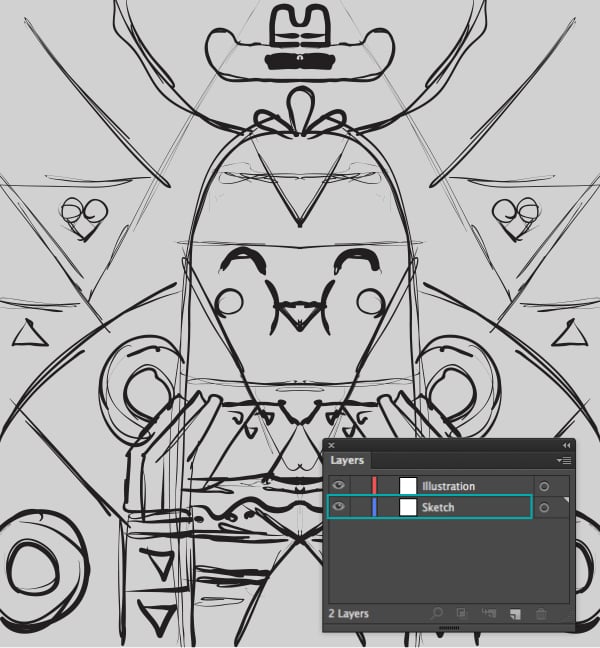
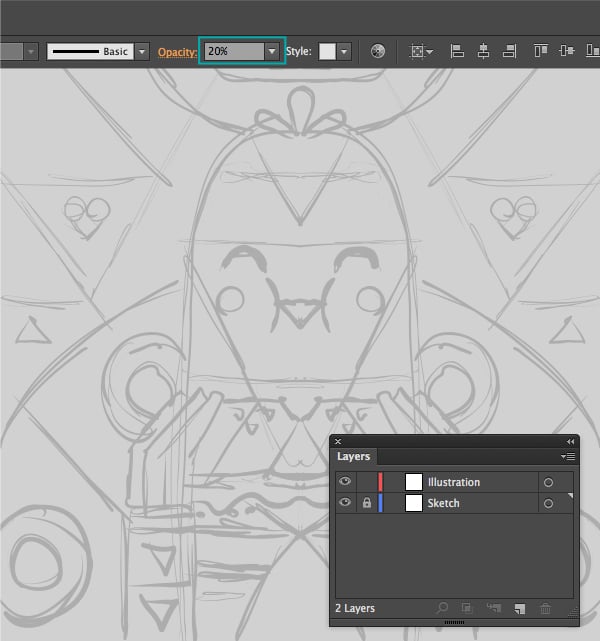
Create a rough sketch of what you'd like the final result to look like, and put it in layer called Sketch. You can either draw your picture with the Blob Brush Tool (Shift-B) using a digital tablet or mouse, or do it the traditional way with pencil and paper and scan or photograph it.

Step 3
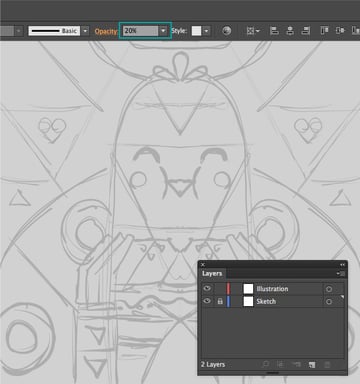
Set the Opacity of
the sketch to 20% and lock the Sketch layer. Now we can start
our illustration.
2. Set Up the Color Palette
Step 1
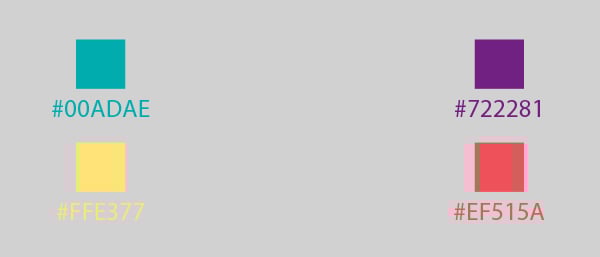
First, I chose the four colors
shown below. We're going to use the Blend Tool (W) to create additional color values to add to the finished picture. Use the Rectangle Tool (M) to create four squares (one of each color, as pictured below) then select the Blend Tool (W). Click on the turquoise square and then click on the purple square to create a gradient between them. Do the same for the yellow and red squares.

Step 2
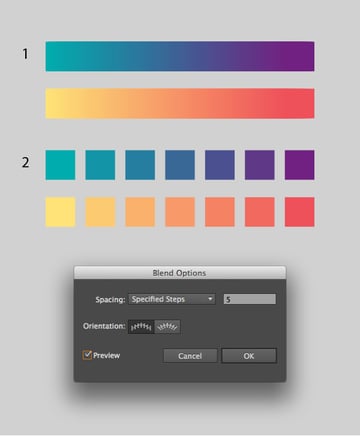
Following the instructions above, you'll have created a color blend that looks something like the first figure below. To create more
specific values of color you need to select the blend, and with the Blend
Tool selected press Enter to see the Blend Options. In the Spacing section, check the Specified Steps option and add a value of 5. Now you have
14 color values in total.

Step 3
Finally select both blends and go to Object > Expand and then click OK. Now you have your color palette.


3. Draw the Bird's Face
Step 1
To draw the bird’s
beak, draw a Triangle using the Polygon Tool. To do this, select the Polygon Tool, hold-click on the canvas and use the arrow keys on your keyboard to change the number of sides of the shape that appears. Duplicate the triangle twice and move one of the duplicates upwards. Select both duplicates and then with the Pathfinder panel select Minus Front. Color the shapes as shown below.


Step 2
Each cheek is made of two Ellipses (L). First, make a small red ellipse for the colored spot on the cheek.
Then, to create the shape either side of the beak, create a larger ellipse with a 7pt Stroke. Using the Scissors Tool (C) click on the two points of the ellipse that are circled in the image below. This separates the section between those two points from the rest of the ellipse. Use the Selection Tool (V) to select and delete the to delete the other part of the ellipse, as you don't need it anymore. Then select the shape you've created, and go to Object > Path > Outline Stroke to convert the stroke to a path.
Move the two shapes into place, and you've created one cheek. Duplicate it and apply the Reflect Tool (O), then move the shapes into place as per the image below.


Step 3
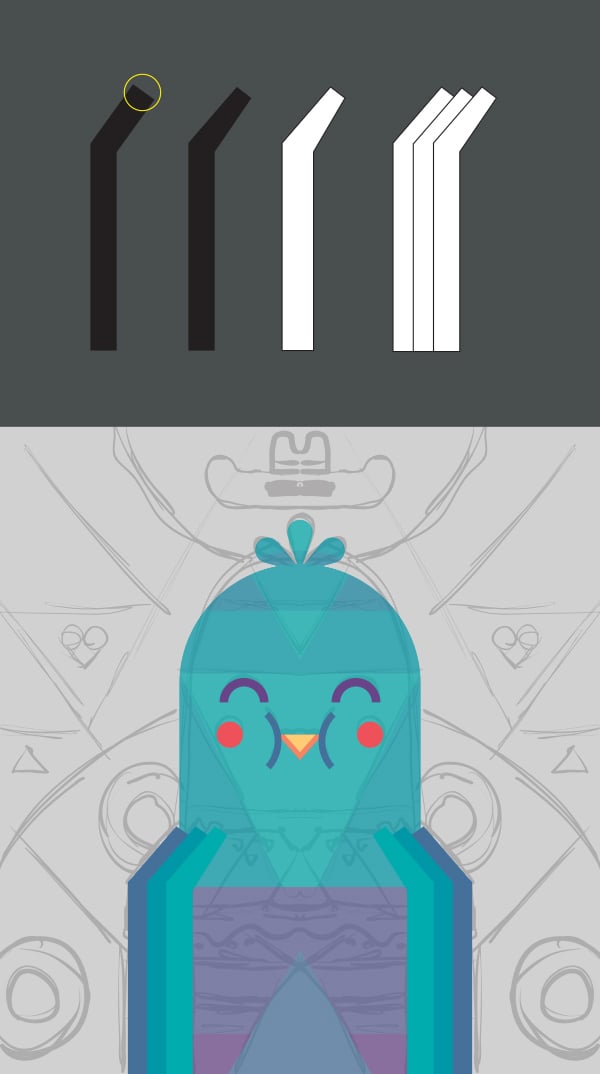
To draw the eyes we're going to use the same technique as for the cheeks. Start by creating a circle using the Ellipse Tool (L) with an 9pt stroke. The eyes are upturned semi-circles, so you need to use the Scissors Tool (C) again to separate the two halves of the circle. Delete the bottom half, then select the remaining section and apply Object > Path > Outline Stroke. Duplicate the eye you've created, and move both shapes into place. The bird’s face is done!


4. Drawing the Bird’s Body
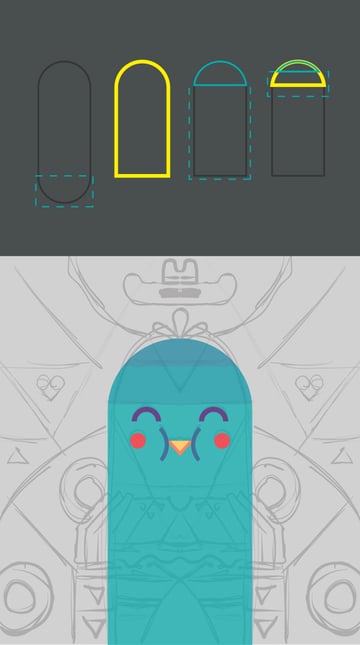
Step 1
To start the bird's body, select the Rounded Rectangle Tool and draw a rectangle, as shown in the image below.
Tip: You can change the roundness of the rectangle by clicking and holding, then using the up and down arrow keys.
To create the two geometric sections at the top of the bird's head, duplicate the base figure by copying and pasting in front (Command-F), then use the Eraser Tool (Shift-E) and hold the Alt key and drag to make straight shapes. Remember to duplicate the base figure to create more details. Color your three shapes in different shades of turquoise, referring to the image below.
Tip: If you need to do a straight shape you can achieve them using the Eraser Tool (Alt and drag) instead of drawing rectangles and using pathfinder. It’s a faster way to work.

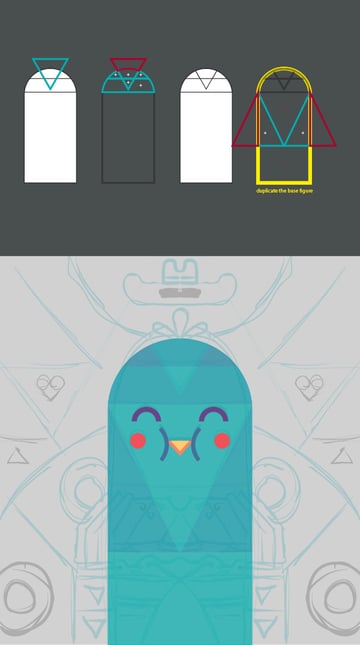
Step 2
Use the Polygon Tool to draw a triangle, and then select the Shape Builder Tool (Shift-M). The way I use this tool is by selecting the figures I want to modify, and then clicking on them to convert them to small paths (+ Icon), but if you press Alt you can erase unnecessary paths (- Icon). Also, you can click and drag to unite or erase more than one shape.
Tip: When you need to make
more than one shape in a base figure you can draw all of them, then duplicate
your base figure, select the paths you need and Unite or Erase as you need with
the Shape Builder tool. You’ll save some time this way, too.

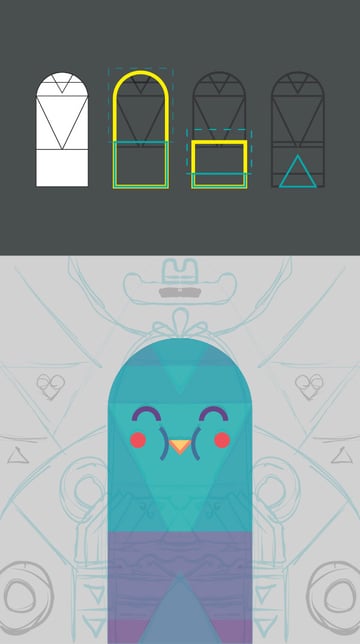
Step 3
Keep duplicating the base figure
and using the Eraser Tool to add
more and more details. Finally, add a little triangle to finish the body.

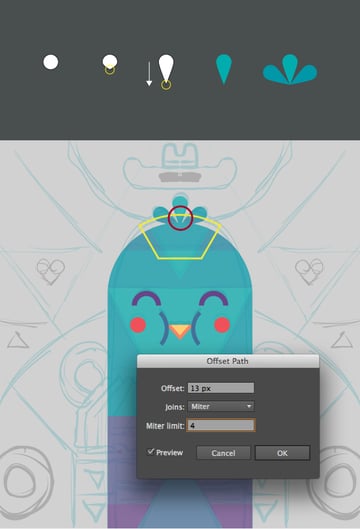
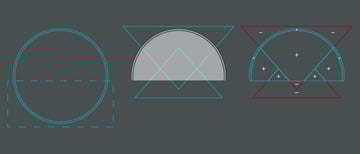
Step 4
Draw a Circle and, using the Convert Anchor Point Tool (Shift-C), click on the bottom of the circle and drag the anchor point down, as shown in the image below. Duplicate your new shape twice, and Rotate (R) and Reflect (O) the duplicate shapes, arranging them to create the feathers on the bird’s head.
You can add details like
the shadow on the feathers by using the Offset Path Tool (Object > Path
> Offset Path) and set it to 13 px. Now you can duplicate the
feather figures and use the Shape Builder Tool like before.

5. Draw the Bird’s Wings and the Hamburger
Step 1
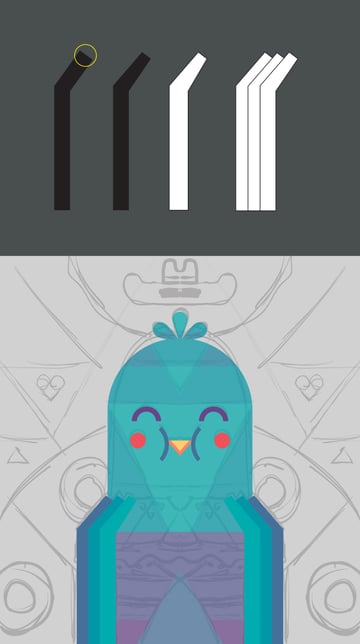
For the wings, just draw
a line (as shown in the image below) then use the Width Tool
(Shift-W) to modify it. Finally convert to paths, Duplicate the shape twice to create three parts for the wing, and create your second wing by copying and reflecting the one you have.
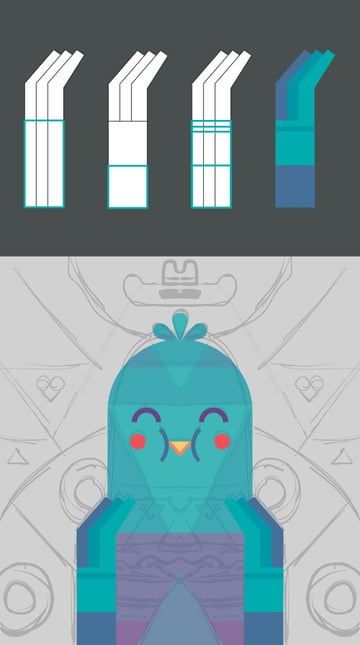
Step 2
To add more detail simply
draw some Rectangles (M) as shown in the reference picture and color them accordingly. Move them into place, and now our wings
are done!

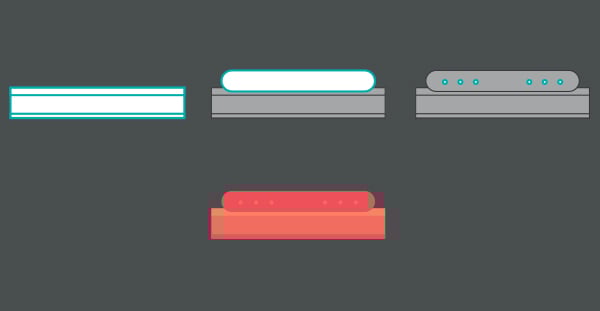
Step 3
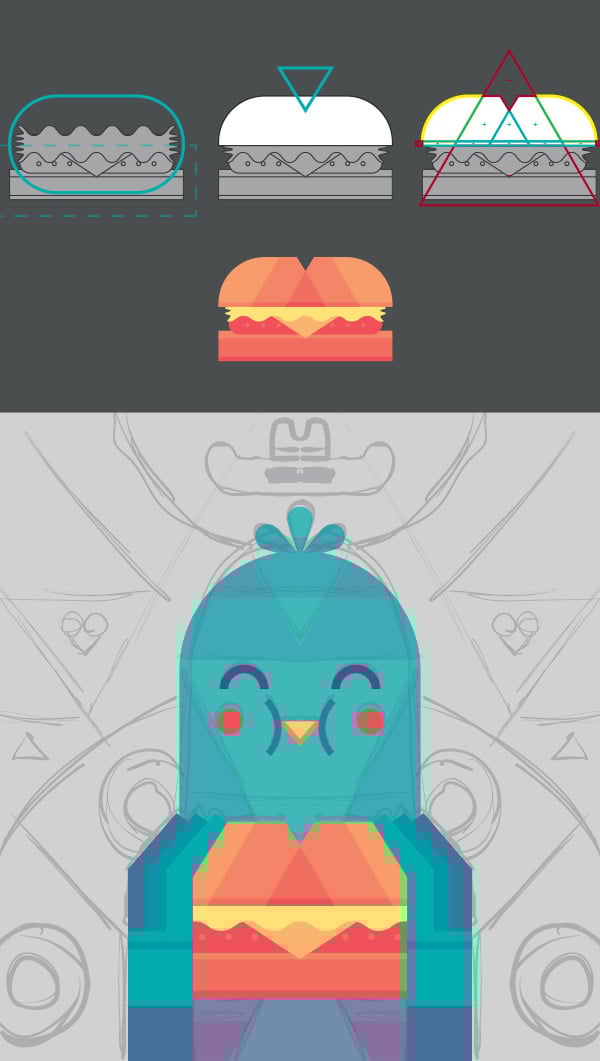
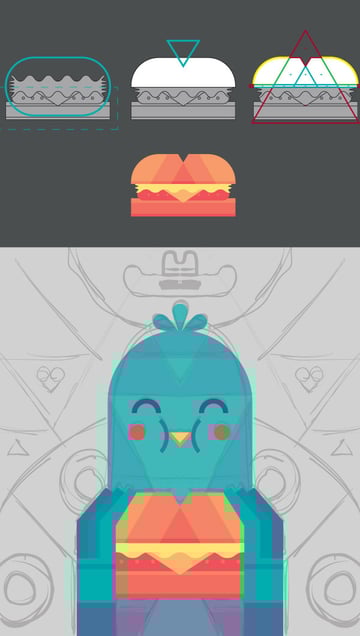
To draw the hamburger, start by drawing three rectangles for the base of the bun, and add a rounded rectangle for the meat. Add
some detail with small circles (remember to group objects like the circles and
use the Align Window to keep everything aligned to the center of the picture).

Step 4
Now draw a triangle and a rectangle to make the cheese. Select the rectangle and apply the Zig Zag Effect (Effect > Distort & Transform > Zig Zag). Set the size to 5px and the ridges per segment to 9.

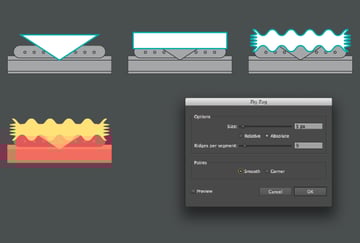
Step 5
To draw the bread make a rounded rectangle and use the Eraser Tool to cut it in half (as shown in the image below), then draw a triangle to get the base shape. Add some triangles and rectangles, duplicate the base figure and use the Shape Builder tool to add all the details.
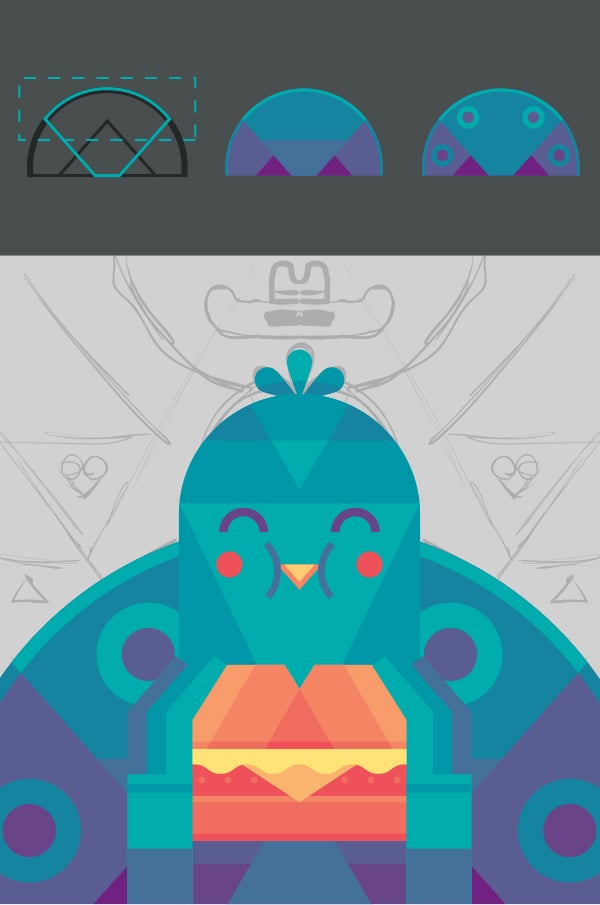
6. The Bird's Tail
Step 1
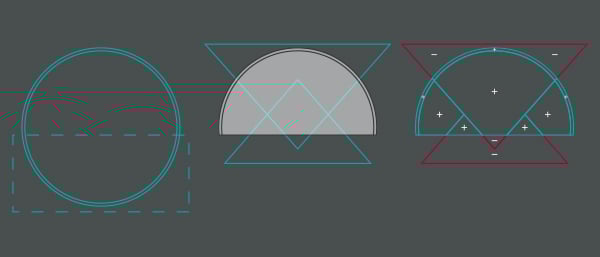
The tail is pretty simple.
Just draw two circles, one inside the other, and use the Eraser Tool to remove the slightly less than half from the bottom. Then draw two triangles with the Polygon Tool, and use the Shape Builder Tool to
get the shapes shown in the reference image below.
Step 2
Add some details to the tail by using circles and playing with the geometry you
already have. Duplicate and erase paths in a straight line until you're happy with the configuration of the contrasting shapes and colors.

7. Drawing the Background
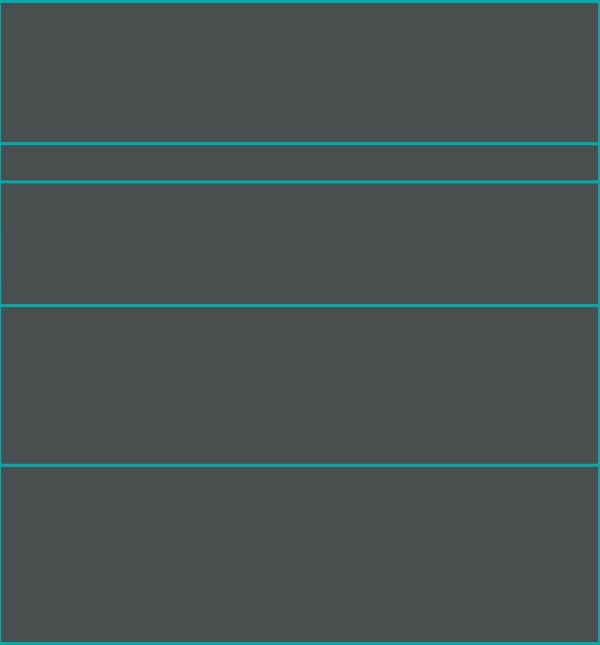
Step 1
Start by drawing some rectangles.
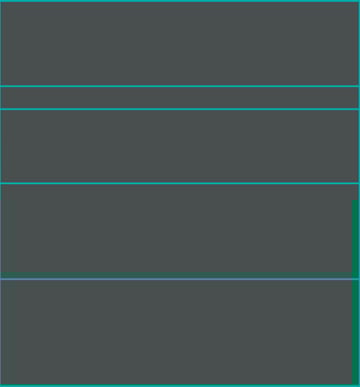
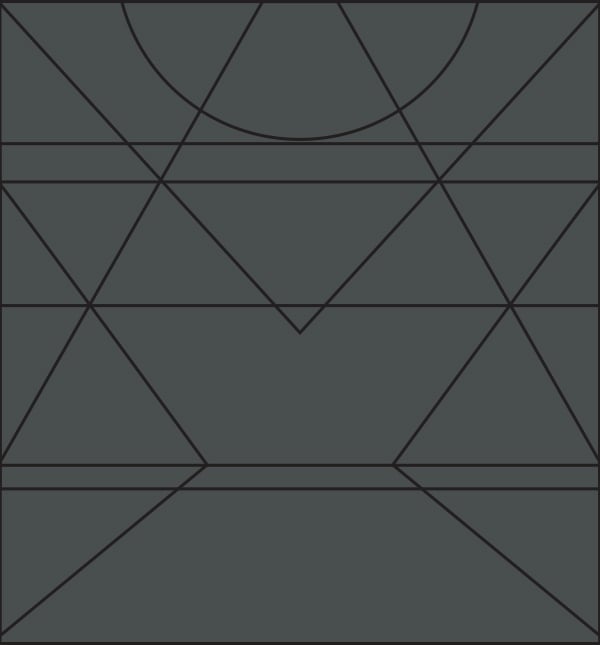
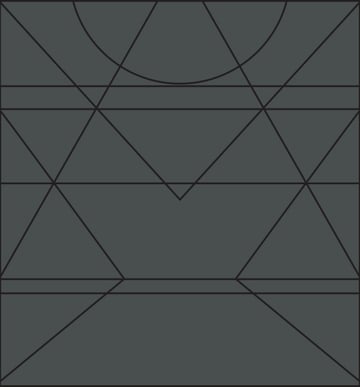
Step 2
Add some triangles and a circle.
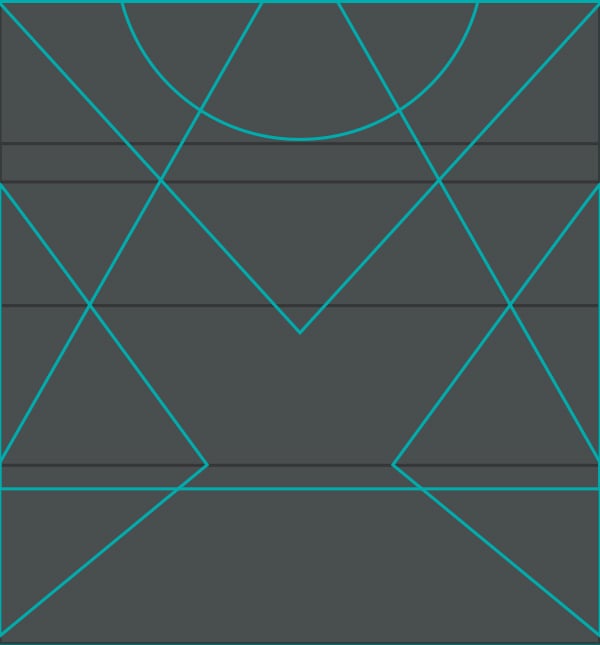
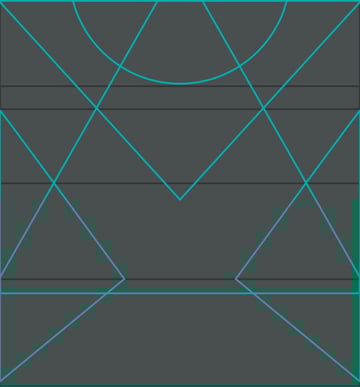
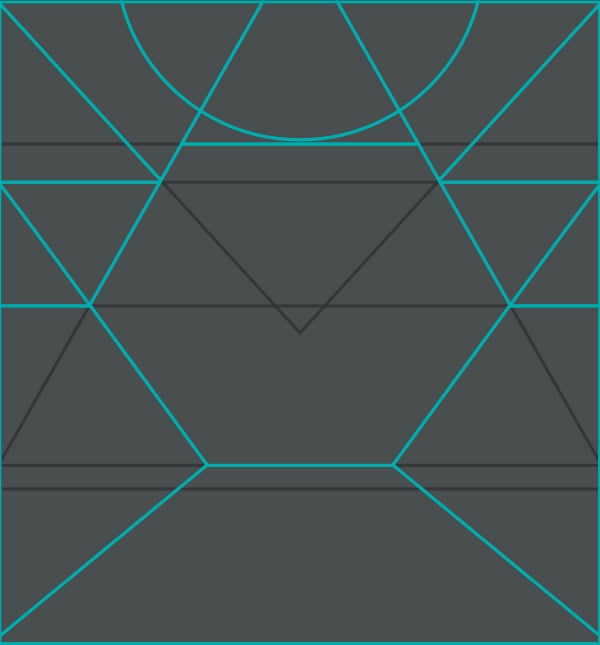
Step 3
Now that you got all the paths you need, use the Shape Builder Tool.
Step 4
Your shapes should look
like the blue ones on the reference image below. Now, paint them with your color
palette.
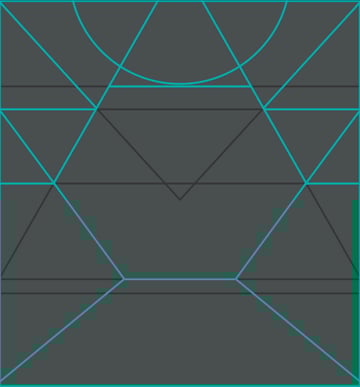
Step 5
The background should look something like this:


8. Adding Final Details
Step 1
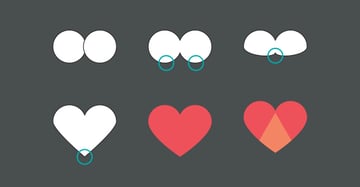
To add more details we are going
to draw a heart and a hat. For the heart you need to draw two circles, then
apply Unite in the Pathfinder tool, erase two anchor points and drag
the center anchor point a little lower. Then apply the Convert Anchor Point
Tool (Shift-C) to adjust the nodes, add detail and boom, you're done.

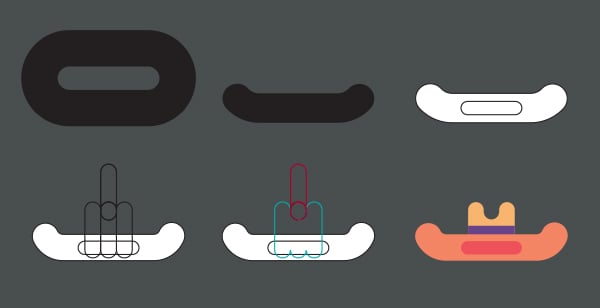
Step 2
The hat is also pretty simple. First draw a rounded rectangle and use the Scissors tool (C) to remove what you don't need. Refer to the image below for an example. Convert the Stroke to a Path, add more rounded rectangles
and use the Shape Builder tool to get the shape of the hat. Once you've added color and a few little details, you're done!

Your picture should look
something like this:

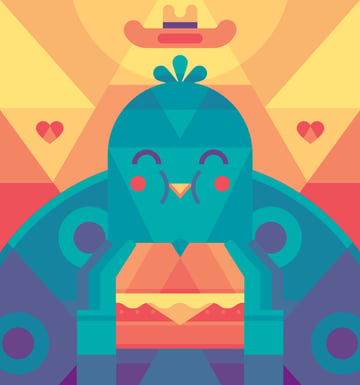
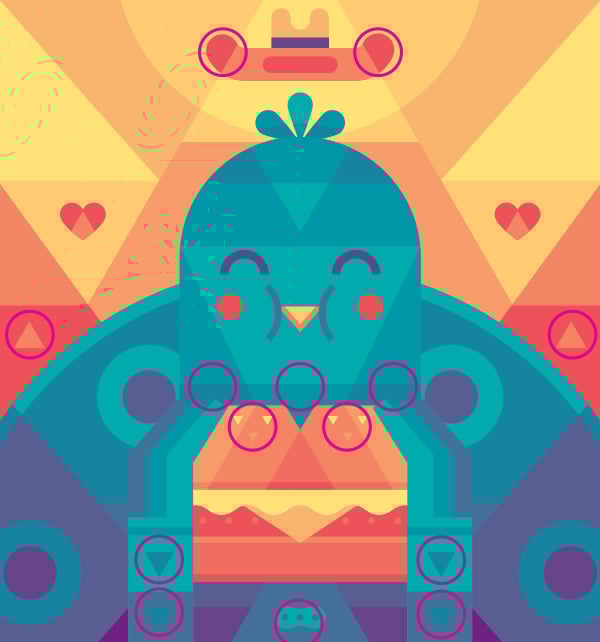
Step 3
Add some more details and
now our illustration is finished. I've circled the finishing touches in the image below, but you can use your imagination and add whatever you want!
Conclusion
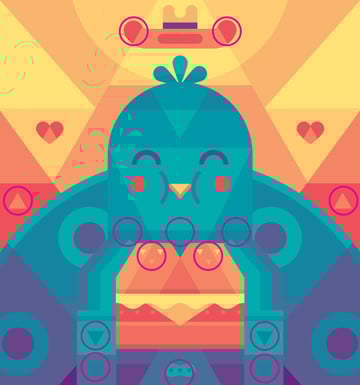
Congratulations! Your illustration
is finished. I hope you enjoyed this tutorial and learned something new. Keep on
drawing, people. Saludos!


 By
By


