


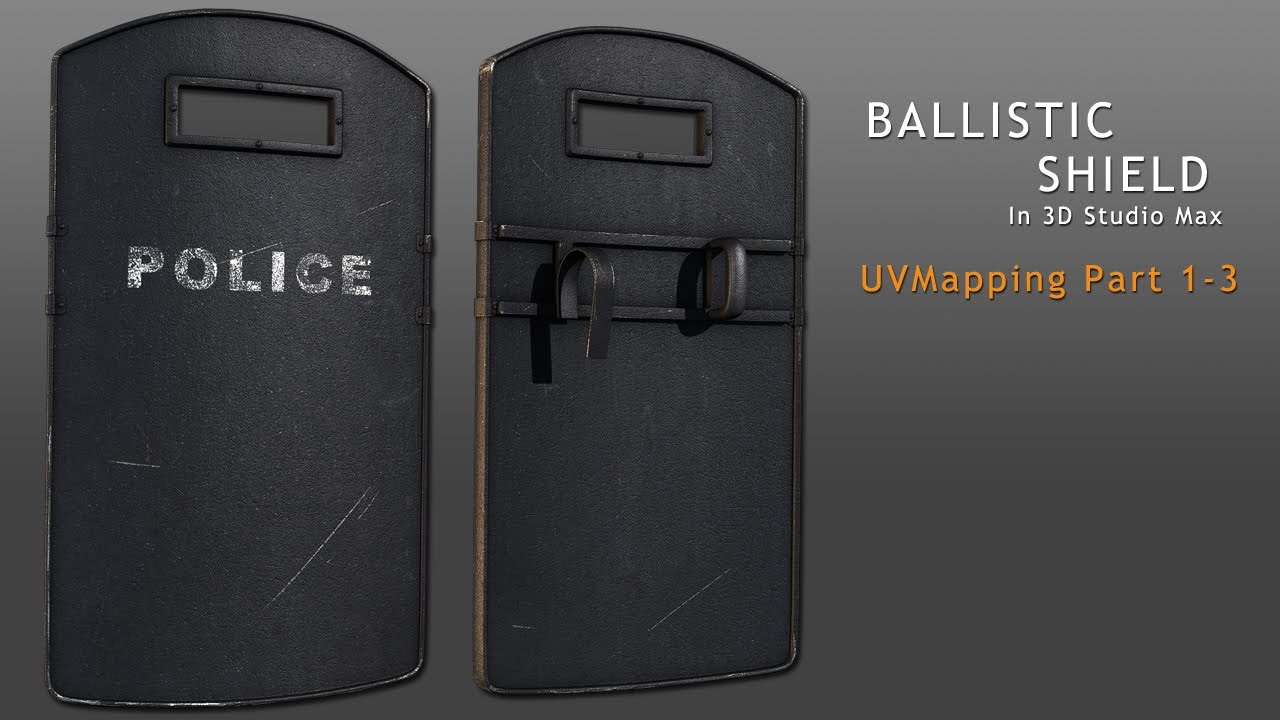
Today in part 2 of the Ballistic Shield project we'll use Max's built in Unwrap UVW modifier to lay down mapping coordinates on our optimized model. We'll mainly use a combination of the 'Convert Edge Selection To Seams' function and Pelt mapping to unwrap each and every piece of the model before organizing our UVs, and doing a final pack. Along the way we'll speed things up by using some of the new UV tools offered in 3d Studio Max 2012.
UVMapping 1-1

UVMapping 1-2

UVMApping 1-3
 By
By


