

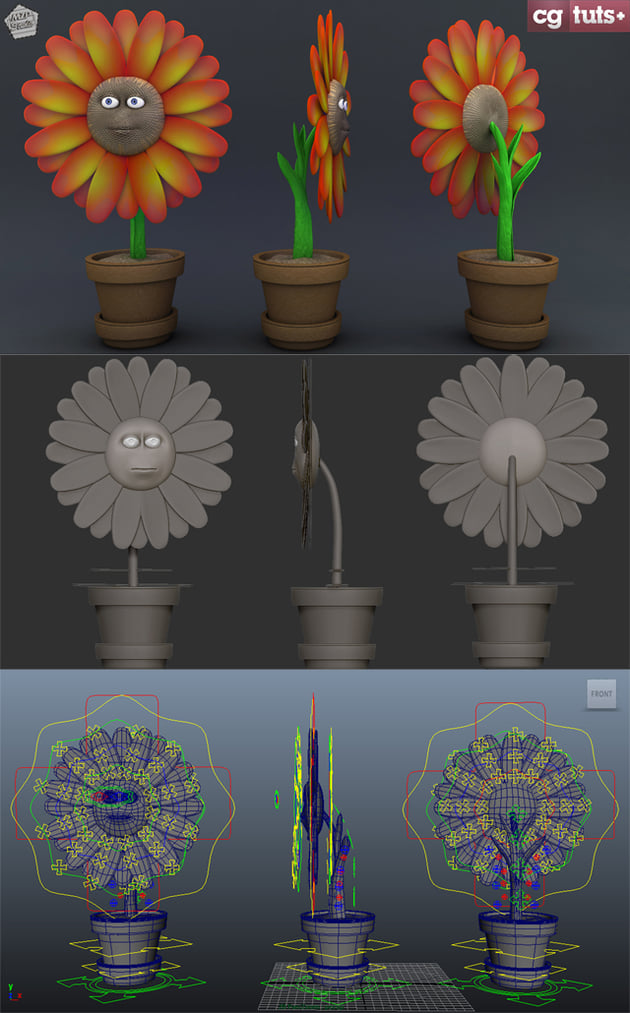
In the third and final part of Shaun Keenan's flower series for Maya. You'll learn how to create an advanced facial rig for the flower character using Face Machine. Lessons include adjusting influence curves, creating parenting constraints and custom attributes, painting weights to achieve proper deformation, creating and saving facial poses using Anzovin, and finally adding a global smooth controller to the rig.
Additional Files/ Plugins:
Video 1 - Initial Facial Rig Setup

Video 2 - Geometry Connections for the Head

Video 3 - Weight Painting

Video 4 - Eye Control Setup for Blinks

Video 5 - Facial Shapes & Smooth Connection

We’ve published a few related tutorials you might also be interested in:
Related Posts
- Sculpt, UV Map, Texture & Rig a ‘Little Big Planet’ Inspired Bunny using ZBrush & Maya
- Creating an Advanced Multi-Character Rig for Futurama’s Bender in Maya
- Rigging A Voodoo Doll Character In Maya Using Setup Machine & Face Machine
- Building A Complete Human Character Rig In Maya – Tuts+ Premium
- Complete Human Character Rig In 3D Studio Max – Tuts+ Premium
- Building a Complete Human Facial Rig In 3D Studio Max – Tuts+ Premium
 By
By


