


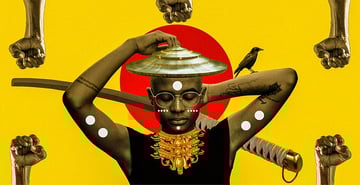
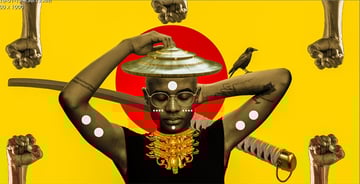
We have reached one of the most important months in history: Black History Month. Let's create an amazing collage together to celebrate this month.
In this tutorial I'll show you how to use Adobe Photoshop to create an intense, powerful collage for Black History Month featuring a beautiful woman, and how to retouch the artwork in Adobe Lightroom.
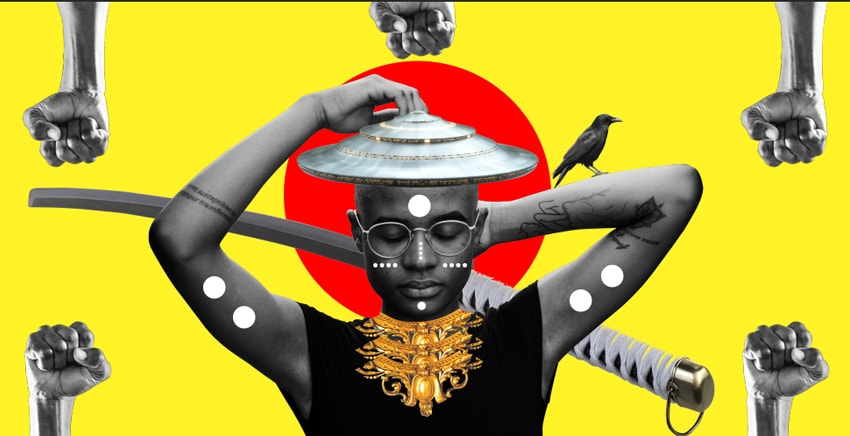
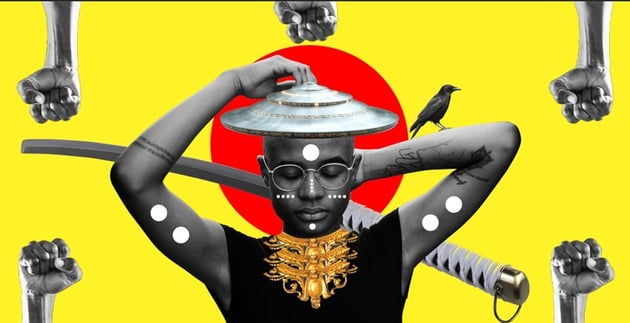
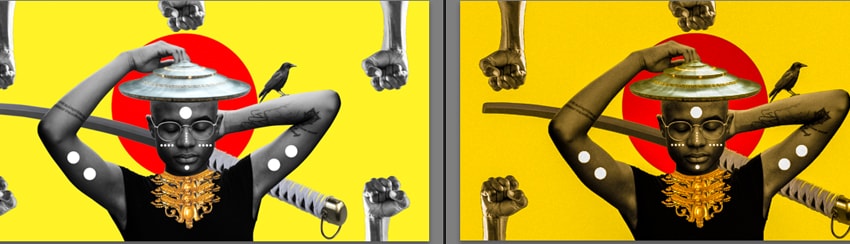
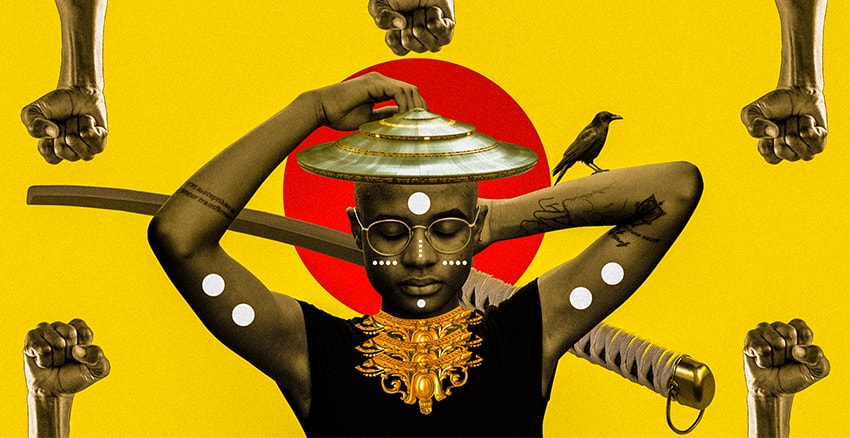
First, we'll isolate the model from the background. After that, we'll add our background. Then, we will add additional elements such as the crow, the UFO, the jewelry, the sword, some tribal marks, and the black power symbol. Finally, we will adjust the contrast, the vibration, the temperature, and the mood of the artwork using Adobe Lightroom. Let's get started!
Tutorial Assets
The following assets were used during the production of this tutorial:
1. How to Isolate the Model and Prepare the Base Background
Step 1
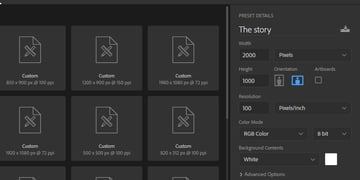
Create a new 2000 by 1000 pixels document in Photoshop with the given settings:


Step 2
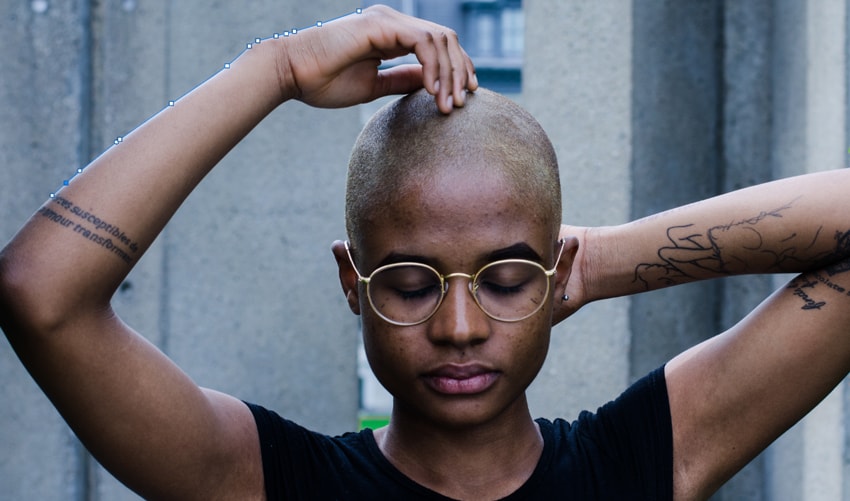
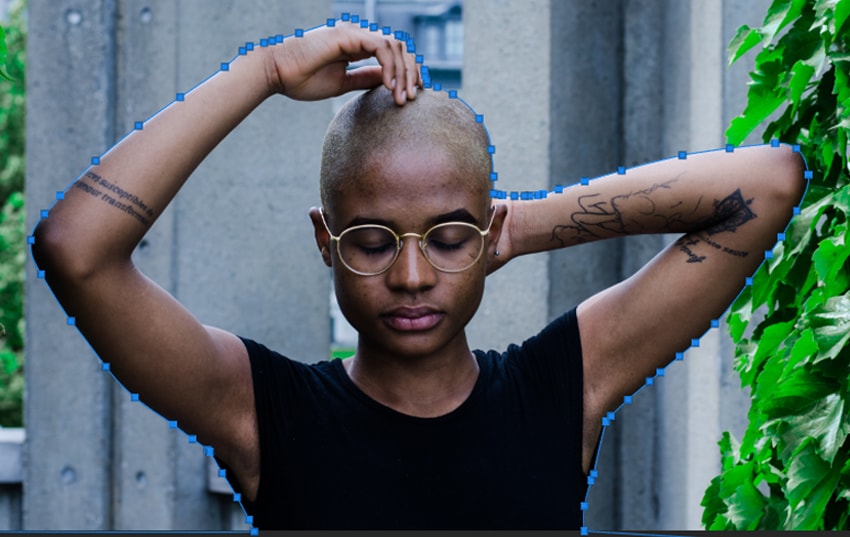
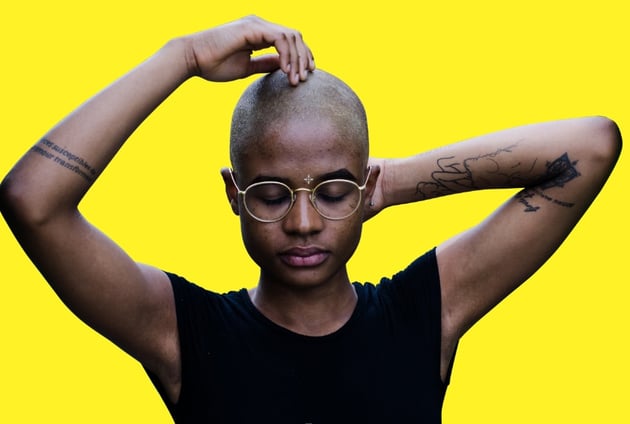
Open the model's image in Photoshop. Cut out the image using the Pen Tool (P). Find a spot on the main image, and click on a point to start drawing the outline. To finish, we have to click from the last point to the first one we did. Press Control-Plus (+) to zoom in and Control-Minus (-) to zoom out during the process.


Step 3
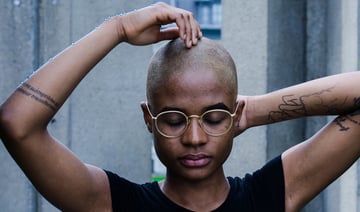
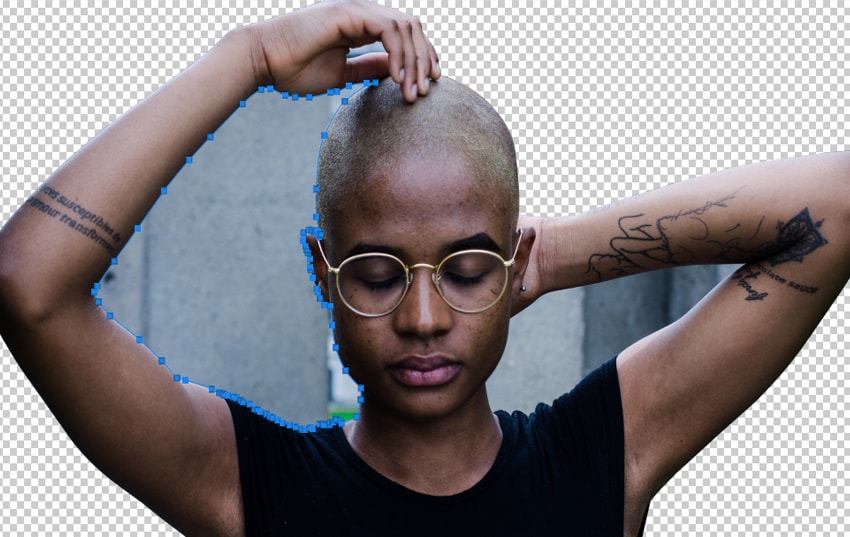
After drawing your outline, we want to remove the background to be able to add a new one. Right-click and select Make Selection. Make sure the background is selected, not the model. If not, choose the Marquee Tool (M) and select Inverse. Then press Delete on your keyboard.


Step 4
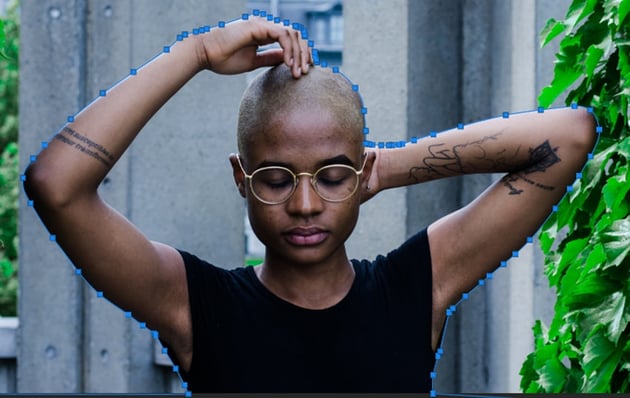
Next, we want to remove the remaining background between the arms. Activate the Pen Tool (P). Find a spot inside the left elbow, and click on a point to start drawing the outline. To finish, we have to click from the last point to the first one we did. Press Control-Plus (+) to zoom in and Control-Minus (-) to zoom out during the process. Repeat the process to remove the background between the right arm.


Step 5
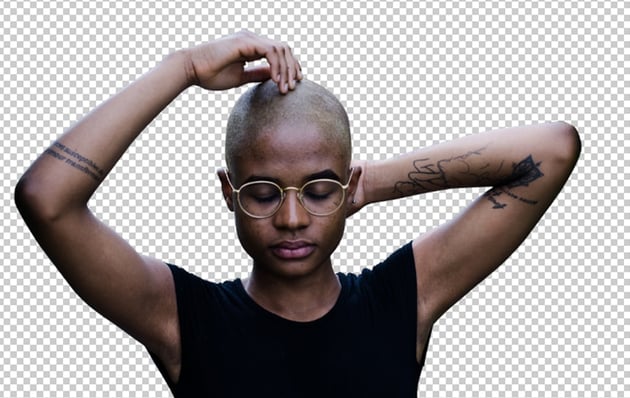
Next, we want to remove the background to be able to add a new one. Right-click and select Make Selection. Make sure the background is selected, not the model. If not, choose the Marquee Tool (M) and select Inverse. Then press Delete on your keyboard.
2. How to Bring the Image Onto the Main Canvas
Step 1
Drag the image onto the main canvas using the Move Tool (V).
Step 2
Press Control-T to resize the image. We do not want the image to deform or stretch, so press Shift while resizing, and then press Enter. Use the Move Tool (V) to center the image.


3. How to Create a Colorful Background
Step 1
Press Control-Shift-N to make a new layer. Name the layer “Background”. Set this layer under the model’s one.
Step 2
Activate the Rectangle Tool (U), fill it with the yellow color #fff327, and drag the rectangle all over the canvas.

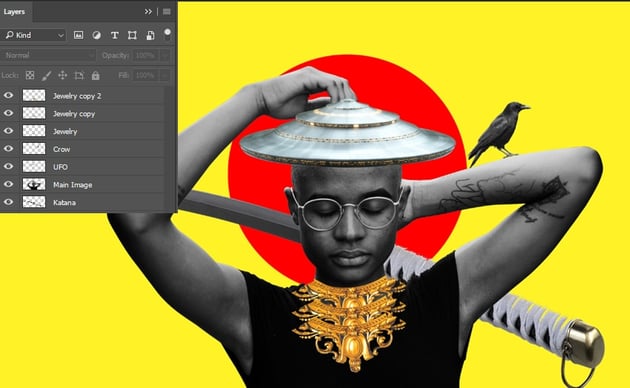
4. How to Change the Model to Black and White and Add the Red Circle
Step 1
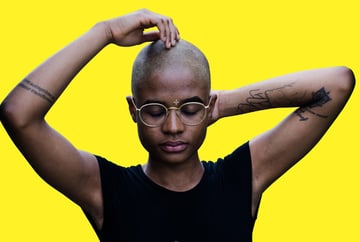
Select the Model layer in the Layers panel and turn it into black and white. Click on Image > Adjustments > Black and white, and then click OK or Alt-Shift-Control-B.


Step 2
Next, we want to add the red circle behind the model. Press Control-Shift-N to create a new layer under the model's layer, activate the Ellipse Tool (U), fill it with the red color #ff0000, and draw a medium circle behind the model's head. Hold Shift while dragging the circle.


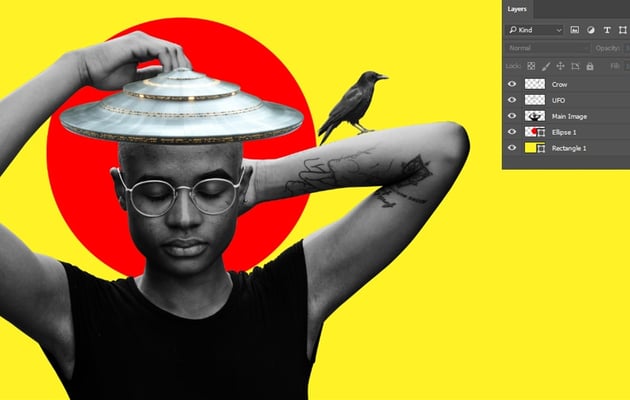
5. How to Add the UFO and the Crow
Step 1
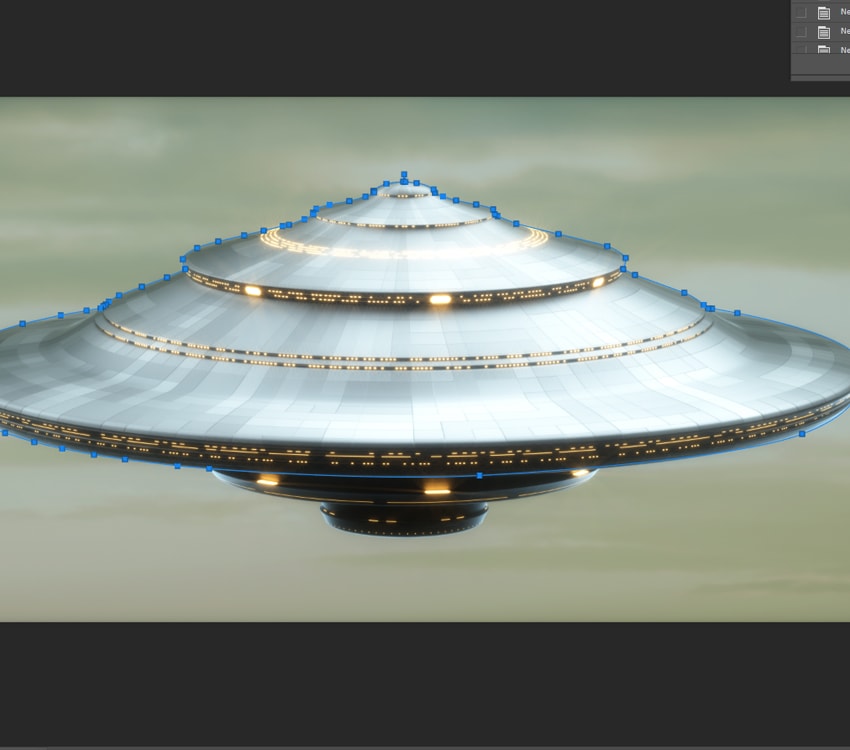
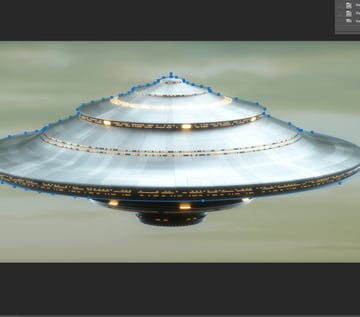
Drag the UFO picture into Photoshop. We need to remove the background. Cut out the image using the Pen Tool (P). Find a spot on the main image, and click on a point to start drawing the outline. To finish, we have to click from the last point to the first one we did.

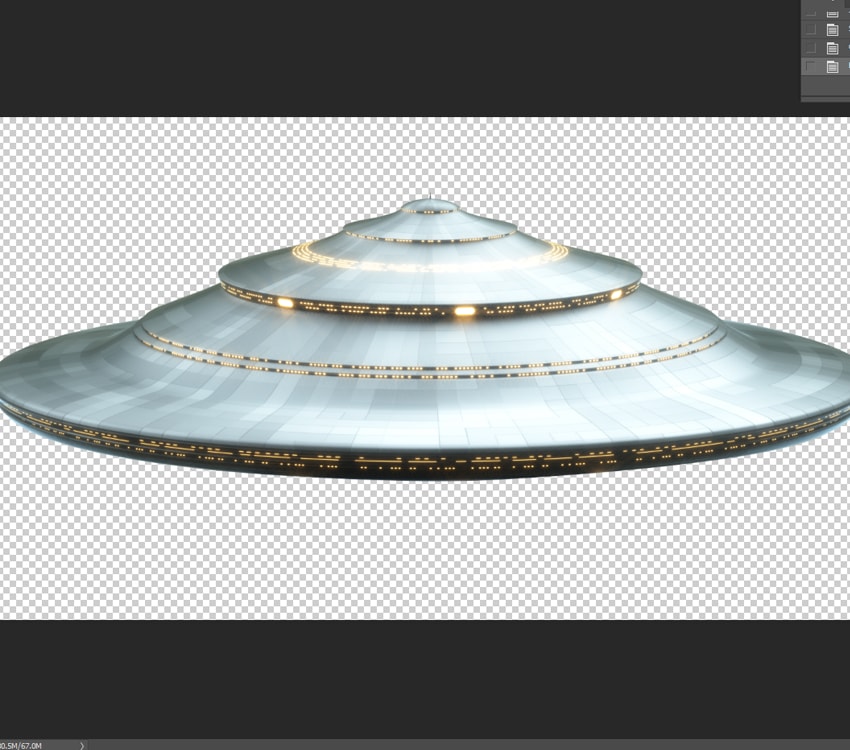


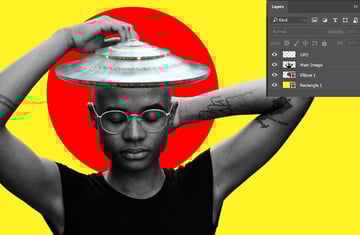
Step 2
Now we want to import the UFO into the main file. Select the UFO layer, use the Move Tool (V), and drag the image onto the main canvas, and then resize it to make it fit on the model’s head. To resize, press Control-T, and hold Shift while resizing the UFO image.


Step 3
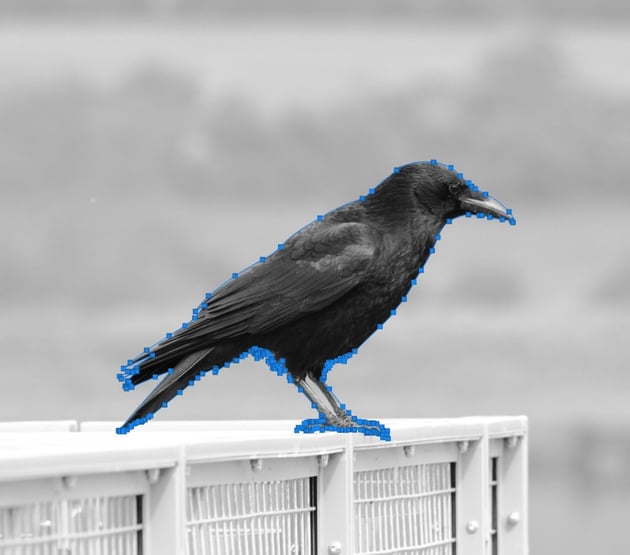
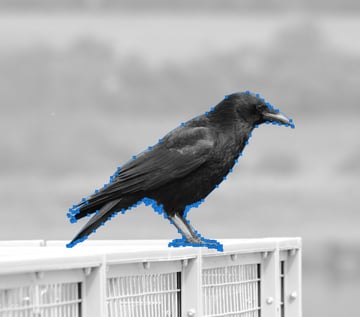
Now we need to add the crow. Drag the image into Photoshop, and use the Pen Tool (P) to draw the crow’s outline. Then, click on the Marquee Tool (M), Right-click, and select Inverse if the background is not selected. Otherwise, click Make Selection, and then press Delete.

Step 4
Drag the crow image into the main file. Resize the image. Press Control-T, and hold Shift while resizing. Use the Move Tool (V) and bring the crow onto the model’s right shoulder.


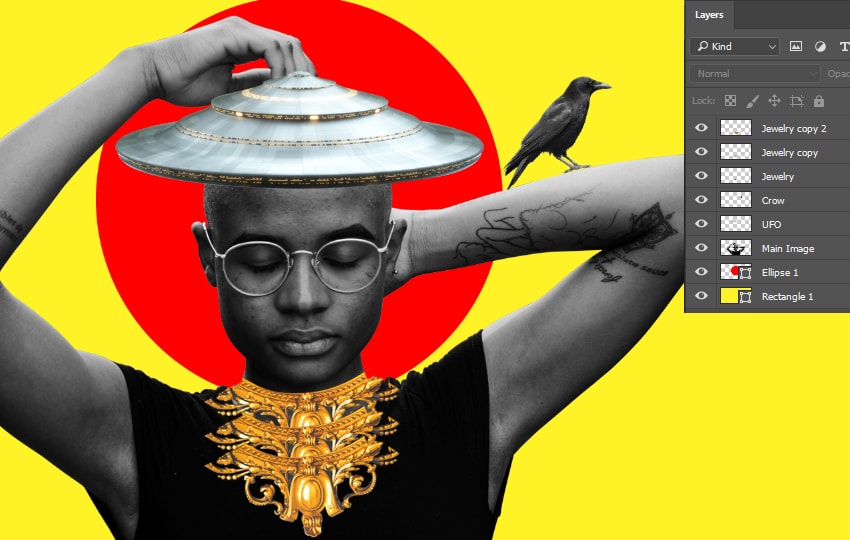
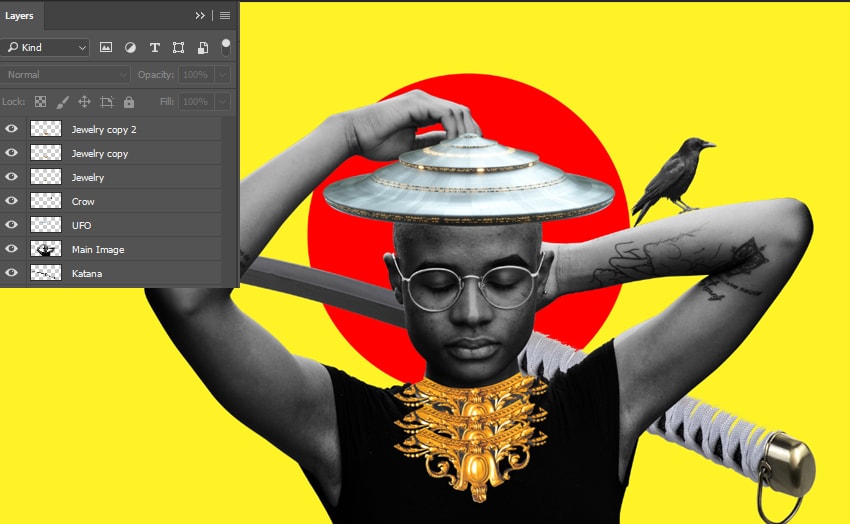
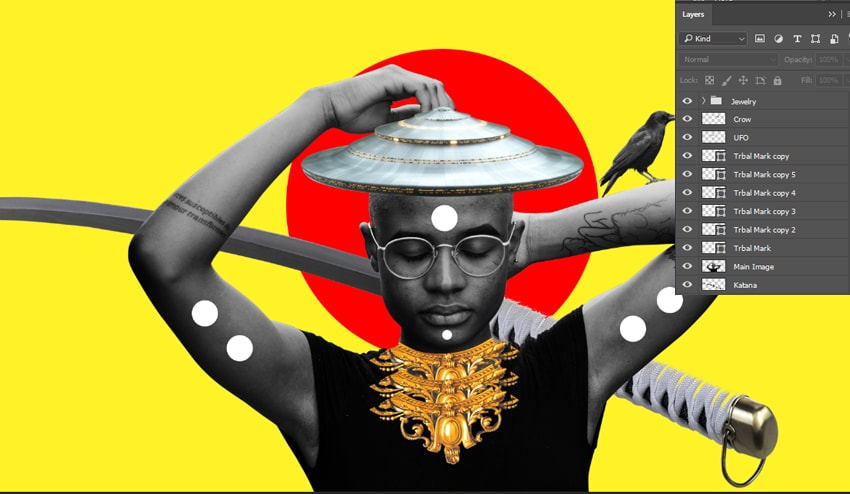
6. How to Add the Jewelry and the Katana
Step 1
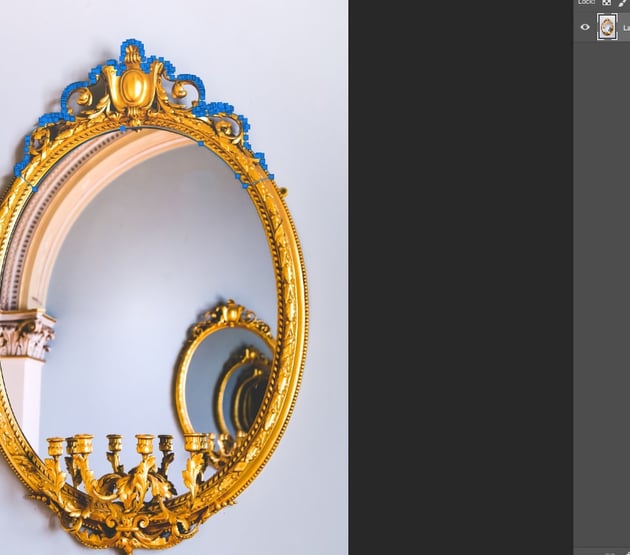
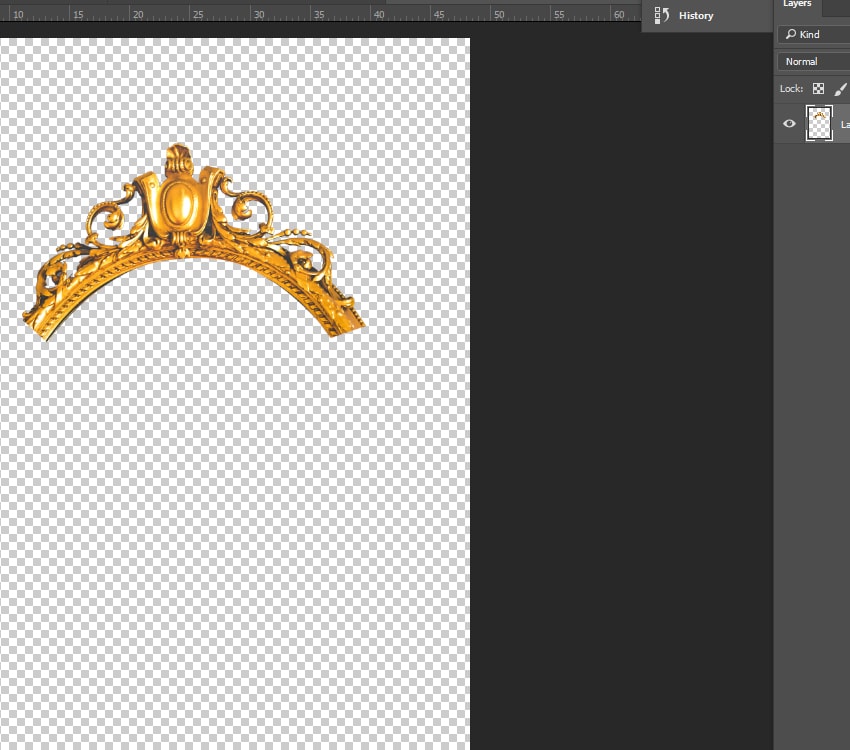
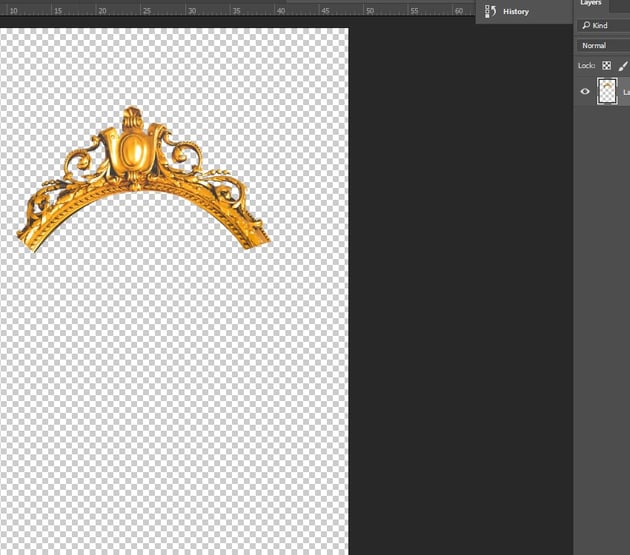
Open the mirror picture in Photoshop. Use the Pen Tool (P) to cut the crown and remove the background. Drag the jewelry into the main file, on top of the model's neck. Press Control-T, Right-click, and select Flip Horizontal to rotate the image. Then, press Control-T to resize the image, and hold Shift while resizing. Lastly, press Control-J to duplicate the necklace twice and use the Move Tool (V) to bring each of them slightly down.


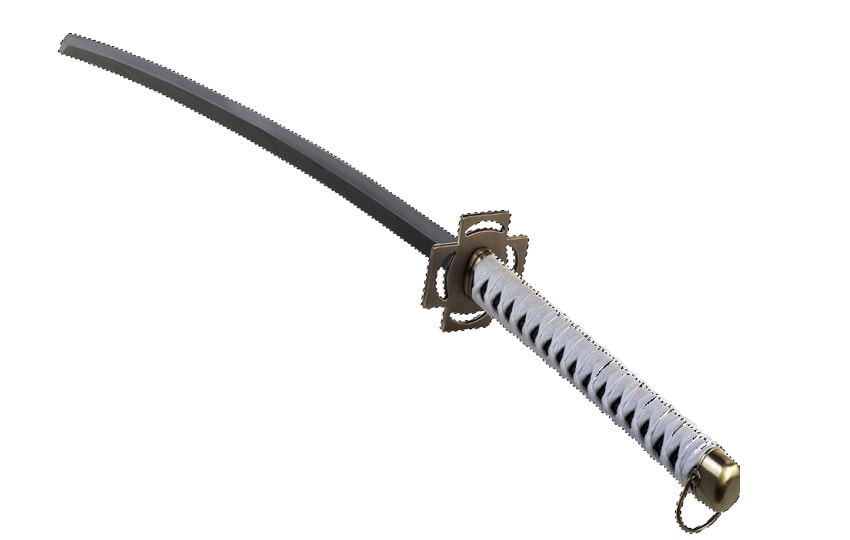
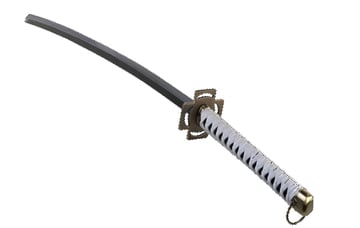
Step 2
Now, drag the Katana image in Photoshop. Activate the Magic Wand Tool (W), set the tolerance to 40%, and then click on the white background. Once the background is selected, press Delete on the keyboard. Next, use the Move Tool (V) to drag the katana on the main canvas and place it under the model's layer.

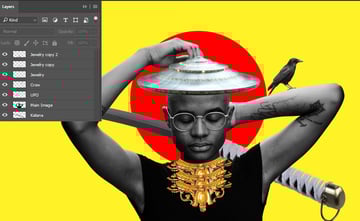
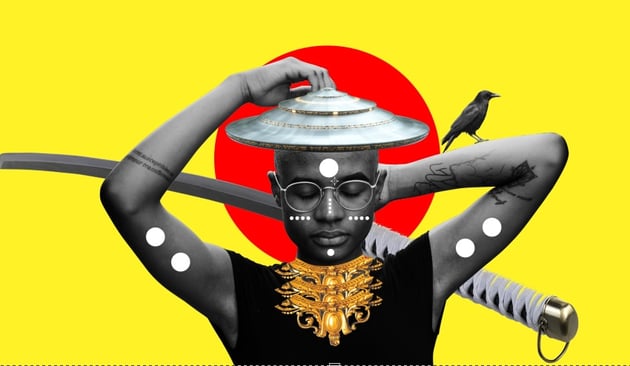
7. How to Add the Tribal Marks
Step 1
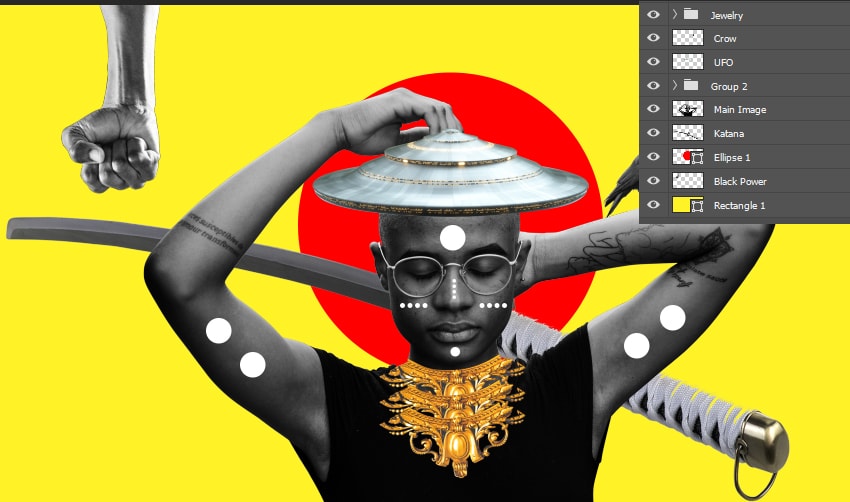
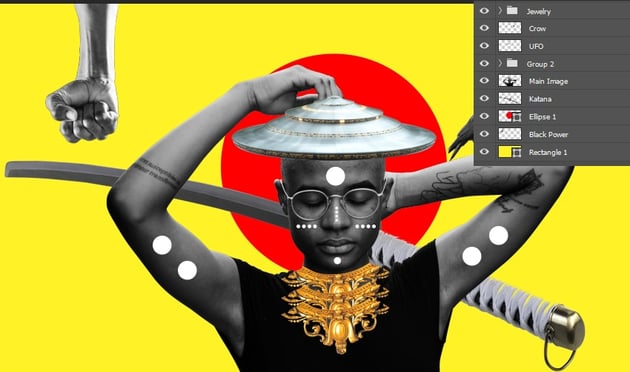
Now we want to add some tribal marks. Use the Ellipse Tool (U), making sure the fill color is white, and draw a medium circle on the model's forehead and a small one on the model's chin.


Step 2
Next, we want to add more tribal marks on the model. Use the Ellipse Tool (U), making sure the fill color is white, and draw a medium circle on the model's left arm. Then press Control-J to duplicate the layer three times. Use the Move Tool (V) to redistribute the circles on the arms as shown below.

Step 3
Then, use the Ellipse Tool (U) to draw four small circles on the model's left cheek and press Control-J to duplicate the circles. Use the Move Tool (V) to redistribute them as shown below.


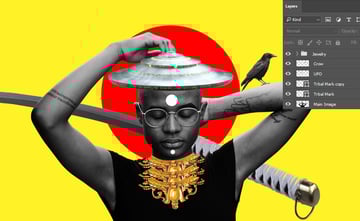
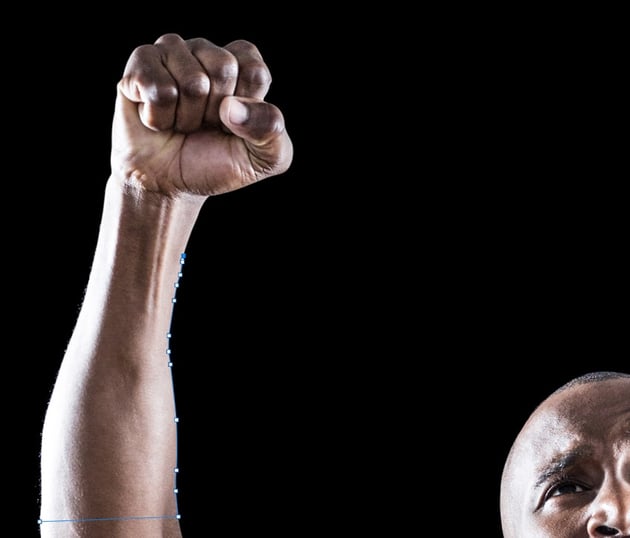
8. How to Add the Black Power Symbol
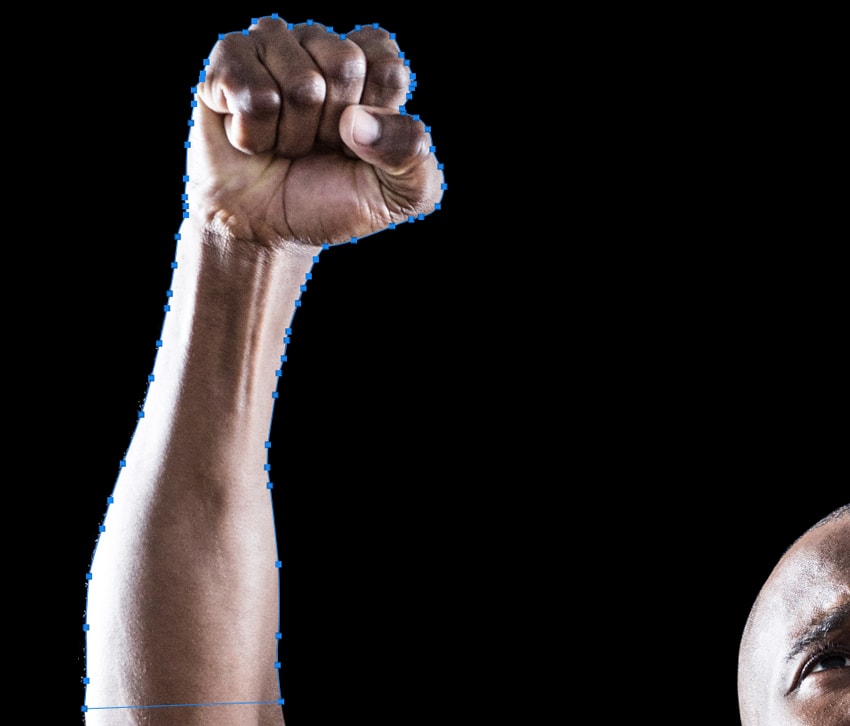
Step 1
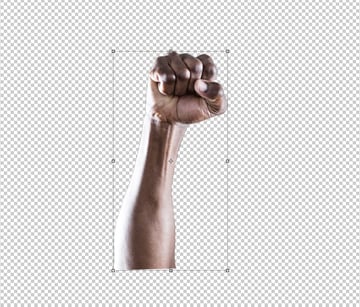
Open your image in Photoshop, and then cut out the left arm of the model using the Pen Tool (P). Find a spot on the main image, and click on a point to start drawing the outline. To finish, we have to click from the last point to the first one we did. Press Control-Plus (+) to zoom in and Control-Minus (-) to zoom out during the process.


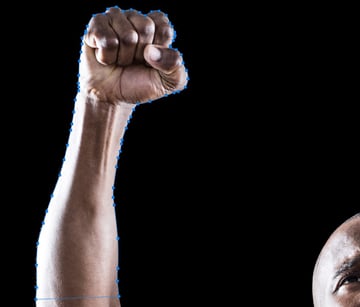
Step 2
After drawing the outline, we want to delete the background and keep the outlined arm. Right-click and select Make Selection. Make sure the background is selected, not the model. If not, choose the Marquee Tool (M) and select Inverse. Then press Delete on your keyboard.
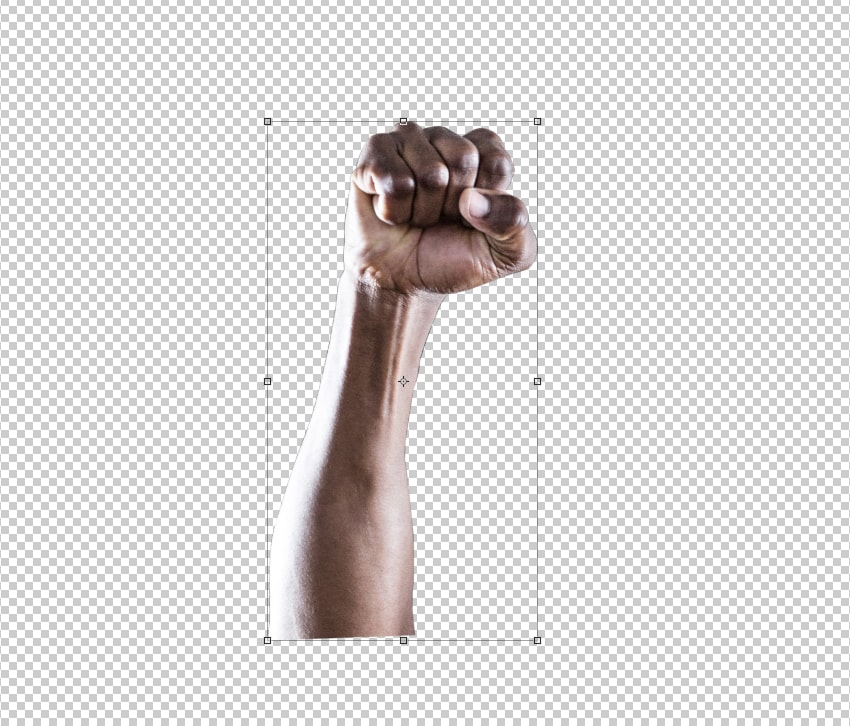
Step 3
Next, drag the symbol into the main canvas. Then, press Control-T, Right-click, and select Flip Horizontal to rotate the image. After that, press Control-T to resize the image, and hold Shift while resizing. Select the layer in the Layers panel and turn it into black and white. Click on Image > Adjustments > Black and white, and then click OK or Alt-Shift-Control-B.
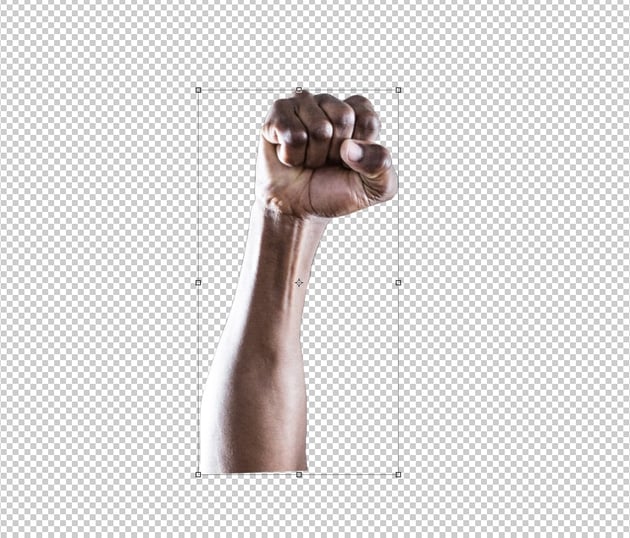
Step 4
Now, press Control-J to duplicate the symbol four times and redistribute the copies around the canvas. Use the Move Tool (V) to move each layer to the right place.
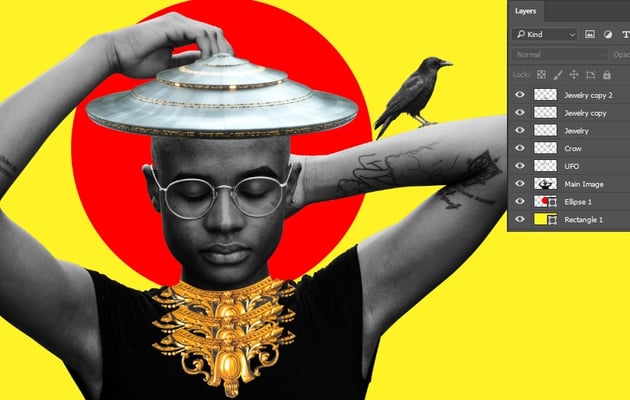
9. How to Retouch in Adobe Lightroom
Step 1
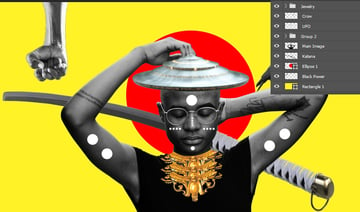
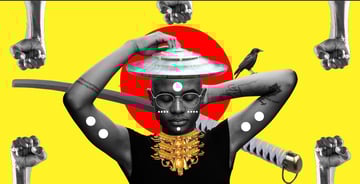
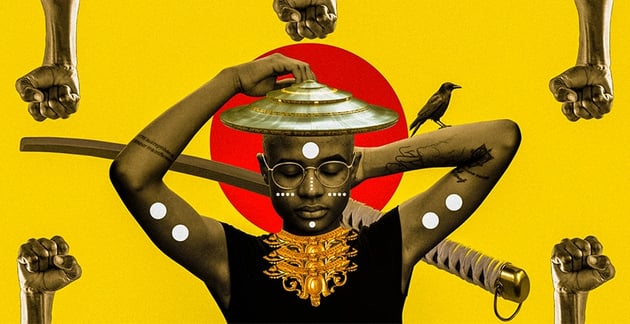
Now we want to adjust the artwork to create a vintage mood. Export the photo as a JPEG from Photoshop. Import the picture into Lightroom. Then click Develop. Boost the Temp to +38, Highlights to -100, Shadows to -19, and Clarity to +12.

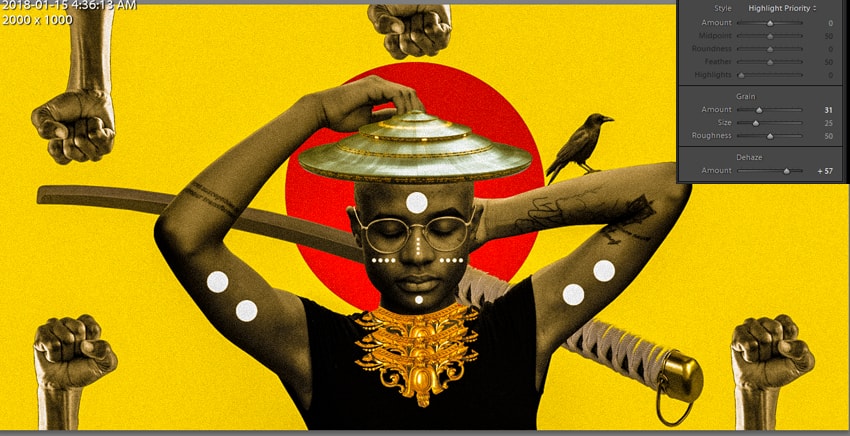
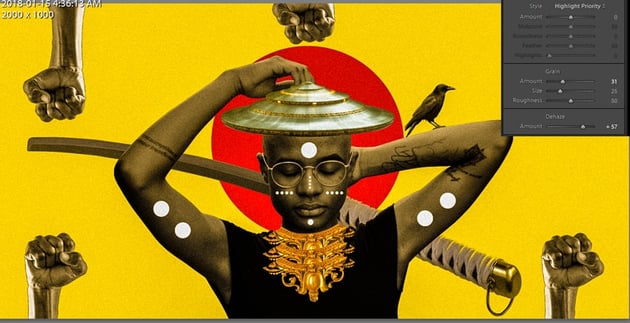
Step 2
Next, bring the yellow saturation up to +100, the grain to +31, and the Dehaze amount to +57.
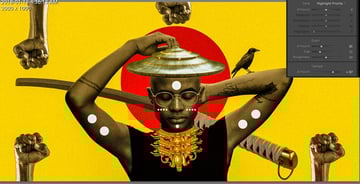
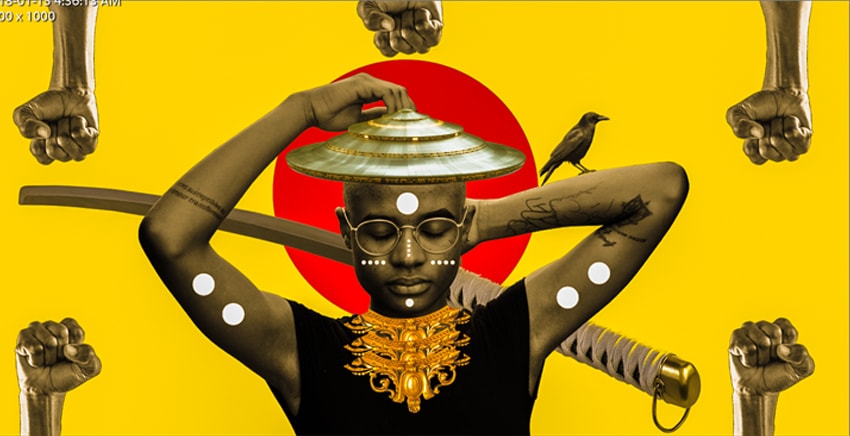
10. How to Export the Final Artwork From Adobe Lightroom
Now that we are finished, we want to export our artwork as a JPEG. Click File, and then Export. Select in which folder we want to save our image. Then click Export.

Congratulations, You Made It!
I hope that you've enjoyed the tutorial and learned something new for your own projects. Feel free to share your results or leave comments in the box below. Keep creating!

 By
By


