
This is part five of our seven-part video series on Advanced Photo Manipulation Techniques.
If you haven't already, make sure to check out Part Four of this series, where you'll learn how to add realistic cracks and smoke effects to the lava landscape.
Find more incredible Design & Illustration Courses on Envato Tuts+.
How to Add Smoke Embers
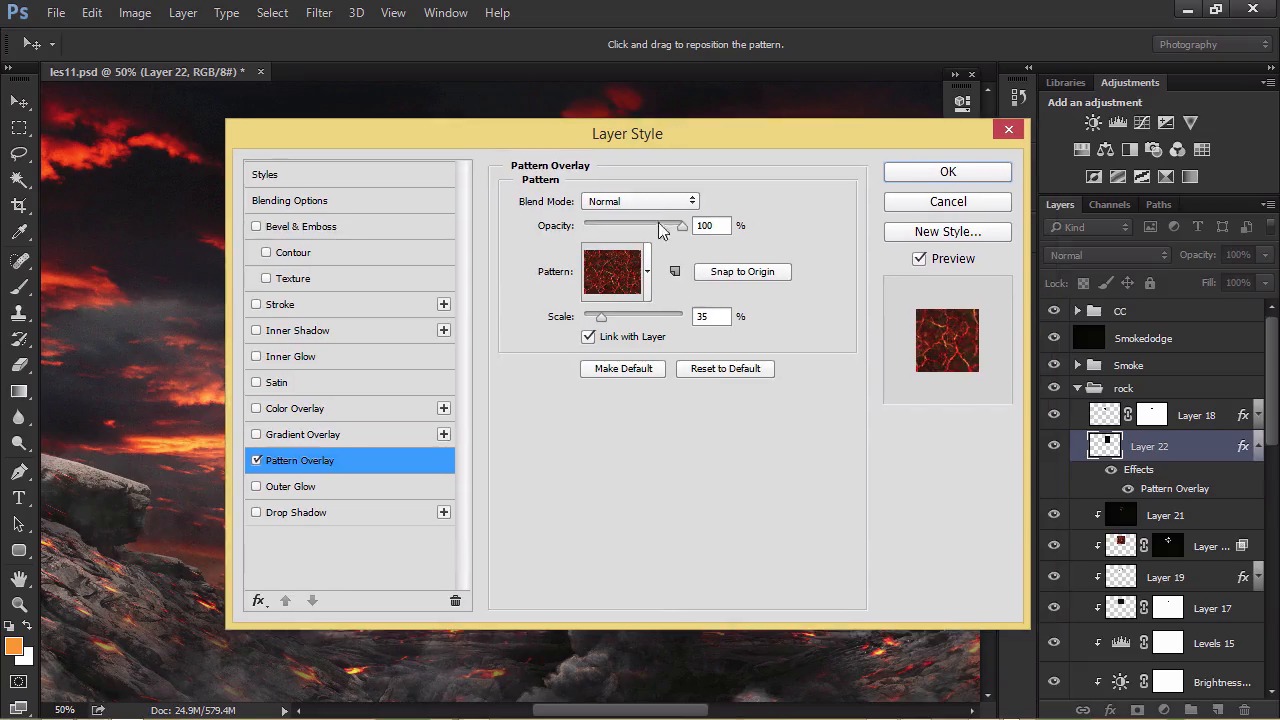
In this lesson, Lewis Moorhead will go over how to adjust the rock forms so that we can make them more effective. Try making them pop by changing the layer adjustments to brighten the lighting. Continue to add more cracks and lava and use Layer Masks when appropriate.
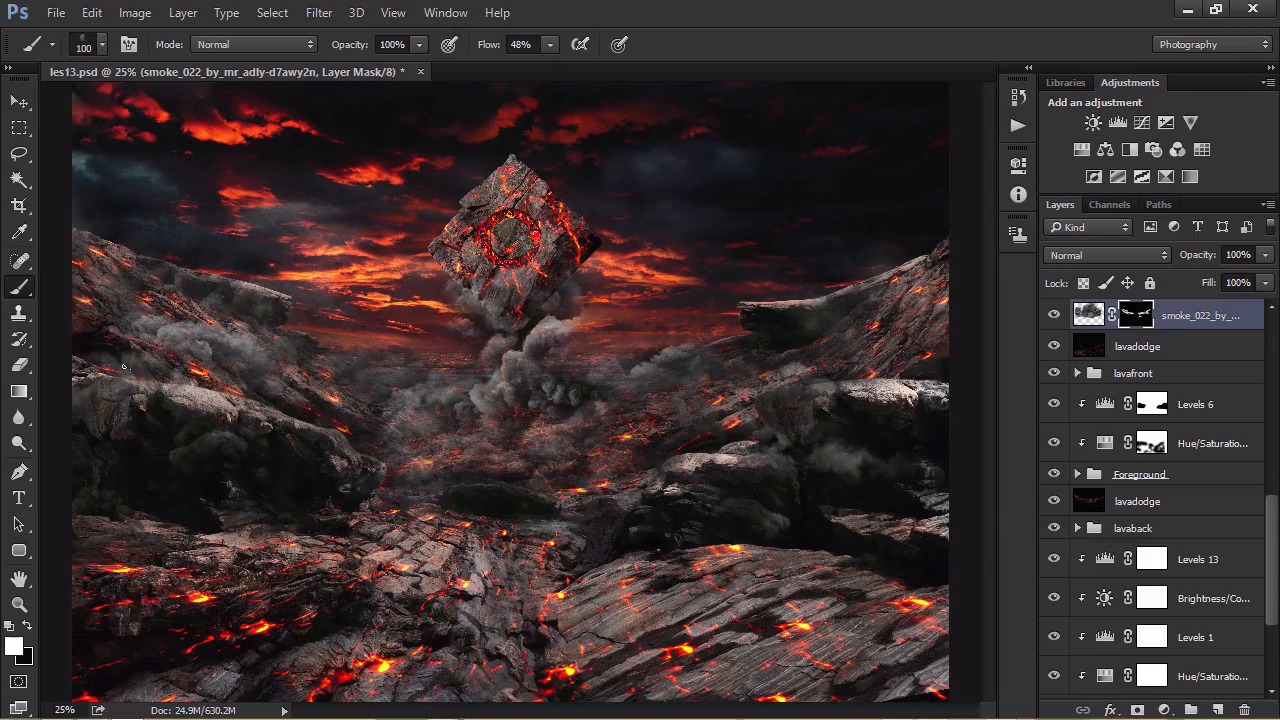
How to Finish the Smoke
Finish the smoke with this next video. Add in some more layers to make it stand out, and then blend any harsh edges for a realistic result. When you're finished, move on to masking and preparing the model we'll be using in the next step.
Want More?
Continue this manipulation in our next lesson, where we'll learn how to add intense lightning effects to our composition.
And for more amazing lessons, check out these articles:
 By
By


