


In today's tutorial you'll get a brief introduction to working with GoZ. The Zbrush plugin that allows you to work seamlessly between Zbrush and other leading 3D modeling applications such as Maya, 3D Studio Max, Cinema 4D and Modo. In this lesson you'll learn how to setup GoZ to work with your application of choice, and how to keep mesh edits intact when transferring your model back and forth between programs.
GoZ is a plugin that helps you transfer your models from Zbrush to other supported GoZ applications. GoZ is a plugin that is pre-installed within Zbrush, all you have to do is set it up & you're ready to go.
Step 1
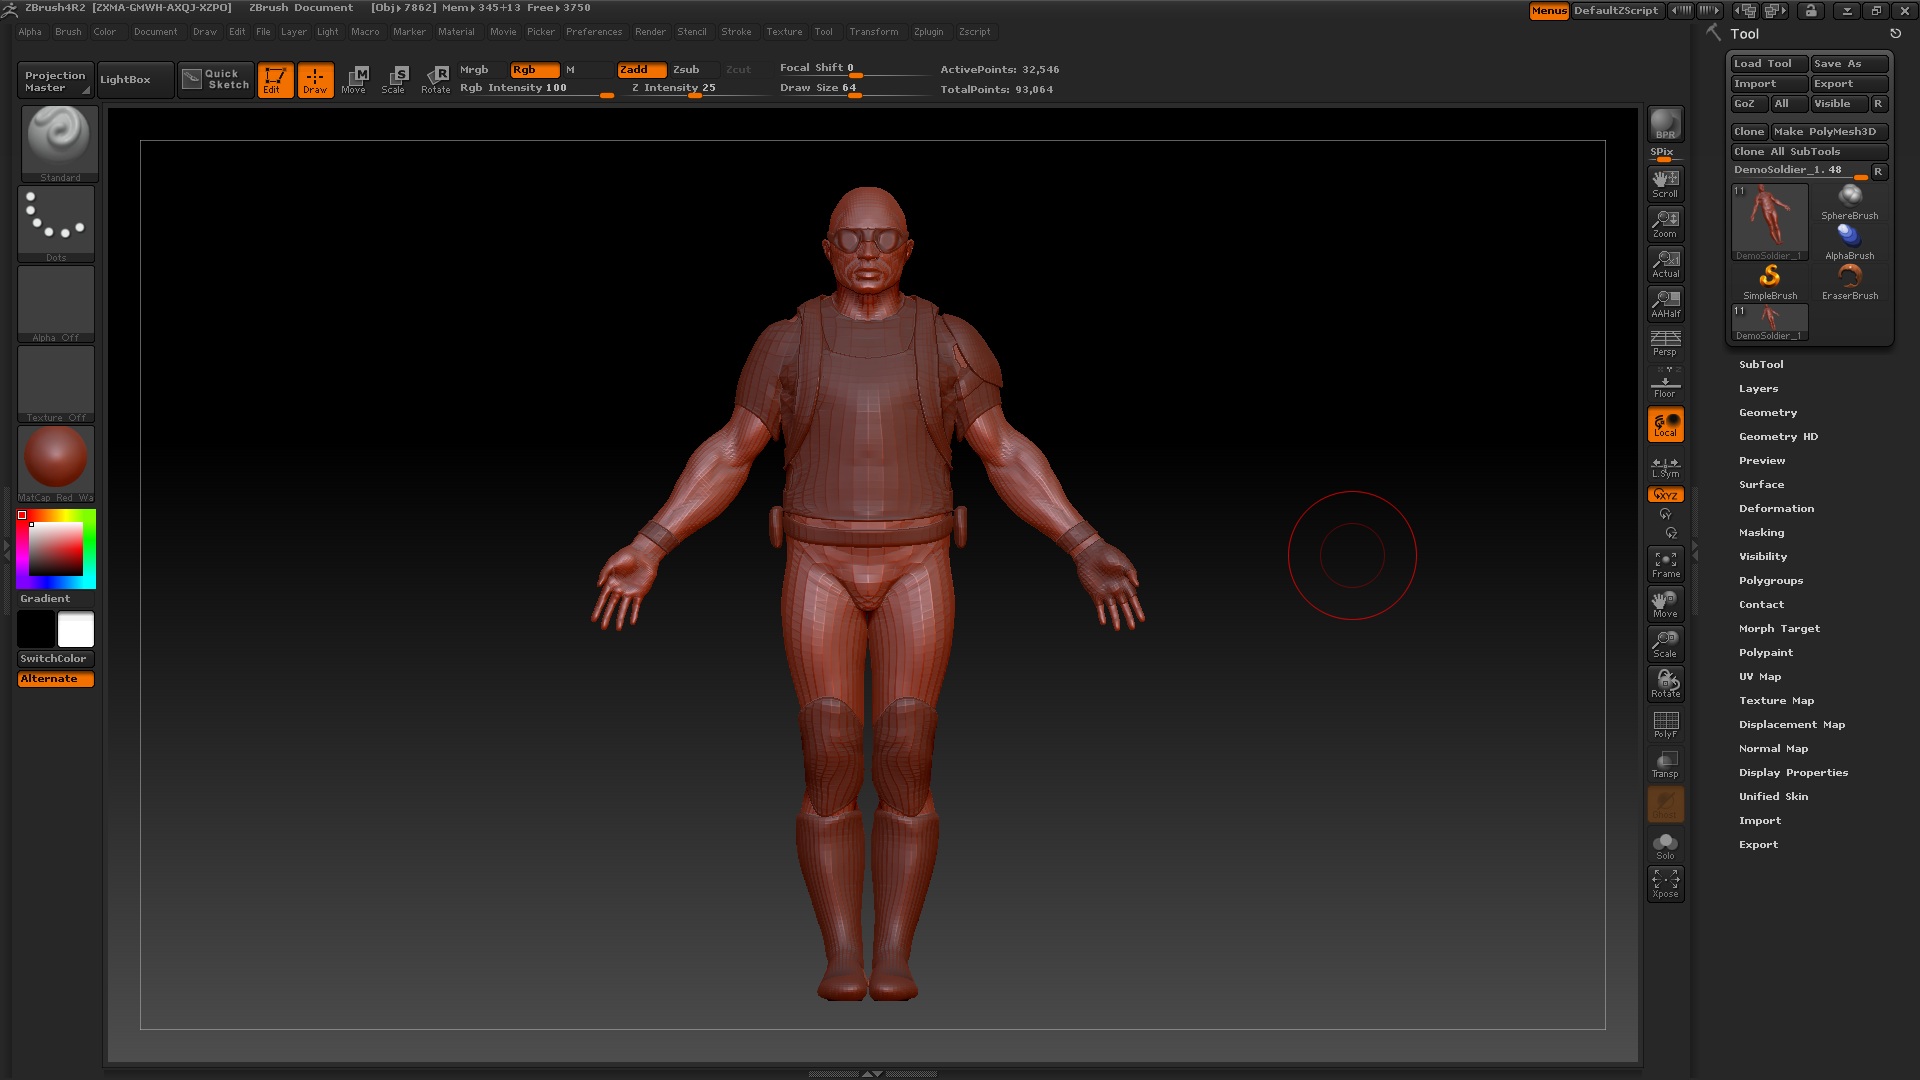
Let's start by opening Zbrush, and then a pre-loaded model from lightbox. So click 'Lightbox' and then under 'Tool' select the 'DemoSolider.ZTL'.
 Click To Enlarge
Step 2
Select the model (Demo Solider) by double clicking on it, and then hold the "Shift" Key and drag it onto the canvas.
 Click To Enlarge
Step 3
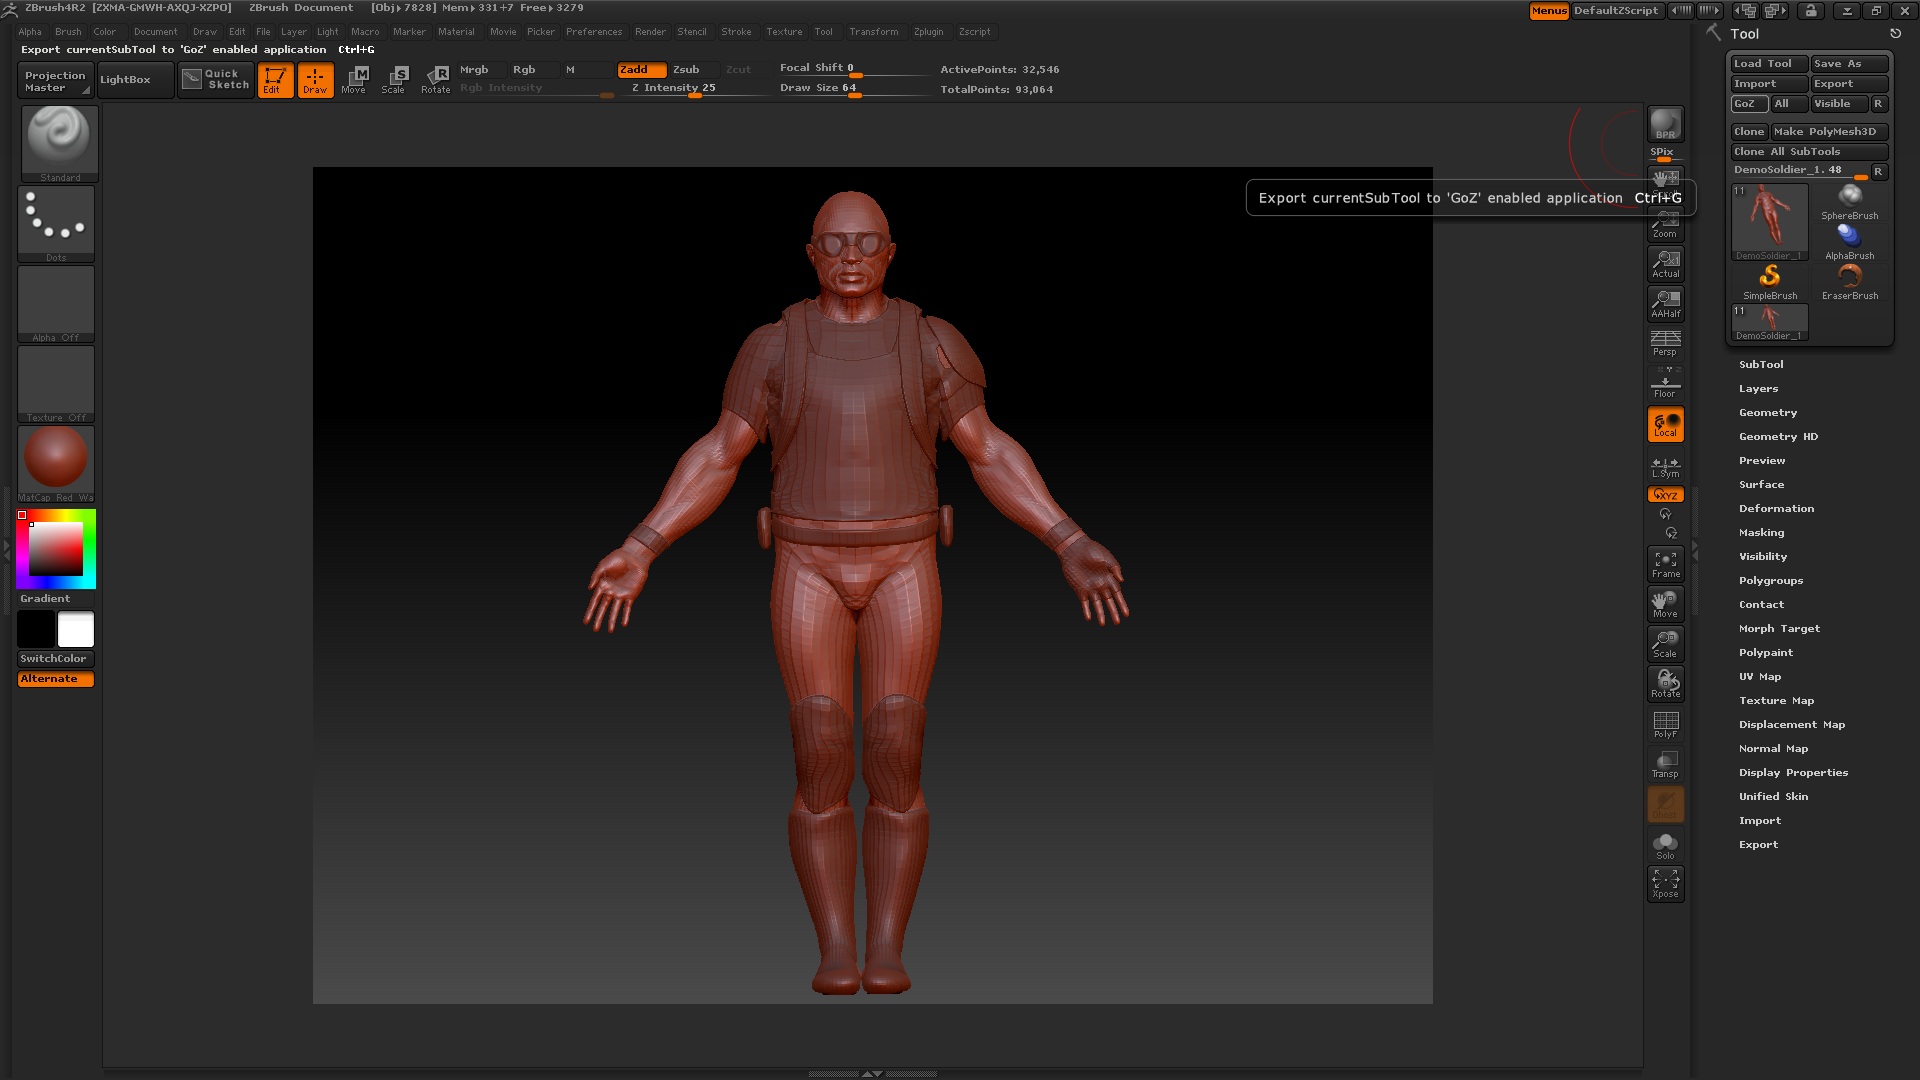
Now we'll setup GoZ by clicking on the 'GoZ' button under the 'Tool' menu, or under the 'Preferences' menu.
 Click To Enlarge
Step 4
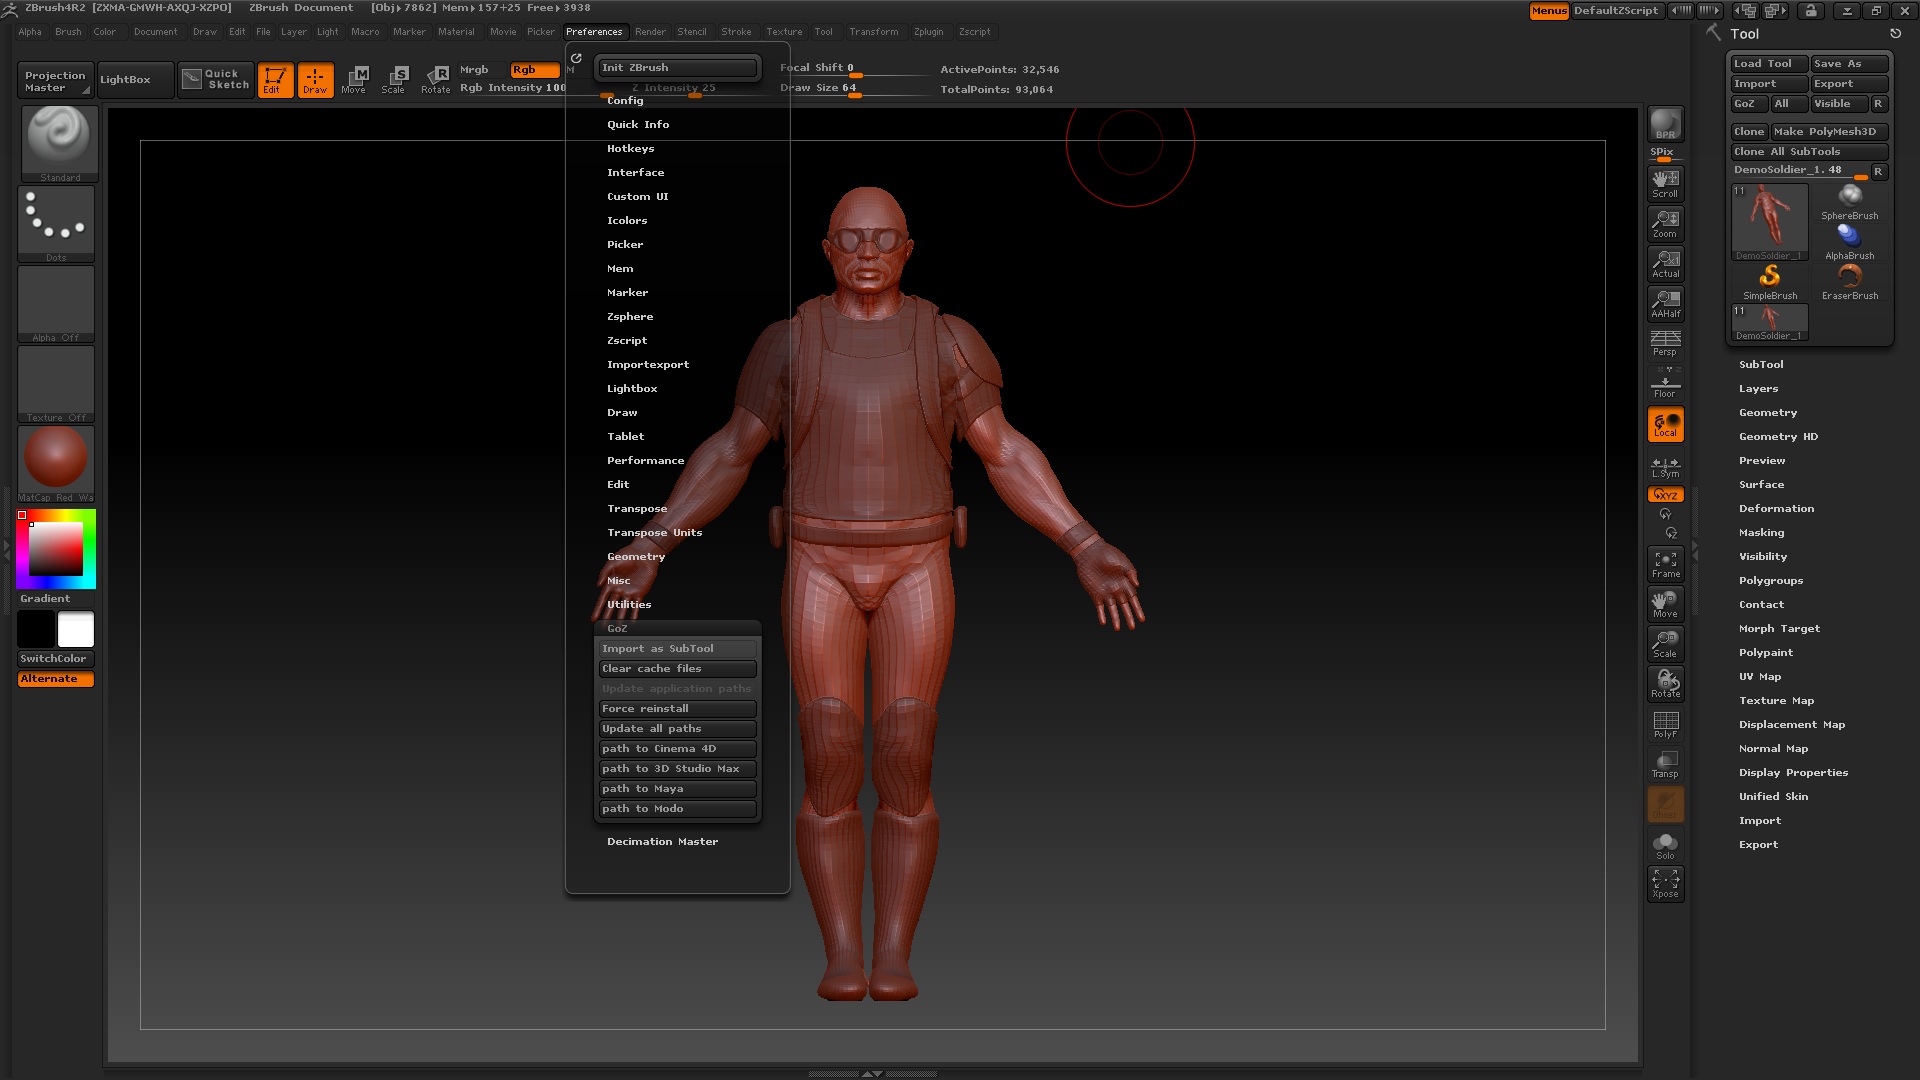
Clicking the 'GoZ' button will guide you through the installation and allow you to setup the different GoZ approved applications like Cinema 4D, Maya, Modo and 3D Studio Max.
 Click To Enlarge
Step 5
When 'GoZ' is clicked for the first time it will automatically start finding other GoZ enabled applications on your computer/mac. But you can sometimes encounter errors when using automatic installation, so in that case you'll have to manually go to Preferences > GoZ and then to the preferred installed application. For now I will setup Maya.
 Click To Enlarge
Step 6
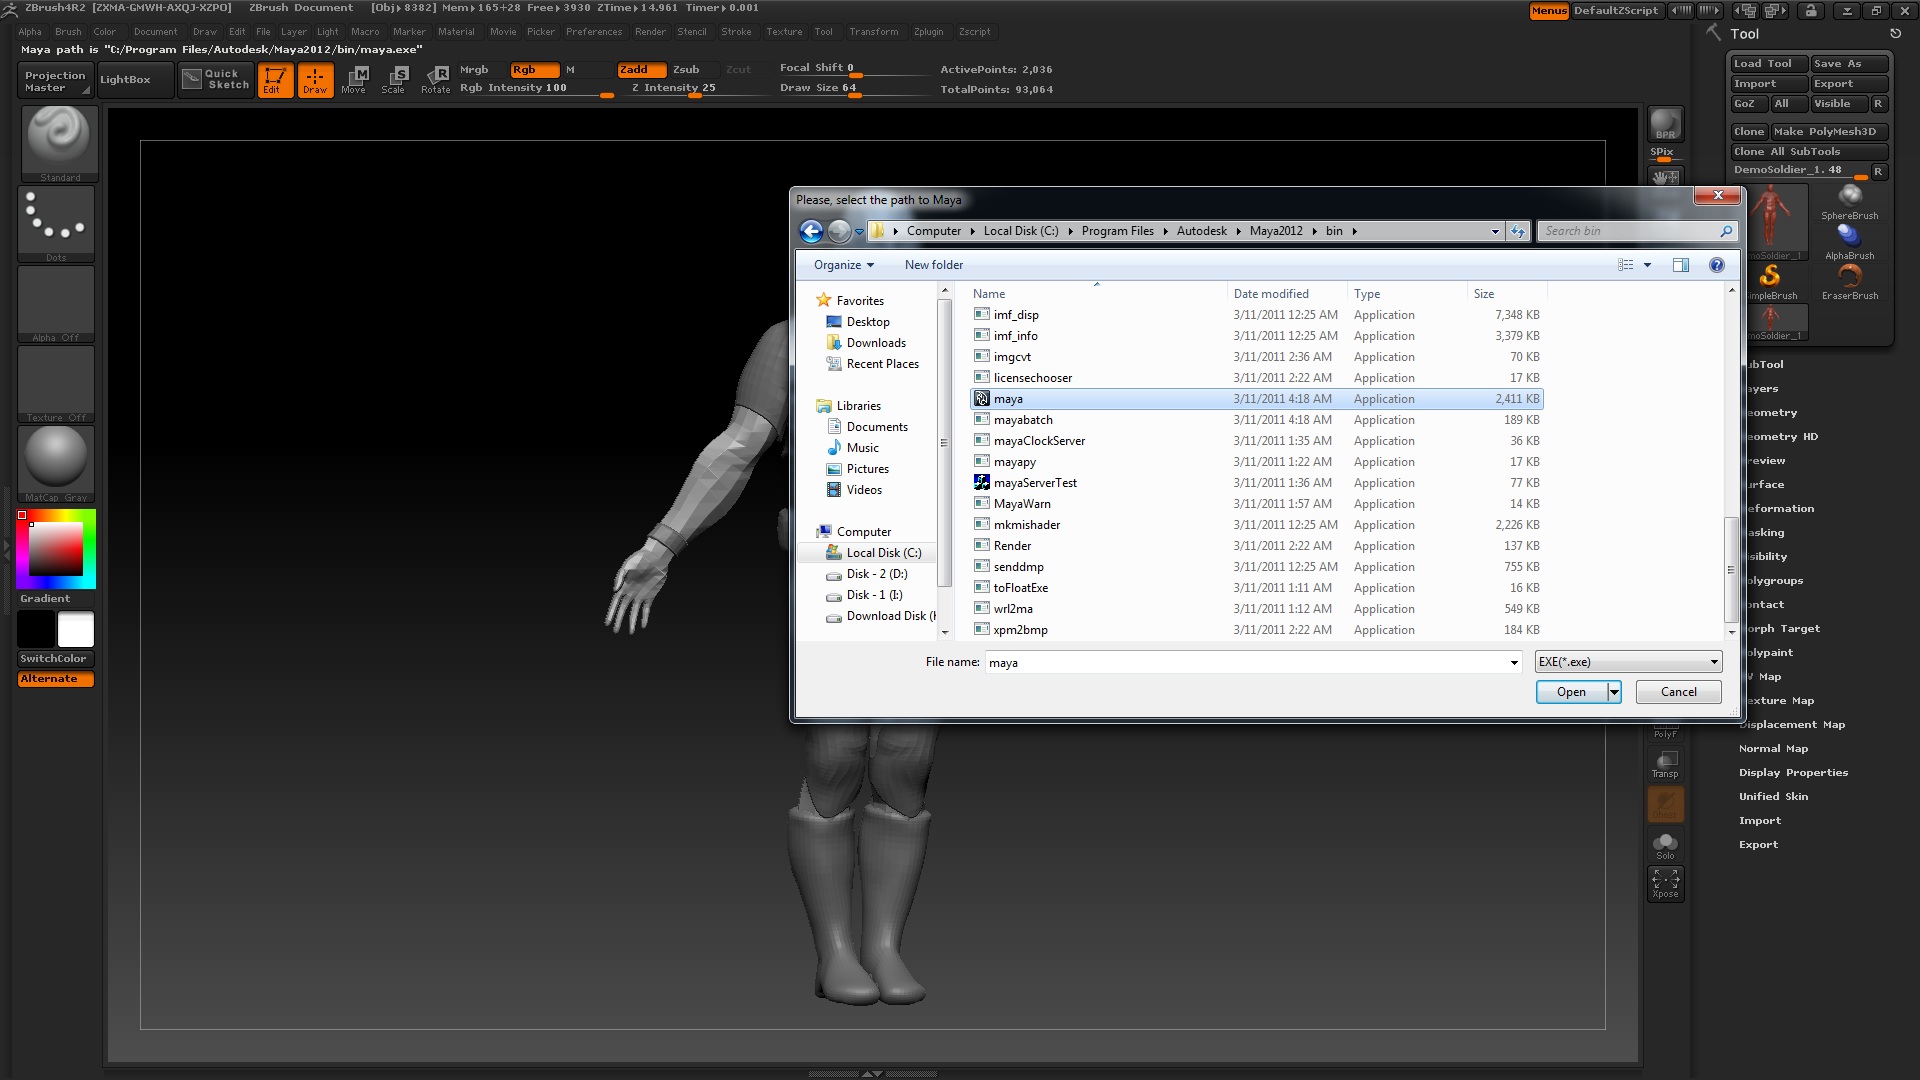
When you see the path is correct for your desired application, you can select it (or you will have to Browse to the desired .exe file of your application.)
 Click To Enlarge
Step 7
As you have now setup the GoZ application, when you click the 'GoZ' button under the 'Tools' menu it will automatically open up the preferred application, or if there are multiple applications setup it will ask you which should be opened. After that it will automatically open the preferred model in the application.
 Click To Enlarge
Step 8
Now whenever you click the 'GoZ' button (under the 'Tool' menu) it will automatically open the default application assigned to it, and load the same model (at the lowest resolution) by default. Here the model has been exported to Maya.
 Click To Enlarge
Step 9
What we will do next is edit the model inside of Maya 2011. As you have seen we're still using the default model from Zbrush's lightbox, so let's delete one hand from the model inside of Maya so we can check the functionality of the GoZ Application.
 Click To Enlarge
Step 10
So select the faces of the hand as shown below. And then delete the selected faces, to remove the hand.
 Click To Enlarge
Step 11
Now we'll select the mesh (including sub-tools if there are any) and click the "GoZ" button.
 Click To Enlarge
Step 12
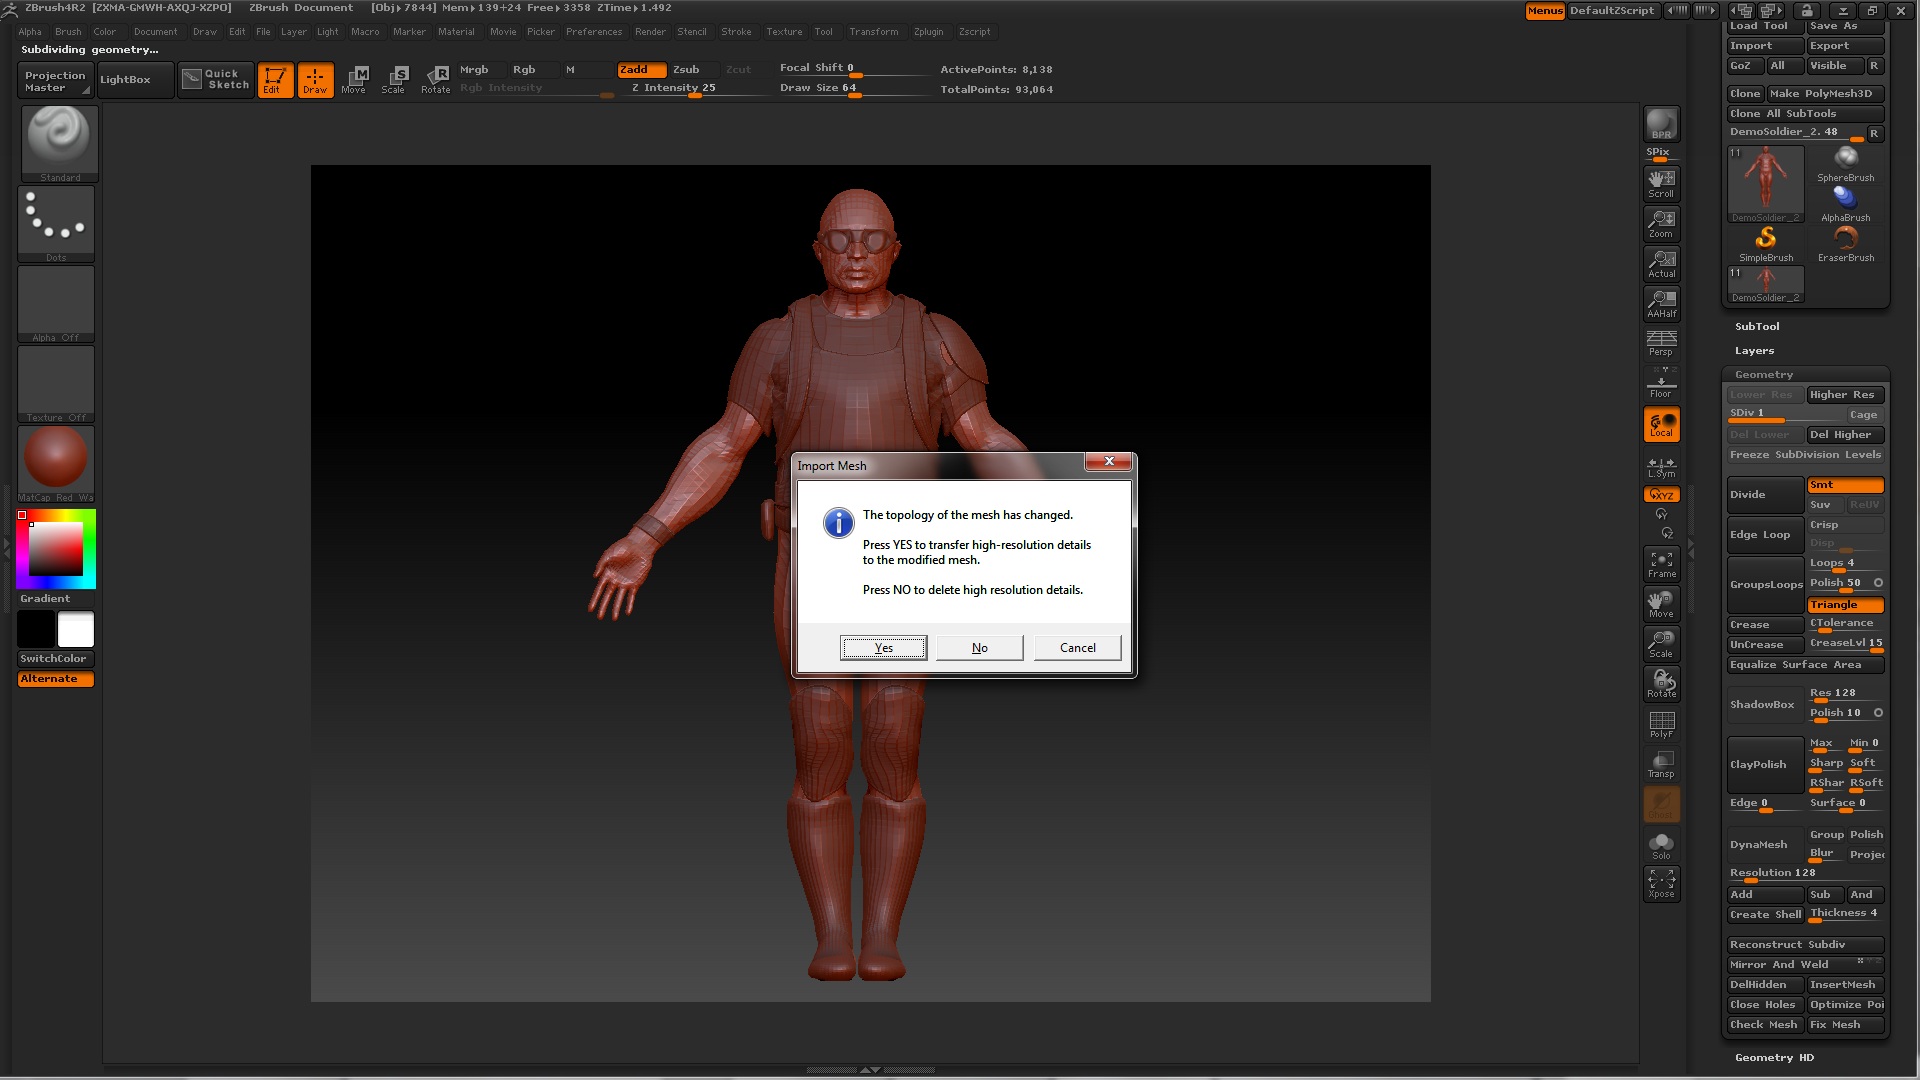
When we click the "GoZ" button in Maya, it will automatically open Zbrush and load the model. But this time you'll receive a popup box stating the topology of mesh has been changed, and will ask if you'd like to import the high resolution mesh with the previous details, or if you want to import a low poly version.
 Click To Enlarge
Step 13
If you click yes, it will take time to import depending on the level of detail that the mesh had before exporting it to Maya. After you can work on your model at a higher level.
 Click To Enlarge
Step 14
In the final image you will that see that our model has now been updated and the hand has been deleted. This particular model uses subtools (so we can't clearly see the hand) but as you can see there are no fingers now.
 Click To Enlarge
I hope you have learned how the GoZ application works and how you can use it with multiple softwares to achieve your desired results.
Related Tutorials:
- A Basic Introduction To Working With ZSpheres In ZBrush 4
- Model, Sculpt and Texture a Demon-like Monster in 3ds Max and ZBrush
- An Intro to ZBrush: Sculpting the Lion of Belfort
- "The Warrior"
 By
By


