
- How to Create the Background
- How to Add the Background Texture and Change the Coloring
- How to Create and Modify the Text
- How to Style the Original Text Layer
- How to Style the First Copy Text Layer
- How to Style the Second Copy Text Layer
- How to Style the Third Copy Text Layer
- How to Brighten Up the Area Behind the Text
- How to Convert the Text Layers to a Smart Object and Warp It
- Congratulations! You're Done
- Best Metallic Text Effects in Photoshop From Envato Elements
- Discover More Photoshop Tutorials and Resources


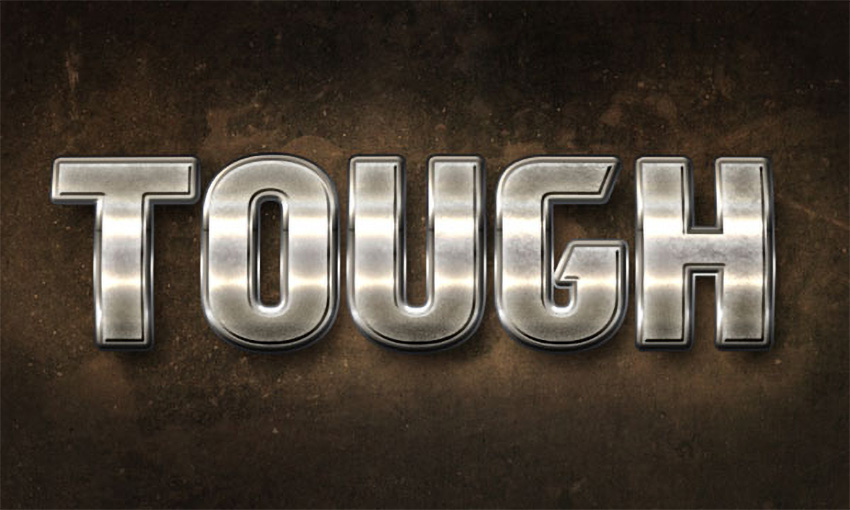
This tutorial will guide you through creating a brushed metal text effect, using multiple layer styles and some textures. You'll get to work a bit with the text itself, and also use a smart object to warp the styled text but keep it editable, so it can be modified pretty quickly without the need to go over the steps again.
If you want to save time for now and try this tutorial later, you can skip down to the end for our metallic text Photoshop templates from Envato Elements.


What You'll Learn in This Metallic Text Photoshop Tutorial
- How to create a background
- How to add a background texture and change the coloring
- How to create and modify text
- How to style the text layers
- How to convert the text layers into a smart object and warp it
What You'll Need
The following assets were used during the production of this brushed metal text tutorial:
- Paragon Black font
- 0986 by ooc-sdz
- Whitewashed Grunge Textures by WebTreatsETC
- Free Pack 6000 photoshop gradients by Supertuts007 (load the CHROMES.grd file)
1. How to Create the Background
Step 1
Create a new 1000 x 600px document for this metallic text project in Photoshop. Set the Foreground color to #6b6c81 and the Background color to #4a4b5f. Pick the Gradient Tool, choose the Foreground to Background gradient fill, and click the Radial Gradient icon.
Then, click and drag from the center of the document to one of the corners to create the background gradient.


Step 2
Duplicate the Background layer and change the copy's Blend Mode to Multiply.


Step 3
Click the Create new fill or adjustment layer icon at the bottom of the Layers panel and choose Levels.


Step 4
Change the Shadows value to 3 and the Gamma value to 0.91 to darken up the background a bit more.


2. How to Add the Background Texture and Change the Coloring
Step 1
Place the 0986 image on top of both Background layers, rename its layer to Texture, and change its Blend Mode to Overlay. Then resize it and move it around until you like how it looks.


Step 2
Click the Create new fill or adjustment layer icon at the bottom of the Layers panel and choose Hue/Saturation.


Step 3
Change the Hue value to 152.


3. How to Create and Modify the Text
Step 1
Create the text in All Caps using the font Paragon Black, the Size 200 pt, and the color #6c6d82.


Step 2
Next, we're going to adjust the Kerning (under Window > Character), which determines the space between the individual letters in our brushed metal text. As you can see, the letters are not spaced out equally, so what you'll need to do is click to place the mouse cursor between each pair of letters, then enter a Kerning value that makes the distance between the letters as similar as possible.
This is important because we're going to add a stroke later on, so if the kerning is not fixed, the stroke might overlap between some letters and be too far away between others. You can actually do this step now, or after applying the stroke.
You'll need to try a couple of values until you get the result you like, but the values used here are:
- T and O: 1
- O and U: 4
- U and G: -20
- G and H: 3


Step 3
You should get neater-looking text now.


Step 4
To increase the space between the letters even more, change the Tracking value to 10.


Step 5
Duplicate the text layer three times, and change the third copy layer's Fill value to 0.


4. How to Style the Original Text Layer
We're not quite at the metallic text look yet, but nothing a little Photoshop love can't fix! Double-click the original text layer to apply the following layer style:
Step 1
Add a Stroke with these settings:
- Size: 7
- Fill Type: Gradient
- Angle: 90
- Use the stove pipe 155b gradient fill.


Step 2
Add a Drop Shadow with these settings:
- Distance: 21
- Size: 21


Step 3
This will add the stroke and the shadow. If you haven't adjusted the kerning yet, or think that you need to adjust it a bit more, now would be a good time since the stroke is applied to the text.


5. How to Style the First Copy Text Layer
Double-click the first copy text layer to apply the following layer style:
Step 1
Add a Bevel and Emboss with these settings:
- Style: Stroke Emboss
- Technique: Chisel Hard
- Size: 7
- Gloss Contour: Rounded Steps
- Check the Anti-aliased box
- Highlight Mode: Vivid Light
This will not have any result until you add a Stroke effect, since the Stroke Emboss is applied only to a Stroke.


Step 2
Add a Contour with these settings:
- Contour: Notched Slope
- Check the Anti-aliased box


Step 3
Add a Stroke with these settings:
- Size: 5
- Fill Type: Gradient
- Angle: 90
- Use the stove pipe 60 gradient fill.
You can now see the effect of the Stroke Emboss.


Step 4
This will create another layer of shiny stroke, with a more 3D look.


6. How to Style the Second Copy Text Layer
Double-click the second copy metallic text layer to apply the following layer style in Photoshop:
Step 1
Add a Bevel and Emboss with these settings:
- Technique: Chisel Hard
- Size: 3
- Check the Anti-aliased box


Step 2
Add a Contour with these settings:
- Contour: Cove - Deep
- Check the Anti-aliased box


Step 3
Add an Inner Glow with these settings:
- Noise: 9%
-
Color:
#f5f4e5 - Size: 21


Step 4
Add a Gradient Overlay with these settings:
- Use the stove pipe 30 gradient fill.


Step 5
This will style the text. It looks OK right now, but we're not done with making text look metallic in Photoshop. It can use another layer of styled text to add more depth and detailing.


7. How to Style the Third Copy Text Layer
Double-click the third copy text layer to apply the following layer style:
Step 1
Add a Gradient Overlay with these settings:
- Blend Mode: Vivid Light
- Opacity: 52%
- Style: Reflected
- Check the Reverse box
- Use the stove pipe 70 gradient fill.


Step 2
Add a Pattern Overlay with these settings:
- Blend Mode: Multiply
- Opacity: 60%
- Pattern: Use the pattern shown below from the Whitewashed Grunge Textures pack.


Step 3
This will make the brushed metal text effect look more interesting and realistic.


8. How to Brighten Up the Area Behind the Text
Step 1
Pick the Brush Tool, make sure that the Foreground color is still set to #6b6c81, create a new layer on top of the Texture layer, call it Light, and change its Blend Mode to Color Dodge.


Step 2
Use quite a big, soft round tip to brighten up the area behind the text.


9. How to Convert the Text Layers to a Smart Object and Warp It
Step 1
Select all the text layers you have, then go to Filter > Convert for Smart Filters. This will place all the selected text layers in a smart object. You can double-click the smart object's thumbnail at any time to open the original text layers, and then modify them as you like.
The text layers will be opened in a separate document, so after you perform the changes needed, you'll need to save them (File > Save), then close the smart object's document (File > Close). The text will be updated in the original document automatically. So you won't need to recreate the effect for different text, but you might want to adjust the Light layer's content.


Step 2
With the smart object layer selected, go to Edit > Transform > Warp.


Step 3
Choose Inflate from the Warp dropdown menu in the Options bar, and then click and drag the control point slightly to modify the shape as you like, and tap the Return key to accept the changes.


Step 4
You can go back to Edit > Transform > Warp to modify the result again when needed.


Congratulations! You're Done
In this tutorial, we used a radial gradient fill, a texture, and a couple of adjustment layers to create a grungy, dark background. Then we created the text and adjusted its Kerning and Tracking values to modify the spacing between the letters. Once we modified the text, we created three more copies of its layer.
Each copy of the text layers was then styled with a bunch of different effects and values in order to get the final brushed metal text effect. We then used a soft brush to brighten up the area behind the text and placed the text layers in a smart object in order to warp the text and give it a more 3D look.

Best Metallic Text Effects in Photoshop From Envato Elements
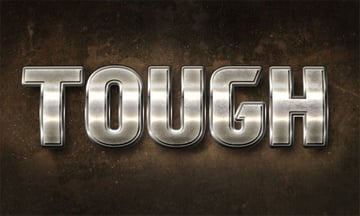
Nailing the brushed metal look in text can be tricky, but now you know how to do it with the above tutorial. But when short on time, there's nothing wrong with choosing a premade metallic text template for Photoshop from Envato Elements—especially when all your options look as good as the samples below.
1. Steel Metal Text Effect (PSD)


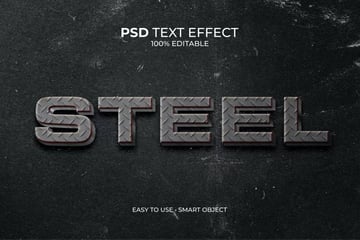
This diamond effect offers a more rugged look when compared to the brushed metal text you made earlier. It's got a lot of texture, making it a cool fit for a construction company, car dealership, or other trade business promotion.
2. Supreme Chrome Reflective Text Effect (PSD, ATN)
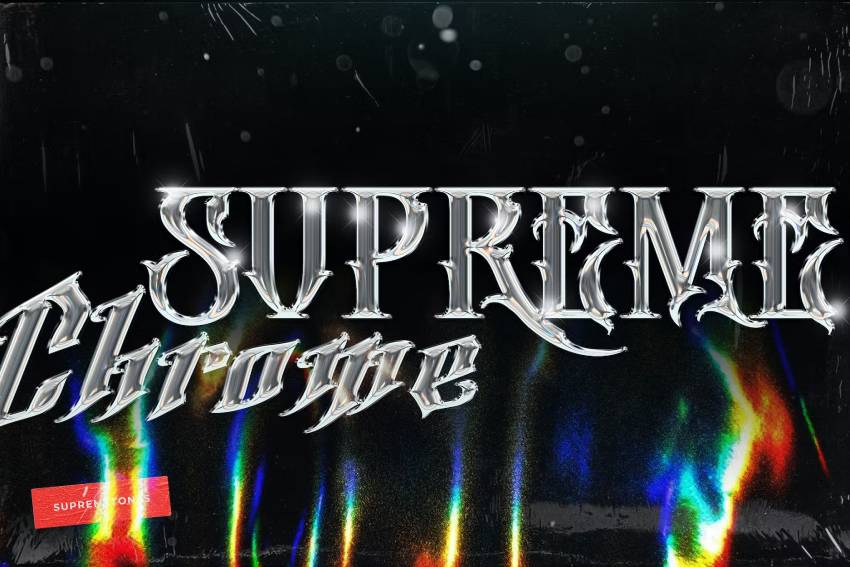

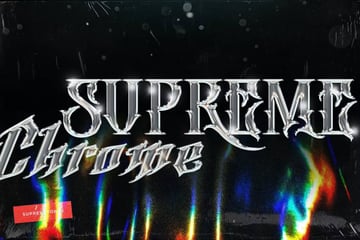
Supreme is a standout example of cool metal text effects. The included PSD creates a stunning chrome look with realistic shine and color. It's also a well-organized file, letting you customize the Smart Object layers in next to no time.
3. Rusted Metal Text Effect (PSD)

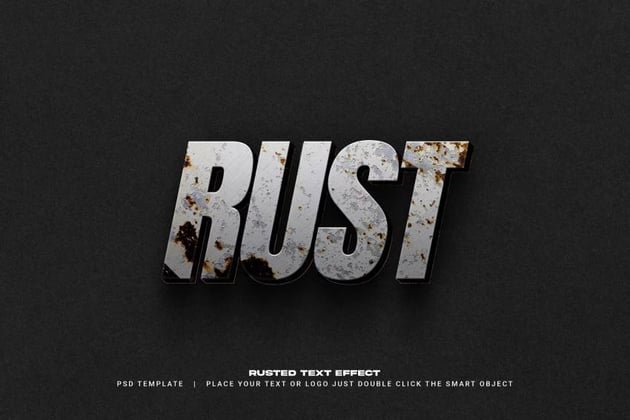
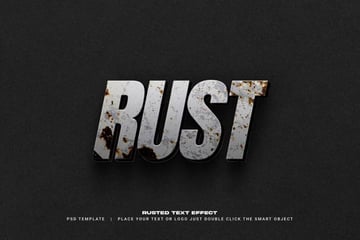
Are you working on promotional material or flyers and want a more rugged feel? Then use Rust to achieve that aesthetic. It makes realistic rusted text with a metallic look in Photoshop. The imperfections in the metal give a special texture to the text, which can be perfect for your designs.
4. Luxury Gold Text Effect (PSD)

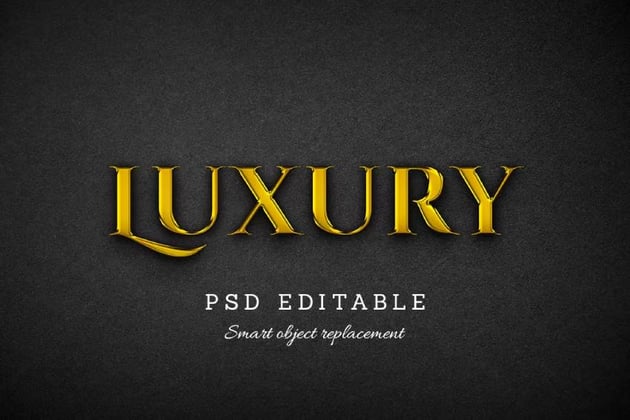

Luxury is a metallic text template in Photoshop that's worth its weight in gold. You can write whatever you want with it with ease, thanks to Smart Object replacement. It's high resolution too, so your metallic text will look great both in Photoshop and in print.
5. 40 Metallic Text Effects (PSD, ASL)


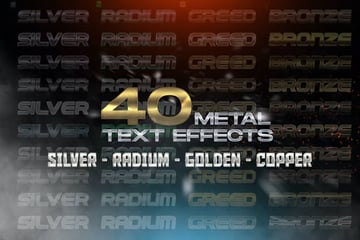
There's no doubt that it would take you a long while to make this many metallic text effects in Photoshop. The bundle has 40 metal text layer styles with different interpretations of gold, radium, and bronze.
Discover More Photoshop Tutorials and Resources
Don't stop now! We've got more cool text tutorials to help you on your learning journey:

 How to Create a Fur Action Text Effect in Adobe Photoshop


 How to Make a Glitch Text Effect in Photoshop


 How to Create a Clean, Glossy Plastic Text Effect in Photoshop

 How to Create a Cartoon Gradient Text Effect in Adobe Photoshop


 How to Create a Grass Action Text Effect in Adobe Photoshop

 How to Create a Copper Foil Texture Text Effect in Adobe Photoshop

 How to Create a Fun Felt Photoshop Text Effect


 How to Create a Honey Text Effect in Photoshop


 How to Create Metal Textures in Photoshop

 By
By


